warning RENAULT KANGOO 1997 KC / 1.G Engine And Peripherals Workshop Manual
[x] Cancel search | Manufacturer: RENAULT, Model Year: 1997, Model line: KANGOO, Model: RENAULT KANGOO 1997 KC / 1.GPages: 208
Page 3 of 208
Contents
Consumables
Identification
Oil consumption
Oil pressure
Engine - Gearbox
Engine and transmission assembly
Sump
Crankshaft seal, timing end
Oil pump10-1
10-1
10-2
10-3
10-4
10-9
10-25
10-29
10-30
TOP AND FRONT OF ENGINE
Timing belt
Cylinder head gasket
Replacement of valve adjustersPage Page
11
Engine and
peripherals
11-1
11-11
11-29 ENGINE AND PERIPHERALS
10FUEL SUPPLY -
DIESEL EQUIPMENT
Fuel supply
Fuel cut off in case of an impact
Injector gallery
Fuel filter
Pump flow
Fuel pressure
Antipercolation device
Diesel equipment
General
Specifications
Location of components
Advance solenoid valve
Altimetric corrector
Fast idle LDA
Coded solenoid valve
Load potentiometer
Computer configuration
Injector with sensor (needle
lift)
Injection warning light
Pre-postheating control
Fast idle control
Injection/air conditioning
programming
Computer
Defect modes
Pump
Pump -Timing
Idle speed settings13-1
13-2
13-6
13-7
13-8
13-12
13-13
13-14
13-16
13-19
13-22
13-25
13-26
13-28
13-29
13-31
13-32
13-33
13-35
13-36
13-36
13-37
13-38
13-39
13-41
13-4613
FUEL MIXTURE
Specifications
Throttle body
Inlet manifold
Exhaust manifold
Inlet-exhaust manifolds12-1
12-7
12-15
12-18
12-2012
Page 4 of 208
Page
Cooling
Specifications
Filling and bleeding
Testing
Diagram
Water pump
Exhaust
General
Exhaust pipe assembly
Fuel tank
Tank
Sender unit
Pump and sender unit assembly
Engine suspension
Suspended engine mountings19-1
19-2
19-3
19-4
19-7
19-12
19-15
19-17
19-29
19-30
19-32 COOLING - EXHAUST - FUEL TANK -
ENGINE SUSPENSION
19
16-1
16-7 STARTING - CHARGING
Alternator
Starter
16
IGNITION - INJECTION
Ignition
Static ignition
Plugs
Injection
General
Location of components
Centralised coolant temperature
management
Injection fault warning light
Immobiliser function
Computer configuration depending
on gearbox type17
14-1
14-2
14-7
14-11 ANTIPOLLUTION
Test for the presence of lead
Fuel vapour rebreathing
Oil vapour rebreathing
Exhaust gas recirculation
(EGR)
14
17-17
17-18
17-19
17-20
17-22 IGNITION - INJECTION
(continued)
Injection/air conditioning
programming
Idle speed correction
Adaptive idle speed
correction
Richness regulation
Adaptive richness correction
17
Page
17-1
17-3
17-4
17-8
17-13
17-14
17-15
17-16
Contents
Page 14 of 208
ENGINE AND ENGINE PERIPHERALS
Engine and transmission assembly
Disconnect:
- the accelerator cable,
- the canister pipe,
- the brake servo pipe,
- the heater hoses,
- the oxygen sensor connector,
- the fuel pipes.
Remove:
- the shock absorber base bolts,
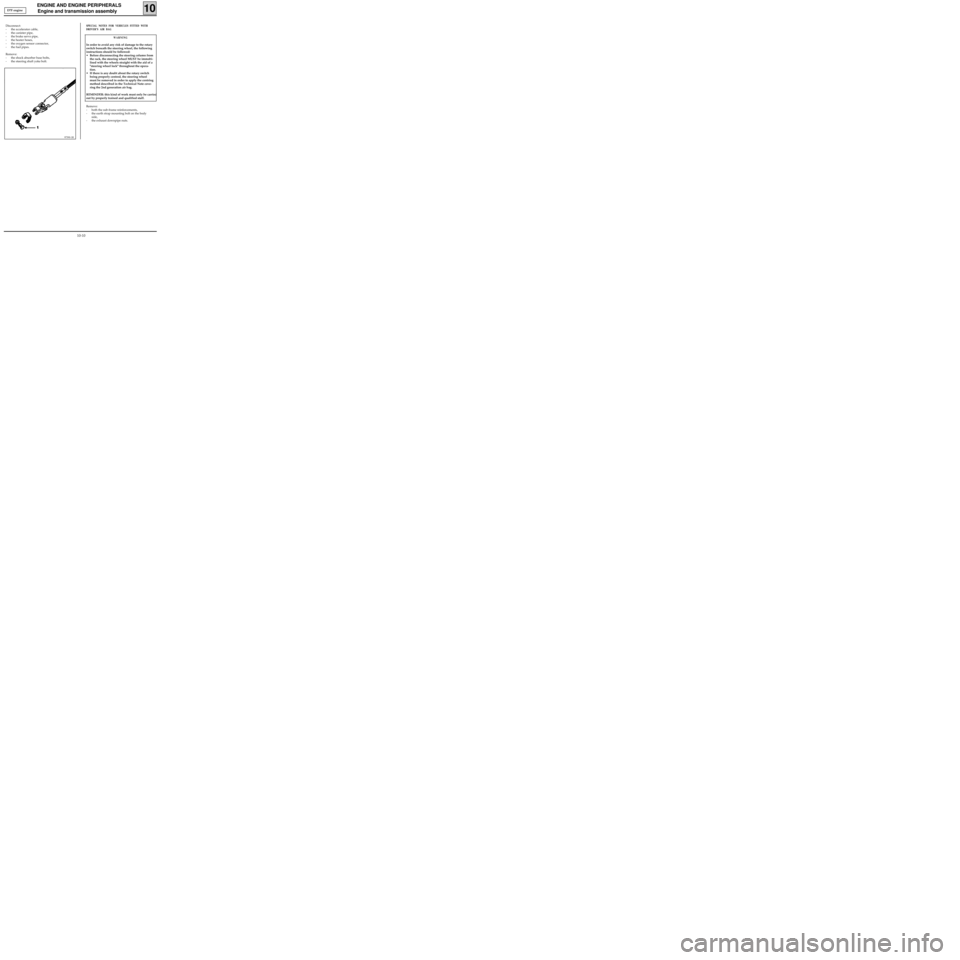
- the steering shaft yoke bolt.
10
97390-1R
SPECIAL NOTES FOR VEHICLES FITTED WITH
DRIVER’S AIR BAG
WARNING
In order to avoid any risk of damage to the rotary
switch beneath the steering wheel, the following
instructions should be followed:
• Before disconnecting the steering column from
the rack, the steering wheel MUST be immobi-
lised with the wheels straight with the aid of a
"steering wheel lock" throughout the opera-
tion.
• If there is any doubt about the rotary switch
being properly centred, the steering wheel
must be removed in order to apply the centring
method described in the Technical Note cove-
ring the 2nd generation air bag.
REMINDER: this kind of work must only be carried
out by properly trained and qualified staff.
Remove:
- both the sub-frame reinforcements,
- the earth strap mounting bolt on the body
side,
- the exhaust downpipe nuts. D7F engine
10-10
Page 20 of 208
ENGINE AND ENGINE PERIPHERALS
Engine and transmission assembly
10
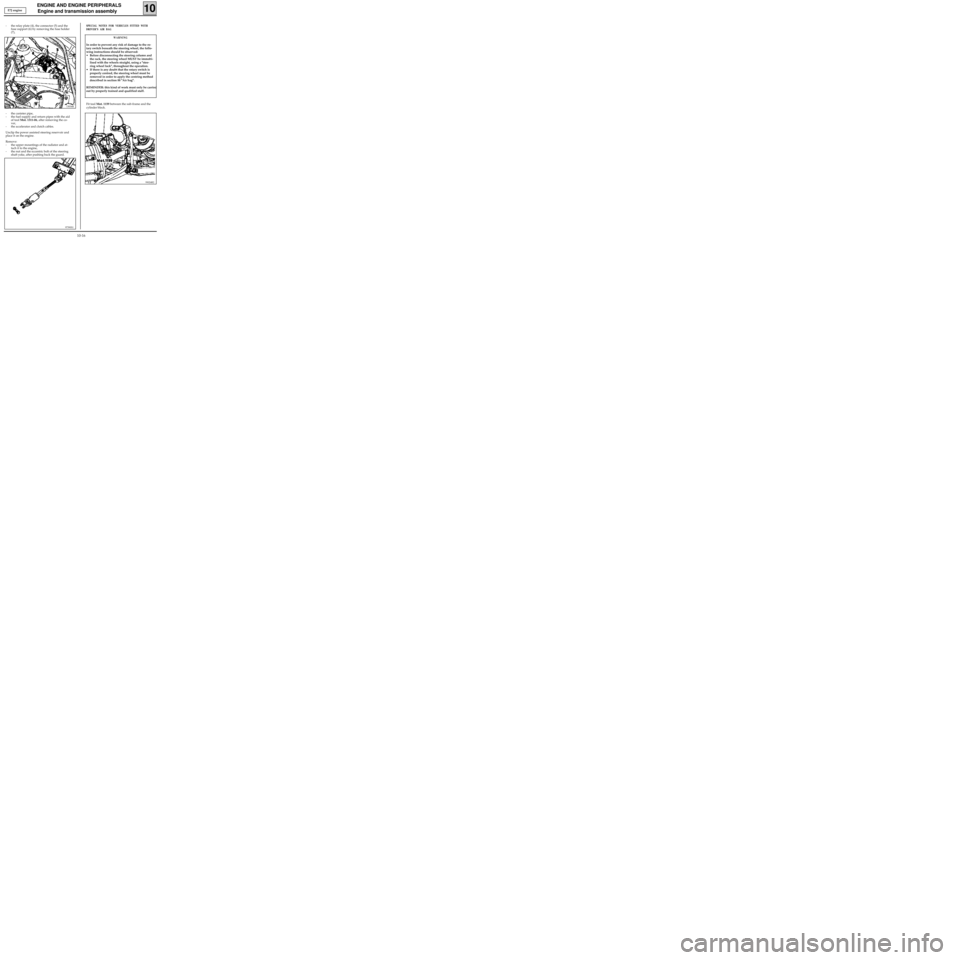
- the relay plate (4), the connector (5) and the
fuse support (6) by removing the fuse holder
(7),
13034R
- the canister pipe,
- the fuel supply and return pipes with the aid
of tool Mot. 1311-06, after removing the co-
ver,
- the accelerator and clutch cables.
Unclip the power assisted steering reservoir and
place it on the engine.
Remove:
- the upper mountings of the radiator and at-
tach it to the engine,
- the nut and the eccentric bolt of the steering
shaft yoke, after pushing back the guard.
97390S1
SPECIAL NOTES FOR VEHICLES FITTED WITH
DRIVER’S AIR BAG
99024R2
WARNING
In order to prevent any risk of damage to the ro-
tary switch beneath the steering wheel, the follo-
wing instructions should be observed:
• Before disconnecting the steering column and
the rack, the steering wheel MUST be immobi-
lised with the wheels straight, using a "stee-
ring wheel lock", throughout the operation.
• If there is any doubt that the rotary switch is
properly centred, the steering wheel must be
removed in order to apply the centring method
described in section 88 "Air bag".
REMINDER: this kind of work must only be carried
out by properly trained and qualified staff.
Fit tool Mot. 1159 between the sub-frame and the
cylinder block. E7J engine
10-16
Page 26 of 208
ENGINE AND ENGINE PERIPHERALS
Engine and transmission assembly
10
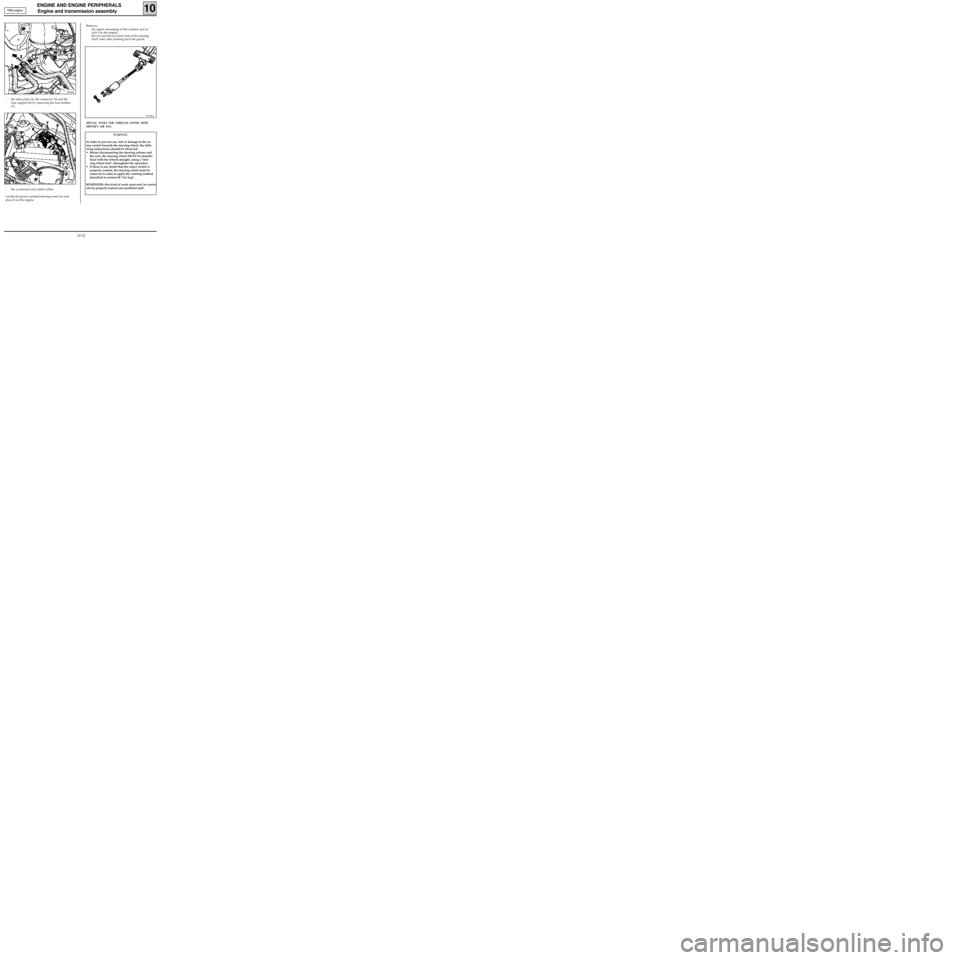
Remove:
- the upper mountings of the radiator and at-
tach it to the engine,
- the nut and the eccentric bolt of the steering
shaft yoke, after pushing back the guard.
97390S1
SPECIAL NOTES FOR VEHICLES FITTED WITH
DRIVER’S AIR BAG
WARNING
In order to prevent any risk of damage to the ro-
tary switch beneath the steering wheel, the follo-
wing instructions should be observed:
• Before disconnecting the steering column and
the rack, the steering wheel MUST be immobi-
lised with the wheels straight, using a "stee-
ring wheel lock", throughout the operation.
• If there is any doubt that the rotary switch is
properly centred, the steering wheel must be
removed in order to apply the centring method
described in section 88 "Air bag".
REMINDER: this kind of work must only be carried
out by properly trained and qualified staff.
F8Q engine
13084R
13034R
- the relay plate (4), the connector (5) and the
fuse support (6) by removing the fuse holders
(7),
- the accelerator and clutch cables.
Unclip the power assisted steering reservoir and
place it on the engine.
10-22
Page 93 of 208
DIESEL EQUIPMENT
General
13
The use of electronic injection in Diesel engines has allowed the operational power of these engines to be
optimised, thus reducing the emission rate of pollutant gases.
The system consists of a computer, which receives information from:
- the coolant temperature sensor,
- the air temperature sensor,
- the engine speed sensor,
- the vehicle speed sensor,
- the load potentiometer,
- the injection start sensor, which forms part of the injector of cylinder n° 3 (injector with sensor).
It controls :
- the injection pump :
• the altimetric corrector (F8Q 630) via a relay
• the advance solenoid valve.
- the cold engine starting system (heater plugs and pre-postheating unit),
- the exhaust gas recycling system (EGR),
- the diesel injection fault warning light,
- the preheating warning light,
- the solenoid valve controlling the fast idle speed LDA,
- the relay controlling the power assisted steering electric pump assembly (for vehicles with air conditio-
ning), the pump assembly is supplied once the engine speed exceeds 650 rpm.
It carries out a self diagnosis procedure which may be visualised through the
XR25.
SPECIAL FEATURES
On the injection pump it is possible to replace:
- the load potentiometer,
- the advance solenoid valve,
- the altimetric corrector,
- the electrical solenoid.
13-13
Page 98 of 208
DIESEL EQUIPMENT
Location of components
13
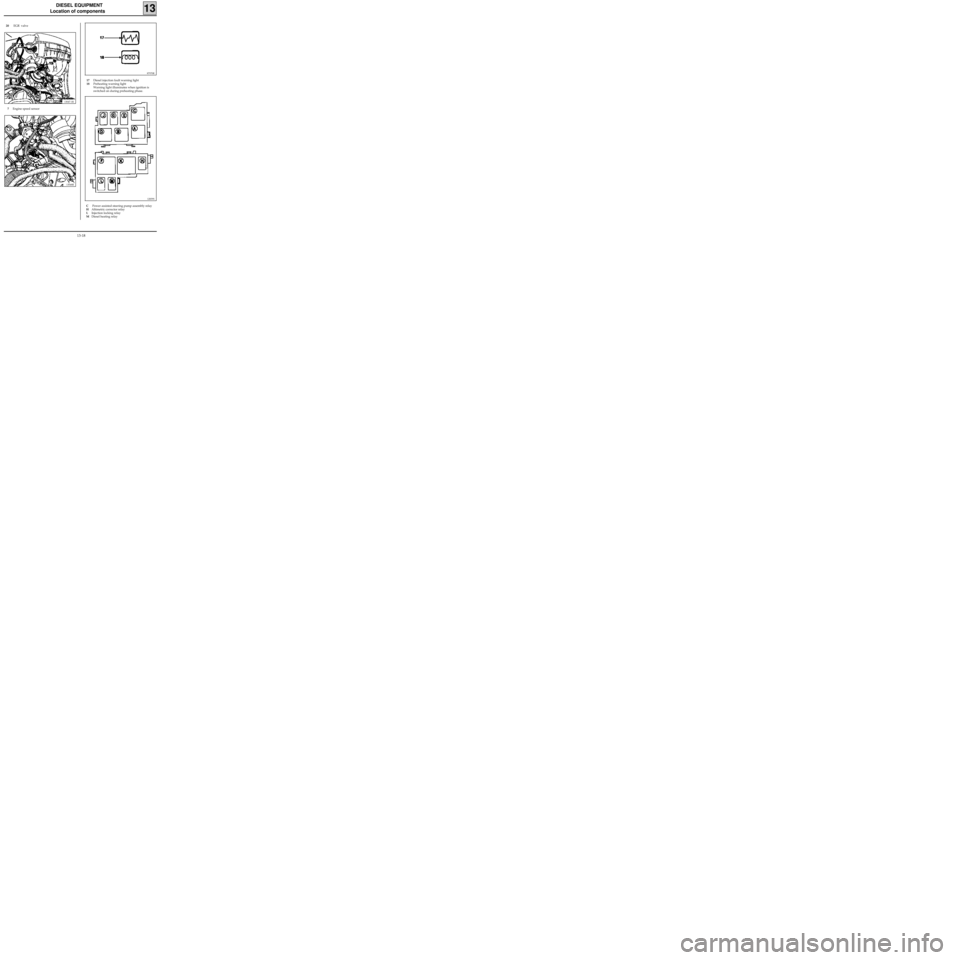
20 EGR valve
13047-1R
7Engine speed sensor
13048R
87970R
17Diesel injection fault warning light
18Preheating warning light
Warning light illuminates when ignition is
switched on during preheating phase.
12839S
C Power assisted steering pump assembly relay
HAltimetric corrector relay
LInjection locking relay
MDiesel heating relay
13-18
Page 112 of 208
DIESEL EQUIPMENT
Injection warning light
13
OPERATING PRINCIPLE OF THE DIESEL INJECTION WARNING LIGHT ON THE INSTRUMENT PANEL
On switching on the ignition, the diesel injection fault warning light is illuminated. It extinguishes as the en-
gine begins to run.
•Fault in a component of the injection assembly
Faults in the following components may cause the warning light to illuminate :
- injector with sensor
- advance solenoid valve,
- engine speed sensor ,
- load lever potentiometer,
- pre-postheating (according to version).
13-32
Page 113 of 208
DIESEL EQUIPMENT
Pre-postheating control
13
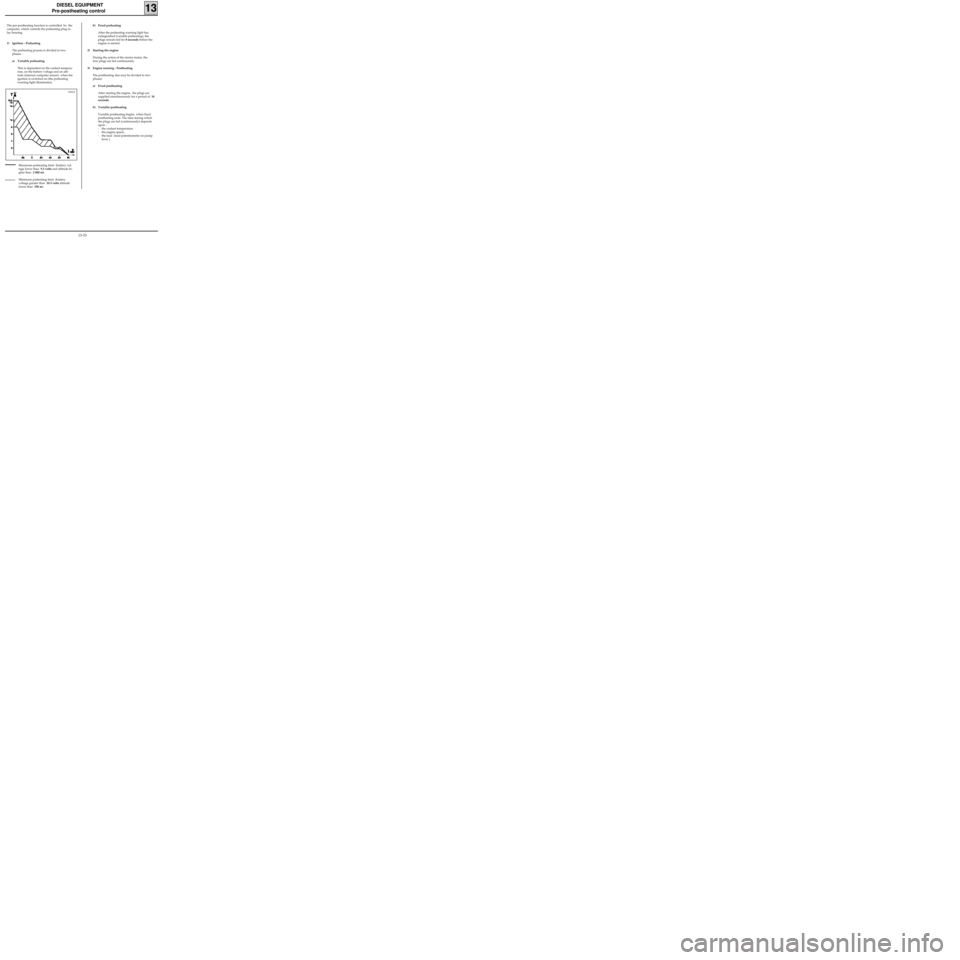
The pre-postheating function is controlled by the
computer, which controls the preheating plug re-
lay housing.
1) Ignition - Preheating
The preheating process is divided in two
phases :
a) Variable preheating
This is dependent on the coolant tempera-
ture, on the battery voltage and on alti-
tude (internal computer sensor) when the
ignition is switched on (the preheating
warning light illuminates).b) Fixed preheating
After the preheating warning light has
extinguished (variable preheating), the
plugs remain fed for 8 seconds before the
engine is started.
2) Starting the engine
During the action of the starter motor, the
four plugs are fed continuously.
3) Engine running - Postheating
The postheating also may be divided in two
phases:
a) Fixed postheating
After starting the engine, the plugs are
supplied simultaneously for a period of 10
seconds.
b) Variable postheating
Variable postheating begins when fixed
postheating ends. The time during which
the plugs are fed (continuously) depends
upon :
- the coolant temperature
- the engine speed ,
- the load (load potentiometer on pump
lever ).
Maximum preheating limit (battery vol-
tage lower than 9.3 volts and altitude hi-
gher than 2 000 m).
Minimum preheating limit (battery
voltage greater than 10.5 volts altitude
lower than 350 m).
13041S
13-33
Page 117 of 208
DIESEL EQUIPMENT
Computer
13
PRM1316
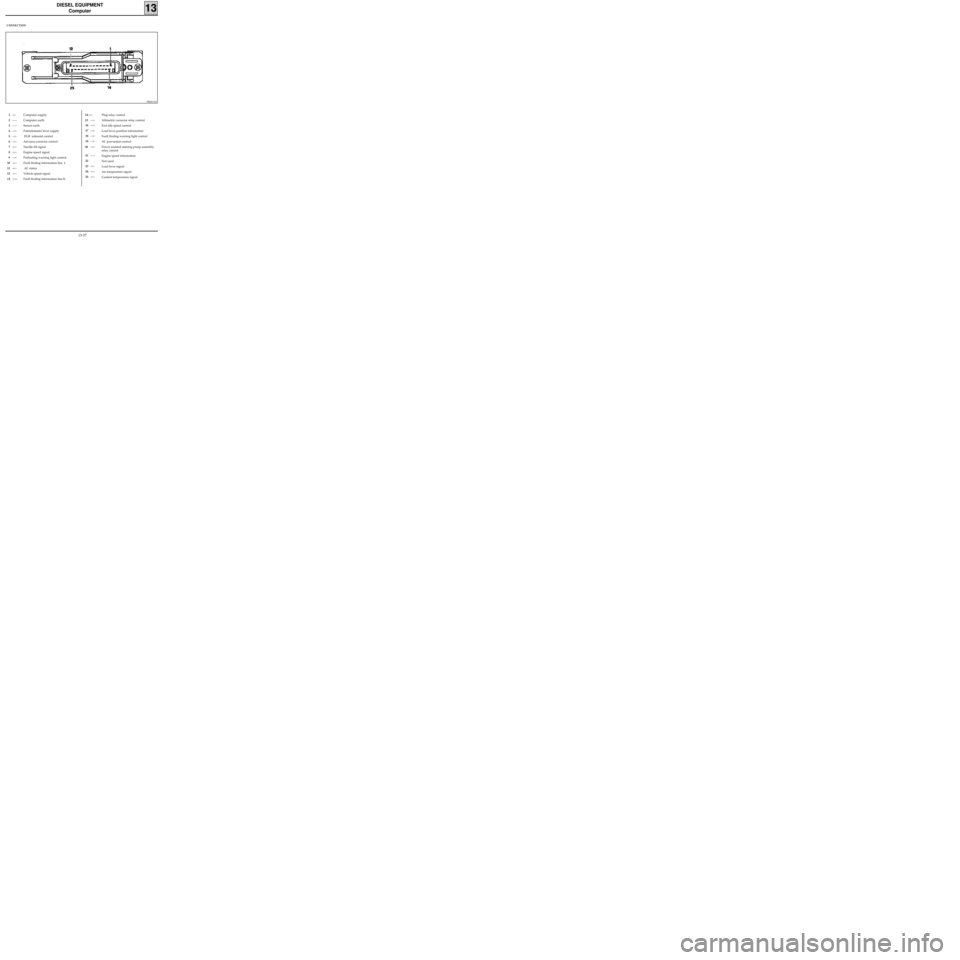
CONNECTION
1-<-
2-----
3-----
4-->-
5-->-
6-->-
7-<--
8-<--
9-->-
10-<--
11-<--
12-<--
13-><-Computer supply
Computer earth
Sensor earth
Potentiometer lever supply
EGR solenoid control
Advance corrector control
Needle lift signal
Engine speed signal
Preheating warning light control
Fault finding information line L
AC status
Vehicle speed signal
Fault finding information line KPlug relay control
Altimetric corrector relay control
Fast idle speed control
Load lever position information
Fault finding warning light control
AC prevention control
Power assisted steering pump assembly
relay control
Engine speed information
Not used
Load lever signal
Air temperature signal
Coolant temperature signal14-->-
15-->-
16-->-
17-->-
18-->-
19-->-
20 -->-
21-----
22
23-<--
24-<--
25-<--
13-37