airbag TOYOTA RAV4 1996 Service Repair Manual
[x] Cancel search | Manufacturer: TOYOTA, Model Year: 1996, Model line: RAV4, Model: TOYOTA RAV4 1996Pages: 1632, PDF Size: 41.64 MB
Page 58 of 1632

bag sensor assembly side of connector between airbag sensor assembly and passenger-side air bag
assembly. Connect negative battery cable. Wait 2 seconds. Turn ignition switch to ACC or ON position.
Wait at least 20 seconds. Clear malfunction codes. Turn ignition switch to LOCK position. Wait at least
20 seconds. Turn ignition switch to ACC or ON position. Wait at least 20 seconds. Using Diagnosis Wire
(09843-18020) connect terminals Tc and E1 of DLC1. If DTC 12 is output, replace air bag sensor
assembly. If DTC 12 is output, go to next step.
5. Turn ignition switch to LOCK position. Disconnect negative battery cable. Wait 90 seconds. Connect
steering wheel pad connector. Connect negative battery cable. Wait 2 seconds. Turn ignition to ACC or
On. Wait at least 20 seconds. Clear malfunction codes. Turn ignition switch to LOCK position. Wait at
least 20 seconds. Turn ignition to ACC or On. Wait at least 20 seconds. Using Diagnosis Wire (09843-
18020) connect terminals Tc and E1 of DLC1. If DTC 12 is output, replace passenger-side air bag. If
DTC 12 is not output, go to next step.
6. Turn ignition switch to LOCK position. Disconnect connector between air bag sensor assembly and spiral
cable. Turn ignition ON. Measure voltage between D+ terminal on spiral cable side of connector between
spiral cable and steering wheel pad. If voltage is zero volts, replace harness or connector between air bag
sensor assembly and spiral cable. If voltage is not zero volts, replace spiral cable.
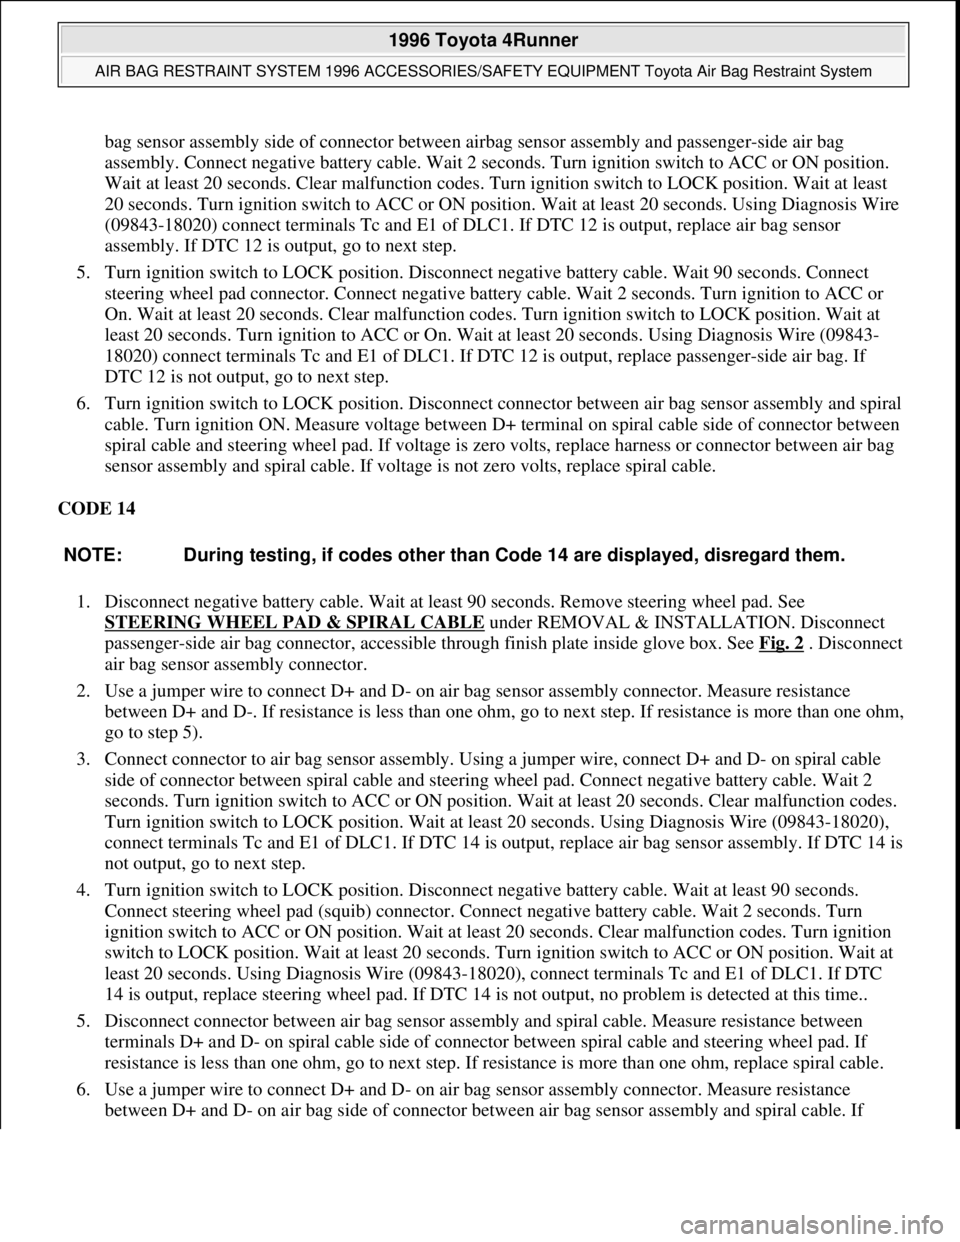
CODE 14
1. Disconnect negative battery cable. Wait at least 90 seconds. Remove steering wheel pad. See
STEERING WHEEL PAD & SPIRAL CABLE
under REMOVAL & INSTALLATION. Disconnect
passenger-side air bag connector, accessible through finish plate inside glove box. See Fig. 2
. Disconnect
air bag sensor assembly connector.
2. Use a jumper wire to connect D+ and D- on air bag sensor assembly connector. Measure resistance
between D+ and D-. If resistance is less than one ohm, go to next step. If resistance is more than one ohm,
go to step 5).
3. Connect connector to air bag sensor assembly. Using a jumper wire, connect D+ and D- on spiral cable
side of connector between spiral cable and steering wheel pad. Connect negative battery cable. Wait 2
seconds. Turn ignition switch to ACC or ON position. Wait at least 20 seconds. Clear malfunction codes.
Turn ignition switch to LOCK position. Wait at least 20 seconds. Using Diagnosis Wire (09843-18020),
connect terminals Tc and E1 of DLC1. If DTC 14 is output, replace air bag sensor assembly. If DTC 14 is
not output, go to next step.
4. Turn ignition switch to LOCK position. Disconnect negative battery cable. Wait at least 90 seconds.
Connect steering wheel pad (squib) connector. Connect negative battery cable. Wait 2 seconds. Turn
ignition switch to ACC or ON position. Wait at least 20 seconds. Clear malfunction codes. Turn ignition
switch to LOCK position. Wait at least 20 seconds. Turn ignition switch to ACC or ON position. Wait at
least 20 seconds. Using Diagnosis Wire (09843-18020), connect terminals Tc and E1 of DLC1. If DTC
14 is output, replace steering wheel pad. If DTC 14 is not output, no problem is detected at this time..
5. Disconnect connector between air bag sensor assembly and spiral cable. Measure resistance between
terminals D+ and D- on spiral cable side of connector between spiral cable and steering wheel pad. If
resistance is less than one ohm, go to next step. If resistance is more than one ohm, replace spiral cable.
6. Use a jumper wire to connect D+ and D- on air bag sensor assembly connector. Measure resistance
between D+ and D- on air bag side of connector between air bag sensor assembly and spiral cable. If NOTE: During testing, if codes other than Code 14 are displayed, disregard them.
1996 Toyota 4Runner
AIR BAG RESTRAINT SYSTEM 1996 ACCESSORIES/SAFETY EQUIPMENT Toyota Air Bag Restraint System
Microsoft
Tuesday, August 18, 2009 7:33:32 PMPage 24 © 2005 Mitchell Repair Information Company, LLC.
Page 968 of 1632

System
2 - DOME 15 Amp Personal Lights, Open Door Warning Light, Clock
3 - EFI 15 Amp Multiport Fuel Injection System/Sequential Multiport Fuel Injection System
4 - HAZ-HORN 15 Amp Emergency Flashers, Horns
5 - ALT-S 5 Amp Charging system
6 - SPARE 15 Amp Spare fuse
7 - SPARE 7.5 Amp Spare fues
8 - H-LP (LH) 15 Amp Left-Hand Headlight
9 - H-LP (RH) 15 Amp Right-Hand Headlight
10 - DRL 7.5 Amp Daytime Running Light System
11 - H-LP LH-L 10 Amp Left Hand Headlight (Low Beam)
12 - H-LP RH-L 10 Amp Right Hand Headlight (Low Beam)
13 - H-LP LH-H 10 Amp Left Hand Headlight (High Beam)
14 - H-LP RH-H 10 Amp Right Hand Headlight (High Beam)
15 - TAIL 10 Amp Tail Lights, Parking Lights, License Plate Lights, Interior Lights
16 - GAUGE 10 Amp Gauges And Meters, Service Reminder Indicators (Except Discharge And Open
Door Warning Lights), Back-up Lights, Air Conditioning System, Power Windows, Rear Window
Defogger, Center Differential Lock System, Electronically Controlled Automatic Transaxle System
17 - TURN 7.5 Amp Turn Signal Lights
18 - CIG & RAD 15 Amp Cigarette Lighter, Clock, Car Audio System, Power Rear View Mirrors
19 - DEF-I/UP 7.5 Amp Multiport Fuel Injection System/Sequential Multiport Fuel Injection System
20 - IGN 7.5 Amp Multiport Fuel Injection System/Sequential Multiport Fuel Injection System,
Discharge Warning Light
21 - ECU-IG 7.5 Amp Anti-Lock Brake Syste, Electronically Controlled Automatic Transmission
System
22 - WIPER 20 Amp Windshield Wipers And Washer, Rear Window Wiper And Washer
23 - SRS 7.5 Amp SRS Airbag System
24 - OBD 7.5 Amp On-Board Diagnostic System
25 - STOP 10 Amp Stop Lights
26 - A/C 7.5 Amp Air Conditioning System
27 - MAIN No. 1 30 Amp Starting System, Headlights
28 - RDI FAN 30 Amp Electric Cooling Fan
29 - CDS FAN 30 Amp Electric Cooling Fan
30 - POWER 30 Amp Power Windows, Power Door Lock System
31 - DEF 30 Amp Rear Window Defogger
32 - AM 1 40 Amp CIG & RAD, WIPER, GAUGE, ECU-IG, TURN, TAIL, and PANEL fuses
33 - MAIN 80 Amp AM 2, HAZ-HORN, EFI, DOME, RADIO and ALT-S fuses
34 - ALT 100 Amp Tail lights, ABS, RADIO, HTR, AM 1, POWER, STOP and DEF fuses
1999 Toyota RAV4
MAINTENANCE INFORMATION 1997-99 MAINTENANCE Toyota Maintenance Information
Microsoft
Sunday, November 22, 2009 10:32:42 AMPage 26 © 2005 Mitchell Repair Information Company, LLC.
Page 969 of 1632

35 - HTR 50 Amp Air Conditioning system
36 - ABS 60 Amp Anti-Lock brake system
Fuse & Circuit Breaker Identificatio - 1998
1 - H-LP (LH) 15 Amp Left-Hand Headlight
2 - H-LP (RH) 15 Amp Right-Hand Headlight
3 - SPARE 10 Amp Spare fuse
4 - SPARE 15 Amp Spare fuse
5 - AM2 5 Amp Multiport Fuel Injection System/Sequential Multiport Fuel Injection System, SRS
Airbag System, Seat Belt Pretensioners, Starting System, Discharge Warning Light
6 - ALT-S 5 Amp Charging system
7 - HAZ 10 Amp Emergency Flashers
8 - EFI 20 Amp (USA) or 15 Amp (Canada)Multiport Fuel Injection System/Sequential Multiport Fuel
Injection System
9 - DOME 15 Amp Personal Lights, Open Door Warning Light, Clock
10 - IGN 20 Amp Charging System
11 - H-LP LH-H 10 Amp Left Hand Headlight (High Beam)
12 - H-LP RH-H 10 Amp Right Hand Headlight (High Beam)
13 - H-LP LH-L 10 Amp Left Hand Headlight (Low Beam)
14 - H-LP RH-L 10 Amp Right Hand Headlight (Low Beam)
15 - SEAT-HTR 10 Amp No Circuit
16 - PWR OUTLET 15 Amp Power Outlet
17 - CIG 15 Amp Cigarette Lighter, Clock, Car Audio System, Power Rear View Mirrors, Electronically
Controlled Automatic Transmission
18 - SRS-SCC 10 Amp SRS Airbag System, Seat Belt Pretensioners
19 - WIPER 20 Amp Windshield Wipers And Washer, Rear Window Wiper And Washer
20 - ECU-IG 10 Amp Electronically Controlled Automatic Transmission System, Rear Window
Defogger, Center Differential Lock System, Electric Moon Roof, Multiport Fuel Injection System,
Electric Cooling Fan, Anti-Lock Brake System, Cruise Control System
21 - TURN & GAUGE 10 Amp Turn Signal Lights, Gauges & Meters, Back-Up Lights, Service
Reminder Indicators, Air Conditioning System, Daytime Running Light System
22 - STOP 10 Amp Stop Lights, High Mounted Stop Light, Electronically Controlled Automatic
Transmission System, Anti-Lock Brake System
23 - TAIL 15 Amp Gauges & Meters, Emergency Flashers, Cigarette Lighter, Center Differential Lock
System, Clock, Rear Window Defogger, Air Conditioning System, Electronically Controlled Automatic
Transmission System, Car Audio System, Tail Lights, License Plate Lights, Parking Lights, Instrument
Panel Light Control, Side Marker Lights
24 - OBD 10 Amp On-Board Diagnosis System
25 - SRS-B 10 Amp SRS Air Bag Warning Light
1999 Toyota RAV4
MAINTENANCE INFORMATION 1997-99 MAINTENANCE Toyota Maintenance Information
Microsoft
Sunday, November 22, 2009 10:32:42 AMPage 27 © 2005 Mitchell Repair Information Company, LLC.