TOYOTA SUPRA 2021 Accessories, Audio & Navigation (in English)
Manufacturer: TOYOTA, Model Year: 2021, Model line: SUPRA, Model: TOYOTA SUPRA 2021Pages: 88, PDF Size: 0.63 MB
Page 61 of 88
613-1. COMMUNICATION
3
COMMUNICATION
Supra Navigation System Owner’s Manual_U (from Mar. ’21 Prod.)
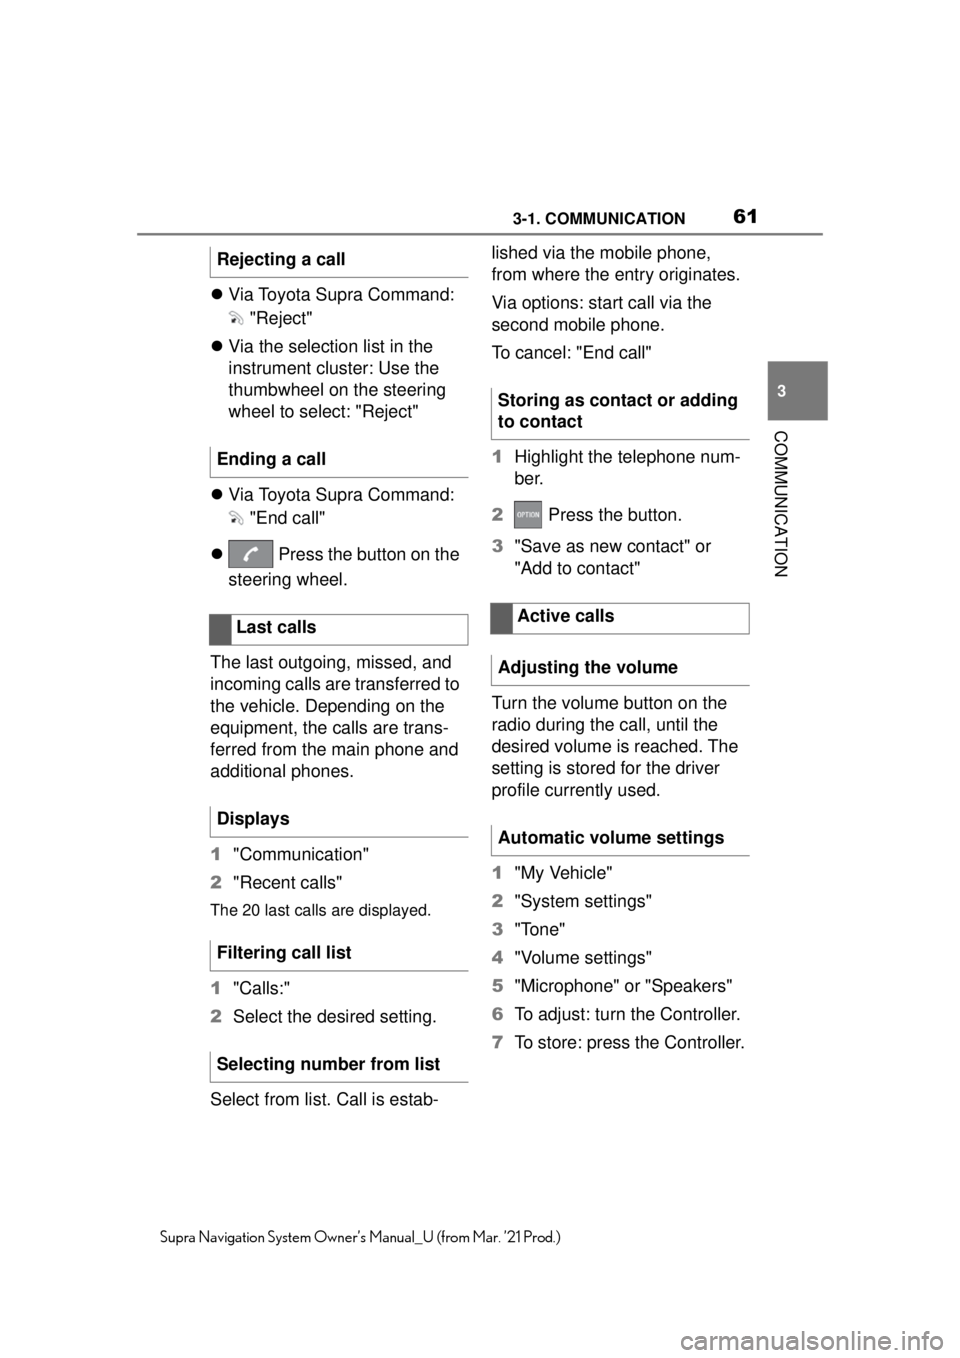
Via Toyota Supra Command:
"Reject"
Via the selection list in the
instrument cluster: Use the
thumbwheel on the steering
wheel to select: "Reject"
Via Toyota Supra Command:
"End call"
Press the button on the
steering wheel.
The last outgoing, missed, and
incoming calls are transferred to
the vehicle. Depending on the
equipment, the calls are trans-
ferred from the main phone and
additional phones.
1 "Communication"
2 "Recent calls"
The 20 last calls are displayed.
1"Calls:"
2 Select the desired setting.
Select from list. Call is estab- lished via the mobile phone,
from where the entry originates.
Via options: start call via the
second mobile phone.
To cancel: "End call"
1
Highlight the telephone num-
ber.
2 Press the button.
3 "Save as new contact" or
"Add to contact"
Turn the volume button on the
radio during the call, until the
desired volume is reached. The
setting is stored for the driver
profile currently used.
1 "My Vehicle"
2 "System settings"
3 "Tone"
4 "Volume settings"
5 "Microphone" or "Speakers"
6 To adjust: turn the Controller.
7 To store: press the Controller.
Rejecting a call
Ending a call
Last calls
Displays
Filtering call list
Selecting number from list
Storing as contact or adding
to contact
Active calls
Adjusting the volume
Automatic volume settings
Page 62 of 88
623-1. COMMUNICATION
Supra Navigation System Owner’s Manual_U (from Mar. ’21 Prod.)
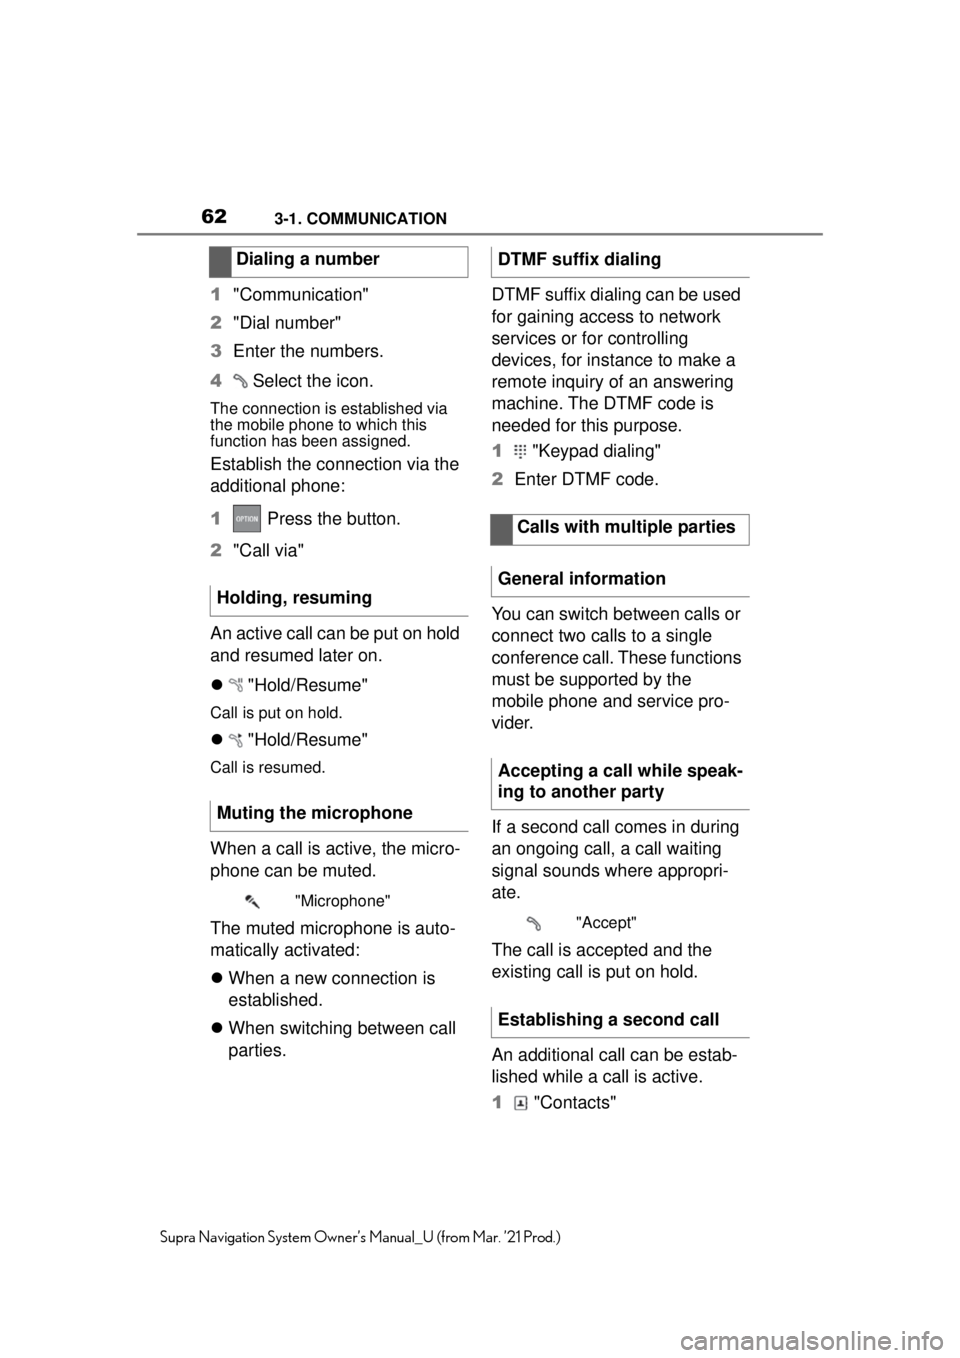
1"Communication"
2 "Dial number"
3 Enter the numbers.
4 Select the icon.
The connection is established via
the mobile phone to which this
function has been assigned.
Establish the connection via the
additional phone:
1 Press the button.
2 "Call via"
An active call can be put on hold
and resumed later on.
"Hold/Resume"
Call is put on hold.
"Hold/Resume"
Call is resumed.
When a call is active, the micro-
phone can be muted.
The muted microphone is auto-
matically activated:
When a new connection is
established.
When switching between call
parties. DTMF suffix dialing can be used
for gaining access to network
services or for controlling
devices, for instance to make a
remote inquiry of an answering
machine. The DTMF code is
needed for this purpose.
1
"Keypad dialing"
2 Enter DTMF code.
You can switch between calls or
connect two calls to a single
conference call. These functions
must be supported by the
mobile phone and service pro-
vider.
If a second call comes in during
an ongoing call, a call waiting
signal sounds where appropri-
ate.
The call is accepted and the
existing call is put on hold.
An additional call can be estab-
lished while a call is active.
1 "Contacts"
Dialing a number
Holding, resuming
Muting the microphone
"Microphone"
DTMF suffix dialing Calls with multiple parties
General information
Accepting a call while speak-
ing to another party
"Accept"
Establishing a second call
Page 63 of 88
633-1. COMMUNICATION
3
COMMUNICATION
Supra Navigation System Owner’s Manual_U (from Mar. ’21 Prod.)
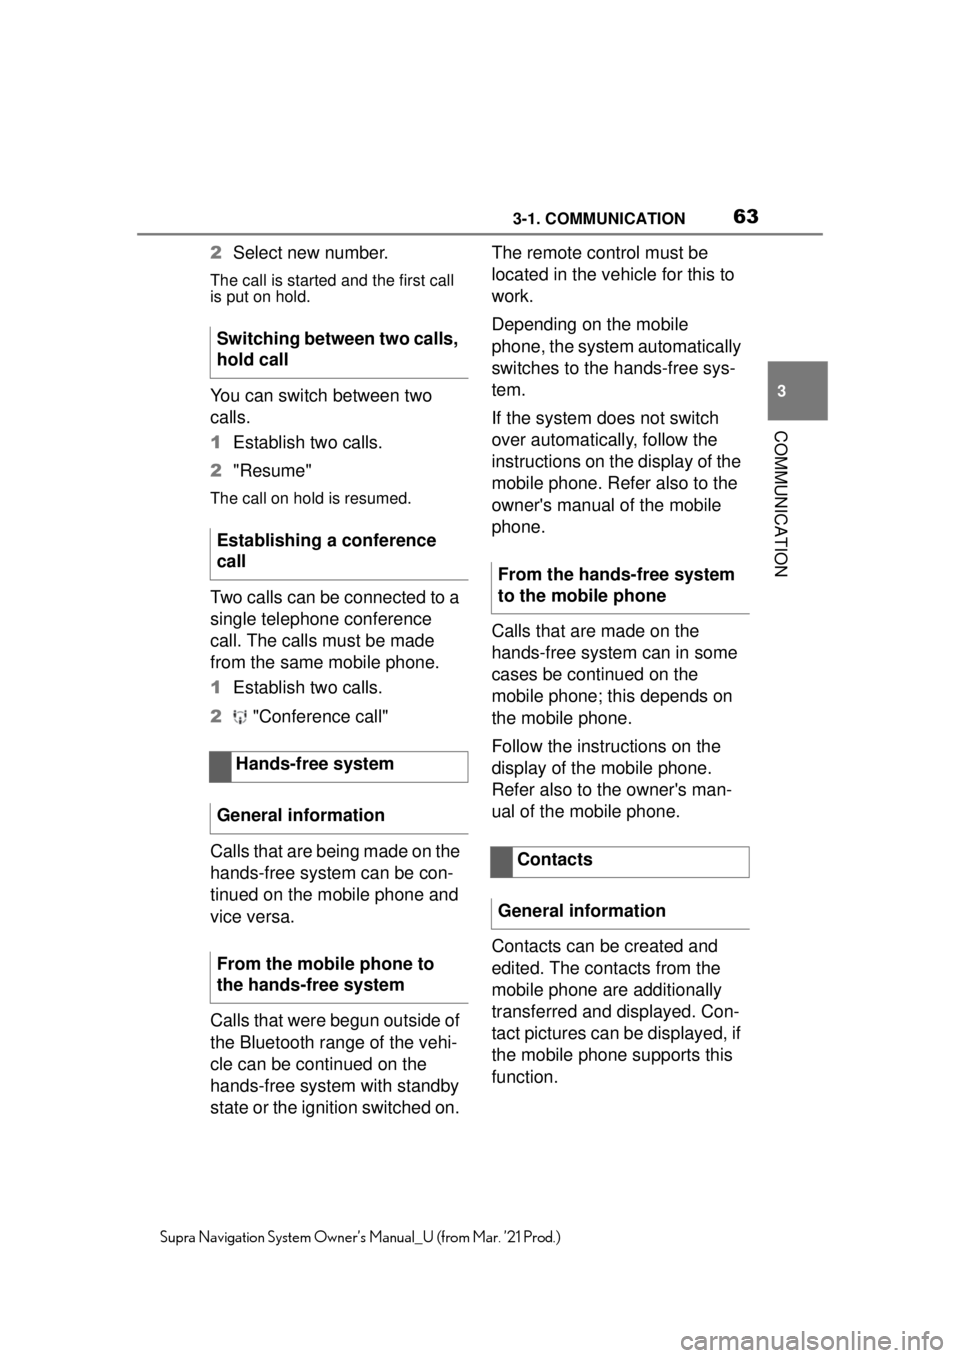
2Select new number.
The call is started and the first call
is put on hold.
You can switch between two
calls.
1Establish two calls.
2 "Resume"
The call on hold is resumed.
Two calls can be connected to a
single telephone conference
call. The calls must be made
from the same mobile phone.
1Establish two calls.
2 "Conference call"
Calls that are being made on the
hands-free system can be con-
tinued on the mobile phone and
vice versa.
Calls that were begun outside of
the Bluetooth range of the vehi-
cle can be continued on the
hands-free system with standby
state or the ignition switched on. The remote control must be
located in the vehicle for this to
work.
Depending on the mobile
phone, the system automatically
switches to the hands-free sys-
tem.
If the system does not switch
over automatically, follow the
instructions on the display of the
mobile phone. Refer also to the
owner's manual of the mobile
phone.
Calls that are made on the
hands-free system can in some
cases be continued on the
mobile phone; this depends on
the mobile phone.
Follow the instructions on the
display of the mobile phone.
Refer also to the owner's man-
ual of the mobile phone.
Contacts can be created and
edited. The contacts from the
mobile phone are additionally
transferred and displayed. Con-
tact pictures can be displayed, if
the mobile phone supports this
function.
Switching between two calls,
hold call
Establishing a conference
call
Hands-free system
General information
From the mobile phone to
the hands-free system
From the hands-free system
to the mobile phone
Contacts
General information
Page 64 of 88
643-1. COMMUNICATION
Supra Navigation System Owner’s Manual_U (from Mar. ’21 Prod.)
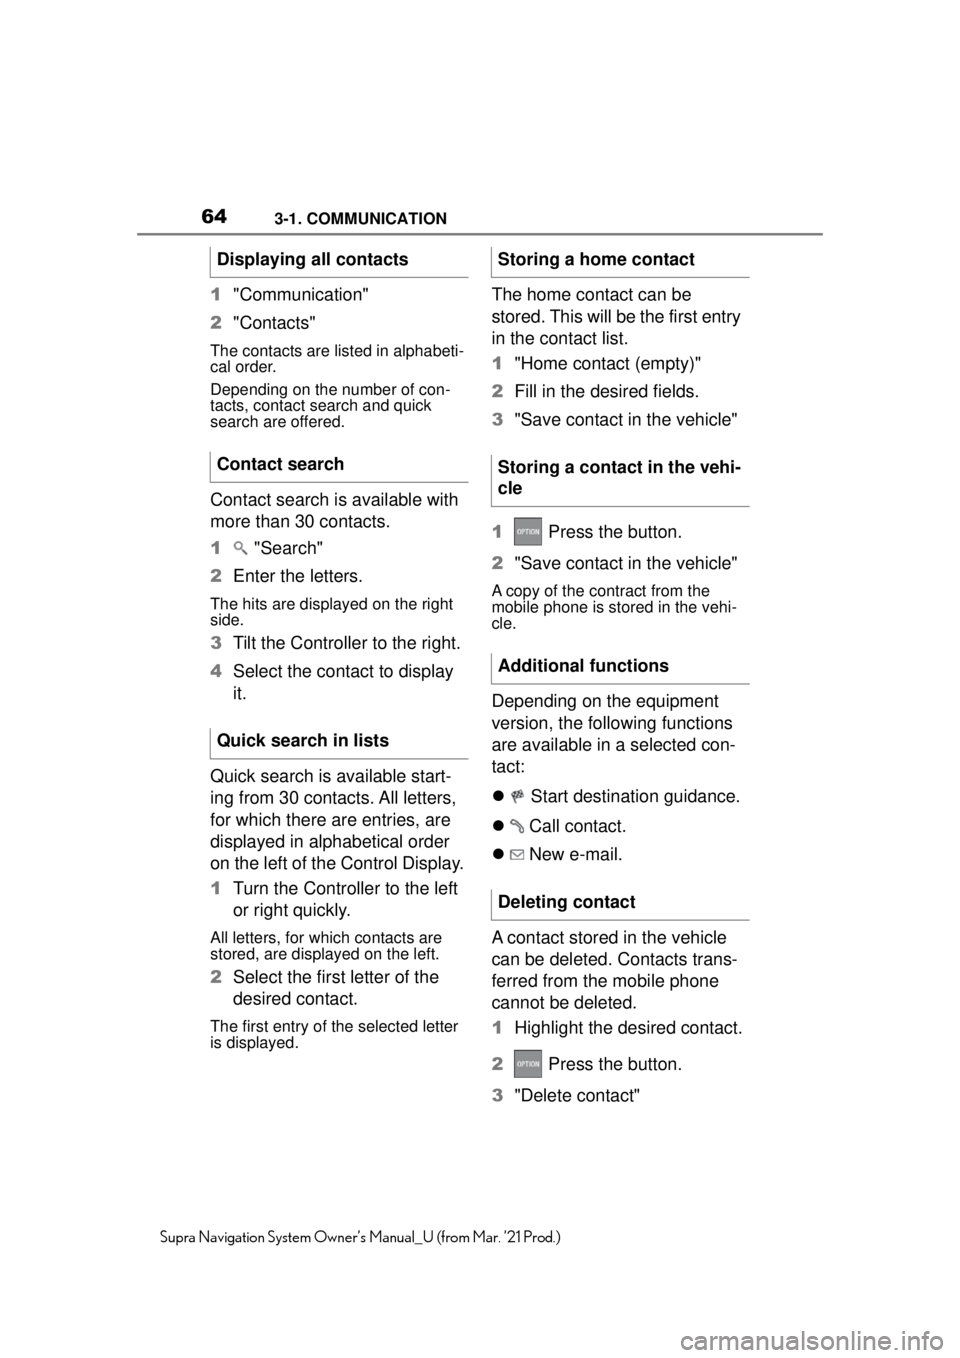
1"Communication"
2 "Contacts"
The contacts are listed in alphabeti-
cal order.
Depending on the number of con-
tacts, contact search and quick
search are offered.
Contact search is available with
more than 30 contacts.
1 "Search"
2 Enter the letters.
The hits are displayed on the right
side.
3Tilt the Controller to the right.
4 Select the contact to display
it.
Quick search is available start-
ing from 30 contacts. All letters,
for which there are entries, are
displayed in alphabetical order
on the left of the Control Display.
1 Turn the Controller to the left
or right quickly.
All letters, for wh ich contacts are
stored, are displayed on the left.
2 Select the first letter of the
desired contact.
The first entry of the selected letter
is displayed.
The home contact can be
stored. This will be the first entry
in the contact list.
1"Home contact (empty)"
2 Fill in the desired fields.
3 "Save contact in the vehicle"
1 Press the button.
2 "Save contact in the vehicle"
A copy of the contract from the
mobile phone is stored in the vehi-
cle.
Depending on the equipment
version, the following functions
are available in a selected con-
tact:
Start destination guidance.
Call contact.
New e-mail.
A contact stored in the vehicle
can be deleted. Contacts trans-
ferred from the mobile phone
cannot be deleted.
1 Highlight the desired contact.
2 Press the button.
3 "Delete contact"
Displaying all contacts
Contact search
Quick search in lists
Storing a home contact
Storing a contact in the vehi-
cle
Additional functions
Deleting contact
Page 65 of 88
653-1. COMMUNICATION
3
COMMUNICATION
Supra Navigation System Owner’s Manual_U (from Mar. ’21 Prod.)
All contacts stored in the vehicle
are deleted. Contacts trans-
ferred from the mobile phone
are not deleted.
1 Press the button.
2 "Delete all contacts in the
vehicle"
3 "OK"
If necessary, "Clear input fields"
1 Press the button.
2 "New contact"
3 Fill in the desired fields.
4 "Save contact in the vehicle"
You can choose, whether and
from which mobile phone the
contacts should be transferred.
1 Press the button.
2 "Select sources for contacts"
3 Select the desired mobile
phone.
Contact names can be dis-
played in a different order.
Depending on how the contacts
were stored on the mobile
phone, the sorting order of the contacts may differ from the
selected sorting order.
1
Press the button.
2 "Sort contacts"
3 "Last name" or "First name"
If the vehicle is equipped with a
navigation system, a contact
can be adopted as a destination.
1 Select the desired contact.
2 Select the address.
3 "Check address" or "Search
for address online"
4 Correct entries, if necessary.
5 "Start guidance"
The address can be used for the
destination guidance.
If a contact is changed, which
has been transferred from the
mobile phone, a copy of the
entry is created in the vehicle
during storing.
Contact entries having identical
names are combined into one
contact.
1 Select the desired contact.
2 "Edit contact"
3 Change the desired entry or
add entries.
4 "Save contact in the vehicle"
Deleting all contacts in vehi-
cle
New contact
Selecting sources
Sorting contacts
Checking the address as a
destination
Editing a contact
Page 66 of 88
663-1. COMMUNICATION
Supra Navigation System Owner’s Manual_U (from Mar. ’21 Prod.)
Pictures stored with the contacts
are stored in the vehicle when
the mobile phone is connected
to the vehicle.
1"My Vehicle"
2 "System settings"
3 "Mobile devices"
4 "Settings"
5 "Contact images"
6 Press the Controller.
A connected smartphone can be
used via voice operation.
Activate voice command
response on the smartphone for
this purpose.
If activation is successful, an
icon or a message appears on
the Control Display. Depending on the mobile
phone, the following contents of
the mobile phone are trans-
ferred to the vehicle:
Contacts, refer to page 63.
Short messages, refer to
page 66.
E-mails, refer to page 68.
Calendar entries, appoint-
ments, refer to page 69.
Tasks, refer to page 70.
Notes, refer to page 71.
Data transfer can take several
minutes.
Certain functions may need to
be enabled by the mobile phone
provider or service provider.
1 "Communication"
2 "Messaging"
Information about the mes-
sages, refer to page 80.
An icon identifies the short mes-
sage status.
Showing contact pictures
Voice command response
Button on the steer- ing
wheel
Function
Press the button for at
least 3 seconds. Voice
command response is
activated on the smart-
phone.
Additional functions
General information
Short messages
Displaying all short mes-
sages
Status
Page 67 of 88
673-1. COMMUNICATION
3
COMMUNICATION
Supra Navigation System Owner’s Manual_U (from Mar. ’21 Prod.)
1 Press the button.
2 "Filter messages"
3 Select the desired setting.
You can choose, whether and
from which mobile phone the
short messages should be
transferred.
1 Press the button.
2 "Select sources for mes-
sages"
3 Select the desired mobile
phone.
Completely delete a conversa-
tion with a contact.
1 Highlight the desired short
message.
2 Press the button.
3 "Delete text message thread"
4 "Yes"
Select the desired short mes-
sage or conversation. The con- versation with this contact is
displayed.
1
Select the desired short mes-
sage.
2 "Reply"
The recipient of the short message
is automatically entered.
"Forward"
"To:" Enter phone number or con-
tact. Tilt the Controller to the right
as needed to select the contact
from the list of results.
3 "From:"
Select mobile phone as needed,
from which the short message
should be sent.
4"Text:"
Text recognition, refer to page 72.
5"Send"
1 "Communication"
2 "Messaging"
3 "Compose text message"
4 "To:"
Enter phone number or contact. Tilt
the Controller to the right as
needed to select the contact from
the list of results.
5"From:"
Select mobile phone as needed,
from which the short message
should be sent.
6"Text:"
Text recognition, refer to page 72.
IconMeaning
Read short message.
Unread short message.
Filtering the message list
Selecting sources
Deleting a conversation
Displaying a short message
Answering or forwarding a
short message
New short message
Page 68 of 88
683-1. COMMUNICATION
Supra Navigation System Owner’s Manual_U (from Mar. ’21 Prod.)
7"Send"
To cancel: "Delete all content"
The following functions are
available when a short message
or conversation is selected.
"Call sender"
"Add to contacts" or "Show
sender"
"Forward", refer to page 69.
"Reply", refer to page 69.
"Delete"
Read contents, refer to
page 73.
"Use contact data", refer to
page 73.
1 "Communication"
2 "Email"
You can choose, whether and
from which mobile phone and
possibly from which user
account the e-mails will be
transferred.
1 Press the button.
2 "Select account"
3 Select the desired account. An icon identifies the e-mail sta-
tus.
1
Press the button.
2 "Filter emails"
3 Select the desired setting.
1 Highlight the desired e-mail.
2 Press the button.
3 "Delete email"
4 "OK"
If an e-mail has several recipi-
ents, they can be displayed and
their data used for further func-
tions.
1 Select the desired e-mail.
2 Press the button.
3 "Show all recipients"
1 "Communication"
2 "Email"
Additional functions
E-mail
Displaying all e-mails
Selecting accountStatus
IconMeaning
Read e-mail.
Unread e-mail.
Filtering e-mails
Deleting e-mail
Displaying all recipients
New e-mail
Page 69 of 88
693-1. COMMUNICATION
3
COMMUNICATION
Supra Navigation System Owner’s Manual_U (from Mar. ’21 Prod.)
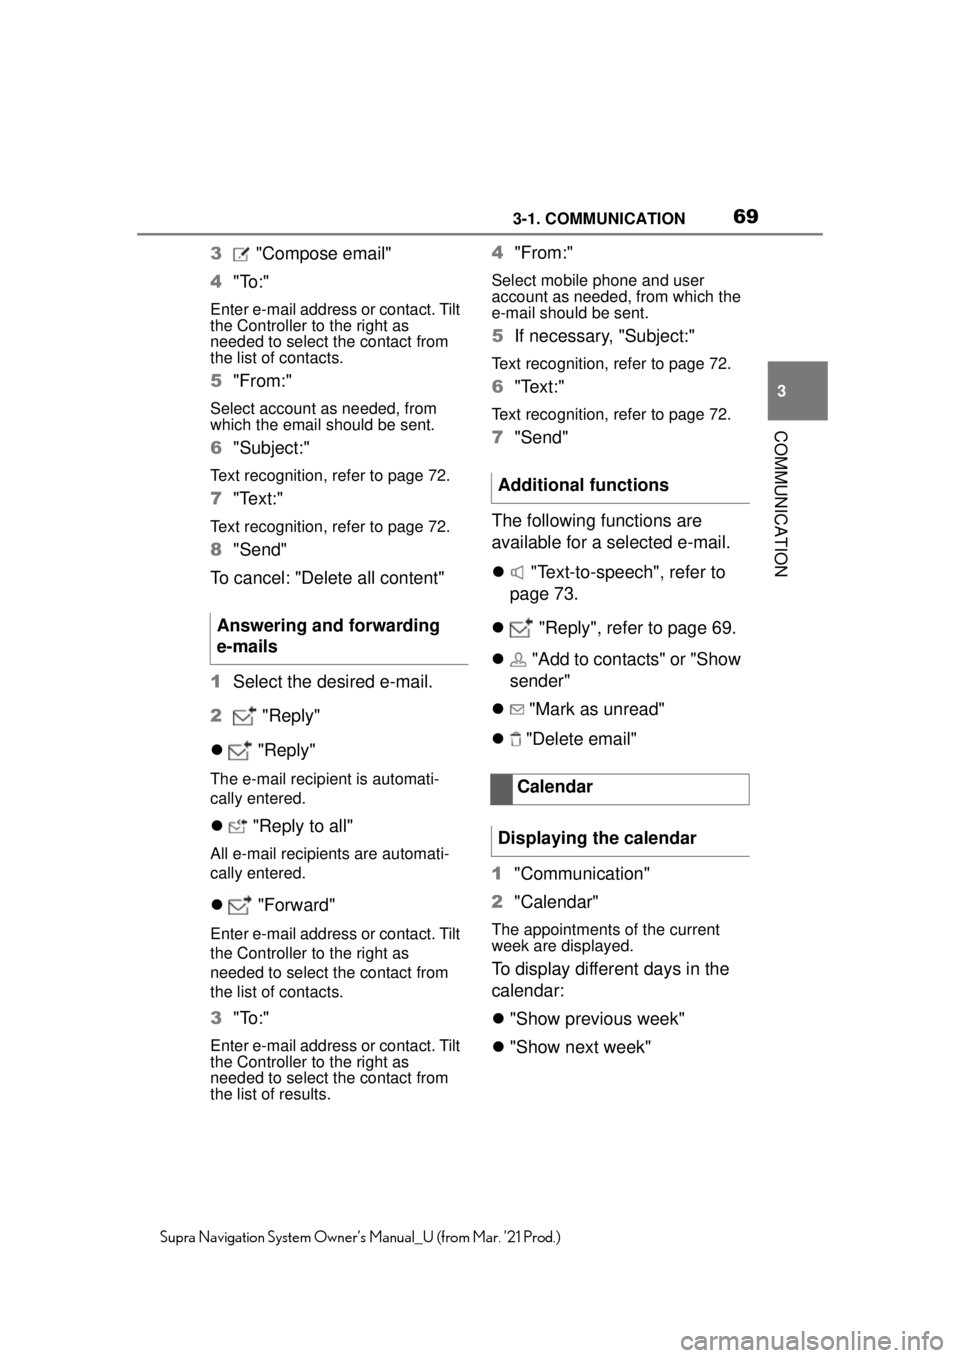
3 "Compose email"
4 "To:"
Enter e-mail address or contact. Tilt
the Controller to the right as
needed to select the contact from
the list of contacts.
5"From:"
Select account as needed, from
which the email should be sent.
6"Subject:"
Text recognition, refer to page 72.
7"Text:"
Text recognition, refer to page 72.
8"Send"
To cancel: "Delete all content"
1 Select the desired e-mail.
2 "Reply"
"Reply"
The e-mail recipient is automati-
cally entered.
"Reply to all"
All e-mail recipients are automati-
cally entered.
"Forward"
Enter e-mail address or contact. Tilt
the Controller to the right as
needed to select the contact from
the list of contacts.
3"To:"
Enter e-mail address or contact. Tilt
the Controller to the right as
needed to select the contact from
the list of results.
4"From:"
Select mobile phone and user
account as needed, from which the
e-mail should be sent.
5If necessary, "Subject:"
Text recognition, refer to page 72.
6"Text:"
Text recognition, refer to page 72.
7"Send"
The following functions are
available for a selected e-mail.
"Text-to-speech", refer to
page 73.
"Reply", refer to page 69.
"Add to contacts" or "Show
sender"
"Mark as unread"
"Delete email"
1 "Communication"
2 "Calendar"
The appointments of the current
week are displayed.
To display different days in the
calendar:
"Show previous week"
"Show next week"
Answering and forwarding
e-mails
Additional functions
Calendar
Displaying the calendar
Page 70 of 88
703-1. COMMUNICATION
Supra Navigation System Owner’s Manual_U (from Mar. ’21 Prod.)
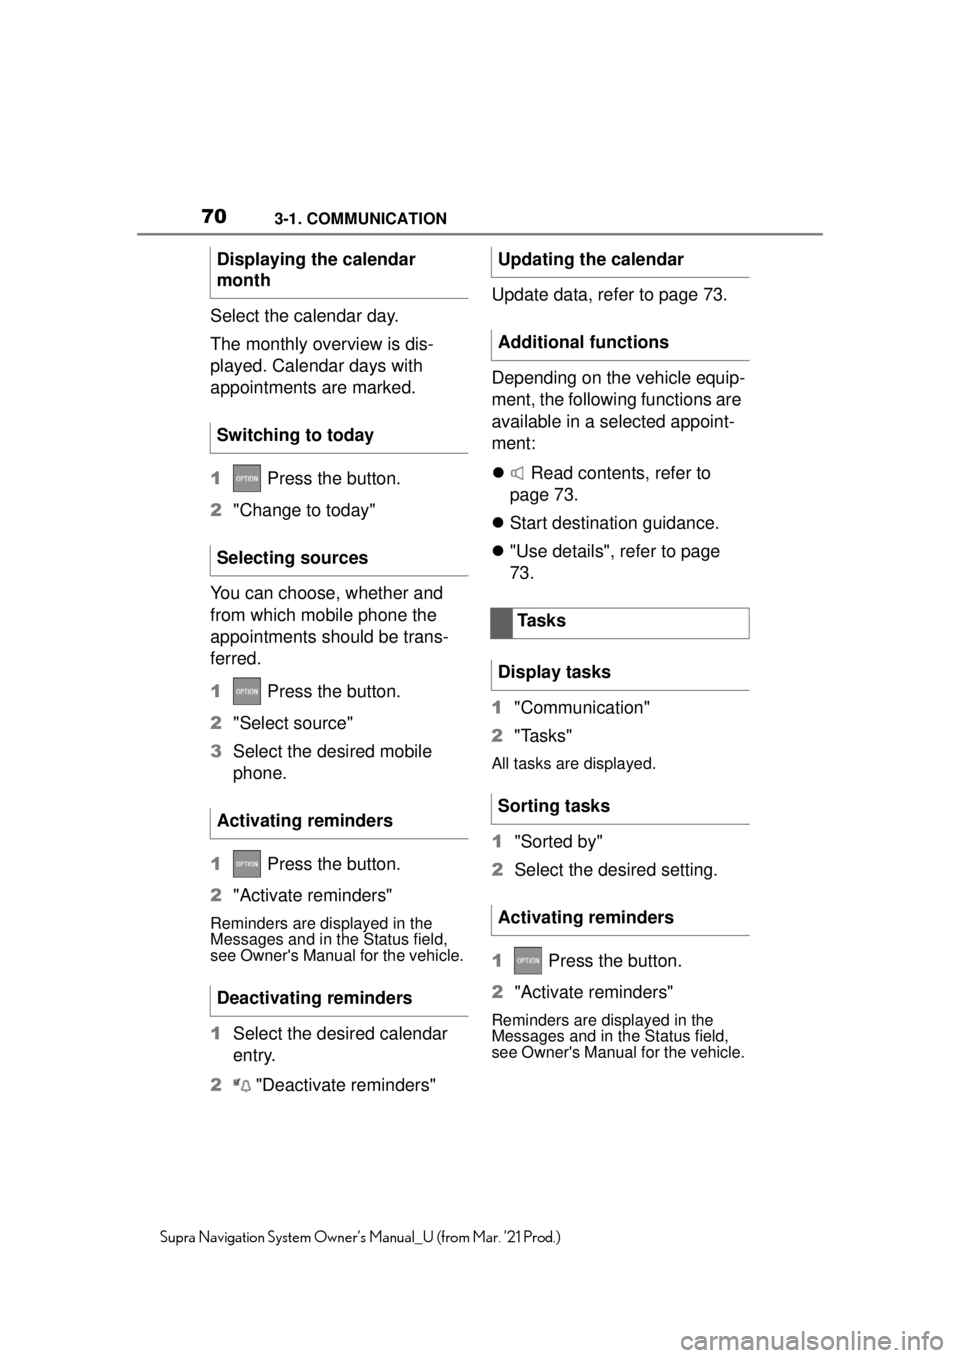
Select the calendar day.
The monthly overview is dis-
played. Calendar days with
appointments are marked.
1 Press the button.
2 "Change to today"
You can choose, whether and
from which mobile phone the
appointments should be trans-
ferred.
1 Press the button.
2 "Select source"
3 Select the desired mobile
phone.
1 Press the button.
2 "Activate reminders"
Reminders are displayed in the
Messages and in the Status field,
see Owner's Manual for the vehicle.
1Select the desired calendar
entry.
2 "Deactivate reminders" Update data, refer to page 73.
Depending on the vehicle equip-
ment, the following functions are
available in a selected appoint-
ment:
Read contents, refer to
page 73.
Start destination guidance.
"Use details", refer to page
73.
1 "Communication"
2 "Tasks"
All tasks are displayed.
1"Sorted by"
2 Select the desired setting.
1 Press the button.
2 "Activate reminders"
Reminders are displayed in the
Messages and in the Status field,
see Owner's Manual for the vehicle.
Displaying the calendar
month
Switching to today
Selecting sources
Activating reminders
Deactivating remindersUpdating the calendar
Additional functions
Tasks
Display tasks
Sorting tasks
Activating reminders