ECO mode AUDI TT ROADSTER 2015 Owners Manual
[x] Cancel search | Manufacturer: AUDI, Model Year: 2015, Model line: TT ROADSTER, Model: AUDI TT ROADSTER 2015Pages: 244, PDF Size: 60.74 MB
Page 7 of 244
In addition to t his Owner's Ma nual, your A udi
comes w ith a Warranty
& Maintena nce book
l et.
Mor eover , d ep en ding on the mode l and t he
e quip ment, there may be additiona l ins truc
tion boo klets delivered w ith your vehicle (for
e x amp le, Ope rat ing Instr uctions fo r yo ur
Sound System, Navigation System , etc .).
If yo u are m iss ing one of these publicat ions,
or if you believe that the inf ormation is not
comp lete, contact you r auth orized Audi dea le r
for assistance.
The Warranty & Maintenance booklet
explains how yo u can kee p your A udi in top
d riving conditi on by hav ing it serviced regular
l y and conta ins deta iled in fo rmat ion about
the wa rranties covering your Aud i. Always
h ave the book let with yo u when yo u take your
ve hicle to an auth orized Audi dealer for serv
i ce . Y our Aud i Service Adviso r will record each
sche duled service and can answer any ques
tions you may have r ega rding how to ma intain
your ve hicle.
In Canada,
the vehicle lite ratu re is also avai lab le in
Fr ench . T o obtai n a co py, c ontact your dea ler
or w rit e to :
Au Canada, on peut se procure r un e xempla ire
e n fran~ais de ce doc ument aupres du conces
sionna ire ou de :
Vo lkswagen Canada, Inc.
Client Assistance
Assistance a la Clientele
77 7 Bayly Street, West,
A jax, On tario LIS 7G 7
If you sell your Audi
all literatu re should be left in the veh icle to
make the Warranty terms as we ll as a ll oper
ating, safety and ma intenance information
ava ilab le to the ne xt owne r.
Vehicle literature 5
If you change your address or if you
bought this Audi used
b e s ure to send in a "Notice of A ddress
Change"
I " N otice of Used Car Purchase" post
ca rd. T his card can be fo und in the War ranty
&
M aint enance booklet or obtained from your
a utho rized Aud i dea le r.
It is in your own interest that we are able to
contact you should the need arise .
•
•
Page 14 of 244
12 Instruments and warning/indicator lights
Fuel gauge
The fuel gauge works only when the ignition is
on . When the needle reaches the red area, the
warning light in the instrument cluster will il
luminate ¢
page 20 Ill Time to refuel!
The total tank capacity of your veh icle is listed
in
¢ page 223
CD Note
Never run the tank completely dry! An ir
regula r supply of fue l can cause engine
m isfiri ng and fuel could enter into the ex
haust system. The catalyt ic converter
could then overheat and be damaged.
Speedometer with odometer
The speedometer shows you the vehicle
speed , and the odometer shows you how
many miles (kilometers) you have driven.
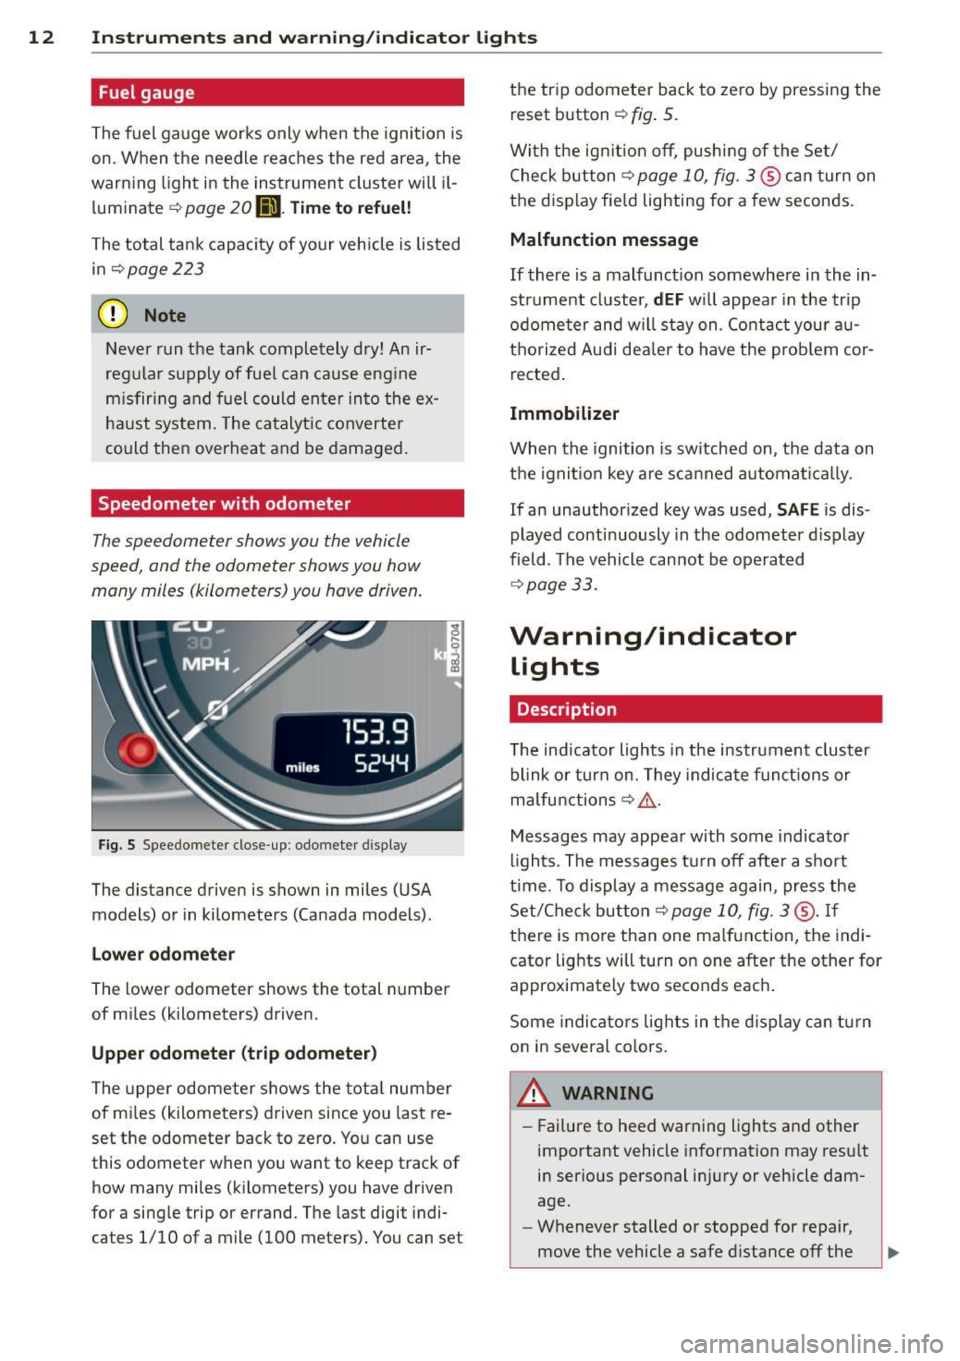
Fig . S Spee domete r close -up: odometer display
The dis tance driven is shown in miles (USA
models) or in kilometers (Canada models) .
Lower odometer
The lower odometer shows the total number
of miles (kilometers) driven.
Upper odometer (trip odometer)
The upper odometer shows the total number
of mi les (kilometers) driven since you last re
set the odometer back to zero. You can use
this odometer wh en you want to keep track of
how many miles (kilometers) you have driven
for a sing le trip or errand. The last digit indi
ca tes 1/10 of a mile (100 me ters). You can se t the trip odometer
back to zero by pressing the
reset button
¢ fig. 5.
With the ign ition off, pushing of the Set/
Check button ¢
page 10, fig . 3 ® can turn on
the display fie ld lighting for a few seconds.
Malfunction message
If there is a malfunct ion somewhere in the in
strument cluster,
dEF will appear in the trip
odometer and will stay on. Contact your au
thorized Audi dea ler to have the problem cor
rected.
Immobilizer
When the ignition is sw itched on, the data on
the ignition key are scanned automat ically .
If an unauthor ized key was used,
SAFE is dis
played continuously in the odometer display
field . The vehicle cannot be operated
¢ page 33.
Warning/indicator
Lights
Description
T he ind icator lights in the instrument cluster
blink or turn on . They indicate funct ions or
malfunctions ¢
,&.
Messages may appear with some indicator
lights . The messages turn
off after a short
time . To display a message again, press the
Set/Check button¢
page 10, fig . 3 ® · If
there is more than one ma lfunction, the indi
cator lights will turn on one after the other for
approximat ely two seconds each.
Some indicators lights in the display can turn
on in severa l colors.
A WARNING
=
- Failure to heed warning lights and other
important vehicle information may result
in ser ious personal in jury or vehicle dam
age.
- Whenever stalled or stopped for repair,
move the vehicle a safe distance
off the
Page 17 of 244
Instrument s and warnin g/indic ator ligh ts 15
flashes together with the brake system warn
ing/indicator light¢.&,. .
(USA models):
If the warning light . and the
warn ing light
riJ ill umina te together, imme
diate ly contact your authorized Audi dea ler o r
qualified workshop to have all brake pads in
spected
¢ page 19.
When the light comes on, an audib le warn ing
signal is also given .
Parking brak e set
The parking brake warning light./. (Cana
da models) illuminates whe n the park ing
b rake is set. In addit ion, a warning tone will
sound after you have driven for longer than 3
seconds and faster than 3 mph (5 km/h).
Pa rking brak e set
The . warning/ind icator light illuminates
when the parking brake is set¢.&, .
_& WARNING
-Always observe the wa rni ngs in
¢ page 164, Working in the engine
compartment,
before opening the en
gine hood and check ing the brake fluid.
- Driving with low brake fluid is a safety
hazard! Stop the car an d get professiona l
assistance.
- USA models: If both, the. warning
light and the
Ill warning light come on
at the same time, the rear wheels could
lock up first under hard brak ing . Lock-up
of the rear whee l brakes can cause loss of
vehicle control and an accident. Have
yo ur vehicle repaired immed iately by
you r autho rized Aud i dealer o r a quali
fied workshop . D rive slowly and avo id
s u dden, hard brake application .
-Canada models: If both, the brake warn
ing light . and the ABS warning light
[iJ come on at the same t ime, the rear
wheels co uld lock up first unde r hard
braking . Lock -up of the rear wheel brakes
can cause loss o f vehicle control and an
acc ident. Have your vehicle repaired im
med iate ly by your authorized Aud i dealer or a qualified workshop
. Drive slowly and
avoid sudden, hard brake application .
- If the brake warning/indicator light does
not go out after a few seconds and the
parking brake is released, or lights up
while you are dr iving, the f lu id leve l in
the brake flu id reservo ir is too low . If you
be lieve that it is safe to do so, proceed
immed iate ly at low speed to the nearest
author ized Audi dealer or qualified work
shop and have the brake sys tem inspect
ed .
- Always keep in mind that after severa l
brake applications, you will need greater
pressu re on the brake pedal to stop you r
vehicle . Do not rely on strained brakes to
respond with maximum stopping power
in critical s ituations. You must allow for
increased braking distances. The extra
distance used up by fading brakes could lead to an accident.
tli1 ! .'!r Safety systems
The . (USA models) /. (Canada models)
indicato r light monitors the safety systems
e.g. (a irbags, pre tensioners) and ill uminates
f or a few se conds eac h time you swi tch the ig
nition on.
If the . (USA models)/ . (Canada models)
i ndicato r ligh t does no t go o ut, o r if it illum i
na tes while yo u are driving, or if it starts to
blink, then there is a mal function somewhe re
in the system. If the light does not i lluminate
when you switch on the ignition , th is also
means there is a malfunct ion.
_& WARNING
If yo u have a ma lfunction in the safety sys
tems, co ntact your authorized Aud i dea ler
immediately. Otherwise the safety sys
tems may not work properly in an acc i
dent.
Page 20 of 244
18 Instruments and warning/indicator lights
If the J.J.) indicator lamp illuminates, the sys
tem has switched the ESC
off. In this case, you
can switch the ignition
off and then on to
switch the ESC on again. The system is func
tioning completely when the indicator lamp
switches
off .
If the II indicator lamp illuminates, the ESC
was switched
off with the [!I button.
Stabilization program and ABS fault! See
owner 's manual
If the DJ indicator lamp and the riJ ABS indi
cator lamp illuminate and the driver message
appears, the ABS or e lectronic differential lock
is ma lfunctioning. This also interrupts the
ESC. The brakes st ill function with their nor
mal power, but ABS is not active.
Drive to your authorized Audi dea ler immedi
ately to have the malfunction corrected .
For more informat ion about the ESC
<=>page 141.
ABS/ (8 ) Anti-lock brake system
This warning/indicator light monitors the ABS
and the electronic differential lock (EDL).
The warning/indicator light 1111 (USA mod-
e ls)
;riJ (Canada models) will come on for a
few seconds when the ignition is switched on .
The light will go o ut after an automatic check
sequence is completed.
There is a malfunction in the ABS when:
-The warning/indicator light does not illumi
nate when you switch the ign ition on.
- The warning/indicator light does not go out
after a few seconds .
- The warning/indicator light illuminates
wh ile driving .
The ESC indicator light also illuminates if
there is a malfunction in the ABS . The mes
sage
Stabilization program and ABS: fault!
See owner's manual
also appears in the in
strument cluster display and a warning tone
sounds .
The brake system will still respond even
without the assistance of the ABS system.
See your authorized Audi dealer as soon as
possible to restore full braking performance.
For more information regarding the ABS
<=>page 141.
Malfunction in the brake system
If the brake warning light r=> page 14 and the
ABS warning illuminate
together there may be
a malfunction in the ABS, and there may also
be a malfunction in the brake system itself
r=> &.. The ABS will not work and you will no
tice a change in braking response and per
formance.
In the event of a malfunction in the brake
system
the warning/ind icator light . (USA
models)/ . (Canada models) in the instru
ment cluster flashes
r=> page 14 .
Malfunction in the electronic differential
lock (EDL)
The EDL works together w ith the ABS . The
ABS warning light wi ll come on if there is a
malfunction in the EDL system
r=> page 141.
See your authorized Audi dealer as soon as
possible .
_& WARNING
-If the Ill (USA models)/11] (Canada
models) warning light does not go out,
or if it comes on whi le driving, the ABS
system is not work ing properly. The vehi
cle can then be stopped only wit h the
standard brakes (without ABS). You w ill
not have the protect ion ABS provides.
Contact your Audi dea le r as soon as pos
sible.
- USA models: If the . warning light, the
G1 warning light and the 1111 warning
light come on together, the rear wheels
could lock up fi rst under hard braking .
Rear wheel lock -up can cause loss o f ve
hicle control and an accident. Have your
vehicle repaired immediately by your au
thorized Audi dealer or a qualified work
shop. Drive s low ly and avoid sudden,
hard brake applications. ..,.
Page 22 of 244
20 Instruments and warning/indicator lights
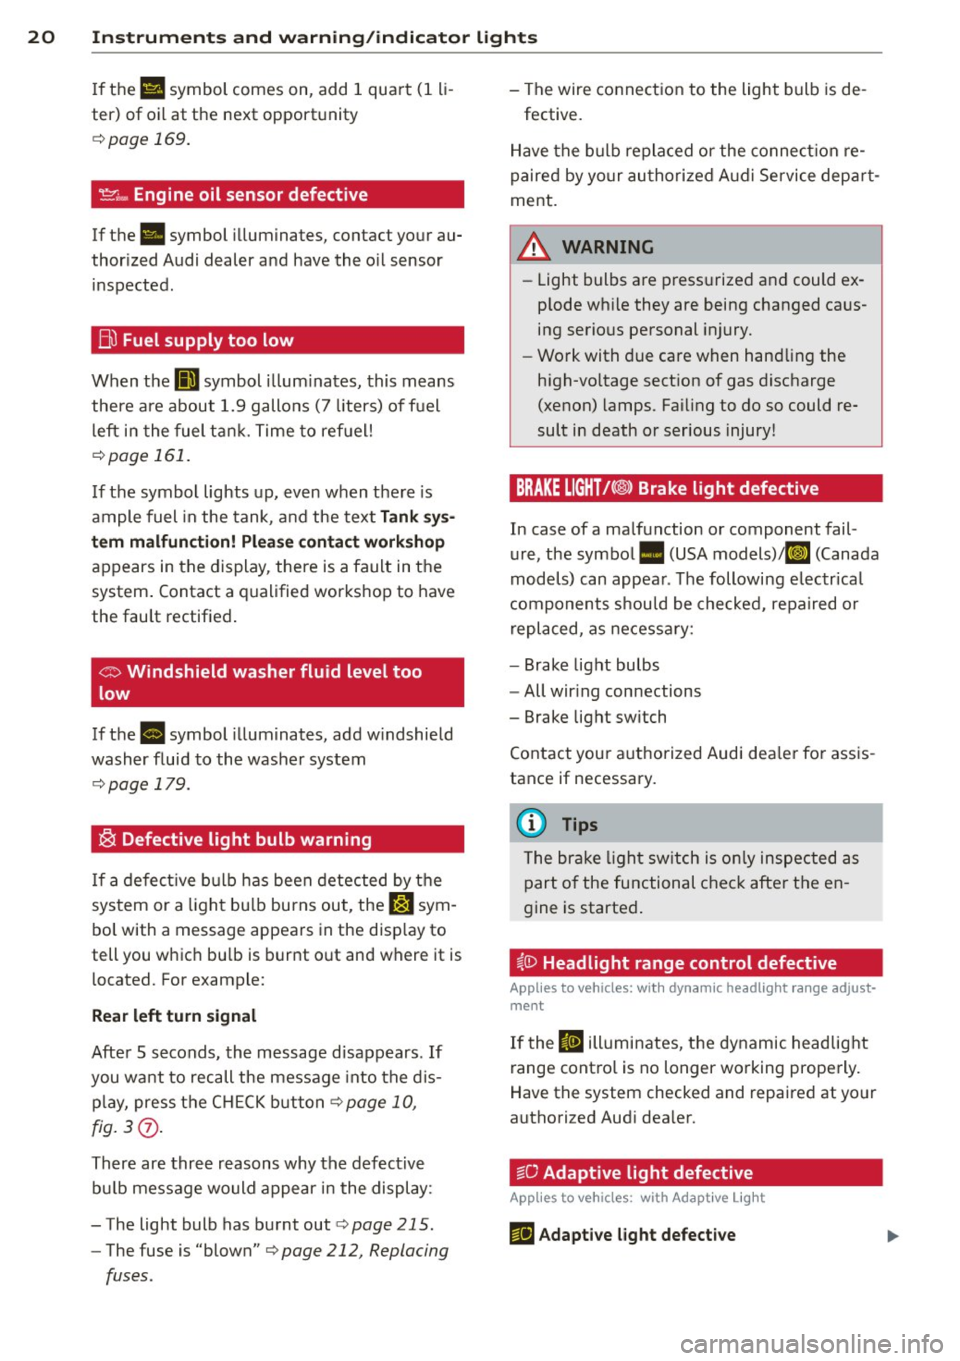
If the Ill symbol comes on, add 1 quart (1 li
ter) of oil at the next opportunity
c:::> page 169.
'.!2" .... Engine oil sensor defective
If the. symbol illuminates, contact your au
thorized Audi dealer and have the oil sensor inspected.
Bil Fuel supply too low
When the D symbol illuminates, this means
there are about 1.9 gallons (7 liters) of fuel
left in the fuel tank. Time to refuel!
c:::> page 161.
If the symbol lights up, even when there is
ample fuel in the tank, and the text
Tank sys
tem malfunction! Please contact workshop
appears in the display, there is a fault in the
system. Contact a qualified workshop to have
the fault rectified.
co Windshield washer fluid level too
low
If the B symbol illuminates, add windshield
washer fluid to the washer system
c:::> page 179.
® Defective light bulb warning
If a defective bulb has been detected by the
system or a light bulb burns out, the
&:J sym
bol with a message appears in the display to
tell you which bulb is burnt out and where it is
located. For example:
Rear left turn signal
After 5 seconds, the message disappears . If
you want to recall the message into the dis
play, press the CH ECK button
c:::> page 10,
fig. 3(i) .
There are three reasons why the defective
bulb message would appear in the display:
- The light bulb has burnt out
r:> page 215.
-The fuse is "blown" r:> page 212, Replacing
fuses .
-The wire connection to the light bulb is de-
fective.
Have the bulb replaced or the connection re
paired by your authorized Audi Service depart
ment.
A WARNING
- Light bulbs are pressurized and could ex
plode while they are being changed caus
ing serious personal injury.
- Work with due care when handling the
high-voltage section of gas discharge
(xenon) lamps. Failing to do so could re
sult in death or serious injury!
BRAKE LIGHT!<®> Brake light defective
In case of a malfunction or component fail
ure, the symbol. (USA models)/Kf' ~» (Canada
models) can appear. The following electrical
components should be checked, repaired or
replaced, as necessary:
- Brake light bulbs
- All wiring connections
- Brake light switch
Contact your authorized Audi dealer for assis
tance if necessary.
(D Tips
The brake light switch is only inspected as
part of the functional check after the en
gine is started.
~CD Headlight range control defective
Applies to vehicles: wit h dynamic headlight range adjust·
ment
If the II illuminates, the dynamic headlight
range control is no longer working properly.
Have the system checked and repaired at your
authorized Audi dealer.
~O Adaptive light defective
Applies to vehicles: with Adapt ive Lig ht
m;J Adaptive light defective
Page 23 of 244
Instruments and warning/indicator lights 21
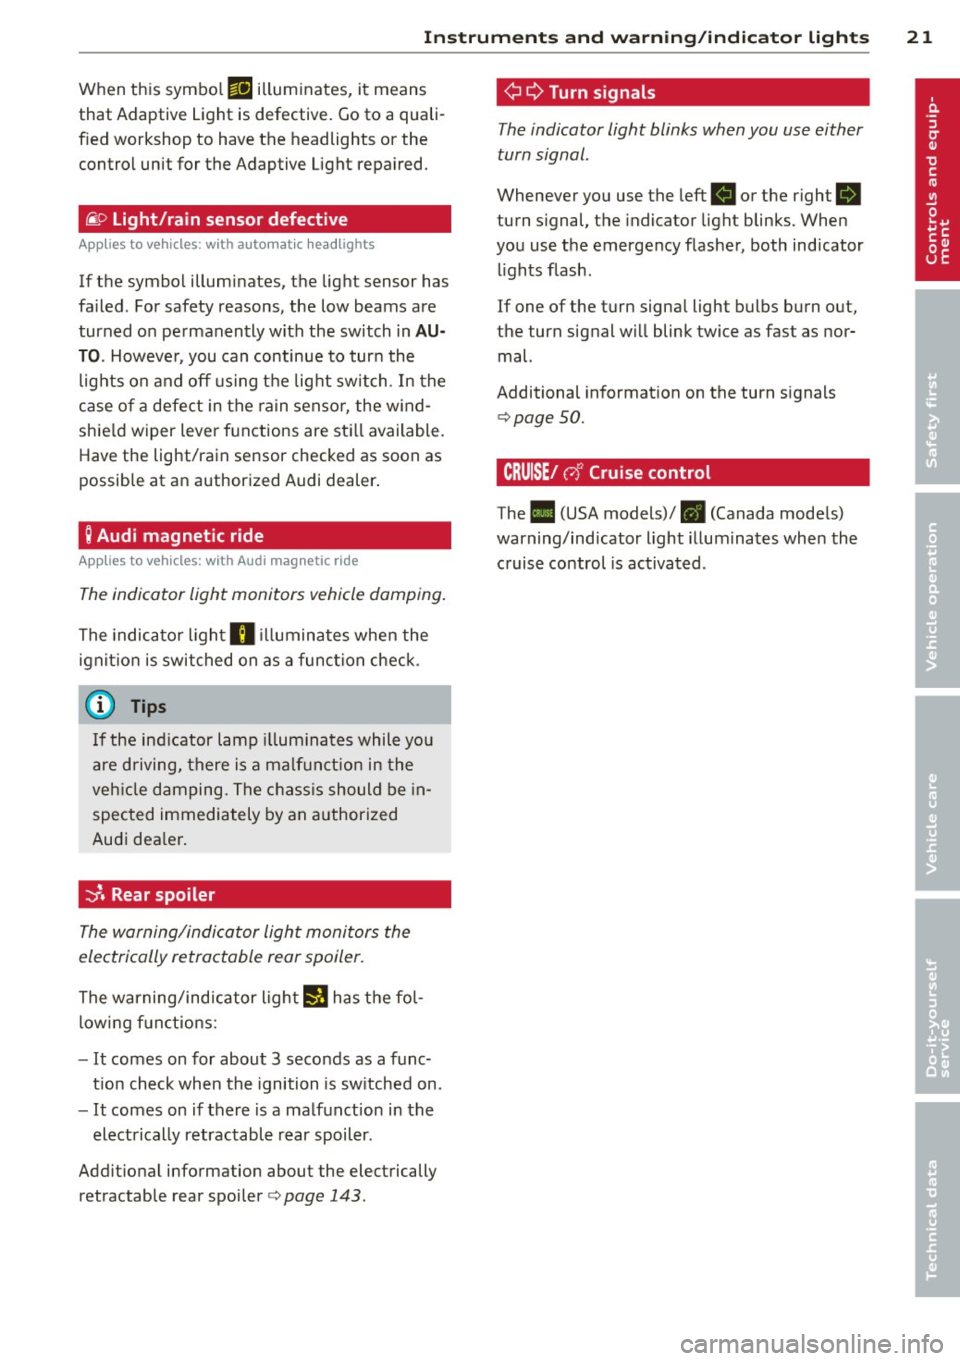
When this symbo l ml illuminates, it means
that Adaptive Light is defective. Go to a quali
f ied workshop to have the headlights or the
control unit for the Adaptive Light repaired.
(j__ o Light/rain sensor defective
App lies to vehicles: with a utomat ic headlights
If the symbol illuminates, the light sensor has
fa iled. For safety reasons, the low beams are
turned on permanently with the switch in
AU
TO .
Howeve r, you can continue to turn the
lights on and off using the lig ht switch . In the
case of a defect in the rain senso r, the w ind
shie ld wiper lever functions are sti ll available.
Have the light/rain sensor checked as soon as
possible at an authorized Audi dealer .
; Audi magnetic ride
Applies to vehicles: with Audi magnetic ride
The indicator light monitors vehicle damping .
The indicato r light R ill uminates when the
i gnit io n is switched on as a function check .
(D Tips
If the indicator lamp illum inates while you
are driving, there is a malfunct ion in the
veh icle damping. The chassis should be in
spected immediately by an authorized
Audi dea ler .
-::}. Rear spoiler
The warning/indicator light monitors the
electrically retractable rear spoiler.
The warning/indicator light 1,1 has the fol
l owing functions:
- It comes on for about 3 seconds as a func
t ion check when the ignition is sw itched on.
- It comes on if there is a malfunction in the
electrically retractable rear spoiler.
Addit ional information about the electrically
retractable rear spoiler<=>
page 143.
¢ Q Turn signals
The indicator light blinks when you use either
turn signal .
Whenever you use the left. or the right B
turn signal, the indicator light blinks. When
you use the emergency flasher, both indicator lights flash.
If one of the turn signa l light bulbs burn out,
the turn signal will blink twice as fast as nor
mal.
Additional information on the turn s ignals
<=> page 50.
CRUISE/ 0" Cruise control
The . (USA models)/ . (Canada models)
warning/indicator light illuminates when the
cruise control is activated .
Page 25 of 244
Trip computer
Introduction
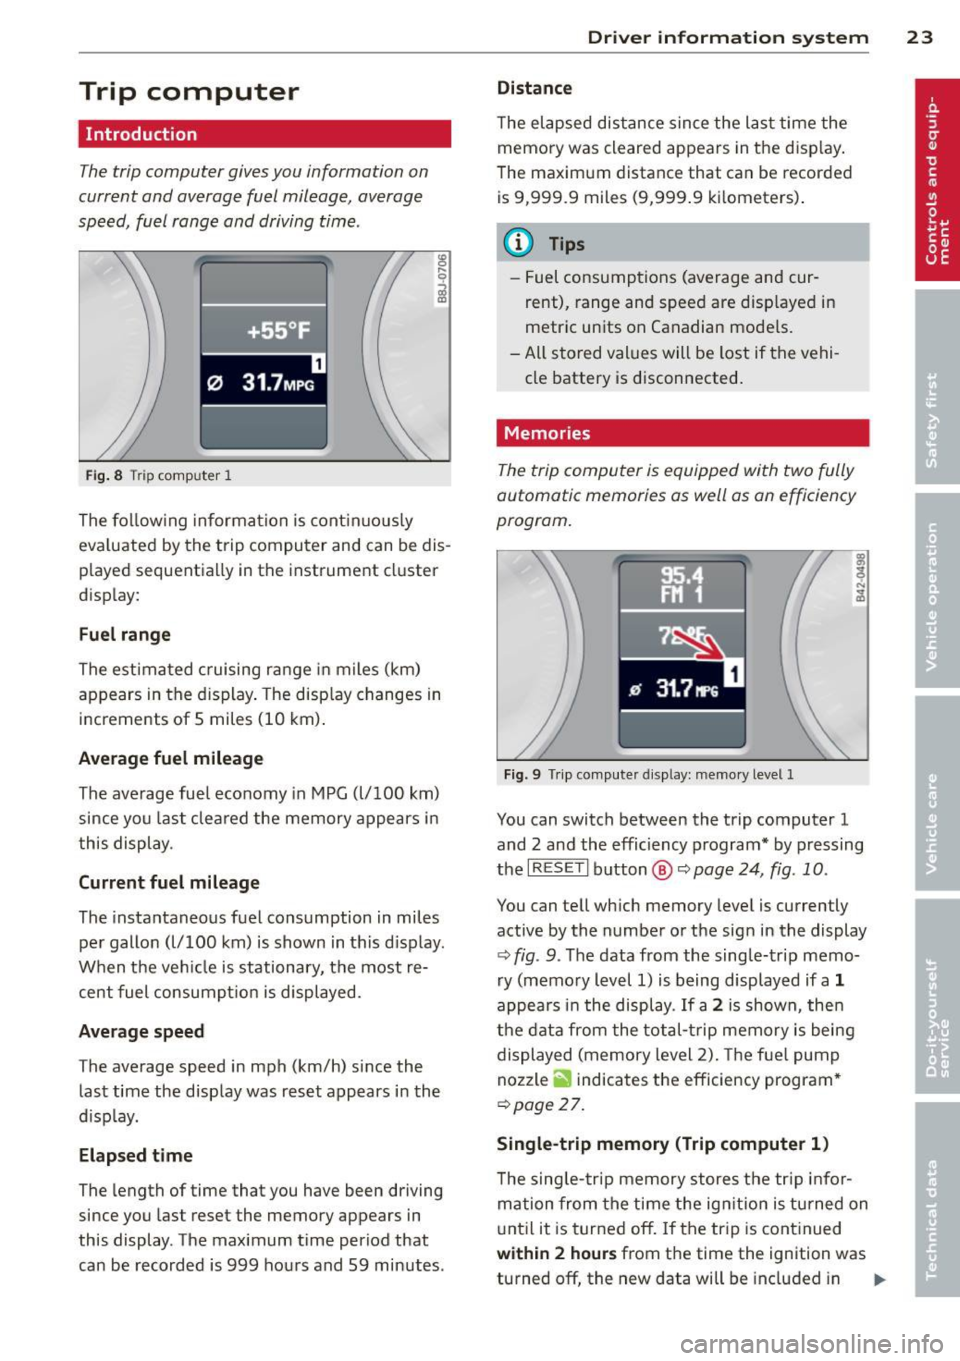
The trip computer gives you information on
current and average fuel mileage, average
speed, fuel range and driving time .
Fig. 8 T rip comp ute r 1
The fo llow ing informa tion is cont inuo usly
eva luated by the trip compu ter and can be dis
p layed sequentia lly in the instrument cl uster
d isplay:
Fuel range
The estimated c ruising ra nge in miles (km)
appears in the d isplay . The disp lay changes in
increments of 5 miles (10 km) .
Average fuel mileage
The average fue l economy in MPG (l/ 100 km)
since you last clea red the memory appears in
t his display .
Current fuel mileage
The instantaneous fuel consumption in miles
pe r gallon (l/ 100 km) is shown in this d isp lay .
When the ve hicle is stationary, the most re
cent fuel consumpt io n is displayed.
Average speed
The average speed in mph (km/h) since the
last time the display was reset appears i n the
d isp lay.
Elap sed t ime
The length of time that you have been driving
since you las t reset the memory appears in
this display . The maximum t ime period that
can be recorded is 999 ho urs and 59 minutes .
Driver in formation system 23
Distance
The elapsed dis tance sin ce the las t time the
memory was cleared appears in the d isp lay .
T he maxim um distance that can be recorded
is 9 ,999.9 miles (9,999 .9 k ilometers) .
(D Tips
- Fuel consump tions (average and cur
rent), range and speed are disp layed in
metric un its on Canadian mode ls.
- All sto red val ues wil l be lost if t he vehi
cle battery is d isconnected .
' . Memories
The trip computer is equipped with two fully
automatic memories as well as on efficiency
progrom.
Fi g. 9 Trip co mputer d isplay: memo ry level 1
You can switch between the trip computer 1
and 2 and the efficiency program* by pressing
the
I R ES ET I button @ c::> page 24, fig . 10 .
You can tell wh ich memory leve l is currently
active by the number or the sign in the display
c::> fig . 9. The data from the single-trip memo
ry (memo ry level 1) is being displayed if a
1
appea rs i n t he display . If a 2 is shown, then
the data from the total- trip memory is being
displayed (memory level 2). The f ue l pump
nozzle
ii indicates the efficiency program *
c::>poge 27.
Single-trip memory (Trip computer 1 )
The sing le -t rip memory stores the tr ip info r
ma tion from the time the ig nition is tu rned on
u nt il it is tur ned off. If the tr ip is cont inued
within 2 hour s from the time the ignit ion was
turned off, the new data will be included in ..,.
Page 30 of 244
28 Driver information system
-The fuel economy messages are not dis
played in every instance, but rather in in
terva ls over a period of ti me.
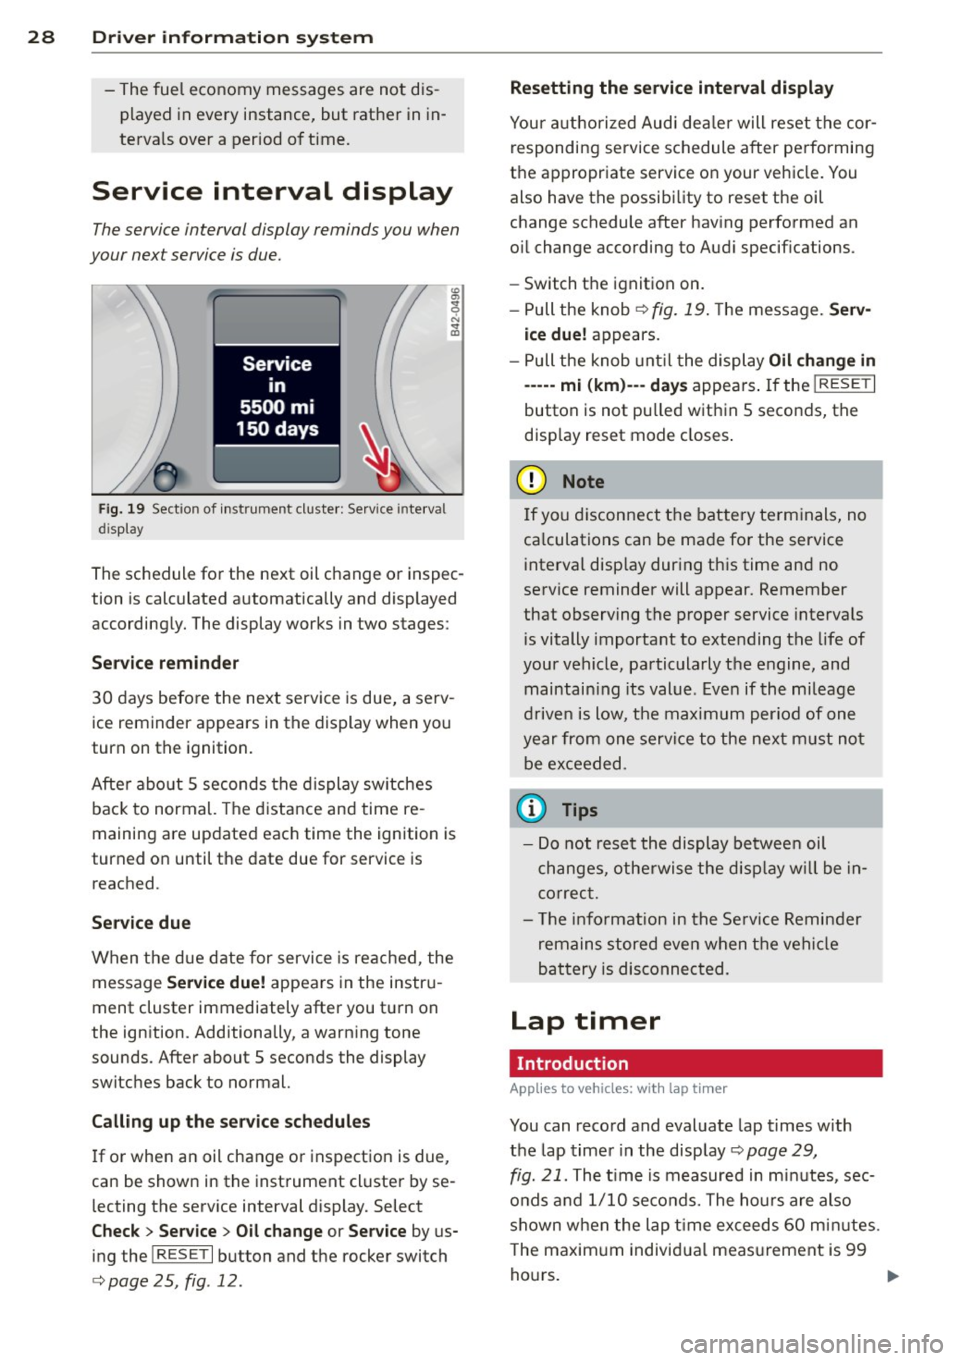
Service interval display
The service interval display reminds you when
your nex t service is due.
Fig. 19 Sect ion of instrument cluster: Serv ice in terva l
d isp lay
The schedule for the next oil change or inspec
tion is calculated automatically and displayed
accordingly. The display works in two stages :
Service reminder
30 days before the next service is due, a serv
ice reminder appears in the display when you
turn on the ignition.
After about
5 seconds the display switches
back to normal. The distance and time re
maining are updated each time the ignition is
turned on until the date due for service is
reached.
Service due
When the due date for service is reached , the
message
Service due! appears in the instru
ment cluster immediately after you turn on
the ignition. Additionally, a warning tone
sounds . After about
5 seconds the display
switches back to normal.
Calling up the service schedules
If or when an oil change or inspection is due,
can be shown in the instrument cluster by se
lecting the serv ice interval display. Select
Check > Service > Oil change or Service by us
ing the
! R ES ET I button and the rocker switch
c> page 25 , fig . 12.
Resetting the service interval display
Your authorized Audi dealer will reset the cor
responding service schedule after performing
the appropriate service on your veh icle. You
also have the possibility to reset the oil
change schedule after having performed an
o il change according to Audi specifications.
- Switch the ignition on.
- Pull the knob
c> fig. 19. The message. Serv-
ice due!
appears.
- Pull the knob until the display
Oil change in
-----mi (km)---day s appears . If the I RESET I
button is not pulled within 5 seconds, the
disp lay reset mode closes.
(D Note
If you disconnect the battery terminals, no
ca lculations can be made for the service
interval display during this time and no
service reminder will appear. Remember
that observing the proper service intervals
i s vitally important to extending the life of
your vehicle, particularly the engine, and
maintain ing its value . Even if the mileage
driven is low, the maximum period of one
year from one service to the next must not
be exceeded.
'
(D Tips
-Do not reset the display between oil
changes, otherwise the display w ill be in
correct.
- Th e information in the Service Reminder
remains stored even when the vehicle
battery is disconnected.
Lap timer
I ntrod ucti on
App lies to vehicles: wit h lap timer
You can record and evaluate lap times with
the lap timer in the display c>page
29,
fig. 21. The time is measured in minutes, sec
onds and
1/10 seconds. The hours are also
shown when the lap t ime exceeds
60 min utes .
T he maximum individual measurement is 99
hours. ..,.
Page 36 of 244
34 Opening and closing
Power locking system
General description
The power locking system locks or unlocks all
doors simultaneously.
The power lock ing system in your ve hicle in
corporates the fo llow ing funct ions:
- Central locking function
- Remote con tro l feature q page 33 .
- Anti -Theft Alarm Sys tem q page 38.
A ll the doors and the rear lid are locked by the
centra l locking system when you lock the vehi
cle.
The unlocking a nd lock ing mode * can be
changed in t he d river i nfo rmation system
qpage24.
Unlocking the vehicle
You can un lock the vehicle from outs ide e ither
by using the remote control
or by insert ing
a nd turning the key in t he driver's door lock.
When you
unlock your veh icle:
- The anti-theft alarm system is deactivated br iefly.
- The veh icle inter ior lights ill uminate for ap
proximate ly 30 seconds.
- All turn signa l lights will f lash twice w hen
the car is unlocked.
- After unlock ing the vehicle, yo u have 30 sec
onds to open a door or the rear lid. After 30
seconds, the vehicle automatically locks and
the ant i-theft a larm system activates again.
The rear lid can be locked or un locked either
by using the remote control
or by insert ing
a nd turning the key in the driver's door lock.
Unlock ing the ve hicle w ith the remote co ntrol
c::::5 will only unlock the rear lid, to open it, the
lid handle needs to be p ressed .
Locking the vehicle
You can lock the vehicle from o utside e ither by
using the remote control
or by insert ing and
turning the key in the drivers's door lock.
When you
lo ck the vehicle:
- All doors and the rear lid are locked. -
All turn signal lights wi ll flash once when
the car is loc ked .
- The ant i-theft a larm system is ac tiva ted.
The ho rn of the anti -theft alarm system wi ll
sound and t he anti-theft a la rm system read
iness light, located in the center of the in
strument panel be low the w indshield on the
r ight side of the air vent, will start to blink.
- The vehicle interior lights turn off.
Automat ic lock ing*
T he au tom atic locking fea ture locks a ll the ve
hicle doors an d the rear lid when you drive
faster than 9 m ph (15 km/h).
You can unlock t he vehi cle from the i nside by:
- remov ing the key from the igni tion swi tc h
(the vehi cle w ill automatically u nlock itself)
or
- pressi ng the un loc k pa rt of the power lock
sw itch
ll:D or
pull ing the door ha ndle (to open the doo r).
If you wish, yo u can have an a utho rized Aud i
dealer convert your power doo r lock system to
automat ic locking.
Unintentionally locking yourself out
T he veh icle does not lock with t he centra l
l ocking switch
¢ page 3 6 if the driver's door
is open .
D o no t lock your ve hicle w ith the
remote mas
ter key
un til a ll doo rs and t he rea r lid are
cl osed. In this way yo u avoid locking yourse lf
o ut accidentally .
_& WARNING
- When you loc k yo ur vehicle from o utside,
nobody- espec ia lly children -shou ld re
main inside the vehicle. Remember,
when yo u lock the vehicle from the out
side th e wi ndows cannot be o pened from
the inside.
- Wh en you leav e th e ve hicle, always re
move the ign ition key and take it w ith
you. This will preven t passe ngers (chil
d ren, f or example) from acci denta lly be
i n g loc ke d in the vehicle s hould they
Page 54 of 244
52 Clear vis ion
Instrument panel illumination
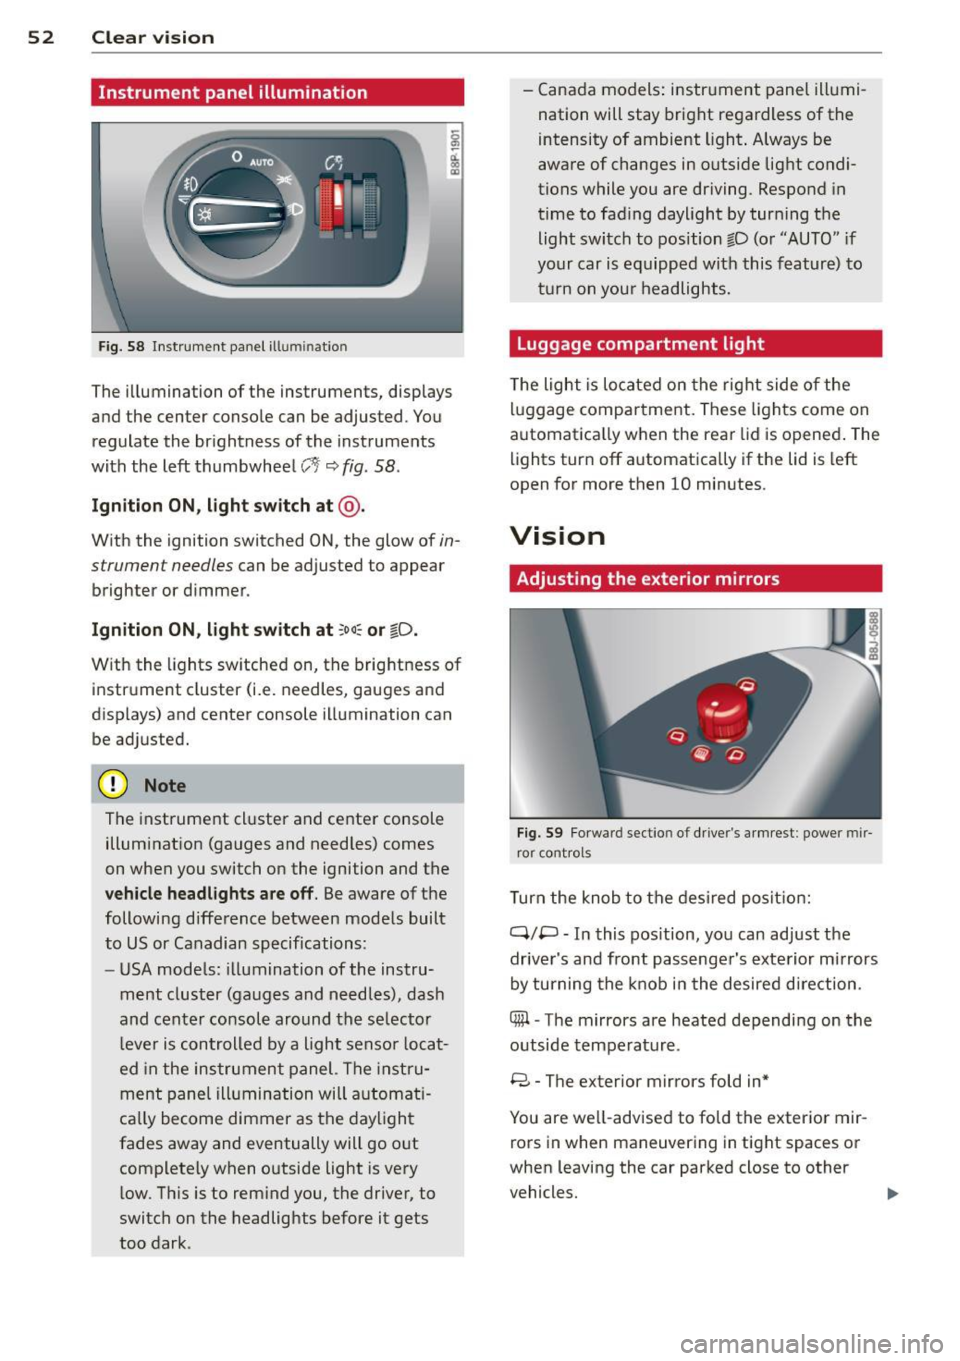
F ig. 58 Instrument panel ill umination
The illumination of the instruments, displays
and the center console can be adjusted. You
regulate the brightness of the instruments
with the left thumbwheel
CJ:J ~ fig. 58.
Ignition ON, light switch at @ .
With the ignition switched ON, the glow of in
strument needles can be adjusted to appear
brighter or dimmer.
Ignition ON , light switch at ;oo~ or io .
With the l ights sw itched on, the brightness of
instrument cluster (i.e. needles, gauges and
displays) and center console illumination can
be adjusted.
@ Note
The instrument cl uster and cente r console
illumination (gauges and needles) comes
on when you switch on the ignition and the
vehicle headligh ts ar e off . Be aware of the
following difference between mode ls built
to US or Canadian specifications:
- USA mode ls: illumination of the instru
ment cluster (gauges and needles), dash
and center consol e around the se lector
l ever is controlled by a light senso r locat
ed in the instrument panel. The instru
ment pane l illumination will a utomat i
cally become dimmer as the daylight
fades away and eventually will go out
complete ly when outside light is very
l ow . Th is is to rem ind you, the driver, to
switch on the headlights before it gets
too dark . -
Canada models: instrument panel illumi
nation will stay bright regardless of the
intensity of ambient light . Always be
aware of changes in outside light condi
tions while you are driving. Respond in
time to fading daylight by tur ning the
light switch to position fD (o r "AUTO" if
your car is equipped with this feature) to
t ur n on you r headlights.
Luggage compartment light
The light is located on the right side of the
lu ggage compartme nt. These lights come on
automat ica lly when the rear lid is opened . The
lights turn off automatica lly if the lid is left
open for more then 10 minutes.
Vision
Adjusting the exterior mirrors
Fig. 59 Fo rwa rd section of driver's a rmrest: power mir
ror controls
Turn the knob to the desired posit ion:
Q/ P -In this pos ition, you can adjust the
driver's and front passenger's exte rior m irrors
by turning the knob in the desired d irection.
4iil -The mirrors are heated depending on the
outside temperature .
8 -The exterior mirrors fold in*
You are we ll-advised to fold the exterior mir
rors in when maneuvering in tight spaces or
when leaving the car parked close to other
vehicles. ..,,.