BMW MOTORRAD G 650 GS 2010 Rider's Manual (in English)
Manufacturer: BMW MOTORRAD, Model Year: 2010, Model line: G 650 GS, Model: BMW MOTORRAD G 650 GS 2010Pages: 136, PDF Size: 1.73 MB
Page 31 of 136
the handlebars turned to theright.
On level ground, always turn thehandlebars to the left to set thesteering lock.
Turn the handlebars to the fullleft or right lock position.
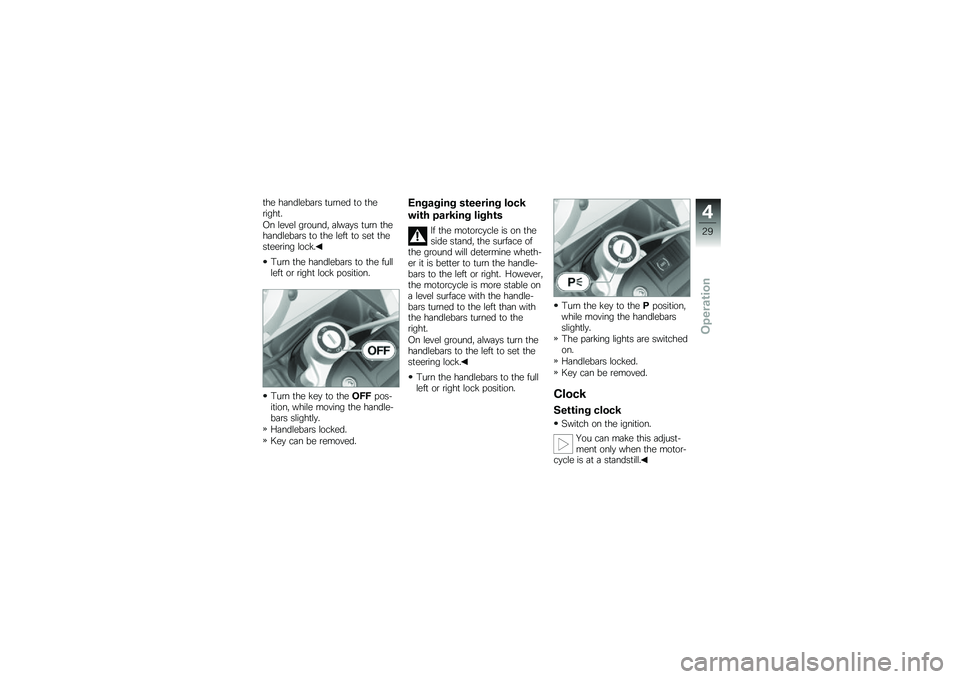
Turn the key to theOFFpos-ition, while moving the handle-bars slightly.
Handlebars locked.
Key can be removed.
Engaging steering lock
with parking lights
If the motorcycle is on theside stand, the surface ofthe ground will determine wheth-er it is better to turn the handle-bars to the left or right. However,the motorcycle is more stable ona level surface with the handle-bars turned to the left than withthe handlebars turned to theright.
On level ground, always turn thehandlebars to the left to set thesteering lock.
Turn the handlebars to the fullleft or right lock position.
Turn the key to thePposition,while moving the handlebarsslightly.
The parking lights are switchedon.
Handlebars locked.
Key can be removed.
Clock
Setting clock
Switch on the ignition.
You can make this adjust-ment only when the motor-cycle is at a standstill.
4
29
zOperation
Page 32 of 136
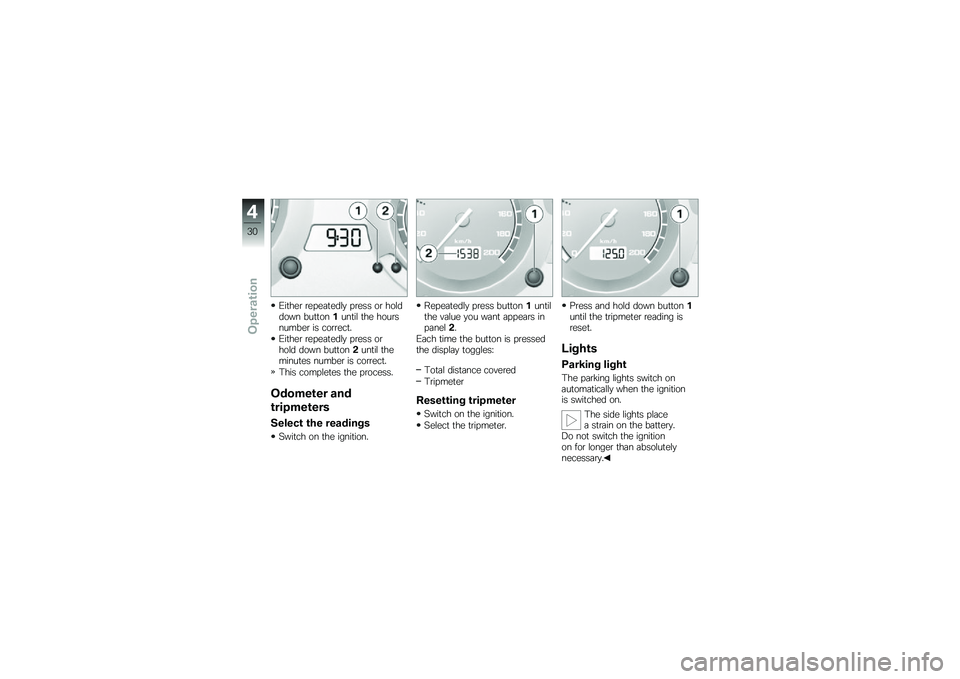
Either repeatedly press or holddown button1until the hoursnumber is correct.
Either repeatedly press orhold down button2until theminutes number is correct.
This completes the process.
Odometer and
tripmeters
Select the readings
Switch on the ignition.
Repeatedly press button1untilthe value you want appears inpanel2.
Each time the button is pressedthe display toggles:
Total distance covered
Tripmeter
Resetting tripmeter
Switch on the ignition.
Select the tripmeter.
Press and hold down button1until the tripmeter reading isreset.
Lights
Parking light
The parking lights switch onautomatically when the ignitionis switched on.
The side lights placea strain on the battery.Do not switch the ignitionon for longer than absolutelynecessary.
4
30
zOperation
Page 33 of 136
Low-beam headlight
The low-beam headlight switcheson automatically when the igni-tion is switched on.
The low-beam headlightplaces a strain on the bat-tery. Do not switch the ignitionon for longer than absolutelynecessary.
High-beam headlight
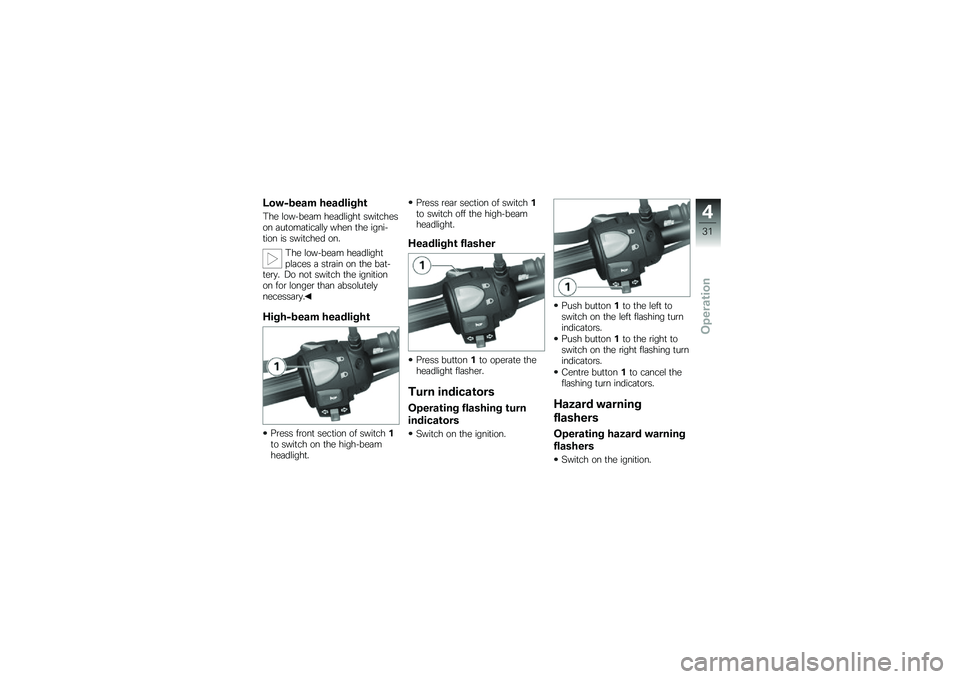
Press front section of switch1to switch on the high-beamheadlight.
Press rear section of switch1to switch off the high-beamheadlight.
Headlight flasher
Press button1to operate theheadlight flasher.
Turn indicators
Operating flashing turn
indicators
Switch on the ignition.
Push button1to the left toswitch on the left flashing turnindicators.
Push button1to the right toswitch on the right flashing turnindicators.
Centre button1to cancel theflashing turn indicators.
Hazard warning
flashers
Operating hazard warning
flashers
Switch on the ignition.
4
31
zOperation
Page 34 of 136
The hazard warning flash-ers place a strain on thebattery. Do not use the hazardwarning flashers for longer thanabsolutely necessary.
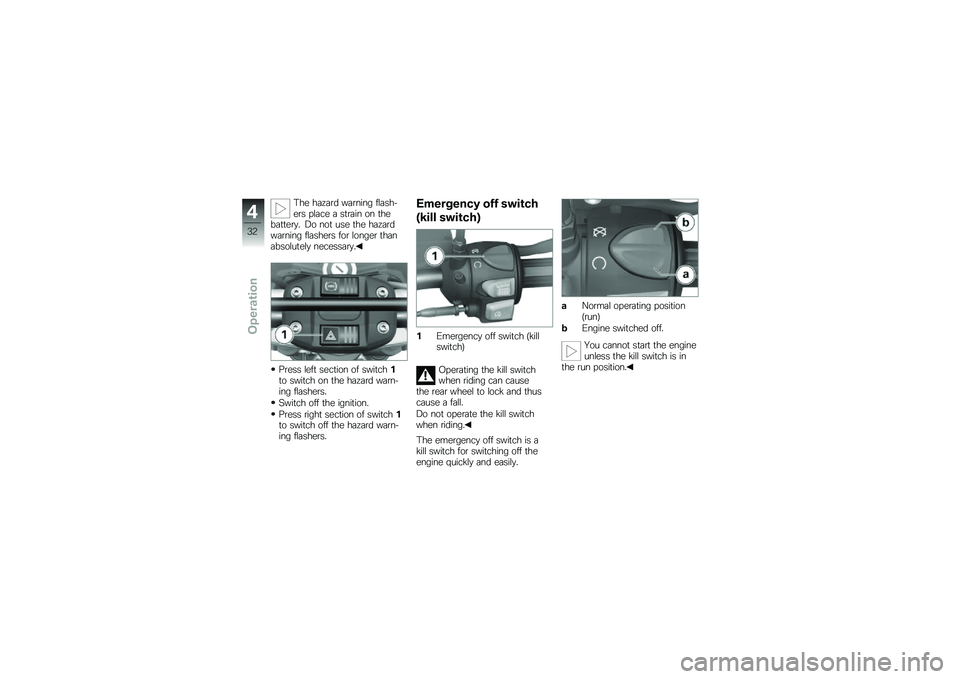
Press left section of switch1to switch on the hazard warn-ing flashers.
Switch off the ignition.
Press right section of switch1to switch off the hazard warn-ing flashers.
Emergency off switch
(kill switch)
1Emergency off switch (killswitch)
Operating the kill switchwhen riding can causethe rear wheel to lock and thuscause a fall.
Do not operate the kill switchwhen riding.
The emergency off switch is akill switch for switching off theengine quickly and easily.
aNormal operating position(run)
bEngine switched off.
You cannot start the engineunless the kill switch is inthe run position.
4
32
zOperation
Page 35 of 136
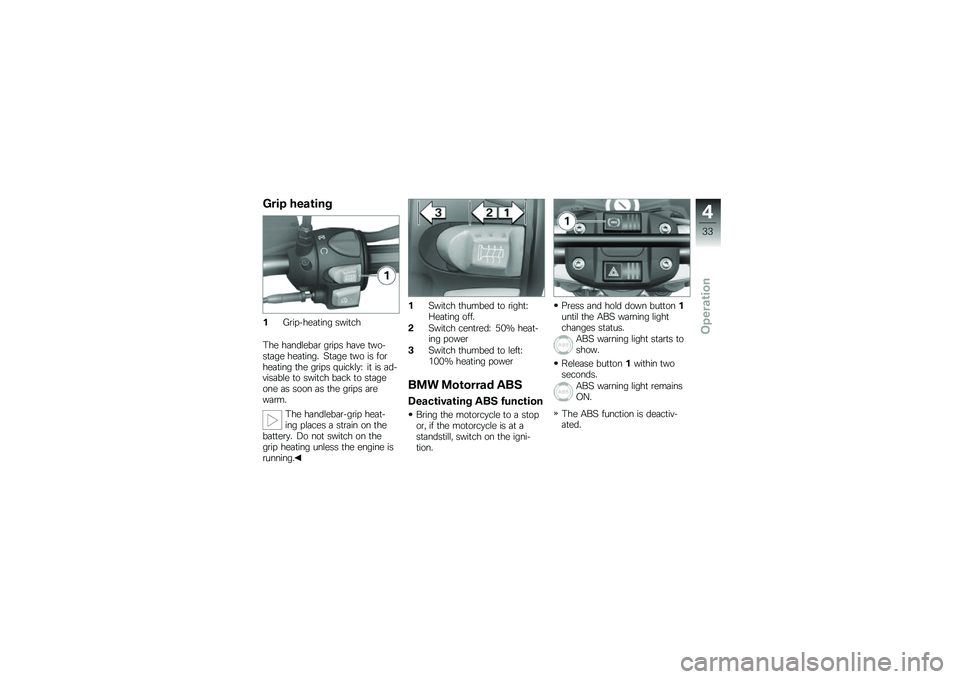
Grip heating
1Grip-heating switch
The handlebar grips have two-stage heating. Stage two is forheating the grips quickly: it is ad-visable to switch back to stageone as soon as the grips arewarm.
The handlebar-grip heat-ing places a strain on thebattery. Do not switch on thegrip heating unless the engine isrunning.
1Switch thumbed to right:Heating off.
2Switch centred: 50% heat-ing power
3Switch thumbed to left:100% heating power
BMW Motorrad ABS
Deactivating ABS function
Bring the motorcycle to a stopor, if the motorcycle is at astandstill, switch on the igni-tion.
Press and hold down button1until the ABS warning lightchanges status.
ABS warning light starts toshow.
Release button1within twoseconds.
ABS warning light remainsON.
The ABS function is deactiv-ated.
4
33
zOperation
Page 36 of 136
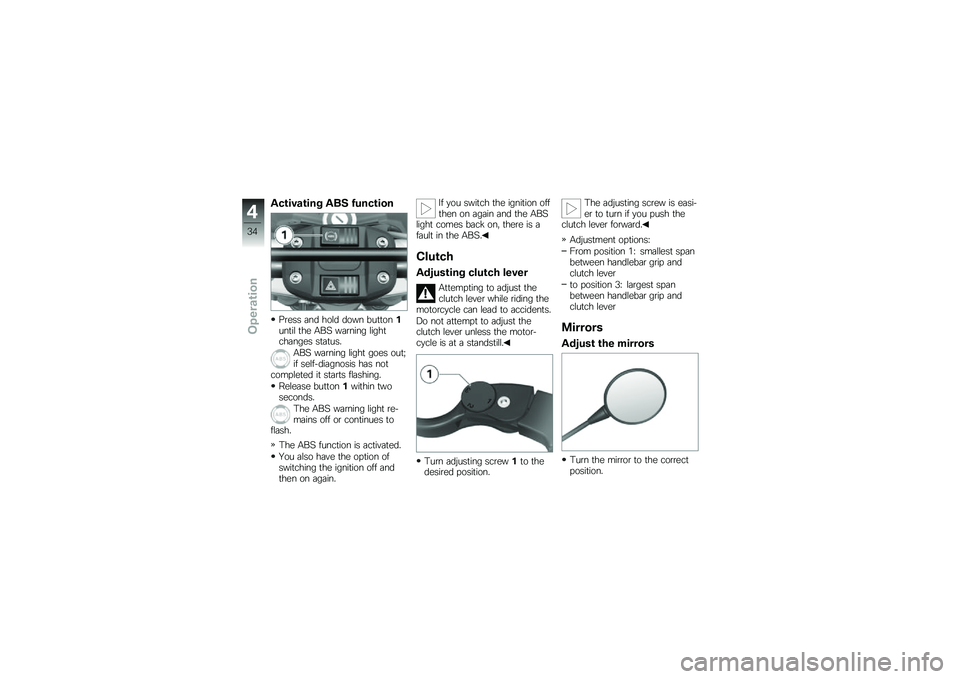
Activating ABS function
Press and hold down button1until the ABS warning lightchanges status.
ABS warning light goes out;if self-diagnosis has notcompleted it starts flashing.
Release button1within twoseconds.
The ABS warning light re-mains off or continues toflash.
The ABS function is activated.
You also have the option ofswitching the ignition off andthen on again.
If you switch the ignition offthen on again and the ABSlight comes back on, there is afault in the ABS.
Clutch
Adjusting clutch lever
Attempting to adjust theclutch lever while riding themotorcycle can lead to accidents.
Do not attempt to adjust theclutch lever unless the motor-cycle is at a standstill.
Turn adjusting screw1to thedesired position.
The adjusting screw is easi-er to turn if you push theclutch lever forward.
Adjustment options:
From position 1: smallest spanbetween handlebar grip andclutch lever
to position 3: largest spanbetween handlebar grip andclutch lever
Mirrors
Adjust the mirrors
Turn the mirror to the correctposition.
4
34
zOperation
Page 37 of 136
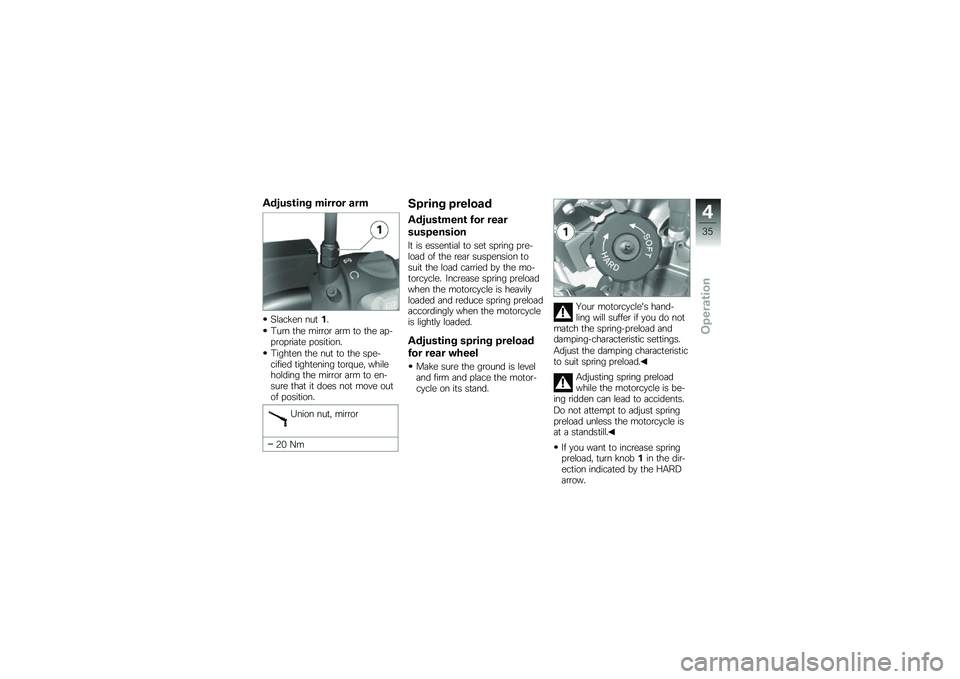
Adjusting mirror arm
Slacken nut1.
Turn the mirror arm to the ap-propriate position.
Tighten the nut to the spe-cified tightening torque, whileholding the mirror arm to en-sure that it does not move outof position.
Union nut, mirror
20 Nm
Spring preload
Adjustment for rear
suspension
It is essential to set spring pre-load of the rear suspension tosuit the load carried by the mo-torcycle. Increase spring preloadwhen the motorcycle is heavilyloaded and reduce spring preloadaccordingly when the motorcycleis lightly loaded.
Adjusting spring preload
for rear wheel
Make sure the ground is leveland firm and place the motor-cycle on its stand.
Your motorcycle's hand-ling will suffer if you do notmatch the spring-preload anddamping-characteristic settings.
Adjust the damping characteristicto suit spring preload.
Adjusting spring preloadwhile the motorcycle is be-ing ridden can lead to accidents.
Do not attempt to adjust springpreload unless the motorcycle isat a standstill.
If you want to increase springpreload, turn knob1in the dir-ection indicated by the HARDarrow.
4
35
zOperation
Page 38 of 136
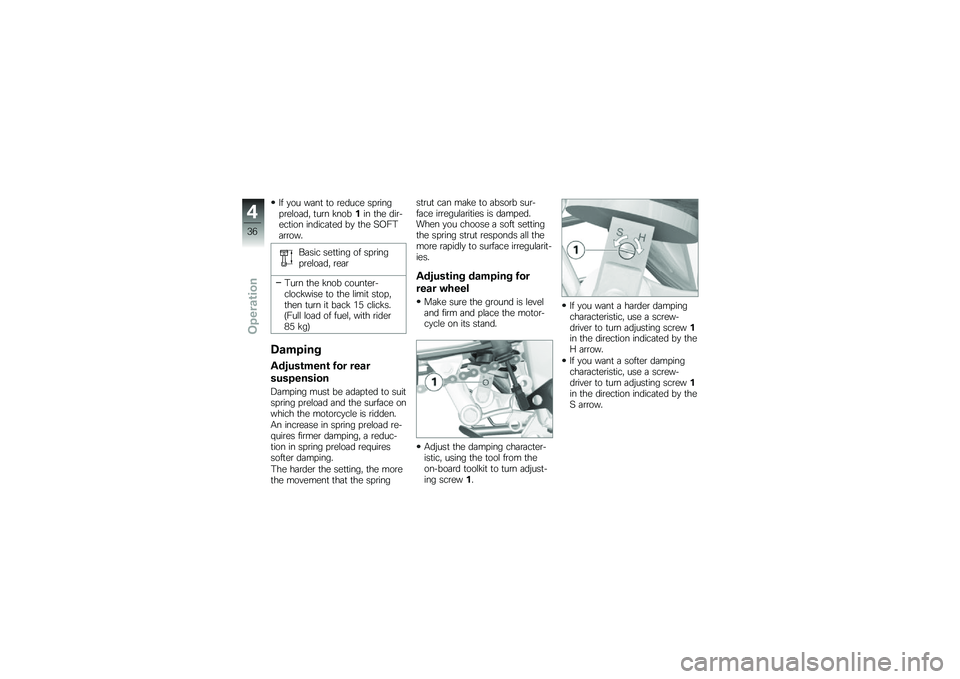
If you want to reduce springpreload, turn knob1in the dir-ection indicated by the SOFTarrow.
Basic setting of springpreload, rear
Turn the knob counter-clockwise to the limit stop,then turn it back 15 clicks.(Full load of fuel, with rider85 kg)
Damping
Adjustment for rear
suspension
Damping must be adapted to suitspring preload and the surface onwhich the motorcycle is ridden.
An increase in spring preload re-quires firmer damping, a reduc-tion in spring preload requiressofter damping.
The harder the setting, the morethe movement that the spring
strut can make to absorb sur-face irregularities is damped.When you choose a soft settingthe spring strut responds all themore rapidly to surface irregularit-ies.
Adjusting damping for
rear wheel
Make sure the ground is leveland firm and place the motor-cycle on its stand.
Adjust the damping character-istic, using the tool from theon-board toolkit to turn adjust-ing screw1.
If you want a harder dampingcharacteristic, use a screw-driver to turn adjusting screw1in the direction indicated by theH arrow.
If you want a softer dampingcharacteristic, use a screw-driver to turn adjusting screw1in the direction indicated by theS arrow.
4
36
zOperation
Page 39 of 136
Rebound stage, basicsetting, rear
turn the bottom adjustingscrew as far as it will go inthe clockwise direction andthen back it off half a turn(Full load of fuel, with rider85 kg)
Tyres
Checking tyre pressure
Incorrect tyre pressures im-pair the motorcycle's hand-ling characteristics and increasethe rate of tyre wear.
Always check that the tyre pres-sures are correct.
At high road speeds, tyrevalves installed perpen-dicular to the wheel rim have atendency to open as a result ofcentrifugal force.
In order to avoid a sudden loss oftyre pressure, fit a valve cap with
rubber sealing ring to the reartyre and make sure that the capis screwed on firmly.
Make sure the ground is leveland firm and place the motor-cycle on its stand.
Check tyre pressures againstthe data below.
Tyre pressure, front
1.9 bar (one-up, at tyre tem-perature 20 °C)
2.1 bar (two-up and/or withluggage, at tyre temperature20 °C)
Tyre pressure, rear
2.1 bar (one-up, at tyre tem-perature 20 °C)
2.3 bar (two-up and/or withluggage, at tyre temperature20 °C)
If tyre pressure is too low:
Correct tyre pressure.
Headlight
Adjusting headlight for
driving on right/driving on
left
If the motorcycle is ridden in acountry where the opposite ruleof the road applies, its asymmet-ric low-beam headlight will tendto dazzle oncoming traffic.
Have the headlight set accord-ingly by a specialist workshop,preferably an authorised BMWMotorrad dealer.
Headlight beam throw and
spring preload
Headlight beam throw is gener-ally kept constant when springpreload is adjusted to suit load.
Spring preload adjustment mightnot suffice only if the motorcycleis very heavily loaded. Under
4
37
zOperation
Page 40 of 136
these circumstances, headlightbeam throw has to be adjustedto suit the weight carried by themotorcycle.
Consult a specialist work-shop, preferably an au-thorised BMW Motorrad deal-er, if you are unsure whetherthe headlight basic setting iscorrect.
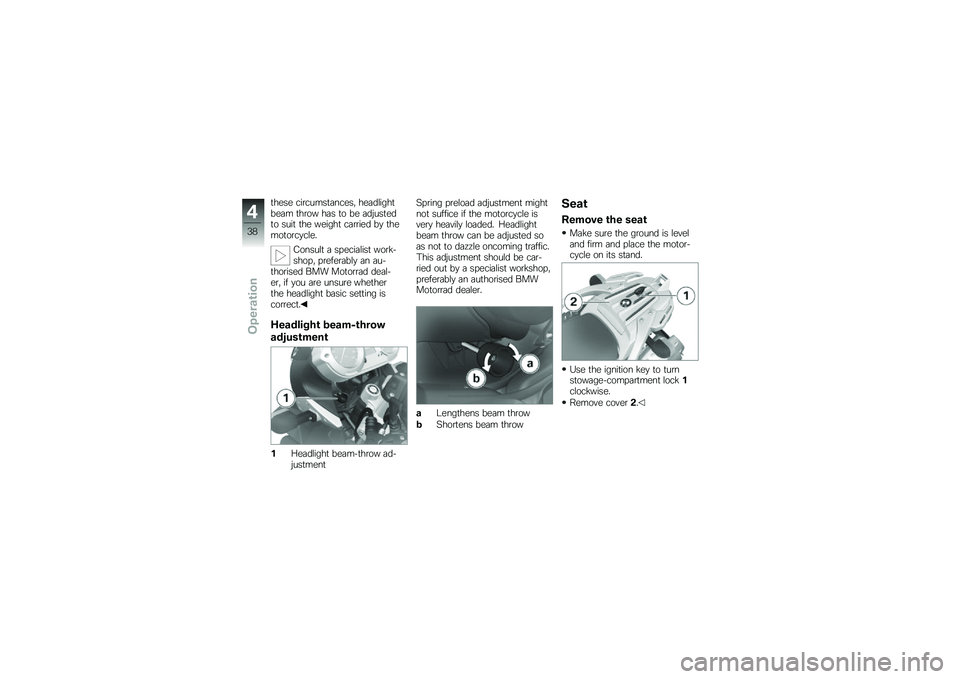
Headlight beam-throw
adjustment
1Headlight beam-throw ad-justment
Spring preload adjustment mightnot suffice if the motorcycle isvery heavily loaded. Headlightbeam throw can be adjusted soas not to dazzle oncoming traffic.This adjustment should be car-ried out by a specialist workshop,preferably an authorised BMWMotorrad dealer.
aLengthens beam throw
bShortens beam throw
Seat
Remove the seat
Make sure the ground is leveland firm and place the motor-cycle on its stand.
Use the ignition key to turnstowage-compartment lock1clockwise.
Remove cover2.
4
38
zOperation