AUX BMW MOTORRAD G 650 XCHALLENGE 2007 Rider's Manual (in English)
[x] Cancel search | Manufacturer: BMW MOTORRAD, Model Year: 2007, Model line: G 650 XCHALLENGE, Model: BMW MOTORRAD G 650 XCHALLENGE 2007Pages: 138, PDF Size: 2.23 MB
Page 84 of 138
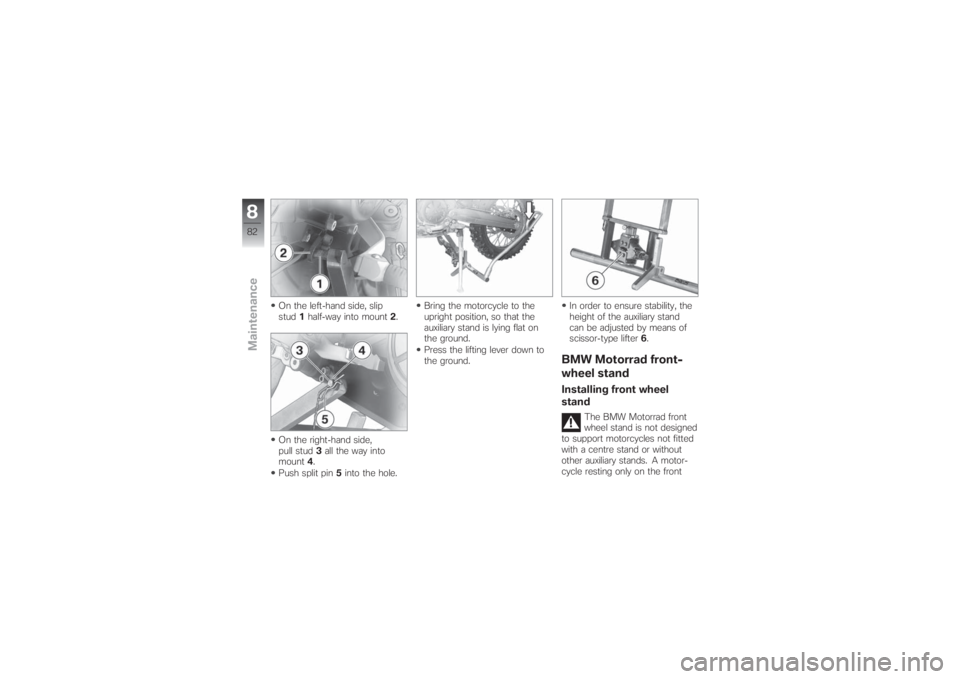
On the left-hand side, slip
stud1half-way into mount2.
On the right-hand side,
pull stud3all the way into
mount4.
Push split pin5into the hole.Bring the motorcycle to the
upright position, so that the
auxiliary stand is lying flat on
the ground.
Press the lifting lever down to
the ground.In order to ensure stability, the
height of the auxiliary stand
can be adjusted by means of
scissor-type lifter6.
BMW Motorrad front-
wheel standInstalling front wheel
stand
The BMW Motorrad front
wheel stand is not designed
to support motorcycles not fitted
with a centre stand or without
other auxiliary stands. A motor-
cycle resting only on the front
882zMaintenance
Page 85 of 138
wheel stand and the rear wheel
can topple.
Place the motorcycle on its
centre stand or another auxiliary
stand before lifting the front
wheel with the BMW Motorrad
front-wheel stand.
Place the motorcycle on an
auxiliary stand; BMW Motorrad
recommends the BMW Motor-
rad auxiliary stand.
Install the auxiliary stand
( 81)
Use the front-wheel stand with
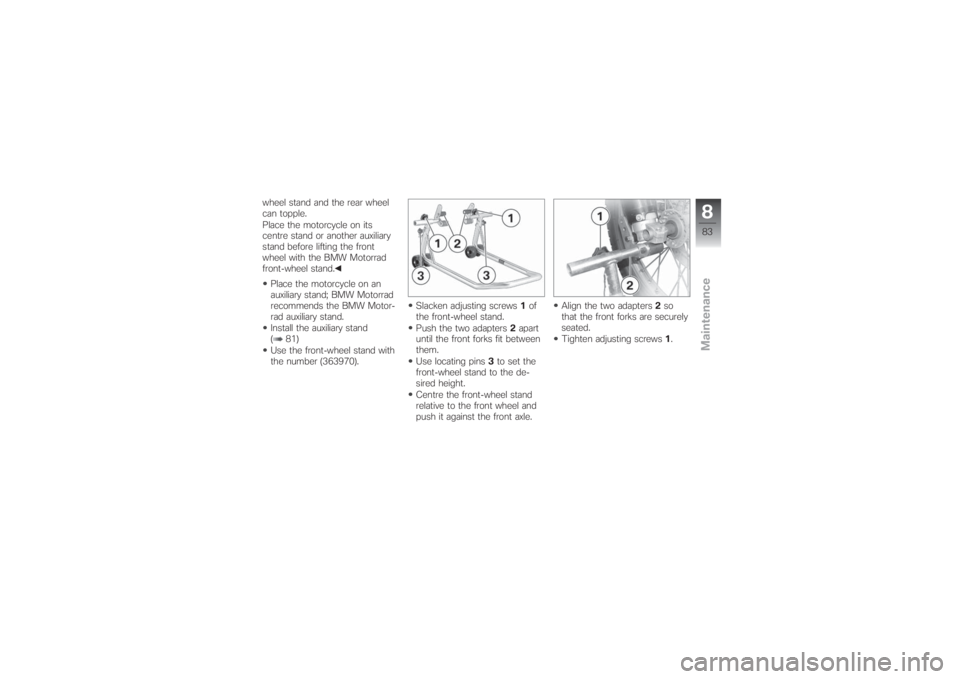
the number (363970).Slacken adjusting screws1of
the front-wheel stand.
Push the two adapters2apart
until the front forks fit between
them.
Use locating pins3to set the
front-wheel stand to the de-
sired height.
Centre the front-wheel stand
relative to the front wheel and
push it against the front axle.Align the two adapters2so
that the front forks are securely
seated.
Tighten adjusting screws1.
883zMaintenance
Page 86 of 138
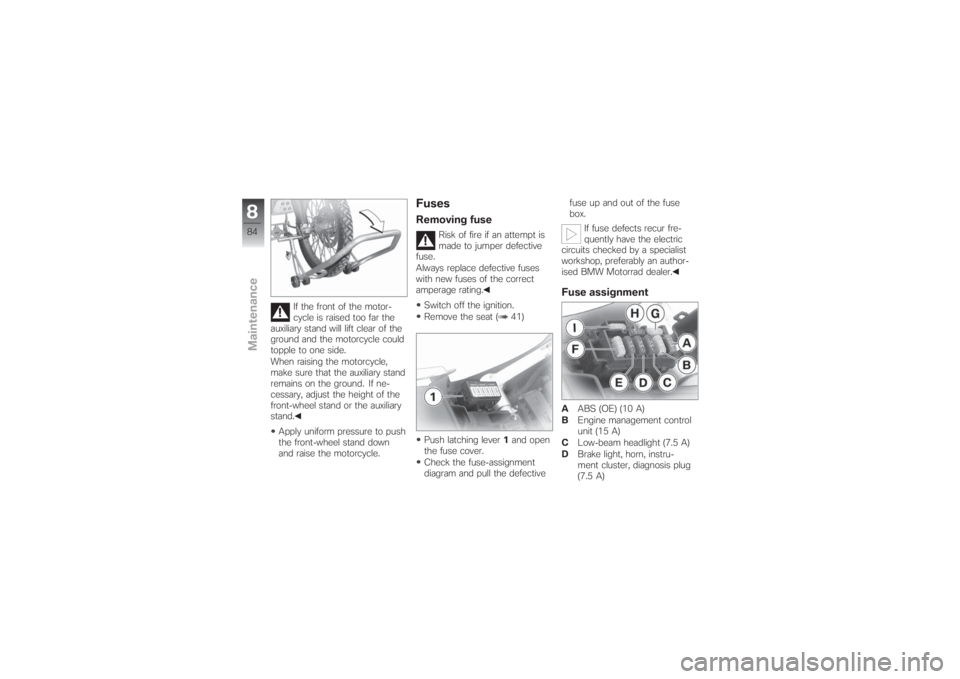
If the front of the motor-
cycle is raised too far the
auxiliary stand will lift clear of the
ground and the motorcycle could
topple to one side.
When raising the motorcycle,
make sure that the auxiliary stand
remains on the ground. If ne-
cessary, adjust the height of the
front-wheel stand or the auxiliary
stand.
Apply uniform pressure to push
the front-wheel stand down
and raise the motorcycle.
FusesRemoving fuse
Risk of fire if an attempt is
made to jumper defective
fuse.
Always replace defective fuses
with new fuses of the correct
amperage rating.
Switch off the ignition.
Remove the seat ( 41)
Push latching lever1and open
the fuse cover.
Check the fuse-assignment
diagram and pull the defectivefuse up and out of the fuse
box.
If fuse defects recur fre-
quently have the electric
circuits checked by a specialist
workshop, preferably an author-
ised BMW Motorrad dealer.
Fuse assignmentAABS (OE) (10 A)
BEngine management control
unit (15 A)
CLow-beam headlight (7.5 A)
DBrake light, horn, instru-
ment cluster, diagnosis plug
(7.5 A)
884zMaintenance
Page 108 of 138
Protective wax coatingBMW Motorrad recommends
applying only BMW car wax or
products containing carnauba
wax or synthetic wax.
It is time to rewax the paint-
work when water "puddles" on
the surface, instead of forming
beads.Laying up motorcycleClean the motorcycle.
Remove the battery.
Spray the brake and clutch
lever pivots, the side stand
pivots and the centre stand
pivots (if the motorcycle is fit-
ted with a centre stand) with a
suitable lubricant.
Coat bright metal and chrome-
plated parts with an acid-free
grease (e.g. Vaseline).
Stand the motorcycle in a dry
room in such a way that there
is no load on either wheel.Before laying the vehicle
up out of use, have the en-
gine oil and the oil filter element
changed by a specialist work-
shop, preferably an authorised
BMW Motorrad dealer. Com-
bine work for laying up/restoring
to use with a BMW service or
inspection.
Restoring motorcycle
to useRemove the protective wax
coating.
Clean the motorcycle.
Install a charged battery.
Before starting: work through
the checklist.
Before removing the auxiliary
stand, check the air pressure in
the Air Damping System and
adjust if necessary.
9106zCare
Page 133 of 138
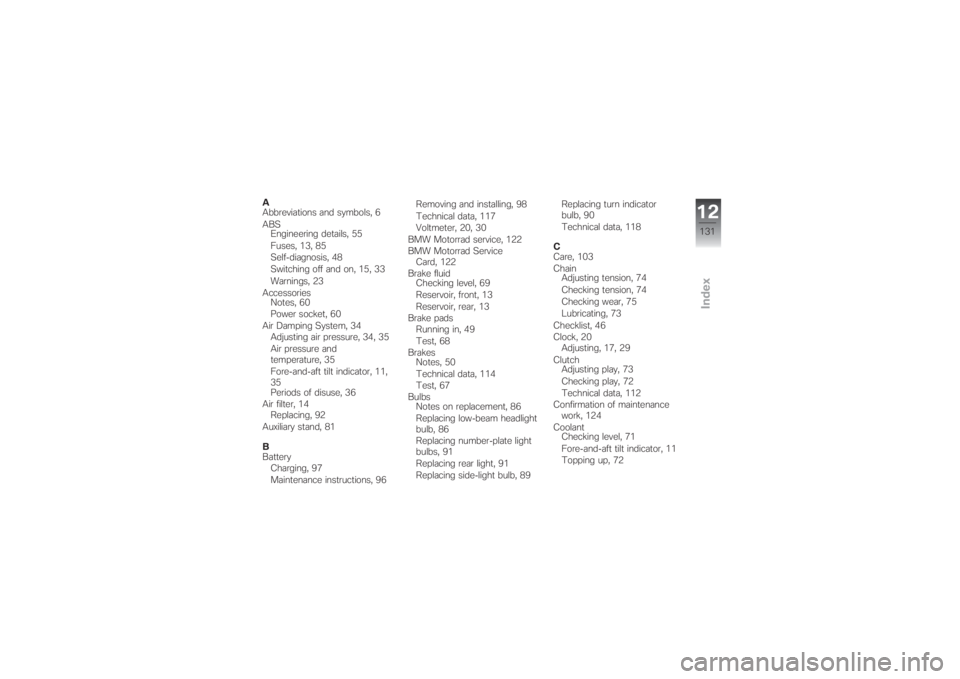
A
Abbreviations and symbols, 6
ABS
Engineering details, 55
Fuses, 13, 85
Self-diagnosis, 48
Switching off and on, 15, 33
Warnings, 23
Accessories
Notes, 60
Power socket, 60
Air Damping System, 34
Adjusting air pressure, 34, 35
Air pressure and
temperature, 35
Fore-and-aft tilt indicator, 11,
35
Periods of disuse, 36
Air filter, 14
Replacing, 92
Auxiliary stand, 81
B
Battery
Charging, 97
Maintenance instructions, 96Removing and installing, 98
Technical data, 117
Voltmeter, 20, 30
BMW Motorrad service, 122
BMW Motorrad Service
Card, 122
Brake fluid
Checking level, 69
Reservoir, front, 13
Reservoir, rear, 13
Brake pads
Running in, 49
Test, 68
Brakes
Notes, 50
Technical data, 114
Test, 67
Bulbs
Notes on replacement, 86
Replacing low-beam headlight
bulb, 86
Replacing number-plate light
bulbs, 91
Replacing rear light, 91
Replacing side-light bulb, 89Replacing turn indicator
bulb, 90
Technical data, 118
C
Care, 103
Chain
Adjusting tension, 74
Checking tension, 74
Checking wear, 75
Lubricating, 73
Checklist, 46
Clock, 20
Adjusting, 17, 29
Clutch
Adjusting play, 73
Checking play, 72
Technical data, 112
Confirmation of maintenance
work, 124
Coolant
Checking level, 71
Fore-and-aft tilt indicator, 11
Topping up, 72
12131zIndex