brake BMW MOTORRAD G 650 XCHALLENGE 2007 Rider's Manual (in English)
[x] Cancel search | Manufacturer: BMW MOTORRAD, Model Year: 2007, Model line: G 650 XCHALLENGE, Model: BMW MOTORRAD G 650 XCHALLENGE 2007Pages: 138, PDF Size: 2.23 MB
Page 4 of 138
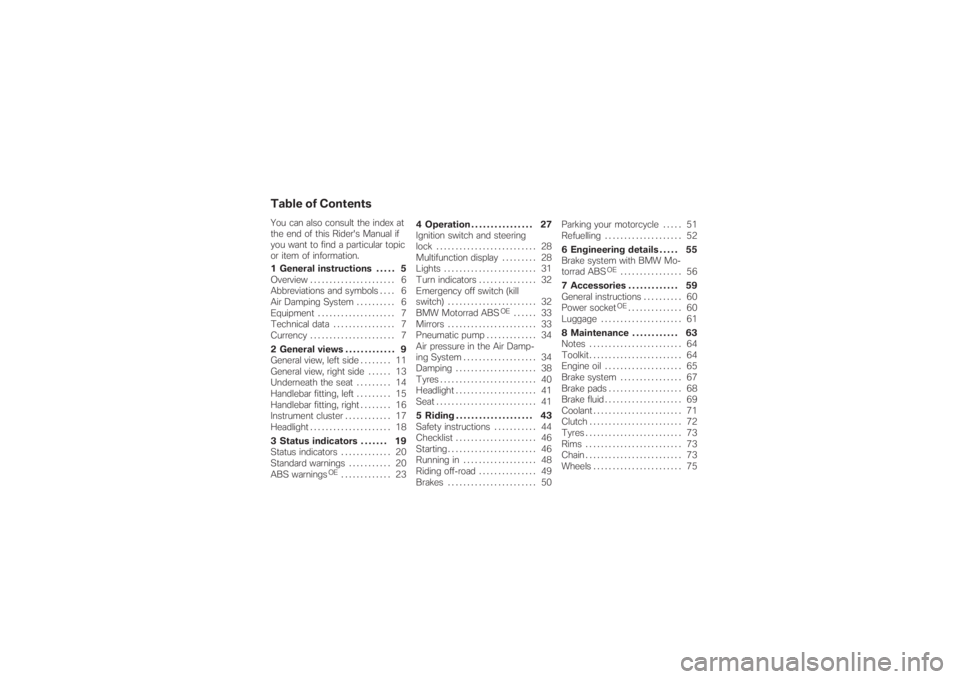
Table of ContentsYou can also consult the index at
the end of this Rider's Manual if
you want to find a particular topic
or item of information.
1 General instructions . . . . . 5
Overview ...................... 6
Abbreviations and symbols . . . . 6
Air Damping System.......... 6
Equipment . . . . . ............... 7
Technical data . ............... 7
Currency ...................... 7
2 General views . . . . . . . . . . . . . 9
General view, left side . . . . . . . . 11
General view, right side . . . . . . 13
Underneath the seat......... 14
Handlebar fitting, left......... 15
Handlebar fitting, right . . . . . . . . 16
Instrument cluster . . .......... 17
Headlight ..................... 18
3 Status indicators . . . . . . . 19
Status indicators............. 20
Standard warnings . .......... 20
ABS warnings
OE
............. 234 Operation . . . . . . . . . . . . . . . . 27
Ignition switch and steering
lock . . . . . ..................... 28
Multifunction display......... 28
Lights . . . ..................... 31
Turn indicators . .............. 32
Emergency off switch (kill
switch) . . ..................... 32
BMW Motorrad ABS
OE
...... 33
Mirrors . . ..................... 33
Pneumatic pump............. 34
Air pressure in the Air Damp-
ing System . . . . . .............. 34
Damping ..................... 38
Tyres . . . . ..................... 40
Headlight ..................... 41
Seat . . . . . ..................... 41
5 Riding . . . . . . . . . . . . . . . . . . . . 43
Safety instructions . .......... 44
Checklist ..................... 46
Starting . . ..................... 46
Running in . . . . . .............. 48
Riding off-road . .............. 49
Brakes . . ..................... 50Parking your motorcycle . . . . . 51
Refuelling.................... 52
6 Engineering details . . . . . 55
Brake system with BMW Mo-
torrad ABS
OE
................ 56
7 Accessories . . . . . . . . . . . . . 59
General instructions .......... 60
Power socketOE.............. 60
Luggage ..................... 61
8 Maintenance . . . . . . . . . . . . 63
Notes........................ 64
Toolkit........................ 64
Engine oil.................... 65
Brake system . . .............. 67
Brake pads . . . . . .............. 68
Brake fluid.................... 69
Coolant . . ..................... 71
Clutch . . . ..................... 72
Tyres . . . . ..................... 73
Rims ......................... 73
Chain . . . . ..................... 73
Wheels . . ..................... 75
Page 5 of 138
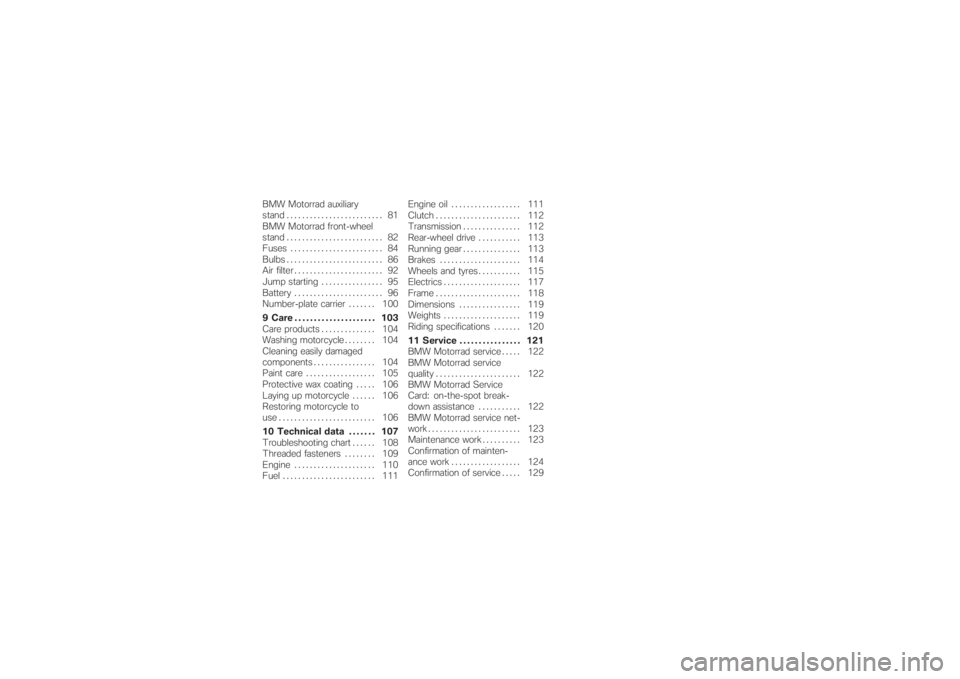
BMW Motorrad auxiliary
stand ......................... 81
BMW Motorrad front-wheel
stand ......................... 82
Fuses........................ 84
Bulbs ......................... 86
Air filter . . . . . .................. 92
Jump starting . . .............. 95
Battery . . . . . .................. 96
Number-plate carrier . . ..... 100
9 Care . . . . . ................ 103
Care products . . ............ 104
Washing motorcycle . . . ..... 104
Cleaning easily damaged
components ................ 104
Paint care . . ................ 105
Protective wax coating ..... 106
Laying up motorcycle . ..... 106
Restoring motorcycle to
use......................... 106
10 Technical data . . . . . . . 107
Troubleshooting chart . ..... 108
Threaded fasteners . . . ..... 109
Engine . . . . . ................ 110
Fuel . ....................... 111Engine oil . . ................ 111
Clutch...................... 112
Transmission............... 112
Rear-wheel drive........... 113
Running gear............... 113
Brakes . . . . . ................ 114
Wheels and tyres........... 115
Electrics . . . . ................ 117
Frame...................... 118
Dimensions ................ 119
Weights . . . . ................ 119
Riding specifications . . ..... 120
11 Service . . . . . . . . . . . . . . . . 121
BMW Motorrad service ..... 122
BMW Motorrad service
quality...................... 122
BMW Motorrad Service
Card: on-the-spot break-
down assistance........... 122
BMW Motorrad service net-
work . ....................... 123
Maintenance work . . . . . ..... 123
Confirmation of mainten-
ance work . . ................ 124
Confirmation of service ..... 129
Page 8 of 138
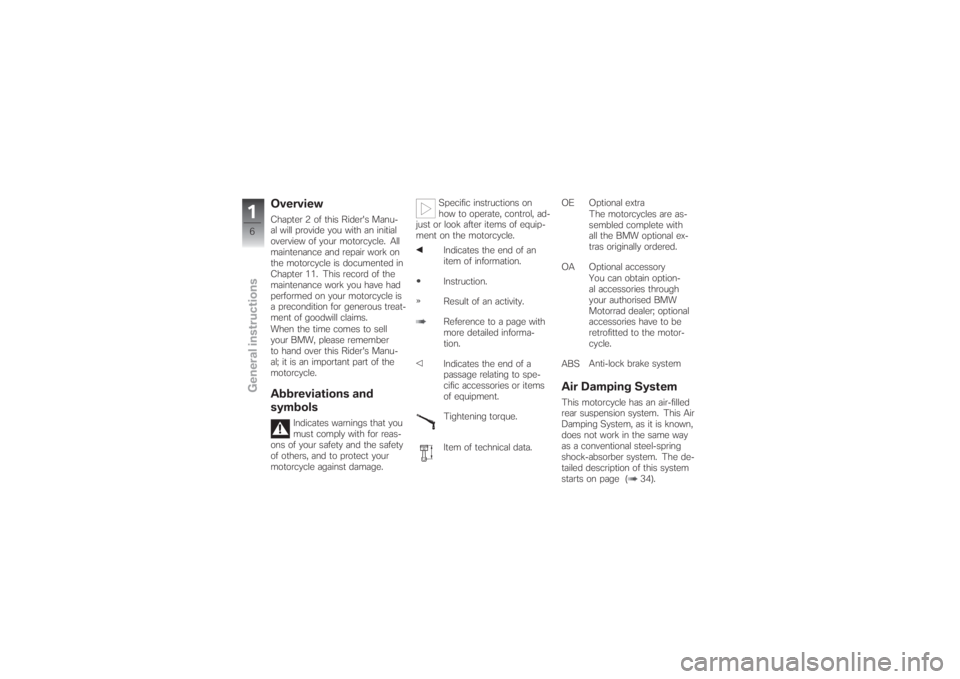
OverviewChapter 2 of this Rider's Manu-
al will provide you with an initial
overview of your motorcycle. All
maintenance and repair work on
the motorcycle is documented in
Chapter 11. This record of the
maintenance work you have had
performed on your motorcycle is
a precondition for generous treat-
ment of goodwill claims.
When the time comes to sell
your BMW, please remember
to hand over this Rider's Manu-
al; it is an important part of the
motorcycle.Abbreviations and
symbols
Indicates warnings that you
must comply with for reas-
ons of your safety and the safety
of others, and to protect your
motorcycle against damage.Specific instructions on
how to operate, control, ad-
just or look after items of equip-
ment on the motorcycle.
Indicates the end of an
item of information.
Instruction.
Result of an activity.
Reference to a page with
more detailed informa-
tion.
Indicates the end of a
passage relating to spe-
cific accessories or items
of equipment.
Tightening torque.
Item of technical data.OE Optional extra
The motorcycles are as-
sembled complete with
all the BMW optional ex-
tras originally ordered.
OA Optional accessory
You can obtain option-
al accessories through
your authorised BMW
Motorrad dealer; optional
accessories have to be
retrofitted to the motor-
cycle.
ABSAnti-lock brake system
Air Damping SystemThis motorcycle has an air-filled
rear suspension system. This Air
Damping System, as it is known,
does not work in the same way
as a conventional steel-spring
shock-absorber system. The de-
tailed description of this system
starts on page ( 34).
16zGeneral instructions
Page 15 of 138
General view, right side1Seat lock ( 41)
2Fuel filler neck ( 52)
3Brake-fluid reservoir, front
( 69)
4Adjuster for damping char-
acteristic, front suspension
(rebound stage) ( 38)
5ABS fuses, behind the side
panel ( 85)
6Brake-fluid reservoir, rear
( 70)
213zGeneral views
Page 45 of 138

Riding
Riding
Safety instructions . .................. 44
Checklist ............................. 46
Starting . ............................. 46
Running in........................... 48
Riding off-road....................... 49
Brakes . . ............................. 50
Parking your motorcycle ............. 51
Refuelling............................ 52
543zRiding
Page 48 of 138
ChecklistUse the following checklist to
check important functions, set-
tings and wear limits before you
ride off.
Brakes
Brake-fluid levels, front and rear
Clutch
Clutch fluid level
Damping-characteristic adjust-
ment and air pressure in the Air
Damping System
Tyre-tread depth and tyre
pressures
Cases correctly installed and
luggage secured
At regular intervals:
Engine oil level (every refuelling
stop)
Brake-pad wear (every third
refuelling stop)
Tension and lubrication of the
drive chain
StartingSide standYou cannot start the motorcycle
with the side stand extended and
a gear engaged. The engine will
switch itself off if you start it with
the gearbox in neutral and then
engage a gear before retracting
the side stand.GearboxYou can start the engine when
the gearbox is in neutral or if you
pull the clutch with a gear en-
gaged.
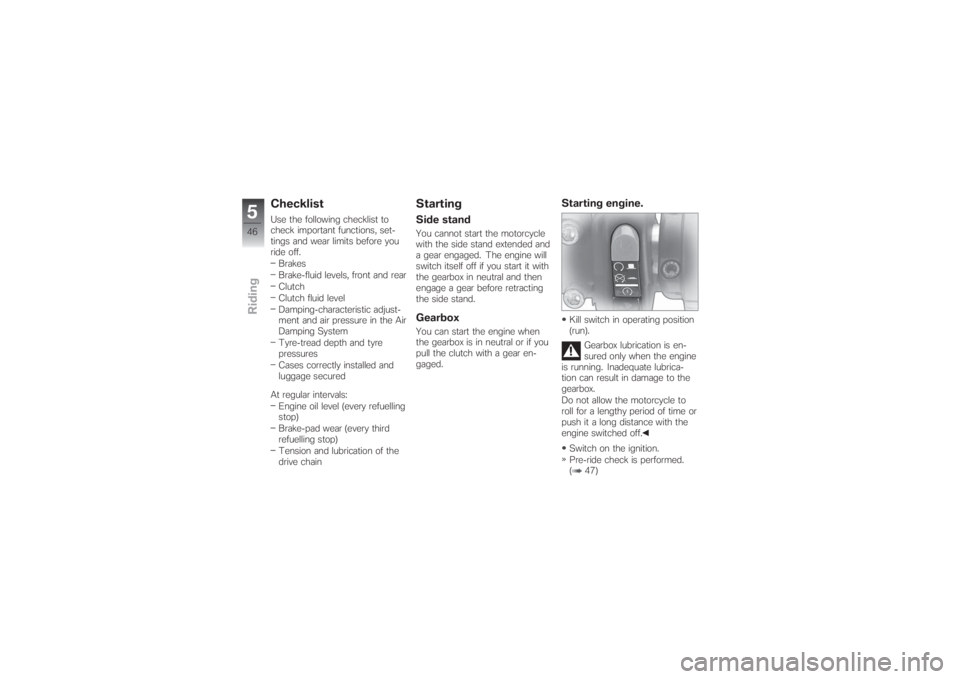
Starting engine.Kill switch in operating position
(run).
Gearbox lubrication is en-
sured only when the engine
is running. Inadequate lubrica-
tion can result in damage to the
gearbox.
Do not allow the motorcycle to
roll for a lengthy period of time or
push it a long distance with the
engine switched off.
Switch on the ignition.
Pre-ride check is performed.
( 47)
546zRiding
Page 51 of 138
Keep to the specified engine
speeds for running in.
During the running-in phase,
do not exceed the speed limits
specified for the various gears.
Maximum speeds during
running-in period
max 35 km/h (1st gear)
max 55 km/h (2nd gear)
max 75 km/h (3rd gear)
max 95 km/h (4th gear)
max 110 km/h (5th gear)
No full-load acceleration.
Avoid low engine speeds at full
load.
Do not omit the first inspection
after 500 - 1200 km.Brake padsNew brake pads must "bed
down" and therefore do not
achieve their optimum friction
levels during the first 500km. You can compensate for
this initial reduction in braking
efficiency by exerting greater
pressure on the levers.
New brake pads can ex-
tend stopping distance by a
significant margin.
Apply the brakes in good time.
TyresNew tyres have a smooth sur-
face. This must be roughened by
riding in a restrained manner at
various heel angles until the tyres
are run in. This running in pro-
cedure is essential if the tyres are
to achieve maximum grip.
Tyres do not have their full
grip when new and there
is a risk of accidents at extreme
angles of heel.
Avoid extreme angles of heel.
Riding off-roadTyre pressures
Tyre pressures reduced for
off-road riding impair the
motorcycle's handling character-
istics on surfaced roads and can
lead to accidents.
Always check that the tyre pres-
sures are correct.
Dirt or mud on brakes
When riding on loose sur-
faces or muddy roads, the
brakes may fail to take effect
immediately because of dirt or
moisture on the discs or brake
pads.
Apply the brakes in good time
until the brakes have been
cleaned.
The brake pads will wear
more rapidly if you ride fre-
quently on unsurfaced tracks or
poor roads.
Check the thickness of the brake
549zRiding
Page 52 of 138
pads more frequently and replace
the brake pads in good time.Air pressure and damping
characteristics
The off-road settings for air
pressure in the Air Damping
System and the front and rear
shock-absorber damping char-
acteristics will impair the motor-
cycle's handling characteristics
on surfaced roads.
If you have been off-roading, re-
member to correct the air pres-
sure in the Air Damping System
and the shock-absorber damping
characteristics before you return
to surfaced roads.
Deactivatable ABS
OE
You can deactivate the BMW
Motorrad Integral ABS for off-
roading ( 33).
BrakesHow can stopping
distance be minimised?Each time the brakes are applied,
a load distribution shift takes
place with the load shifting for-
ward from the rear to the front
wheel. The sharper the motor-
cycle decelerates, the more load
is shifted to the front wheel. The
higher the wheel load, the more
braking force can be transmitted
without the wheel locking.
To optimise stopping distance,
apply the front brakes rapidly and
keep on increasing the force you
apply to the brake lever. This
makes the best possible use
of the dynamic increase in load
at the front wheel. Remember
to pull the clutch at the same
time. In the "panic braking situ-
ations" that are trained so fre-
quently braking force is applied
as rapidly as possible and withthe rider's full force applied to
the brake levers; under these cir-
cumstances the dynamic shift
in load distribution cannot keep
pace with the increase in de-
celeration and the tyres cannot
transmit the full braking force to
the surface of the road. ABS has
to intervene to keep the front
wheel from locking; this increases
stopping distance.
Descending mountain
passes
There is a danger of the
brakes fading if you use
only the rear brakes when des-
cending mountain passes. Under
extreme conditions, the brakes
could overheat and suffer severe
damage.
Use both front and rear brakes,
and make use of the engine's
braking effect as well.
550zRiding
Page 53 of 138
Wet brakes
After the motorcycle has
been washed, ridden
through water or ridden in
the rain, the brake discs and
pads might be wet and the
brakes might not take effect
immediately.
Apply the brakes in good time
until the brakes have dried out.
Salt on brakes
The brakes may fail to take
effect immediately if the
motorcycle was ridden on salt-
covered roads and the brakes
were not applied for some time.
Apply the brakes in good time
until the salt layer on the brake
discs and brake pads has been
removed.
Oil or grease on brakes
Oil and grease on the brake
discs and pads considerably
diminish braking efficiency.
Especially after repair and main-
tenance work, make sure that the
brake discs and brake pads are
free of oil and grease.
Dirt or mud on brakes
When riding on loose sur-
faces or muddy roads, the
brakes may fail to take effect
immediately because of dirt or
moisture on the discs or brake
pads.
Apply the brakes in good time
until the brakes have been
cleaned.
The brake pads will wear
more rapidly if you ride fre-
quently on unsurfaced tracks or
poor roads.
Check the thickness of the brakepads more frequently and replace
the brake pads in good time.
Parking your
motorcyclePlacing motorcycle on
side stand
If the ground is soft or un-
even, there is no guaran-
tee that the motorcycle will rest
firmly on the stand.
Always check that the ground
under the stand is level and
firm.
Switch off the engine.
Pull the handbrake lever.
Hold the motorcycle upright
and balanced.
Use your left foot to extend the
side stand fully.
The side stand is designed
to support only the weight
of the motorcycle.
Do not lean or sit on the
551zRiding
Page 54 of 138
motorcycle with the side stand
extended.
Slowly lean the motorcycle to
the side until its weight is taken
by the stand and dismount to
the left.
If the motorcycle is on the
side stand, the surface of
the ground will determine wheth-
er it is better to turn the handle-
bars to the left or right. However,
the motorcycle is more stable on
a level surface with the handle-
bars turned to the left than with
the handlebars turned to the
right.
On level ground, always turn the
handlebars to the left to set the
steering lock.
Turn the handlebars to full left
or right lock.
Check that the motorcycle is
standing firmly.On a gradient, the motor-
cycle should always face
uphill; select 1st gear.
Lock the steering lock.
Removing motorcycle
from side standUnlock the steering lock.
From the left, grip the handle-
bars with both hands.
Pull the handbrake lever.
Swing your right leg over the
seat and lift the motorcycle to
the upright position.
Hold the motorcycle upright
and balanced.
An extended side stand can
catch on the ground when
the motorcycle is moving and
lead to a fall.
Retract the side stand before
moving the motorcycle.
Sit on the motorcycle and use
your left foot to retract the side
stand.
Refuelling
Fuel is highly flammable. A
naked flame close to the
fuel tank can cause a fire or ex-
plosion.
Do not smoke. Never bring a
naked flame near the fuel tank.
Fuel expands when hot.
Fuel escaping from an
overfilled tank could make its way
onto the rear tyre. This could
cause a fall.
Do not fill the tank past the bot-
tom edge of the filler neck.
Fuel attacks plastics, which
become dull or unsightly.
Wipe off plastic parts immediately
if they come into contact with
fuel.
Leaded fuel will destroy the
catalytic converter.
Use only unleaded fuel.
552zRiding