Hyundai Terracan 2006 Owner's Manual
Manufacturer: HYUNDAI, Model Year: 2006, Model line: Terracan, Model: Hyundai Terracan 2006Pages: 539, PDF Size: 18.11 MB
Page 321 of 539
1
CONTROLS AND EQUIPMENT
13
!
NOTE: If any door,
tailgate door or engine
bonnet is not opened within 30 sec- onds, the system will be rearmedand all doors re-locked.
CAUTION:
Only the transmitter can disarm thearmed stage. If the transmitter doesnot disarm the system, it is neces- sary to take the following steps;
1. Unlock the door with the key, which will cause, the alarm to be acti- vated.
2. Insert the key in the ignition key cylinder and turn the ignition keyto "ON" position.
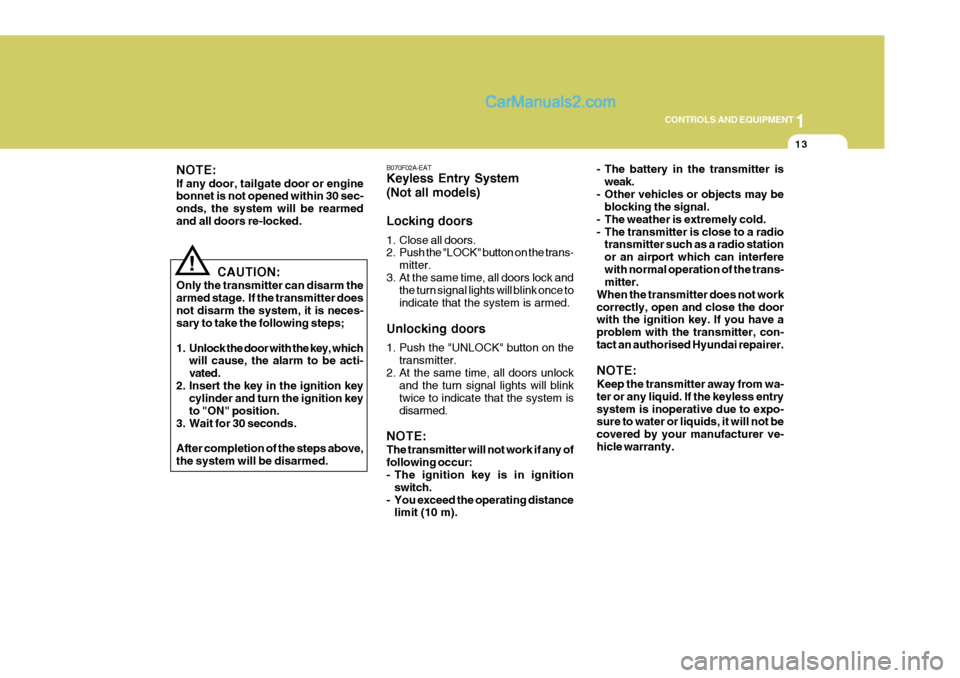
3. Wait for 30 seconds. After completion of the steps above, the system will be disarmed. B070F02A-EAT Keyless Entry System (Not all models) Locking doors
1. Close all doors.
2. Push the "LOCK" button on the trans-
mitter.
3. At the same time, all doors lock and the turn signal lights will blink once to indicate that the system is armed.
Unlocking doors
1. Push the "UNLOCK" button on the transmitter.
2. At the same time, all doors unlock and the turn signal lights will blink twice to indicate that the system isdisarmed.
NOTE: The transmitter will not work if any of following occur:
- The ignition key is in ignition switch.
- You exceed the operating distance limit (10 m). - The battery in the transmitter is
weak.
- Other vehicles or objects may be blocking the signal.
- The weather is extremely cold.
- The transmitter is close to a radio transmitter such as a radio stationor an airport which can interferewith normal operation of the trans- mitter.
When the transmitter does not work correctly, open and close the door with the ignition key. If you have a problem with the transmitter, con-tact an authorised Hyundai repairer. NOTE: Keep the transmitter away from wa- ter or any liquid. If the keyless entrysystem is inoperative due to expo- sure to water or liquids, it will not be covered by your manufacturer ve-hicle warranty.
Page 322 of 539
1CONTROLS AND EQUIPMENT
14
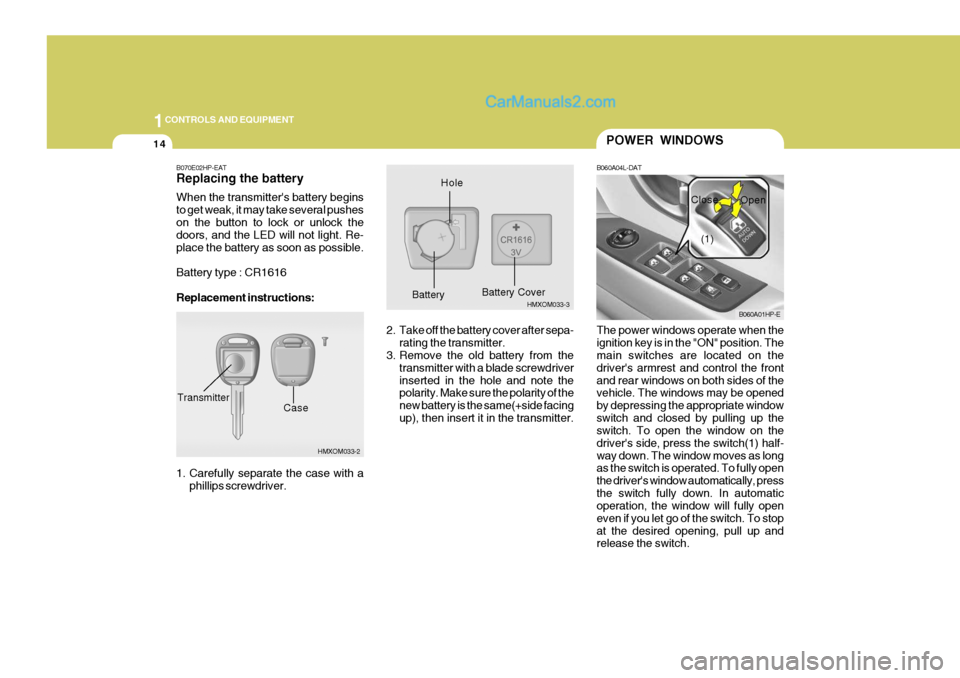
B070E02HP-EAT Replacing the battery When the transmitter's battery begins to get weak, it may take several pusheson the button to lock or unlock the doors, and the LED will not light. Re- place the battery as soon as possible. Battery type : CR1616 Replacement instructions:
1. Carefully separate the case with aphillips screwdriver.
HMXOM033-2
CaseTransmitter
HMXOM033-3
HoleBattery
Battery Cover
The power windows operate when the ignition key is in the "ON" position. The main switches are located on the driver's armrest and control the frontand rear windows on both sides of the vehicle. The windows may be opened by depressing the appropriate windowswitch and closed by pulling up the switch. To open the window on the driver's side, press the switch(1) half-way down. The window moves as long as the switch is operated. To fully open the driver's window automatically, pressthe switch fully down. In automatic operation, the window will fully open even if you let go of the switch. To stopat the desired opening, pull up and release the switch.
POWER WINDOWS
B060A04L-DAT
B060A01HP-E
(1)
Close
Open
2. Take off the battery cover after sepa- rating the transmitter.
3. Remove the old battery from the
transmitter with a blade screwdriver inserted in the hole and note the polarity. Make sure the polarity of the new battery is the same(+side facingup), then insert it in the transmitter.
Page 323 of 539
1
CONTROLS AND EQUIPMENT
15
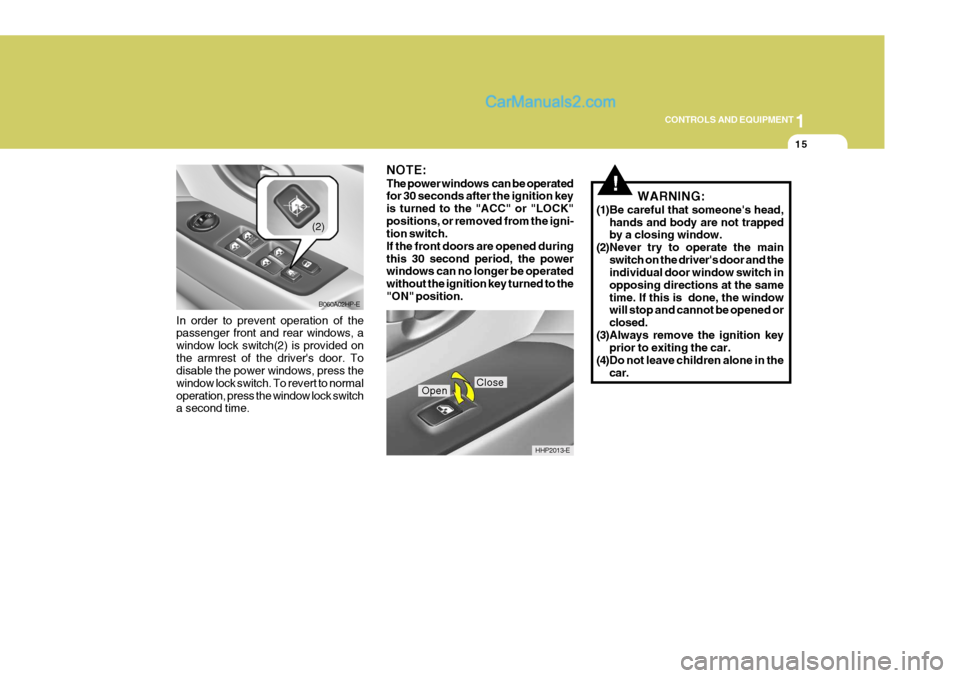
In order to prevent operation of the passenger front and rear windows, a window lock switch(2) is provided onthe armrest of the driver's door. To disable the power windows, press the window lock switch. To revert to normaloperation, press the window lock switch a second time.
B060A02HP-E
(2)
NOTE: The power windows can be operated for 30 seconds after the ignition key is turned to the "ACC" or "LOCK"positions, or removed from the igni- tion switch. If the front doors are opened duringthis 30 second period, the power windows can no longer be operated without the ignition key turned to the"ON" position.
HHP2013-E
CloseOpen
!WARNING:
(1)Be careful that someone's head, hands and body are not trapped by a closing window.
(2)Never try to operate the main
switch on the driver's door and theindividual door window switch in opposing directions at the sametime. If this is done, the window will stop and cannot be opened or closed.
(3)Always remove the ignition key prior to exiting the car.
(4)Do not leave children alone in the car.
Page 324 of 539
1CONTROLS AND EQUIPMENT
16
!WARNING:
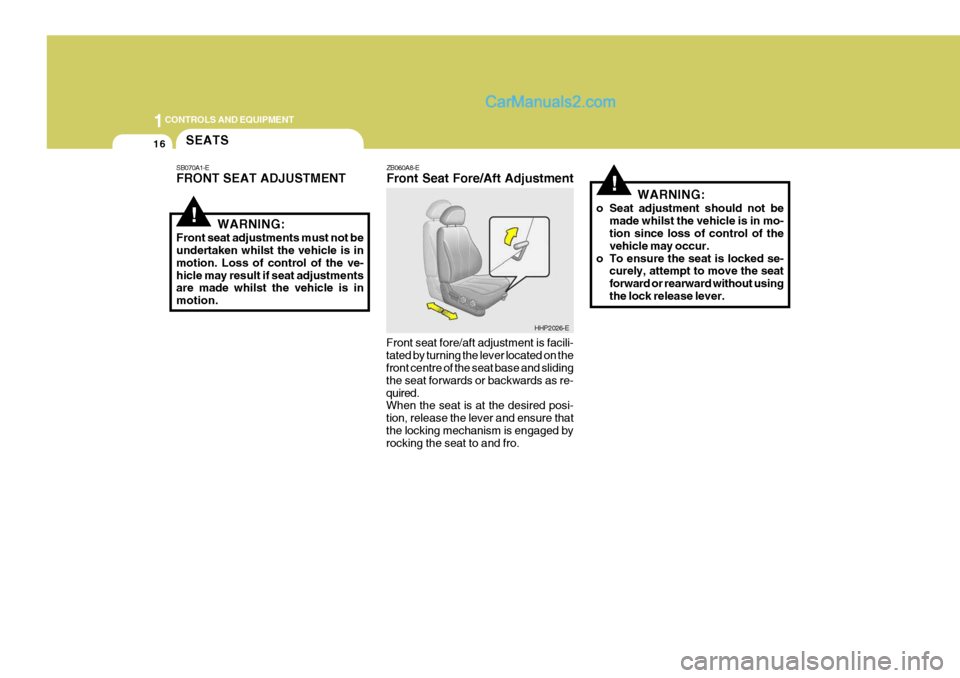
Front seat adjustments must not be undertaken whilst the vehicle is in motion. Loss of control of the ve-hicle may result if seat adjustments are made whilst the vehicle is in motion. ZB060A8-E Front Seat Fore/Aft Adjustment
SEATS
SB070A1-E FRONT SEAT ADJUSTMENT
HHP2026-E
!WARNING:
o Seat adjustment should not be made whilst the vehicle is in mo- tion since loss of control of the vehicle may occur.
o To ensure the seat is locked se- curely, attempt to move the seatforward or rearward without usingthe lock release lever.
Front seat fore/aft adjustment is facili-tated by turning the lever located on the front centre of the seat base and sliding the seat forwards or backwards as re-quired. When the seat is at the desired posi- tion, release the lever and ensure thatthe locking mechanism is engaged by rocking the seat to and fro.
Page 325 of 539
1
CONTROLS AND EQUIPMENT
17
!
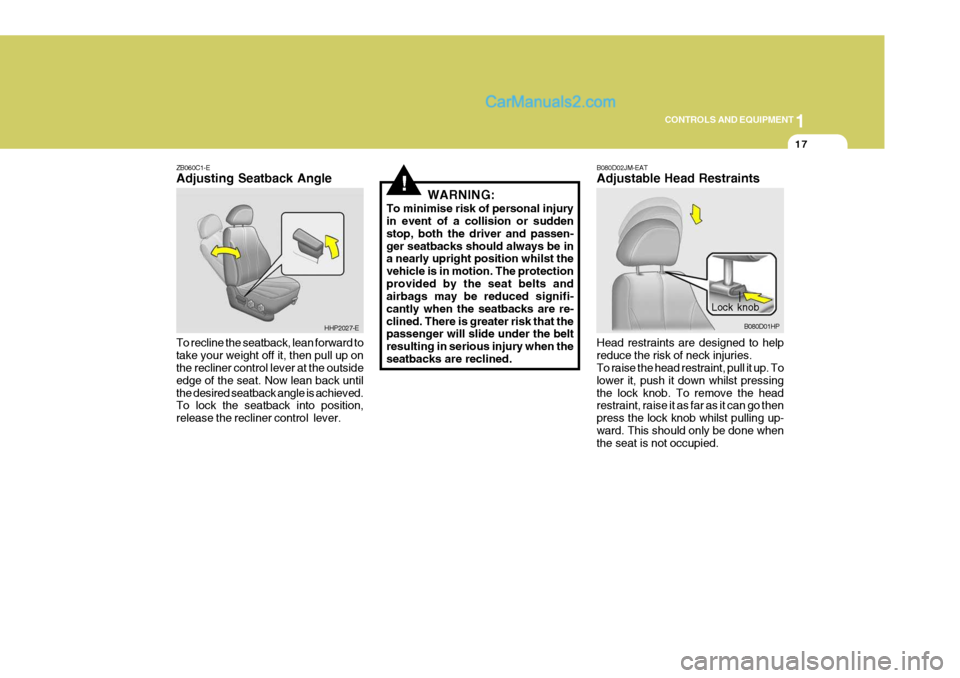
ZB060C1-E Adjusting Seatback Angle To recline the seatback, lean forward to take your weight off it, then pull up on the recliner control lever at the outside edge of the seat. Now lean back untilthe desired seatback angle is achieved. To lock the seatback into position, release the recliner control lever. WARNING:
To minimise risk of personal injury in event of a collision or sudden stop, both the driver and passen-ger seatbacks should always be in a nearly upright position whilst the vehicle is in motion. The protectionprovided by the seat belts and airbags may be reduced signifi- cantly when the seatbacks are re-clined. There is greater risk that the passenger will slide under the belt resulting in serious injury when the seatbacks are reclined.
HHP2027-E
Lock knob
B080D01HP
B080D02JM-EAT Adjustable Head Restraints Head restraints are designed to help reduce the risk of neck injuries. To raise the head restraint, pull it up. To lower it, push it down whilst pressingthe lock knob. To remove the head restraint, raise it as far as it can go then press the lock knob whilst pulling up-ward. This should only be done when the seat is not occupied.
Page 326 of 539
1CONTROLS AND EQUIPMENT
18
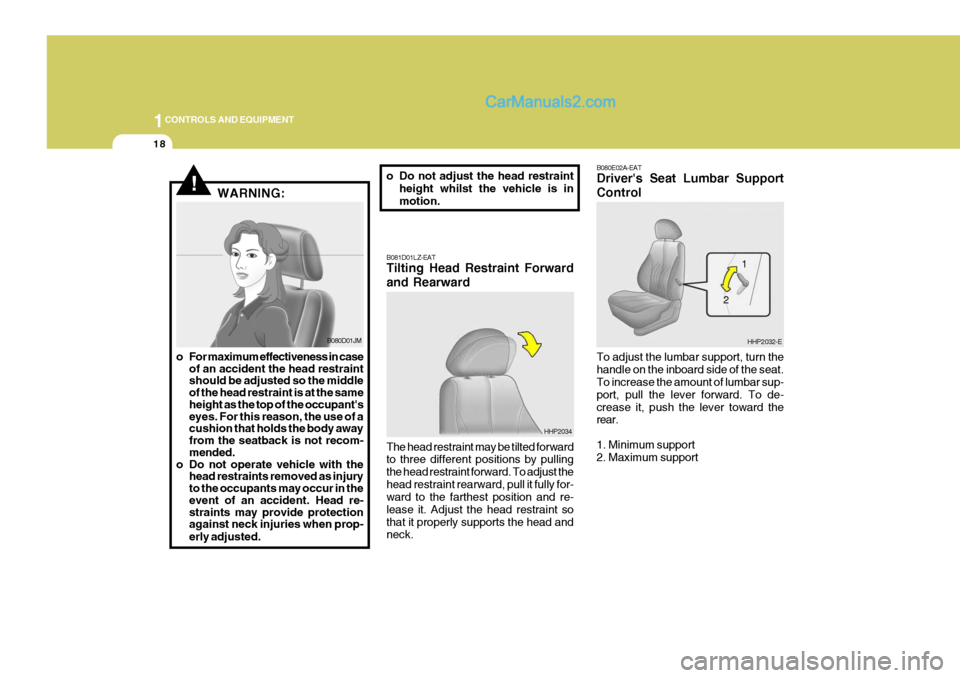
B080E02A-EAT Driver's Seat Lumbar Support Control To adjust the lumbar support, turn the handle on the inboard side of the seat. To increase the amount of lumbar sup- port, pull the lever forward. To de-crease it, push the lever toward the rear. 1. Minimum support 2. Maximum support
HHP2032-E
HHP2034
!WARNING:
B081D01LZ-EAT Tilting Head Restraint Forward and Rearward The head restraint may be tilted forward to three different positions by pulling the head restraint forward. To adjust thehead restraint rearward, pull it fully for- ward to the farthest position and re- lease it. Adjust the head restraint sothat it properly supports the head and neck. 1
2
B080D01JM
o For maximum effectiveness in case of an accident the head restraint should be adjusted so the middle of the head restraint is at the same height as the top of the occupant's eyes. For this reason, the use of a cushion that holds the body away from the seatback is not recom- mended.
o Do not operate vehicle with the head restraints removed as injury to the occupants may occur in the event of an accident. Head re- straints may provide protection against neck injuries when prop- erly adjusted. o Do not adjust the head restraint
height whilst the vehicle is inmotion.
Page 327 of 539
1
CONTROLS AND EQUIPMENT
19
!
!
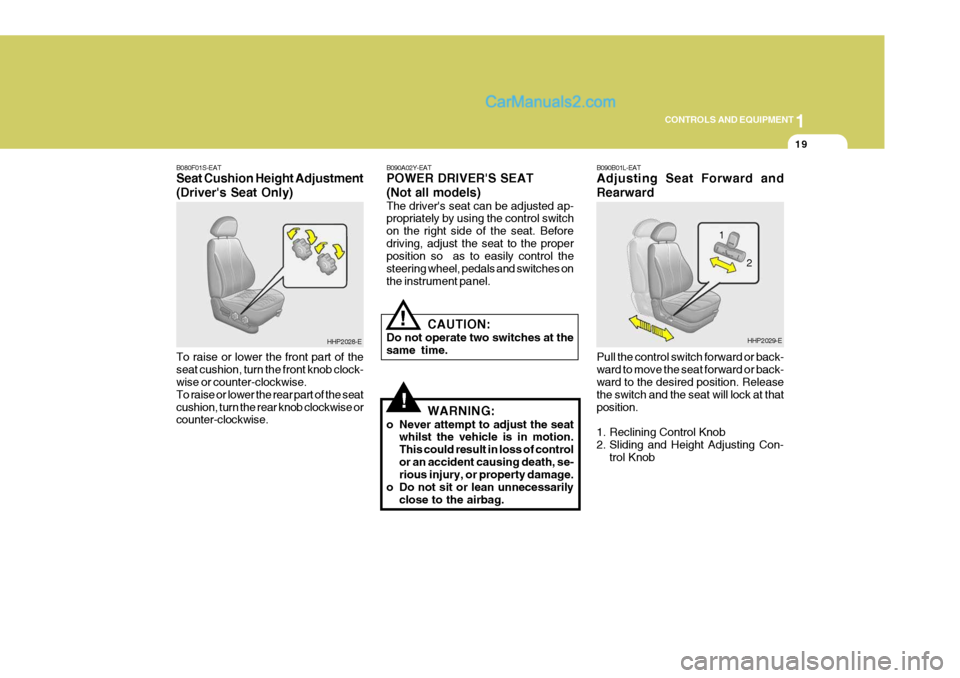
B080F01S-EAT Seat Cushion Height Adjustment (Driver's Seat Only) To raise or lower the front part of the seat cushion, turn the front knob clock- wise or counter-clockwise. To raise or lower the rear part of the seatcushion, turn the rear knob clockwise or counter-clockwise. B090A02Y-EAT POWER DRIVER'S SEAT (Not all models) The driver's seat can be adjusted ap- propriately by using the control switch on the right side of the seat. Beforedriving, adjust the seat to the proper position so as to easily control the steering wheel, pedals and switches onthe instrument panel.
CAUTION:
Do not operate two switches at thesame time.
WARNING:
o Never attempt to adjust the seat whilst the vehicle is in motion.This could result in loss of controlor an accident causing death, se- rious injury, or property damage.
o Do not sit or lean unnecessarily close to the airbag.
HHP2028-E B090B01L-EAT Adjusting Seat Forward and Rearward Pull the control switch forward or back- ward to move the seat forward or back- ward to the desired position. Release the switch and the seat will lock at thatposition.
1. Reclining Control Knob
2. Sliding and Height Adjusting Con-
trol KnobHHP2029-E
2
1
Page 328 of 539
1CONTROLS AND EQUIPMENT
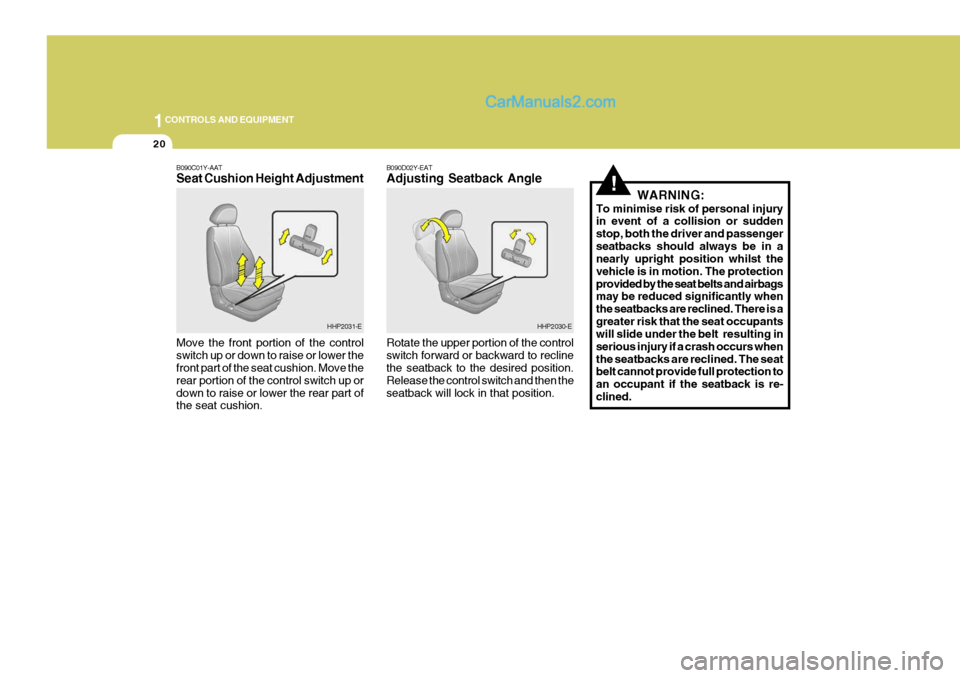
20
!
B090C01Y-AAT Seat Cushion Height Adjustment Move the front portion of the control switch up or down to raise or lower the front part of the seat cushion. Move the rear portion of the control switch up ordown to raise or lower the rear part of the seat cushion. B090D02Y-EAT Adjusting Seatback Angle Rotate the upper portion of the control switch forward or backward to recline the seatback to the desired position. Release the control switch and then theseatback will lock in that position.
WARNING:
To minimise risk of personal injury in event of a collision or sudden stop, both the driver and passengerseatbacks should always be in a nearly upright position whilst the vehicle is in motion. The protectionprovided by the seat belts and airbags may be reduced significantly when the seatbacks are reclined. There is agreater risk that the seat occupants will slide under the belt resulting in serious injury if a crash occurs whenthe seatbacks are reclined. The seat belt cannot provide full protection to an occupant if the seatback is re-clined.
HHP2031-EHHP2030-E
Page 329 of 539
1
CONTROLS AND EQUIPMENT
21
!
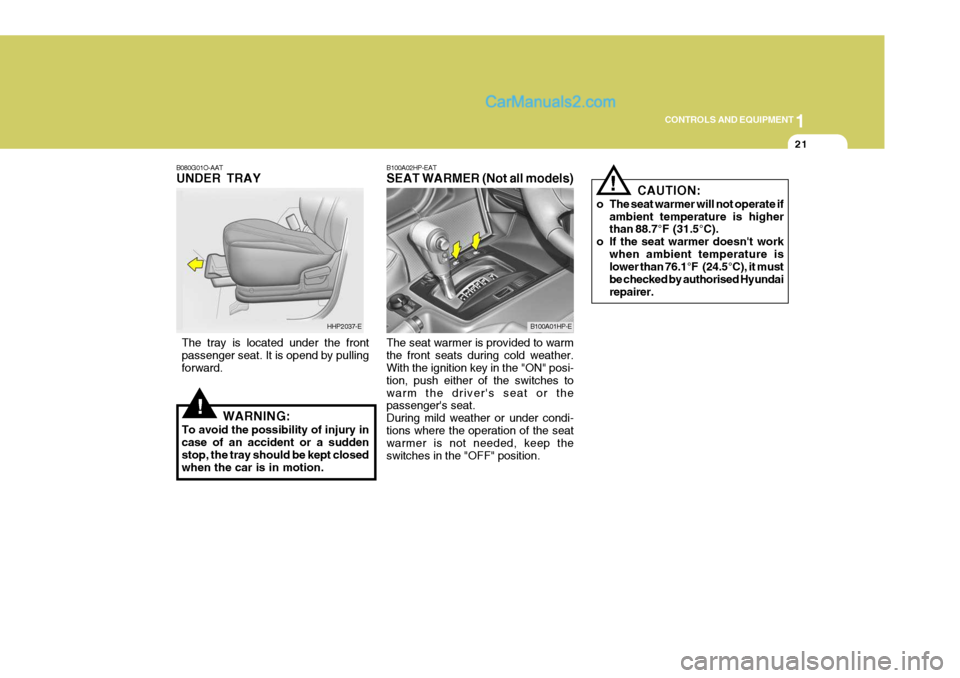
B080G01O-AAT UNDER TRAY
The tray is located under the front passenger seat. It is opend by pulling forward. WARNING:
To avoid the possibility of injury in case of an accident or a suddenstop, the tray should be kept closed when the car is in motion. B100A02HP-EAT SEAT WARMER (Not all models) The seat warmer is provided to warm the front seats during cold weather. With the ignition key in the "ON" posi- tion, push either of the switches towarm the driver's seat or the passenger's seat. During mild weather or under condi-tions where the operation of the seat warmer is not needed, keep the switches in the "OFF" position.
HHP2037-EB100A01HP-E
!
CAUTION:
o The seat warmer will not operate if ambient temperature is higher than 88.7°F (31.5°C).
o If the seat warmer doesn't work when ambient temperature islower than 76.1°F (24.5°C), it must be checked by authorised Hyundairepairer.
Page 330 of 539
1CONTROLS AND EQUIPMENT
22
!
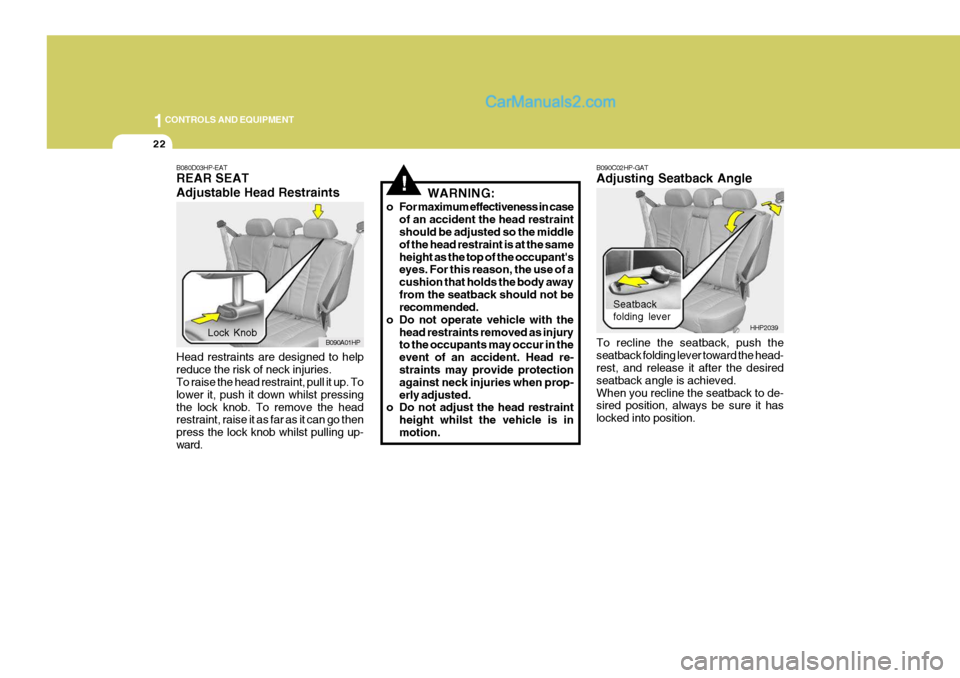
B080D03HP-EAT REAR SEAT Adjustable Head Restraints Head restraints are designed to help reduce the risk of neck injuries. To raise the head restraint, pull it up. To lower it, push it down whilst pressingthe lock knob. To remove the head restraint, raise it as far as it can go then press the lock knob whilst pulling up-ward. WARNING:
o For maximum effectiveness in case of an accident the head restraint should be adjusted so the middle of the head restraint is at the sameheight as the top of the occupant's eyes. For this reason, the use of a cushion that holds the body awayfrom the seatback should not be recommended.
o Do not operate vehicle with the
head restraints removed as injuryto the occupants may occur in the event of an accident. Head re- straints may provide protection against neck injuries when prop-erly adjusted.
o Do not adjust the head restraint
height whilst the vehicle is inmotion.
Lock Knob B090A01HP B090C02HP-GAT Adjusting Seatback Angle To recline the seatback, push the seatback folding lever toward the head- rest, and release it after the desired seatback angle is achieved.When you recline the seatback to de- sired position, always be sure it has locked into position.
Seatback folding lever
HHP2039