INFINITI QX56 2011 Factory Service Manual
Manufacturer: INFINITI, Model Year: 2011, Model line: QX56, Model: INFINITI QX56 2011Pages: 5598, PDF Size: 94.53 MB
Page 4251 of 5598

SUNROOF UNIT ASSEMBLYRF-37
< REMOVAL AND INSTALLATION >
C
DE
F
G H
I
J
L
M A
B
RF
N
O P
SUNROOF UNIT ASSEMBLY
Exploded ViewINFOID:0000000006141250
REMOVAL
DISASSEMBLY
1. Glass lid 2. TORX bolt 3. Side trim
4. Rear drain connector 5. Rear drain hose 6. Sunroof bracket (LH,RH)
7. Front drain hose 8. Front drain connector 9. Sunroof motor assembly
10. Sunroof unit assembly
JMKIA5212ZZ
Revision: 2010 May2011 QX56
Page 4252 of 5598

RF-38
< REMOVAL AND INSTALLATION >
SUNROOF UNIT ASSEMBLY
Removal and Installation
INFOID:0000000006141251
REMOVAL
CAUTION:
Always work with a helper.
Fully close the glass lid assembly, before removal , then never operate sunroof motor assembly after
removal.
When taking sunroof unit out, use cloths to protect the seats and trim from damage.
After installing the sunroof unit and glass lid, perform the leak test and check that there is no mal-
function.
1. Remove the headlining. Refer to INT-29, "
Removal and Installation".
2. Disconnect drain hoses.
3. Remove the glass lid. Refer to RF-33, "
Removal and Installation".
4. Remove the sunroof motor assembly. Refer to RF-36, "
Removal and Installation".
1. Rear drain assembly 2. Wind deflector 3. Sunshade stopper
4. Sunroof frame 5. Sunshade
JMKIA5378ZZ
Revision: 2010 May2011 QX56
Page 4253 of 5598

SUNROOF UNIT ASSEMBLYRF-39
< REMOVAL AND INSTALLATION >
C
DE
F
G H
I
J
L
M A
B
RF
N
O P
5. Remove grip bracket.
6. Remove sunroof bracket bolts.
7. Remove nuts from the front end and side rail, and then remove sunroof unit assembly from roof panel.
8. Remove sunroof unit assembly through the passenger compartment while being careful not to damage the seats and trim.
INSTALLATION
1. Temporarily tighten the mounting nuts to the side rail of sunroof unit assembly.
2. Temporarily tighten the mounting nuts to the front end of sunroof unit assembly.
3. Temporarily tighten the mounting bolts to the sunroof brackets (LH,RH).
4. Tighten the installation points diagonally excluding the installation points of the sunroof brackets around the roof opening.
5. Tighten the mounting nuts to the front end and side rail.
6. Tighten the sunroof bracket bolts of the vehicl e side, and then tighten the bolt of the rail side.
7. Install the glass lid. NOTE:
After installation, perform fitting adjustment. Refer to RF-33, "
Adjustment".
8. Connect drain hoses.
9. Install headlining. Refer to INT-29, "
Removal and Installation".
Disassembly and AssemblyINFOID:0000000006141252
DISASSEMBLY
1. Remove sunshade stopper mounting from the rear end of sunroof frame.
2. Remove rear drain assembly from sunroof guide assembly.
3. Remove sunshade from the rear end of sunroof frame.
ASSEMBLY
Assemble in the reverse order of disassembly.
Revision: 2010 May2011 QX56
Page 4254 of 5598

RF-40
< REMOVAL AND INSTALLATION >
SUNSHADE
SUNSHADE
Exploded ViewINFOID:0000000006141253
Removal and InstallationINFOID:0000000006141254
REMOVAL
1. Remove the headlining. Refer to INT-29, "Removal and Installation".
2. Remove the sunshade stopper mounting fr om the rear end of sunroof frame.
3. Remove the sunshade from the rear end of sunroof frame.
INSTALLATION
Install in the reverse order of removal.
1. Rear drain assembly 2. Wind deflector 3. Sunshade stopper
4. Sunroof frame 5. Sunshade
JMKIA5378ZZ
Revision: 2010 May2011 QX56
Page 4255 of 5598

SUNROOF SWITCHRF-41
< REMOVAL AND INSTALLATION >
C
DE
F
G H
I
J
L
M A
B
RF
N
O P
SUNROOF SWITCH
Removal and InstallationINFOID:0000000006141255
Removal
Remove the map lamp assembly (sunroof switch). Refer to INT-29, "Removal and Installation".
Installation
Install in the reverse order of removal.
Revision: 2010 May2011 QX56
Page 4256 of 5598

RSU-1
SUSPENSION
C
DF
G H
I
J
K L
M
SECTION RSU
A
B
RSU
N
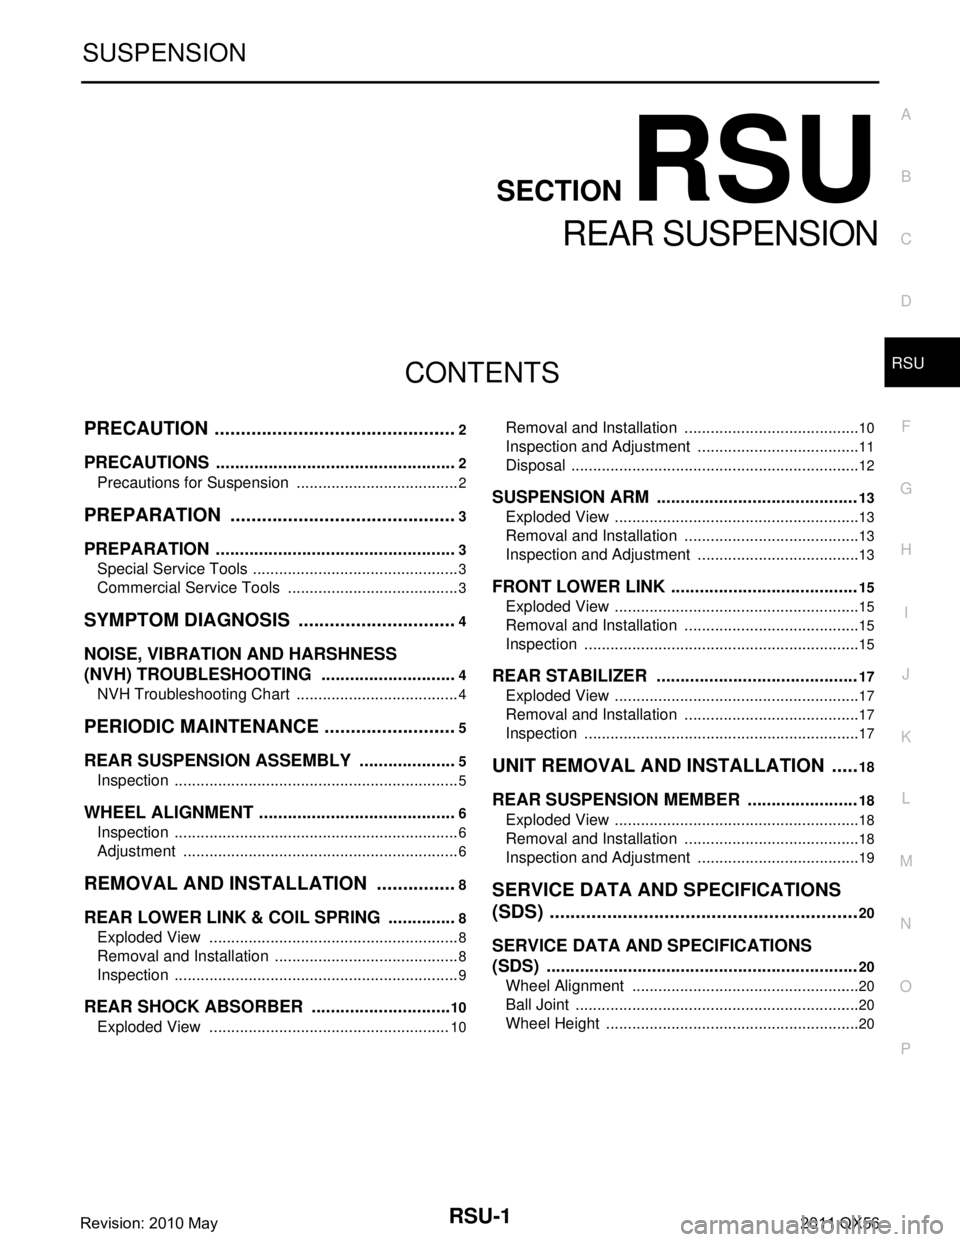
O PCONTENTS
REAR SUSPENSION
PRECAUTION ................ ...............................2
PRECAUTIONS .............................................. .....2
Precautions for Suspension ................................ ......2
PREPARATION ............................................3
PREPARATION .............................................. .....3
Special Service Tools .......................................... ......3
Commercial Service Tools ........................................3
SYMPTOM DIAGNOSIS ...............................4
NOISE, VIBRATION AND HARSHNESS
(NVH) TROUBLESHOOTING ........................ .....
4
NVH Troubleshooting Chart ................................ ......4
PERIODIC MAINTENANCE ..........................5
REAR SUSPENSION ASSEMBLY ................ .....5
Inspection ............................................................ ......5
WHEEL ALIGNMENT ..........................................6
Inspection ............................................................ ......6
Adjustment ................................................................6
REMOVAL AND INSTALLATION ................8
REAR LOWER LINK & COIL SPRING .......... .....8
Exploded View .................................................... ......8
Removal and Installation ...........................................8
Inspection ..................................................................9
REAR SHOCK ABSORBER ..............................10
Exploded View .................................................... ....10
Removal and Installation ..................................... ....10
Inspection and Adjustment ......................................11
Disposal ...................................................................12
SUSPENSION ARM ..........................................13
Exploded View .........................................................13
Removal and Installation .........................................13
Inspection and Adjustment ......................................13
FRONT LOWER LINK .......................................15
Exploded View .........................................................15
Removal and Installation .........................................15
Inspection ................................................................15
REAR STABILIZER ..........................................17
Exploded View .........................................................17
Removal and Installation .........................................17
Inspection ................................................................17
UNIT REMOVAL AND INSTALLATION ......18
REAR SUSPENSION MEMBER .......................18
Exploded View ..................................................... ....18
Removal and Installation .........................................18
Inspection and Adjustment ......................................19
SERVICE DATA AND SPECIFICATIONS
(SDS) ............... .............................................
20
SERVICE DATA AND SPECIFICATIONS
(SDS) .................................................................
20
Wheel Alignment ................................................. ....20
Ball Joint ..................................................................20
Wheel Height ...........................................................20
Revision: 2010 May2011 QX56
Page 4257 of 5598

RSU-2
< PRECAUTION >
PRECAUTIONS
PRECAUTION
PRECAUTIONS
Precautions for SuspensionINFOID:0000000006225656
• When installing rubber bushings, the final tightening must be carried out under unladen conditions with tires
on ground. Spilled oil might shorten the life of rubber bushings. Be sure to wipe off any spilled oil.
- Unladen conditions mean that fuel, engine coolant and l ubricant are full. Spare tire, jack, hand tools and
mats are in designated positions.
After servicing suspension parts, be sure to check wheel alignment.
Self-lock nuts are not reusable. Always use new ones when installing. Since new self-lock nuts are pre-oiled,
tighten as they are.
Revision: 2010 May2011 QX56
Page 4258 of 5598

PREPARATIONRSU-3
< PREPARATION >
C
DF
G H
I
J
K L
M A
B
RSU
N
O P
PREPARATION
PREPARATION
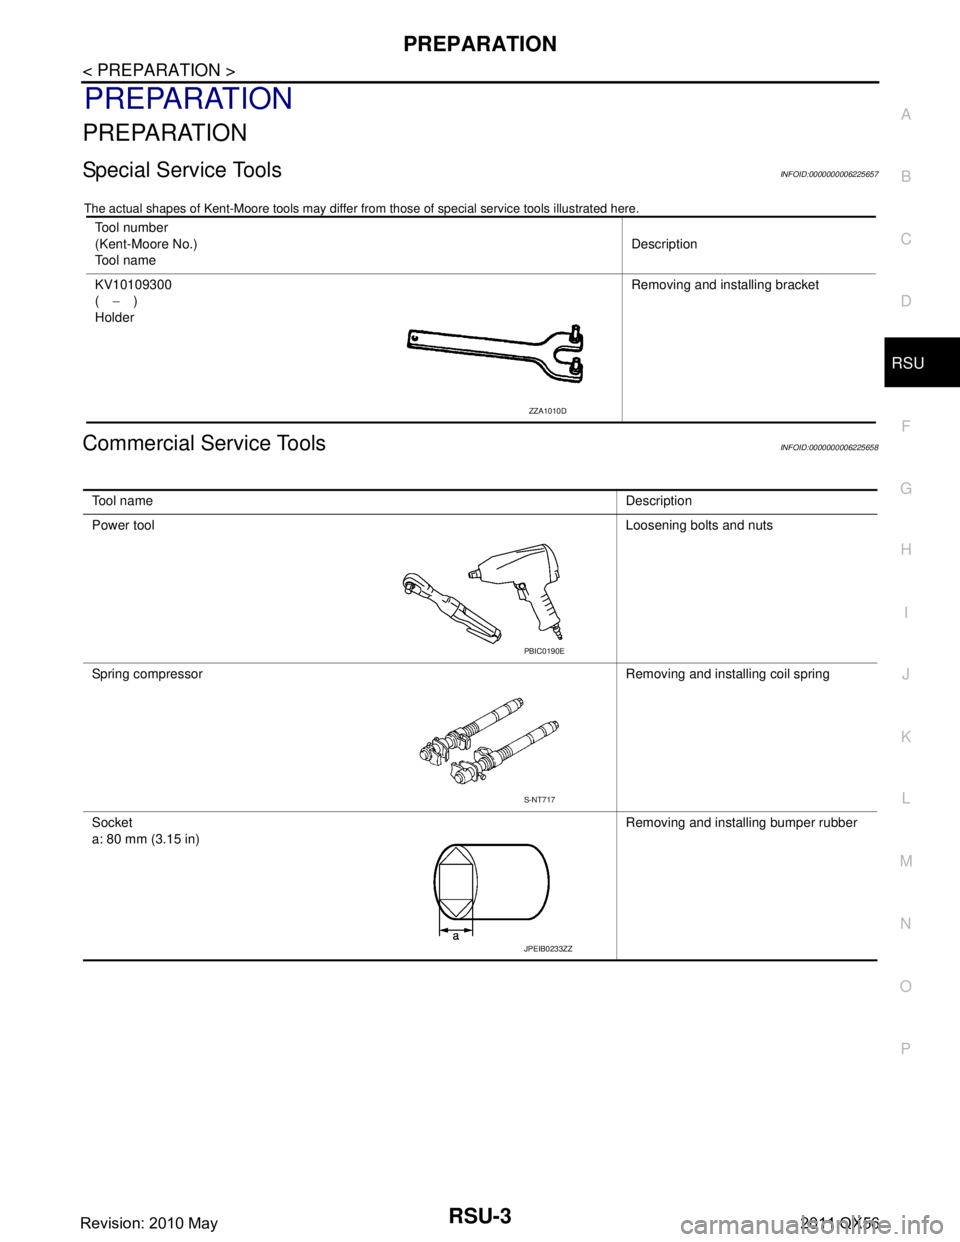
Special Service ToolsINFOID:0000000006225657
The actual shapes of Kent-Moore t ools may differ from those of special service tools illustrated here.
Commercial Service ToolsINFOID:0000000006225658
Tool number
(Kent-Moore No.)
Tool name Description
KV10109300
( − )
Holder Removing and installing bracket
ZZA1010D
Tool name
Description
Power tool Loosening bolts and nuts
Spring compressor Removing and installing coil spring
Socket
a: 80 mm (3.15 in) Removing and installing bumper rubber
PBIC0190E
S-NT717
JPEIB0233ZZ
Revision: 2010 May2011 QX56
Page 4259 of 5598

RSU-4
< SYMPTOM DIAGNOSIS >
NOISE, VIBRATION AND HARSHNESS (NVH) TROUBLESHOOTING
SYMPTOM DIAGNOSIS
NOISE, VIBRATION AND HARSHNESS (NVH) TROUBLESHOOTING
NVH Troubleshooting ChartINFOID:0000000006225659
Use chart below to find the cause of the symptom. If necessary, repair or replace these parts.
×: ApplicableReference page
RSU-8
,
RSU-10
, RSU-13
, RSU-15
, RSU-18
RSU-11
—
—
—
RSU-8
, RSU-10
, RSU-13
, RSU-15
, RSU-18
RSU-6RSU-17
NVH in DLN section.
NVH in DLN section.
NVH in RAX and RSU sections.
NVH in WT section.
NVH in WT section.
NVH in RAX section.
NVH in BR section.
NVH in ST section.
Possible cause and SUSPECTED PARTS
Improper installation, looseness
Shock absorber deformation, damage or deflection
Bushing or mounting deterioration
Parts interference
Spring fatigue
Suspension looseness
Incorrect wheel alignment
Stabilizer bar fatigue
PROPELLER SHAFT
DIFFERENTIAL
REAR AXLE AND REAR SUSPENSION
TIRE
ROAD WHEEL
DRIVE SHAFT
BRAKE
STEERING
Symptom REAR SUSPENSION Noise
×××××× ××××××××
Shake ×××× × × ××××××
Vibration ××××× × ×× × ×
Shimmy ×××× × ××× ××
Judder ××× ××× ××
Poor quality ride or
handling ××××× ×× ×××
Revision: 2010 May2011 QX56
Page 4260 of 5598

REAR SUSPENSION ASSEMBLYRSU-5
< PERIODIC MAINTENANCE >
C
DF
G H
I
J
K L
M A
B
RSU
N
O P
PERIODIC MAINTENANCE
REAR SUSPENSION ASSEMBLY
InspectionINFOID:0000000006225660
MOUNTING INSPECTION
Check the mounting conditions (looseness, backlash) of each component and component conditions (wear,
damage) are normal.
BALL JOINT AXIAL END PLAY
Measure axial end play by placing and moving up/down with an iron bar or equivalent between suspension
arm or front lower link and axle assembly.
CAUTION:
• Never depress brake pedal when measuring.
Never perform with tires on level ground.
Be careful not to damage ball joint boot.
SHOCK ABSORBER
Check for oil leakage and damage. Replace it if necessary. Axial end play : Refer to
RSU-20, "
Ball Joint".
Revision: 2010 May2011 QX56