ignition JAGUAR X308 1998 2.G Workshop Manual
[x] Cancel search | Manufacturer: JAGUAR, Model Year: 1998, Model line: X308, Model: JAGUAR X308 1998 2.GPages: 2490, PDF Size: 69.81 MB
Page 1502 of 2490
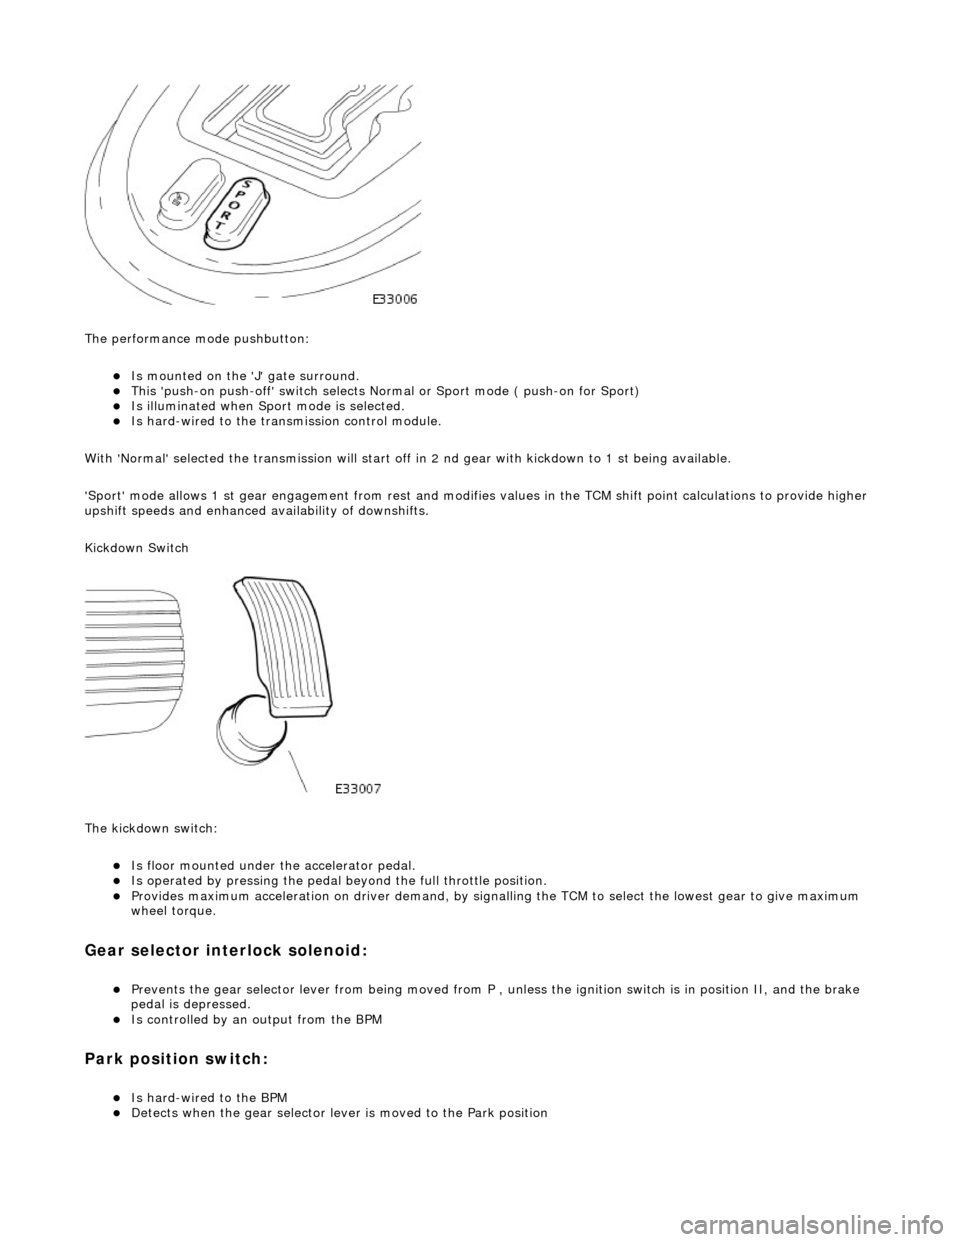
The performance mode pushbutton:
Is mounted on the 'J' gate surround. This 'push-on push-off' swit ch selects Normal or Sport mode ( push-on for Sport) Is illuminated when Sport mode is selected. Is hard-wired to the transmission control module.
With 'Normal' selected the transmissi on will start off in 2 nd gear with kickdown to 1 st being available.
'Sport' mode allows 1 st gear en gagement from rest and modifies values in the TCM shift point calculations to provide higher
upshift speeds and enhanced availability of downshifts.
Kickdown Switch
The kickdown switch:
Is floor mounted under th e accelerator pedal. Is operated by pressing the pedal beyond the full throttle position. Provides maximum acceleration on driver demand, by signalling the TCM to select the lowest gear to give maximum
wheel torque.
Gear selector interlock solenoid:
Prevents the gear selector lever from being moved from P , unless the ignition switch is in position II, and the brake
pedal is depressed.
Is controlled by an output from the BPM
Park position switch:
Is hard-wired to the BPM Detects when the gear selector lever is moved to the Park position
Page 1508 of 2490

Automatic Transmission/Transaxle External Contro ls - 4.0L SC V8 - AJ26 -
Brake Shift Interlock Actuator Manual Override
General Procedures
1. To override the gearshift interlock:
1. Unscrew the release catch blanking plug.
2. Insert the ignition key into the aperture, depress the release catch and simultan eously move the gear
selector lever from the Park position. The lever will
only move approximately 25 mm with the key
inserted.
3. Remove the ignition key and replace the blanking plug.
Page 1520 of 2490

moving the set position of either the gear selector lever or the selector lever on the transmission casing.
3. Tighten to 22-28 Nm.
4. Verify the 'N' setting.
6. Check that all released connec tors are safely insulated and
connect the vehicle battery.
7. Switch ON the ignition.
8. Adjust the position of the linear switch so that the selector 'N'
position graphic illuminates. Ti ghten the four screws to 0,7-1
Nm.
9. Move the gear selector to 'R' to confirm that the 'R' position
graphic illuminates.
10. Check that the engine will start when the gear selector is in
the 'N' and 'P' positions, bu t not in any other position.
11. Move the gear selector to 'N'.
12. Switch OFF the ignition.
13. Disconnect the battery.
14. Install the console assembly, operation 76.25.01.
15. Install the console finisher veneer panel, operation 76.47.26.
16. Install the J-gate surround, operation 76.25.24.
17. Perform the Battery Reconnection Procedure described in
Operation 86.15.15.
Page 1535 of 2490
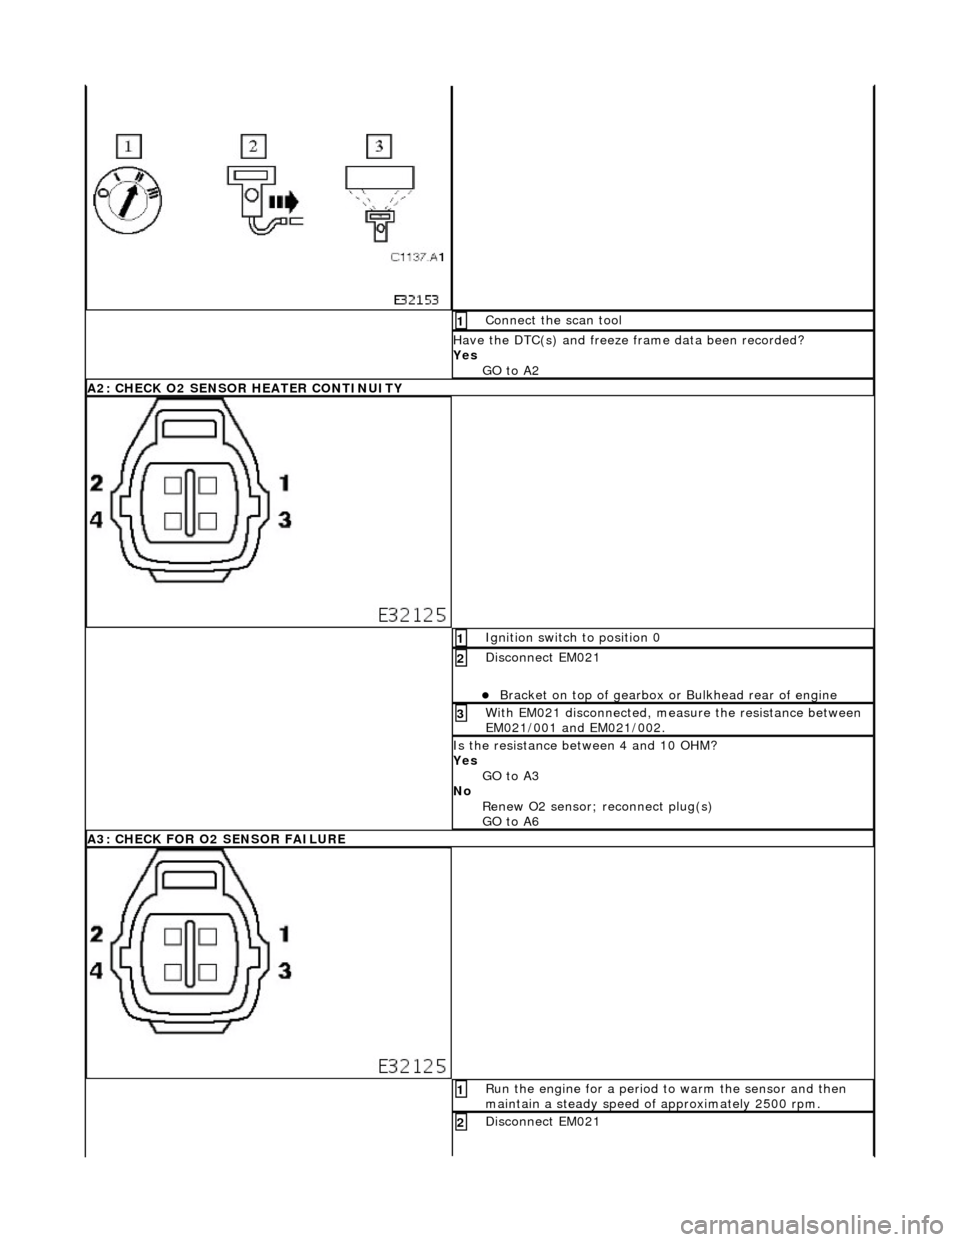
Connect the scan tool 1
Have the DTC(s) and freeze frame data been recorded?
Yes GO to A2
A2: CHECK O2 SENSOR HEATER CONTINUITY
Ignition switch to position 0 1
Disconnect EM021
Bracket on top of gearbox or Bulkhead rear of engine
2
With EM021 disconnected, measure the resistance between
EM021/001 and EM021/002. 3
Is the resistance between 4 and 10 OHM?
Yes
GO to A3
No Renew O2 sensor; reconnect plug(s)
GO to A6
A3: CHECK FOR O2 SENSOR FAILURE
Run the engine for a period to warm the sensor and then
maintain a steady speed of approximately 2500 rpm. 1
Disconnect EM021 2
Page 1542 of 2490

Ignition switch to position 0 1
Disconnect EM010 and EM012
Inside ECM housing
2
Ignition switch to position II 3
Measure the voltage between EM010/023 and EM012/015 4
Is the voltage 0 (zero) V?
Yes GO to A15
No Inspect harness / connectors EM010, EM012, and EM021 for
corrosion, damaged / pushed back pins. Repair as required
and reconnect plug(s).
GO to A18
A15: CHECK FOR SHORT TO B+
Measure the voltage between EM010/023 and EM012/022 1
Page 1544 of 2490
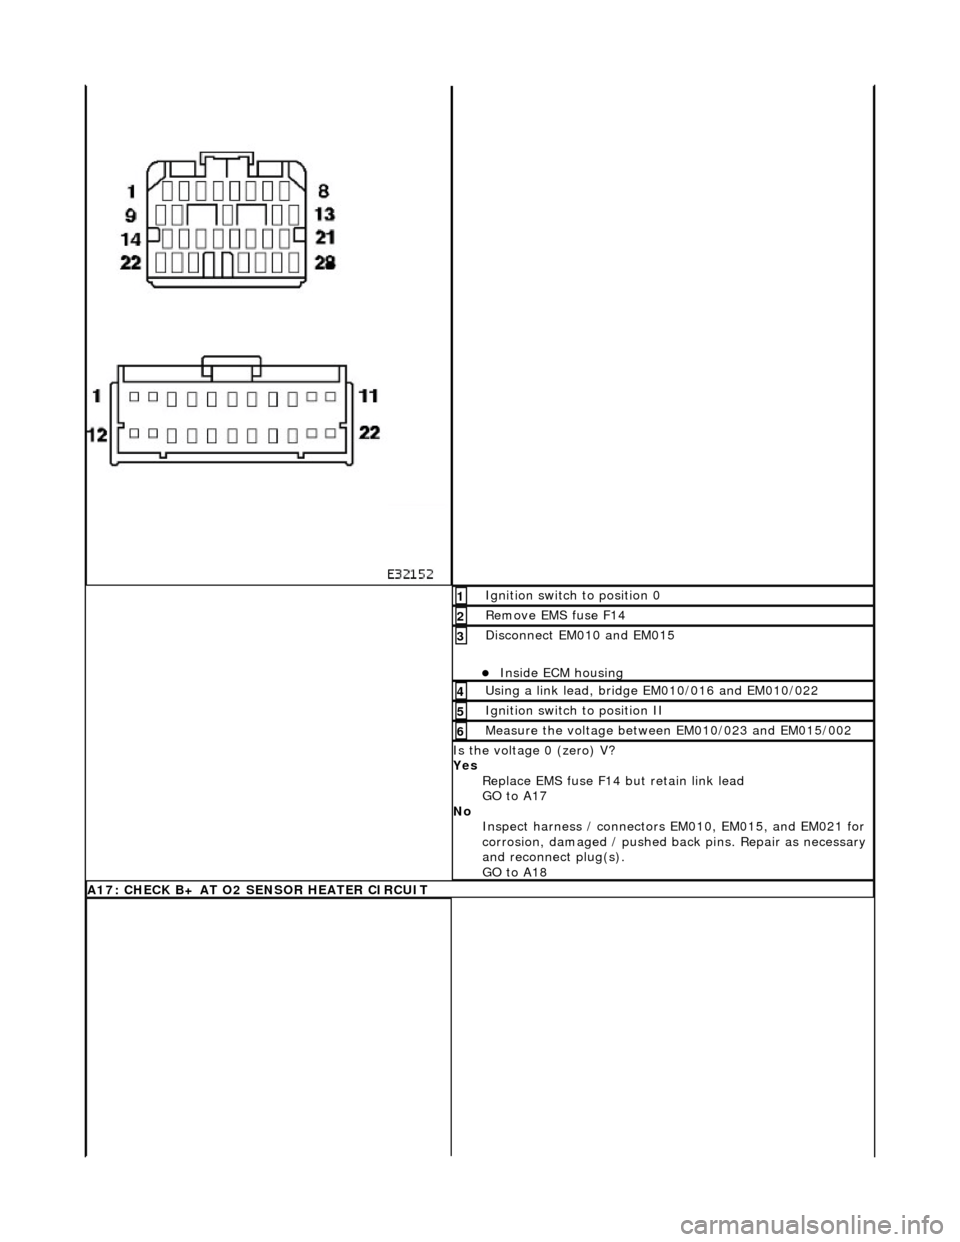
Ignition switch to position 0 1
Remove EMS fuse F14 2
Disconnect EM010 and EM015
Inside ECM housing
3
Using a link lead, bridge EM010/016 and EM010/022 4
Ignition switch to position II 5
Measure the voltage between EM010/023 and EM015/002 6
Is the voltage 0 (zero) V?
Yes Replace EMS fuse F14 but retain link lead
GO to A17
No Inspect harness / connectors EM010, EM015, and EM021 for
corrosion, damaged / pushed back pins. Repair as necessary
and reconnect plug(s).
GO to A18
A17: CHECK B+ AT O2 SENSOR HEATER CIRCUIT
Page 1546 of 2490
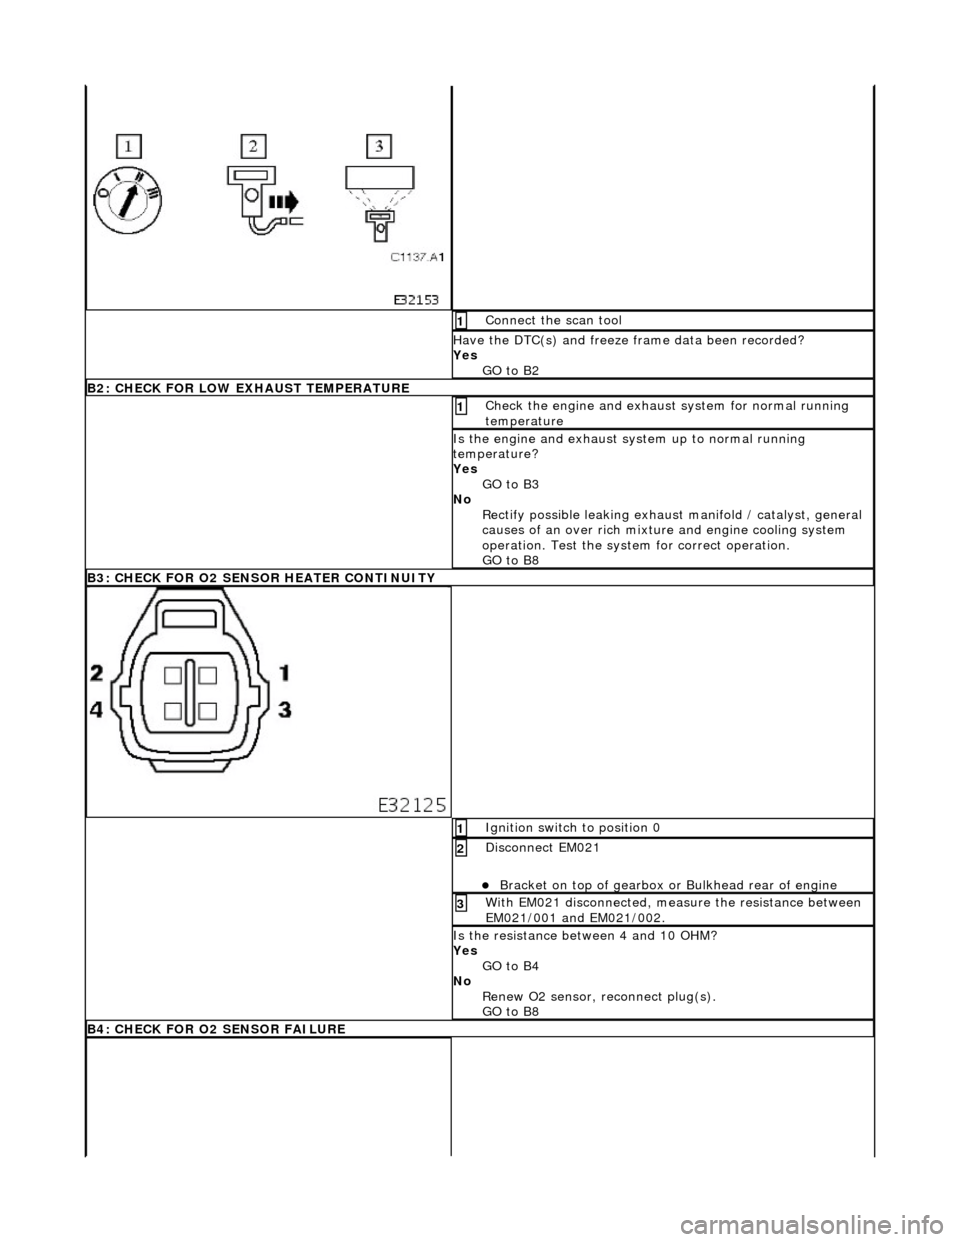
Connect the scan tool 1
Have the DTC(s) and freeze frame data been recorded?
Yes GO to B2
B2: CHECK FOR LOW EX HAUST TEMPERATURE
Check the engine and exhaust system for normal running
temperature 1
Is the engine and exhaust sy stem up to normal running
temperature?
Yes GO to B3
No Rectify possible leaking exhaust manifold / catalyst, general
causes of an over rich mixture and engine cooling system
operation. Test the system for correct operation.
GO to B8
B3: CHECK FOR O2 SENS OR HEATER CONTINUITY
Ignition switch to position 0 1
Disconnect EM021
Bracket on top of gearbox or Bulkhead rear of engine
2
With EM021 disconnected, measure the resistance between
EM021/001 and EM021/002. 3
Is the resistance between 4 and 10 OHM?
Yes
GO to B4
No Renew O2 sensor, reconnect plug(s).
GO to B8
B4: CHECK FOR O2 SENSOR FAILURE
Page 1554 of 2490

Ignition switch to position 0 1
Disconnect EM010
Inside ECM housing
2
Disconnect EM012
Inside ECM housing
3
Ignition switch to position II 4
Measure the voltage between EM010/023 and EM012/015. 5
Is the voltage 0 (zero) V?
Yes GO to B16
No Inspect harness / connectors EM010, EM012 and EM021 for
corrosion, damaged / pushed back pins. Repair as necessary
and reconnect plug(s).
GO to B19
B16: CHECK FOR SHORT TO B+
Measure the voltage between EM010/023 and EM012/022 1
Page 1556 of 2490
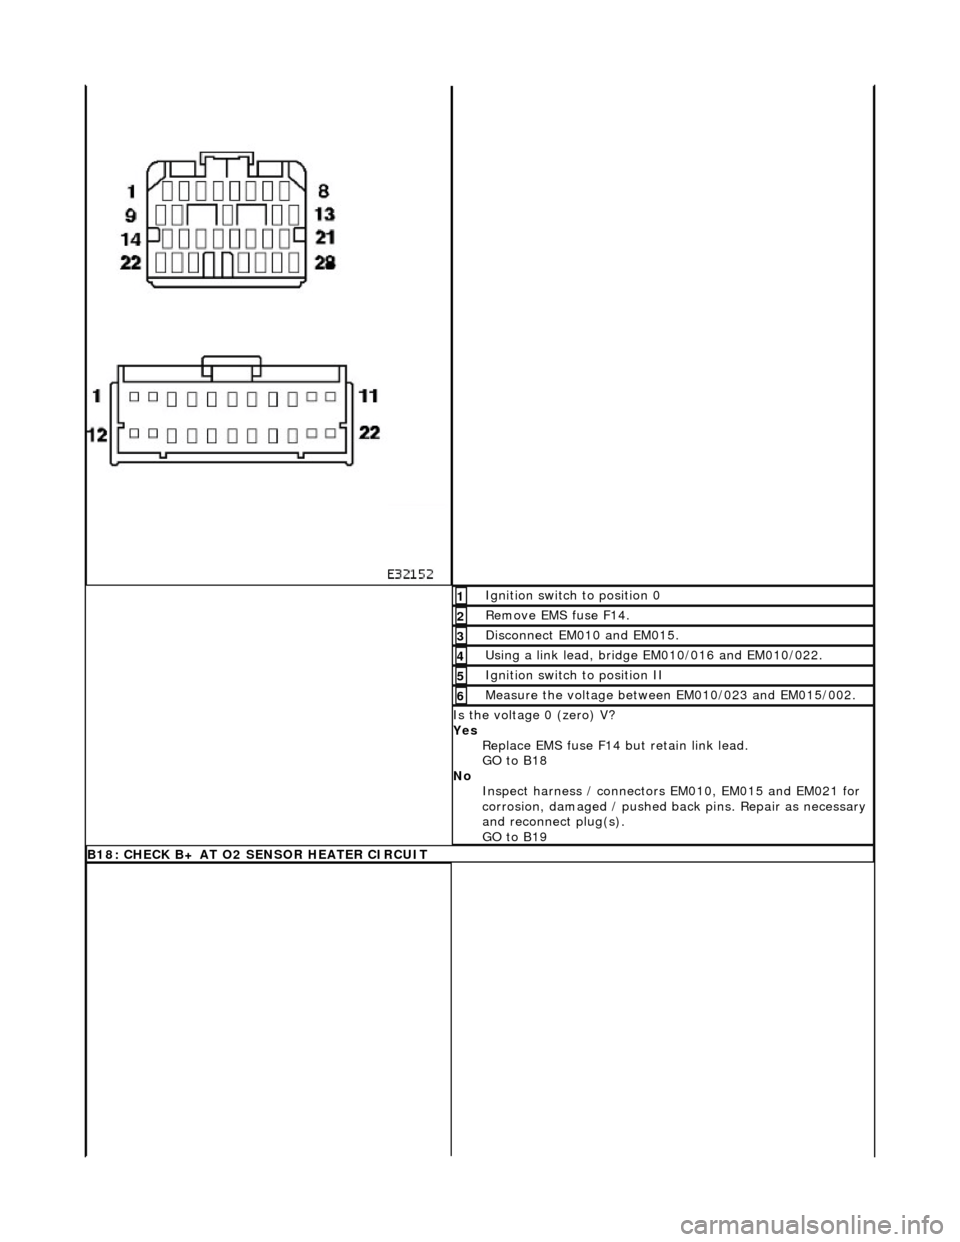
Ignition switch to position 0 1
Remove EMS fuse F14. 2
Disconnect EM010 and EM015. 3
Using a link lead, bridge EM010/016 and EM010/022. 4
Ignition switch to position II 5
Measure the voltage between EM010/023 and EM015/002. 6
Is the voltage 0 (zero) V?
Yes Replace EMS fuse F14 but retain link lead.
GO to B18
No Inspect harness / connectors EM010, EM015 and EM021 for
corrosion, damaged / pushed back pins. Repair as necessary
and reconnect plug(s).
GO to B19
B18: CHECK B+ AT O2 SENSOR HEATER CIRCUIT
Page 1558 of 2490
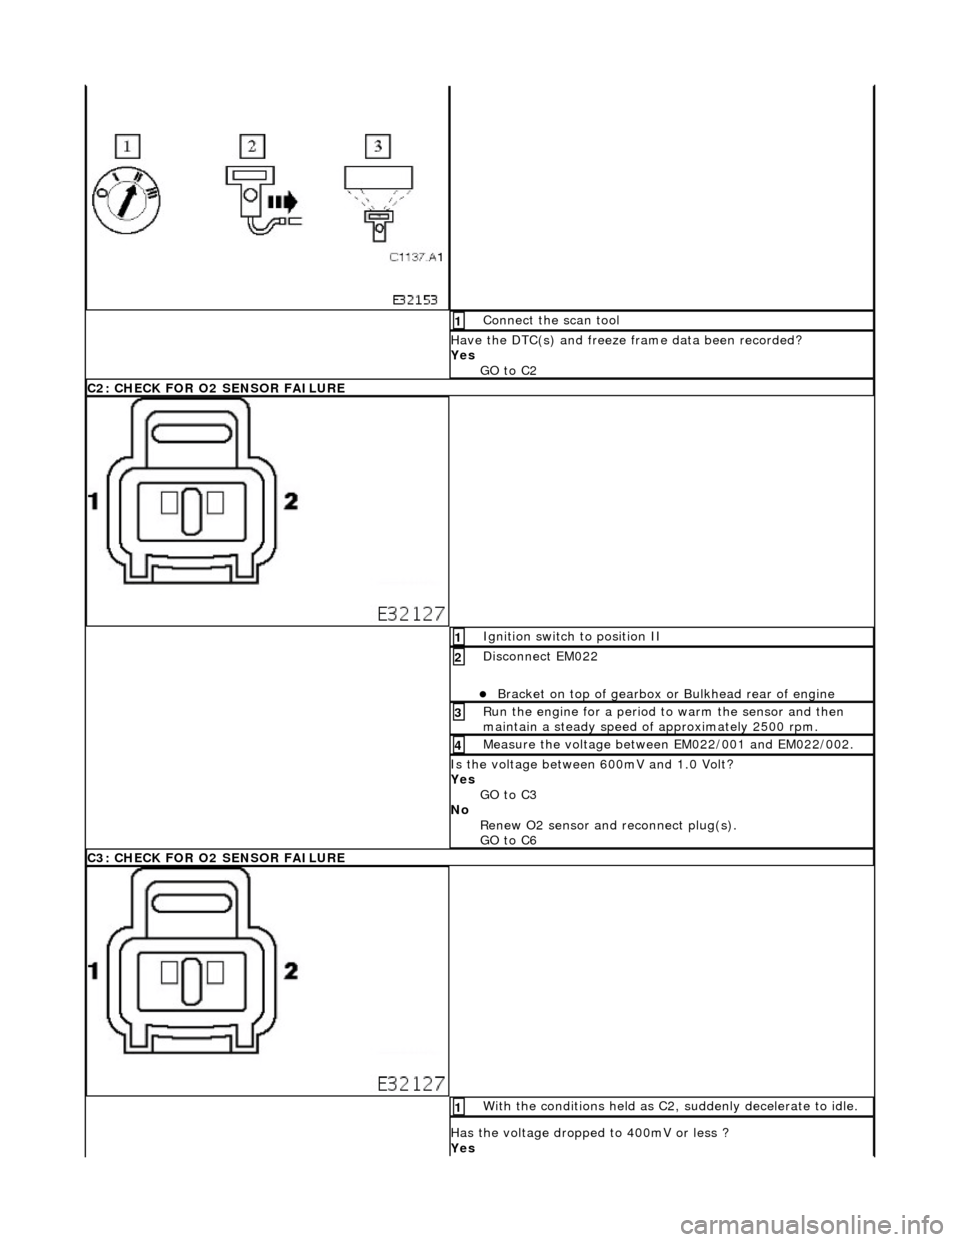
Connect the scan tool 1
Have the DTC(s) and freeze frame data been recorded?
Yes GO to C2
C2: CHECK FOR O2 SENSOR FAILURE
Ignition switch to position II 1
Disconnect EM022
Bracket on top of gearbox or Bulkhead rear of engine
2
Run the engine for a period to warm the sensor and then
maintain a steady speed of approximately 2500 rpm. 3
Measure the voltage between EM022/001 and EM022/002. 4
Is the voltage between 600mV and 1.0 Volt?
Yes
GO to C3
No Renew O2 sensor and reconnect plug(s).
GO to C6
C3: CHECK FOR O2 SENSOR FAILURE
With the conditions held as C2, suddenly decelerate to idle. 1
Has the voltage dropped to 400mV or less ?
Yes