JAGUAR XFR 2010 1.G Workshop Manual
XFR 2010 1.G
JAGUAR
JAGUAR
https://www.carmanualsonline.info/img/21/7642/w960_7642-0.png
JAGUAR XFR 2010 1.G Workshop Manual
Trending: wiper blades, hood open, fuel type, battery replacement, tire size, maintenance reset, B1B33-64
Page 2521 of 3039
Page 2522 of 3039
Published: 11-May-2011
Handles, Locks, Latches and Entry Systems - Front Door Lock Cylinder
Removal and Installation
Removal
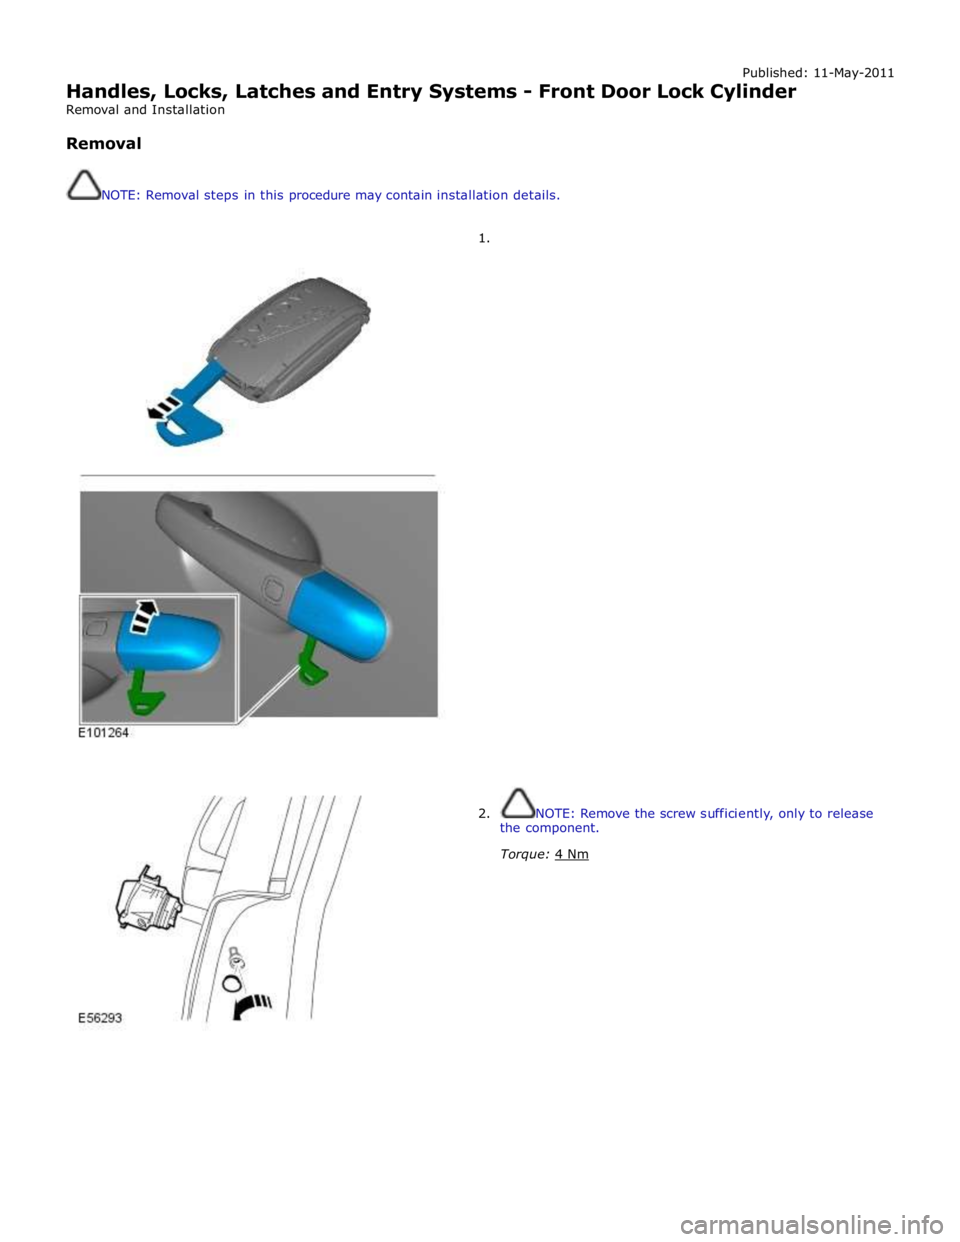
NOTE: Removal steps in this procedure may contain installation details.
1.
2. NOTE: Remove the screw sufficiently, only to release
the component.
Torque: 4 Nm
Page 2523 of 3039
Page 2524 of 3039
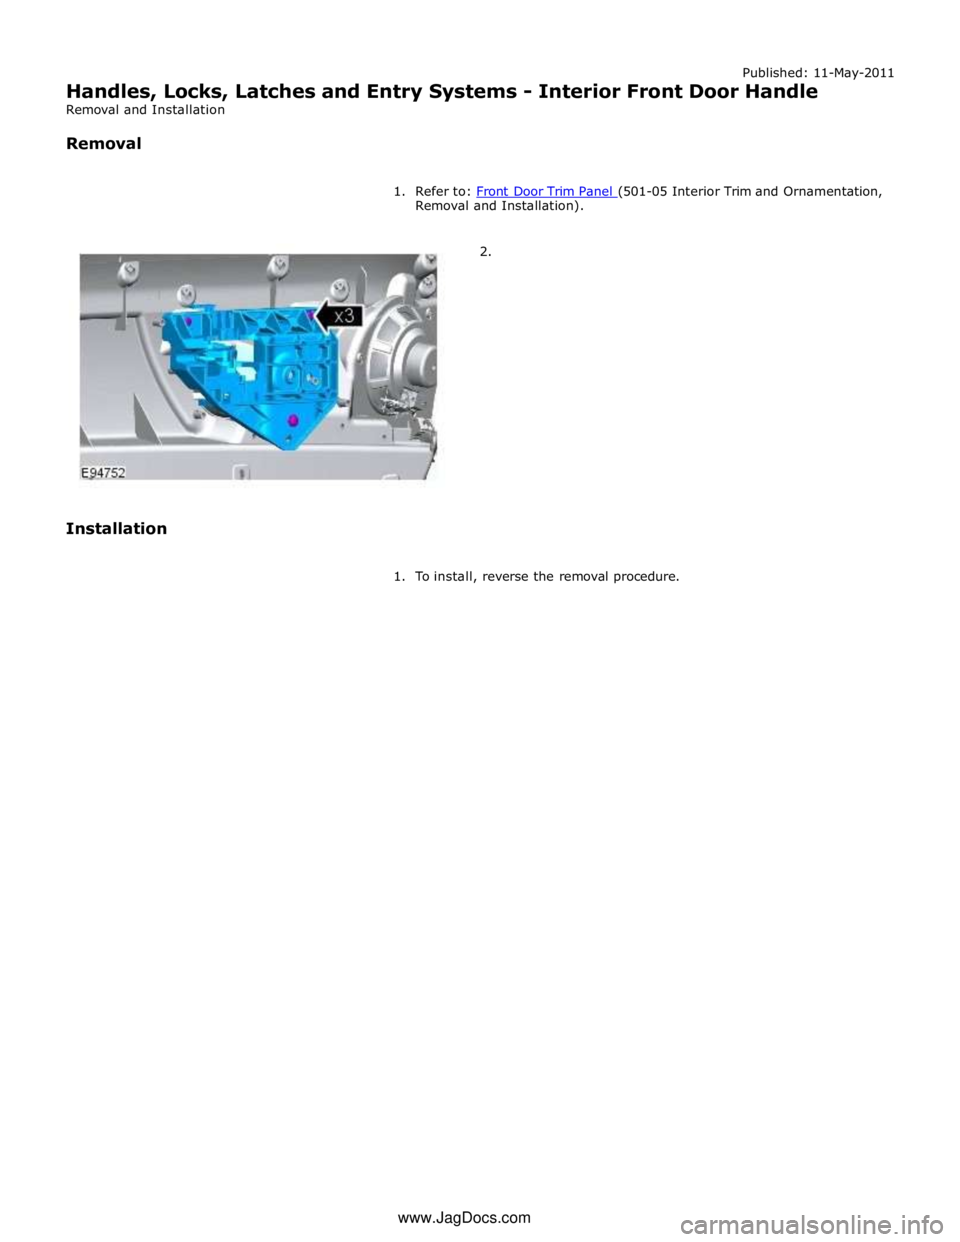
Removal and Installation).
2.
Installation
1. To install, reverse the removal procedure. www.JagDocs.com
Page 2525 of 3039
Published: 11-May-2011
Handles, Locks, Latches and Entry Systems - Luggage Compartment Lid Latch
Actuator
Removal and Installation
Removal
NOTE: Removal steps in this procedure may contain installation details.
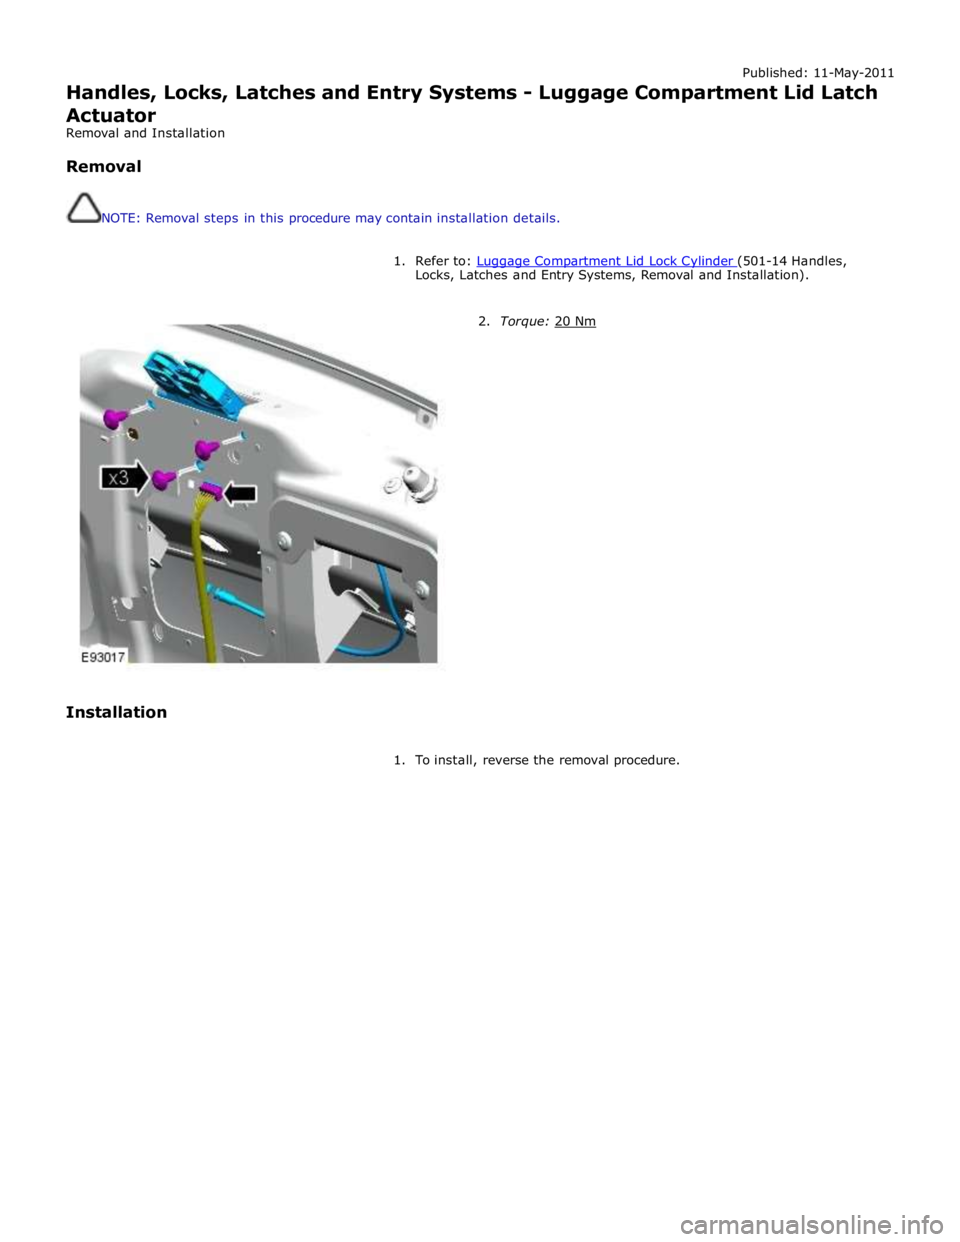
1. Refer to: Luggage Compartment Lid Lock Cylinder (501-14 Handles, Locks, Latches and Entry Systems, Removal and Installation).
Installation
2. Torque: 20 Nm
1. To install, reverse the removal procedure.
Page 2526 of 3039
Published: 11-May-2011
Handles, Locks, Latches and Entry Systems - Luggage Compartment Lid Lock Cylinder
Removal and Installation
Removal
NOTE: Removal steps in this procedure may contain installation details.
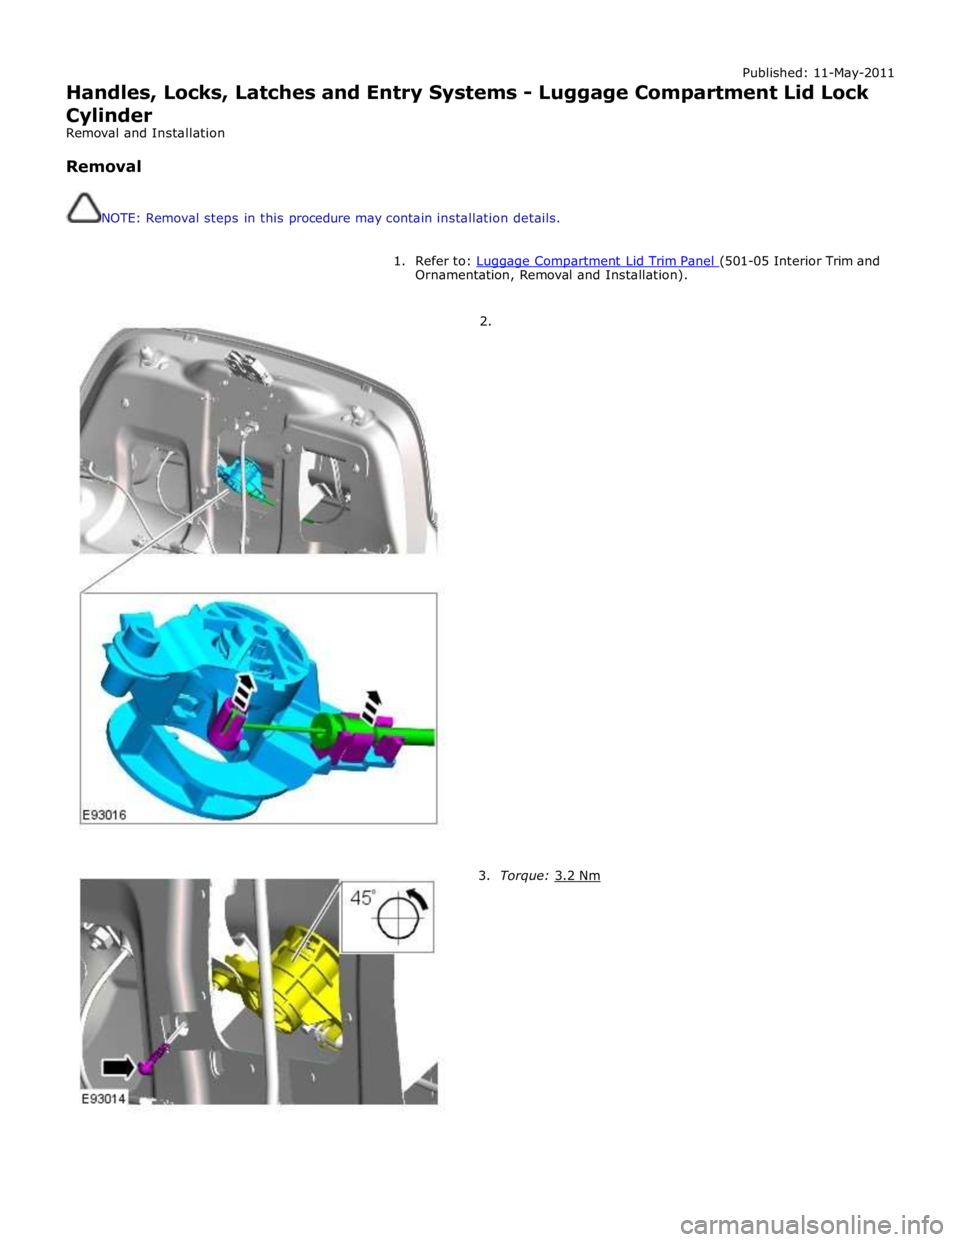
1. Refer to: Luggage Compartment Lid Trim Panel (501-05 Interior Trim and Ornamentation, Removal and Installation).
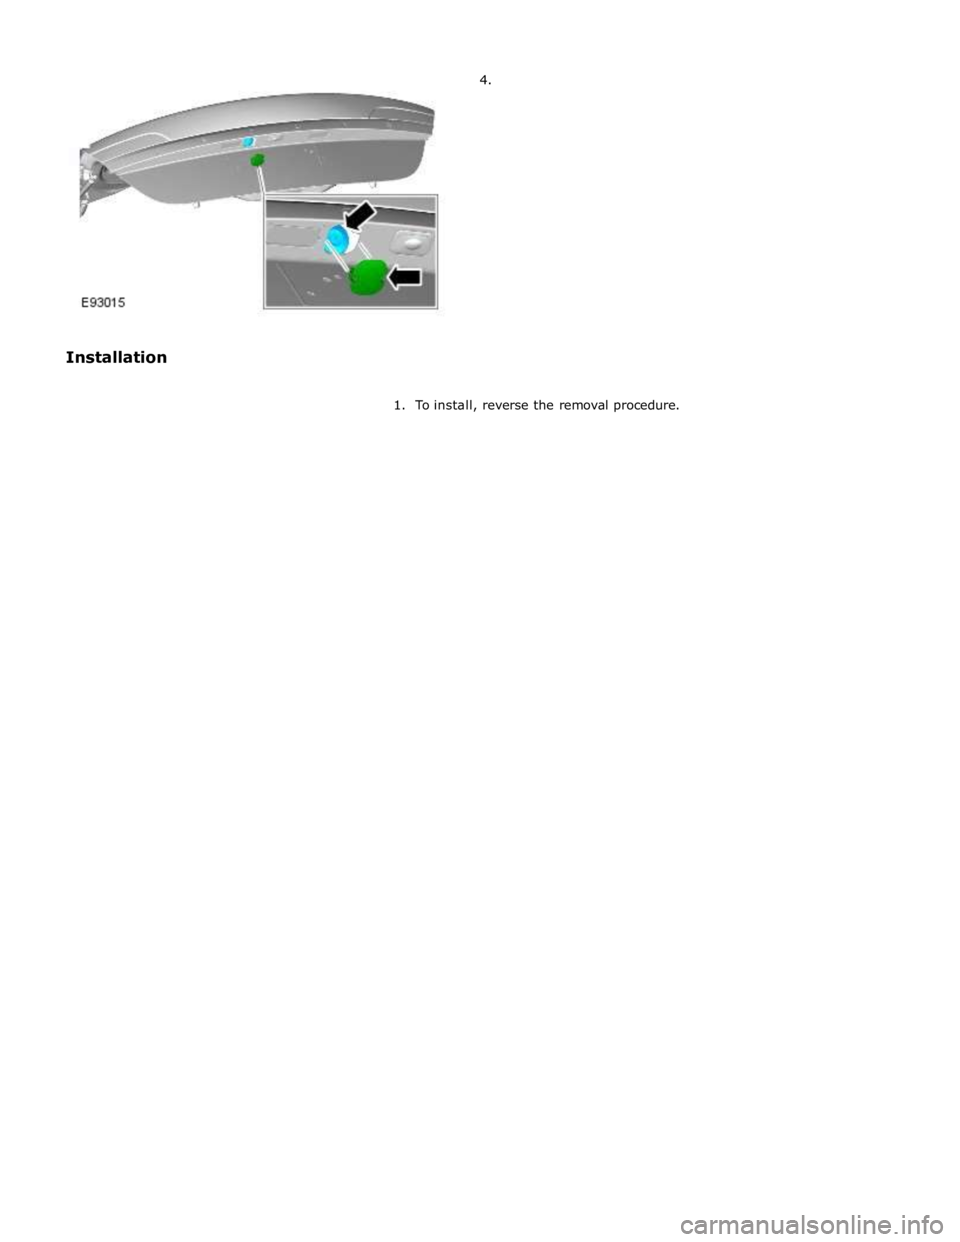
2.
3. Torque: 3.2 Nm
Page 2527 of 3039
Page 2528 of 3039
Handles, Locks, Latches and Entry Systems - Rear Door Latch
Removal and Installation
Removal
NOTE: Removal steps in this procedure may contain installation details. Published: 11-May-2011
1. Remove the rear door window regulator and motor.
Refer to: Rear Door Window Regulator and Motor (501-11 Glass, Frames and Mechanisms, Removal and Installation).
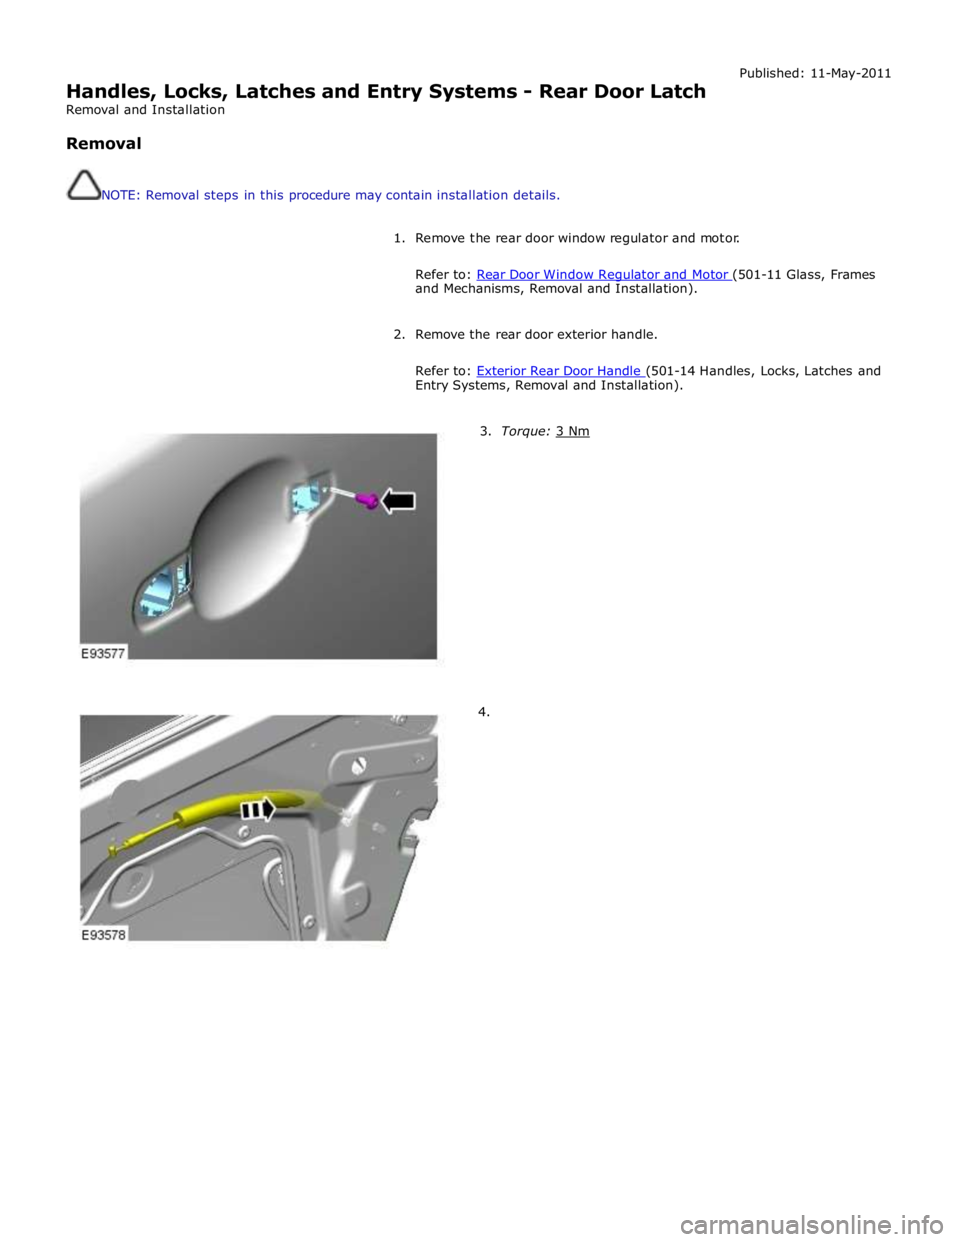
2. Remove the rear door exterior handle.
Refer to: Exterior Rear Door Handle (501-14 Handles, Locks, Latches and Entry Systems, Removal and Installation).
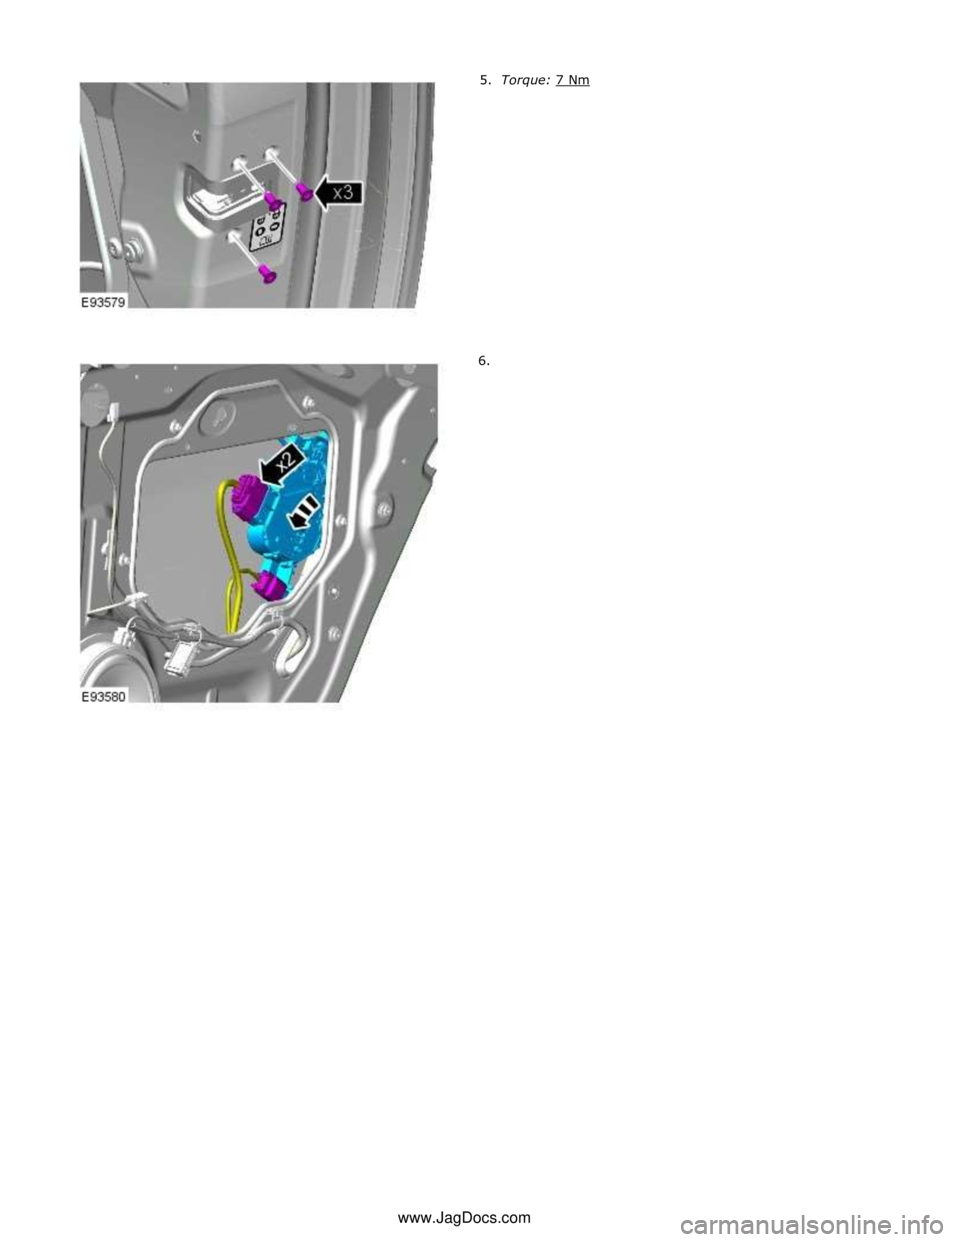
3. Torque: 3 Nm 4.
Page 2529 of 3039
Page 2530 of 3039
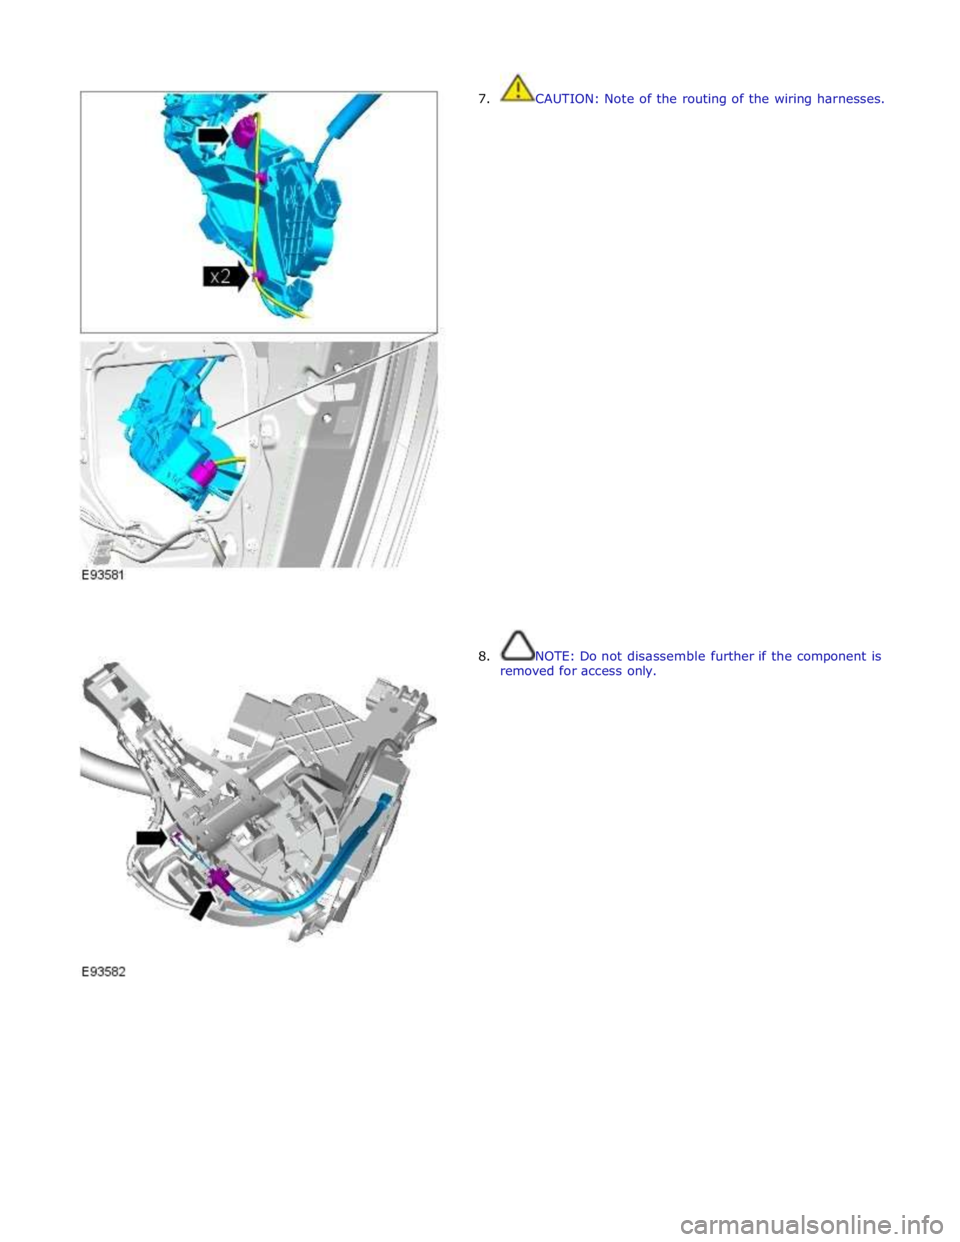
7. CAUTION: Note of the routing of the wiring harnesses.
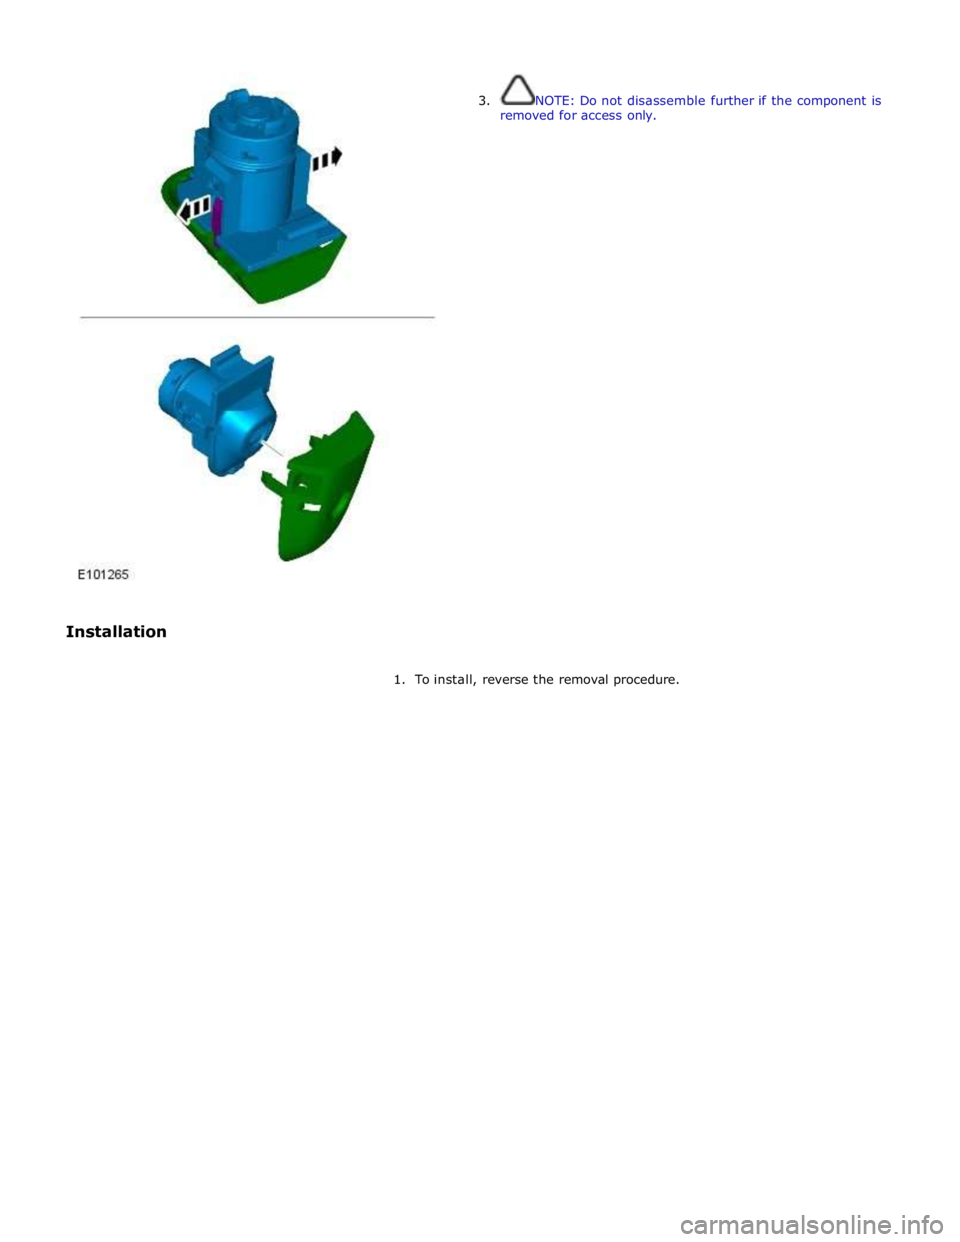
8. NOTE: Do not disassemble further if the component is
removed for access only.
Trending: Dash, Fuel, p0826-88, coolant fan, sport mode, b100d-87, Pedestrian
