Published: 11-May-2011
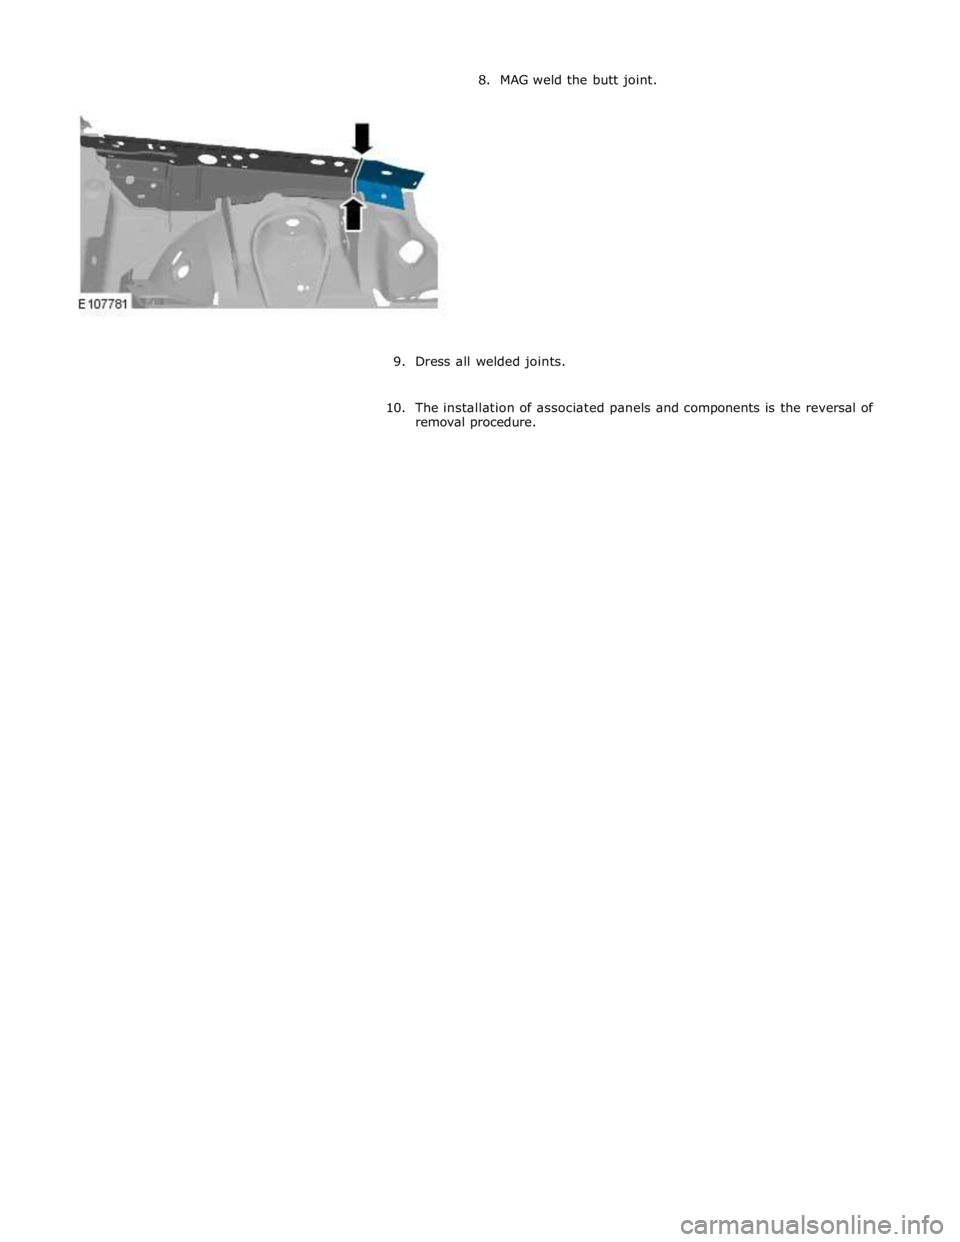
Front End Sheet Metal Repairs - Fender Apron Panel Front Section
Removal and Installation
Removal
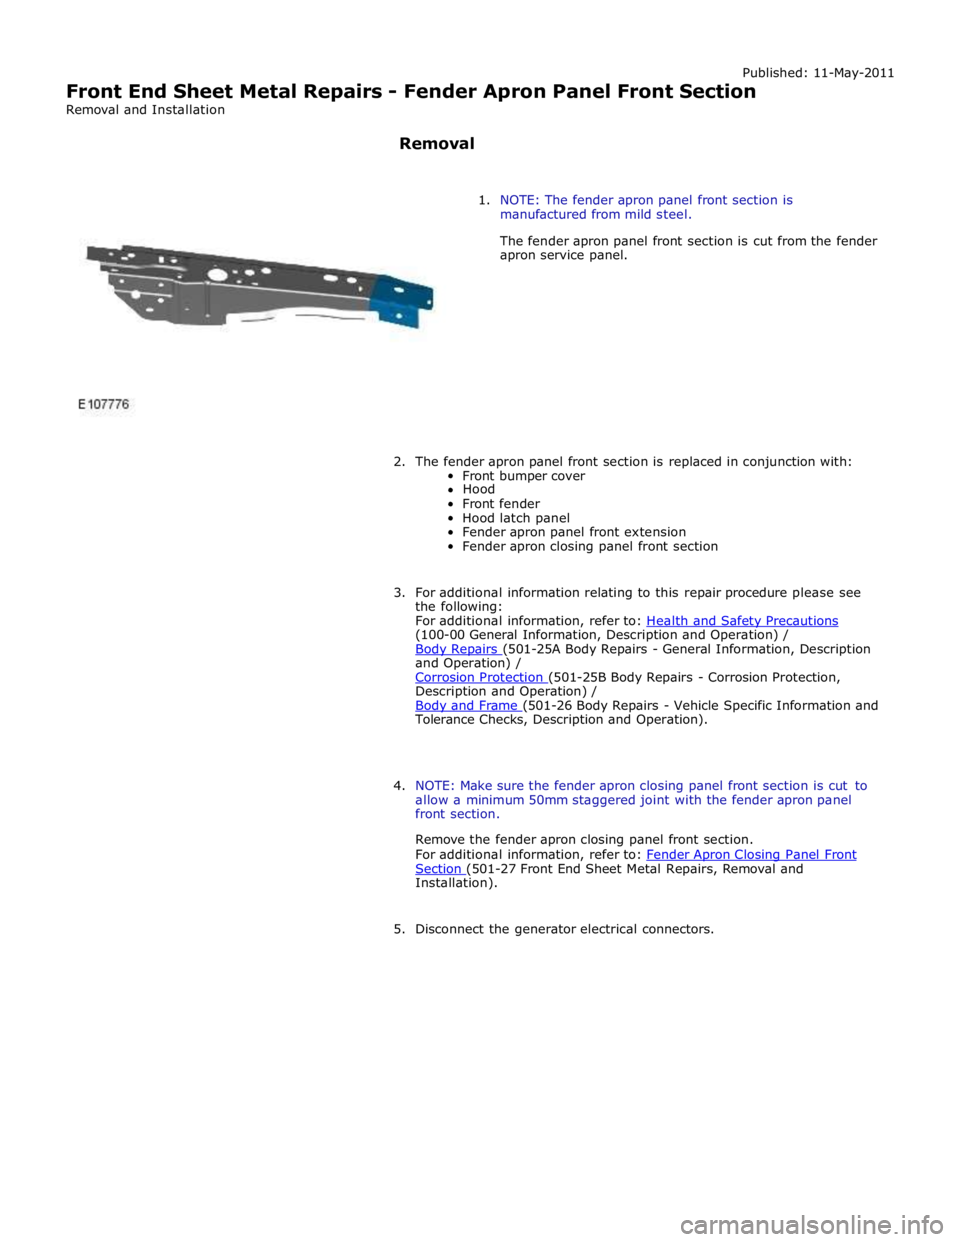
1. NOTE: The fender apron panel front section is
manufactured from mild steel.
The fender apron panel front section is cut from the fender
apron service panel.
2. The fender apron panel front section is replaced in conjunction with:
Front bumper cover
Hood
Front fender
Hood latch panel
Fender apron panel front extension
Fender apron closing panel front section
3. For additional information relating to this repair procedure please see
the following:
For additional information, refer to: Health and Safety Precautions (100-00 General Information, Description and Operation) /
Body Repairs (501-25A Body Repairs - General Information, Description and Operation) /
Corrosion Protection (501-25B Body Repairs - Corrosion Protection, Description and Operation) /
Body and Frame (501-26 Body Repairs - Vehicle Specific Information and Tolerance Checks, Description and Operation).
4. NOTE: Make sure the fender apron closing panel front section is cut to
allow a minimum 50mm staggered joint with the fender apron panel
front section.
Remove the fender apron closing panel front section.
For additional information, refer to: Fender Apron Closing Panel Front Section (501-27 Front End Sheet Metal Repairs, Removal and Installation).
5. Disconnect the generator electrical connectors.
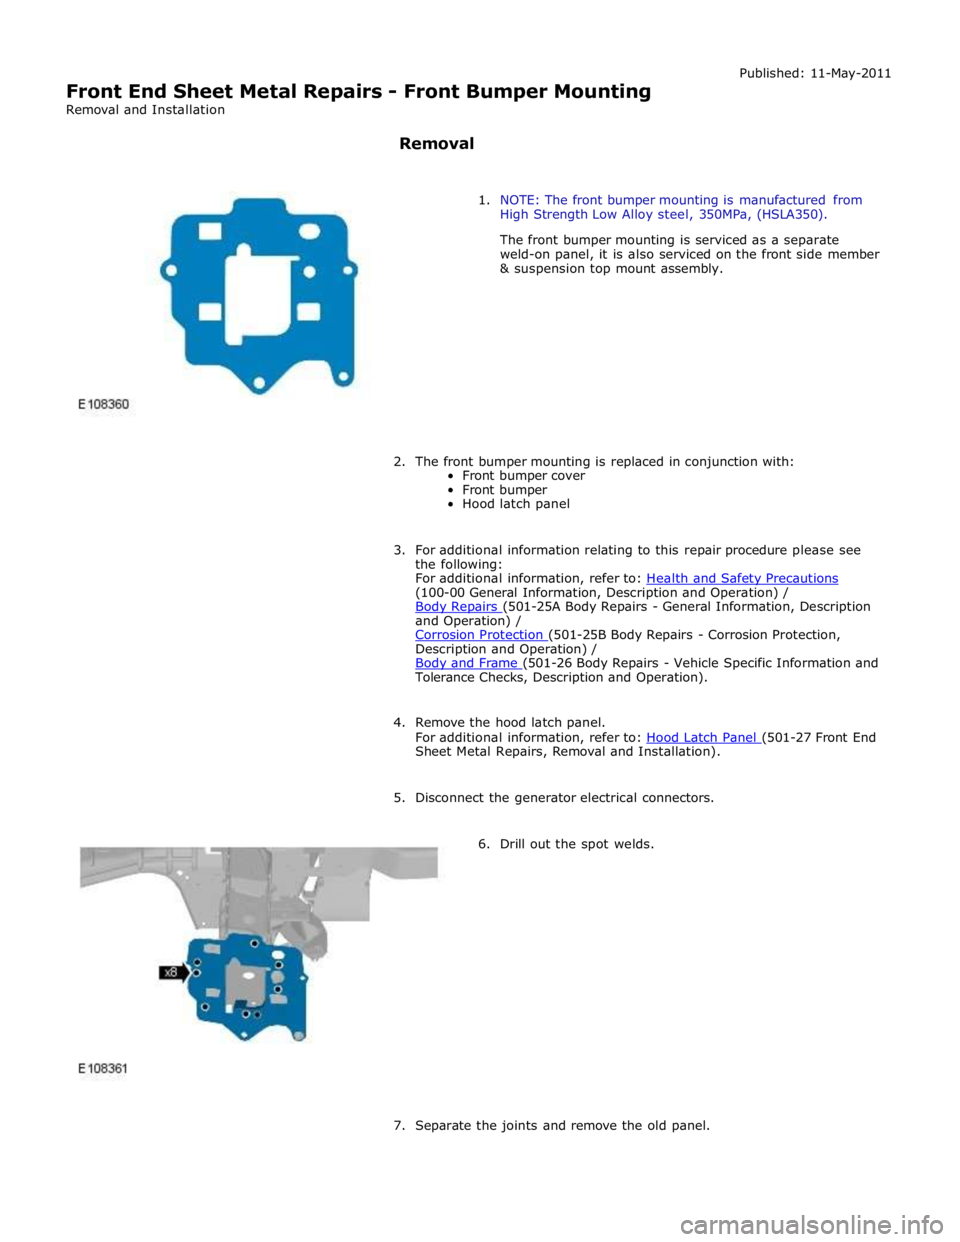
Front End Sheet Metal Repairs - Front Bumper Mounting
Removal and Installation
Removal Published: 11-May-2011
1. NOTE: The front bumper mounting is manufactured from
High Strength Low Alloy steel, 350MPa, (HSLA350).
The front bumper mounting is serviced as a separate
weld-on panel, it is also serviced on the front side member
& suspension top mount assembly.
2. The front bumper mounting is replaced in conjunction with:
Front bumper cover
Front bumper
Hood latch panel
3. For additional information relating to this repair procedure please see
the following:
For additional information, refer to: Health and Safety Precautions (100-00 General Information, Description and Operation) /
Body Repairs (501-25A Body Repairs - General Information, Description and Operation) /
Corrosion Protection (501-25B Body Repairs - Corrosion Protection, Description and Operation) /
Body and Frame (501-26 Body Repairs - Vehicle Specific Information and Tolerance Checks, Description and Operation).
4. Remove the hood latch panel.
For additional information, refer to: Hood Latch Panel (501-27 Front End Sheet Metal Repairs, Removal and Installation).
5. Disconnect the generator electrical connectors.
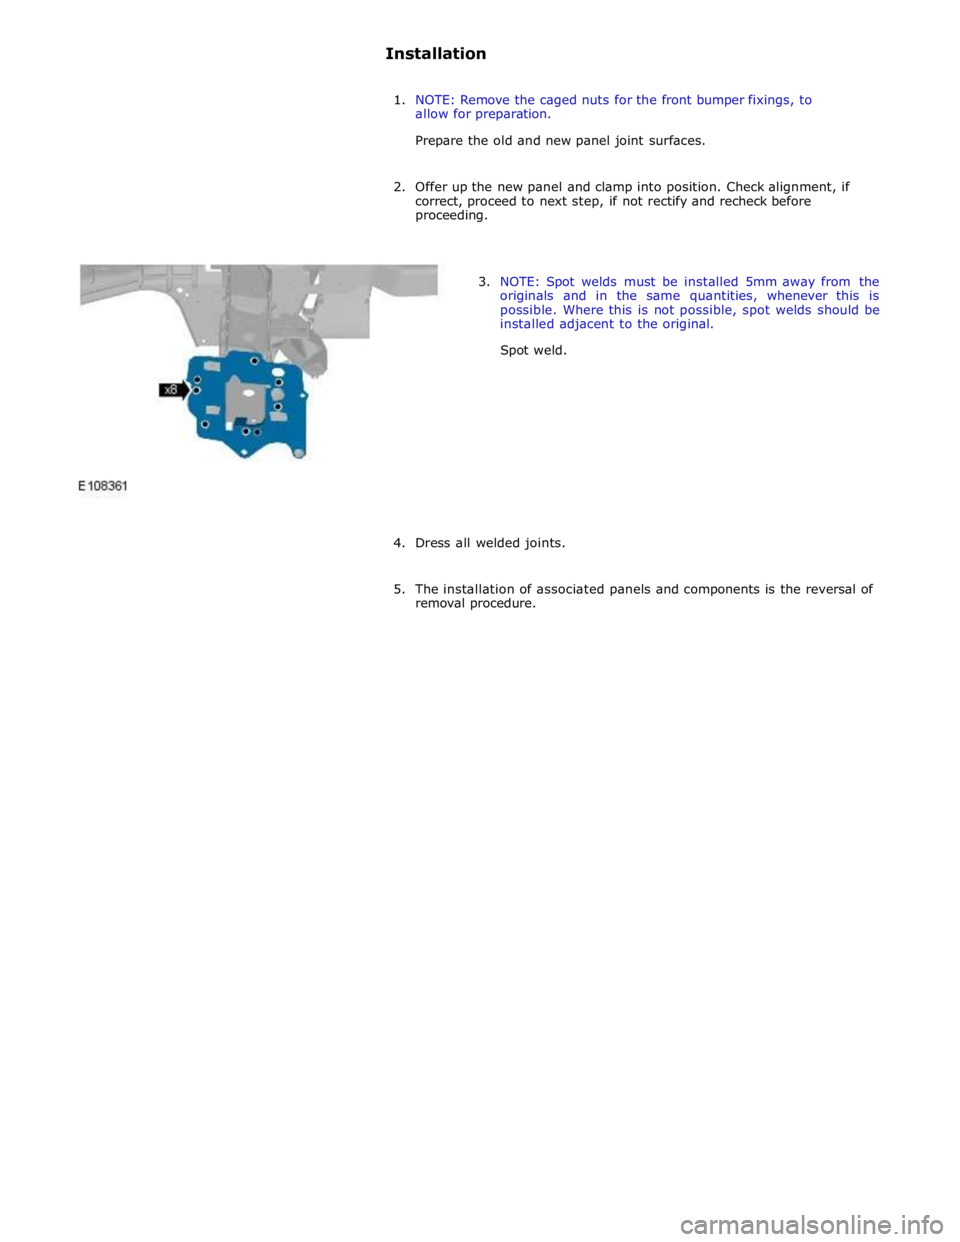
6. Drill out the spot welds.
7. Separate the joints and remove the old panel.
(100-00 General Information, Description and Operation) /
Body Repairs (501-25A Body Repairs - General Information, Description and Operation) /
Corrosion Protection (501-25B Body Repairs - Corrosion Protection, Description and Operation) /
Body and Frame (501-26 Body Repairs - Vehicle Specific Information and Tolerance Checks, Description and Operation).
4. Disconnect the battery ground cable.
For additional information, refer to: Battery Disconnect and Connect (414-01 Battery, Mounting and Cables, General Procedures).
5. Remove the front bumper cover.
For additional information, refer to: Front Bumper Cover (501-19 Bumpers, Removal and Installation).
6. Remove the fender splash shield.
For additional information, refer to: Fender Splash Shield (501-02 Front End Body Panels, Removal and Installation).
7. If the right-hand front fender is to be repaired, remove the windshield
washer reservoir.
For additional information, refer to: Windshield Washer Reservoir (501-16 Wipers and Washers, Removal and Installation).
8. Remove the headlamp assembly.
For additional information, refer to: Headlamp Assembly (417-01 Exterior Lighting, Removal and Installation).
9. Remove the rocker panel outer moulding.
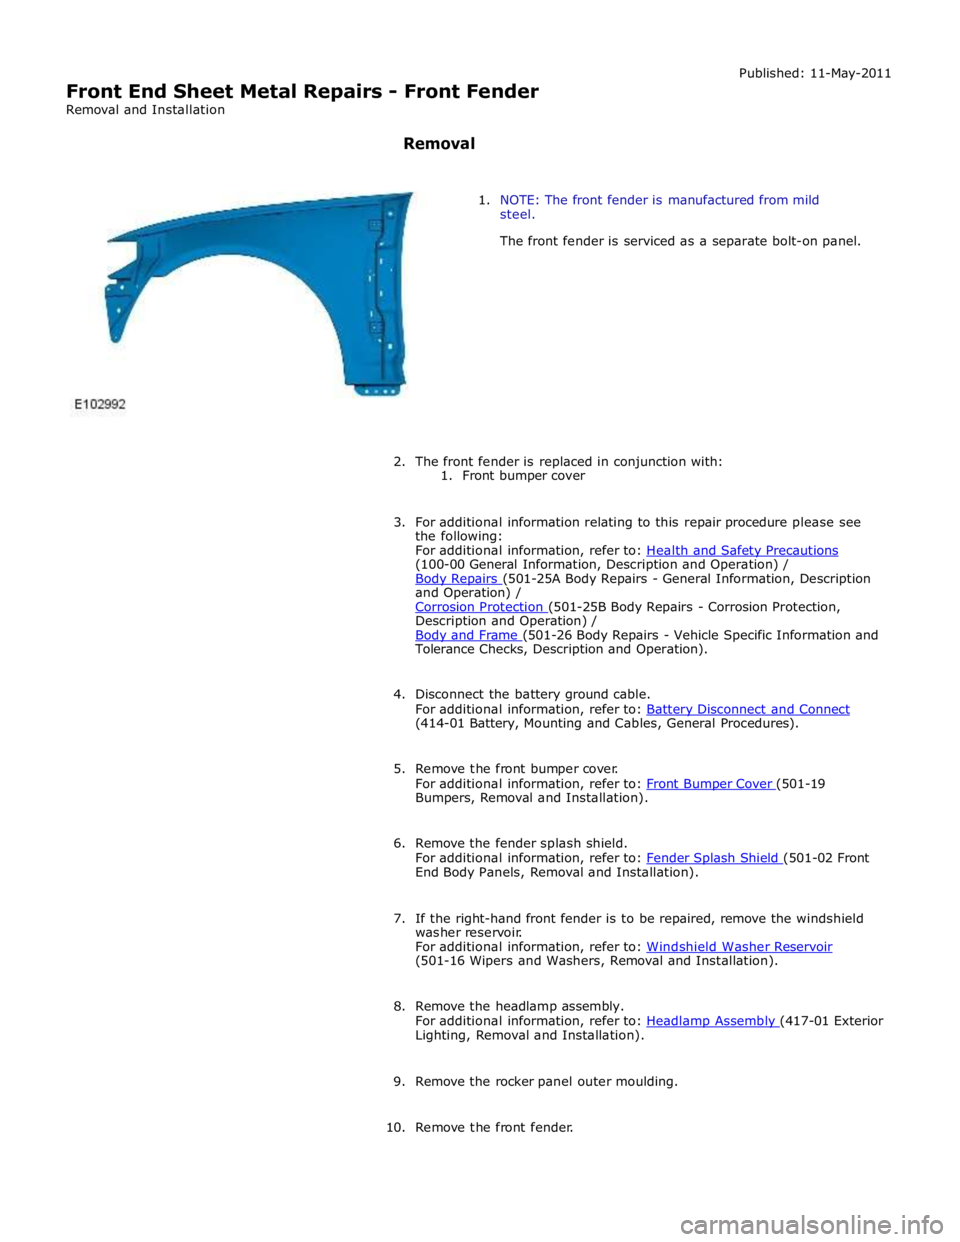
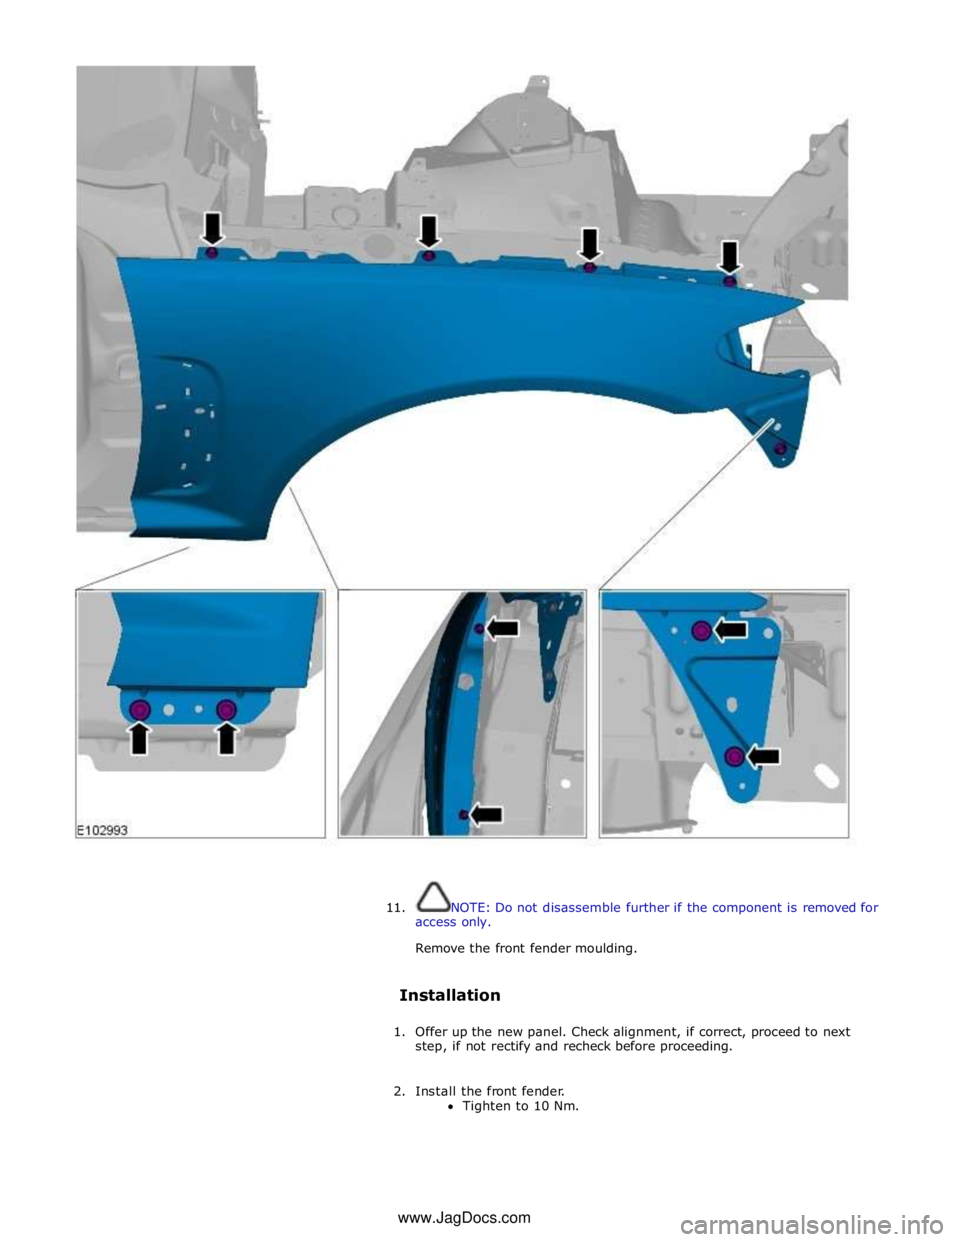
10. Remove the front fender.
11. NOTE: Do not disassemble further if the component is removed for
access only.
Remove the front fender moulding.
Installation
1. Offer up the new panel. Check alignment, if correct, proceed to next
step, if not rectify and recheck before proceeding.
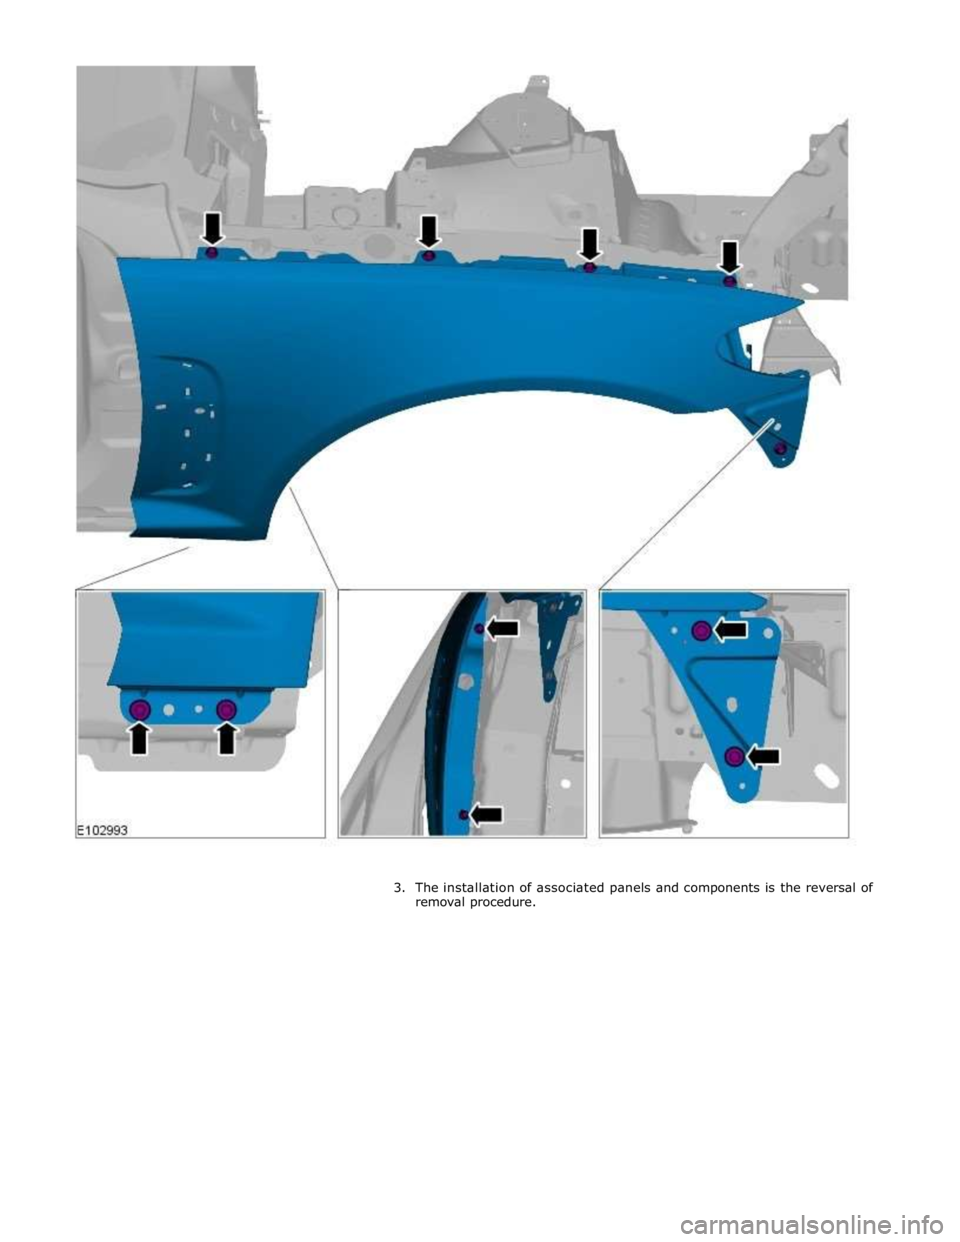
2. Install the front fender.
Tighten to 10 Nm. www.JagDocs.com
