LEXUS LS430 2003 Factory Repair Manual
Manufacturer: LEXUS, Model Year: 2003,
Model line: LS430,
Model: LEXUS LS430 2003
Pages: 4500, PDF Size: 87.45 MB
LEXUS LS430 2003 Factory Repair Manual
LS430 2003
LEXUS
LEXUS
https://www.carmanualsonline.info/img/36/57050/w960_57050-0.png
LEXUS LS430 2003 Factory Repair Manual
Trending: roof rack, airbag off, power steering, USB, belt, oxygen sensor, fuses
Page 1271 of 4500
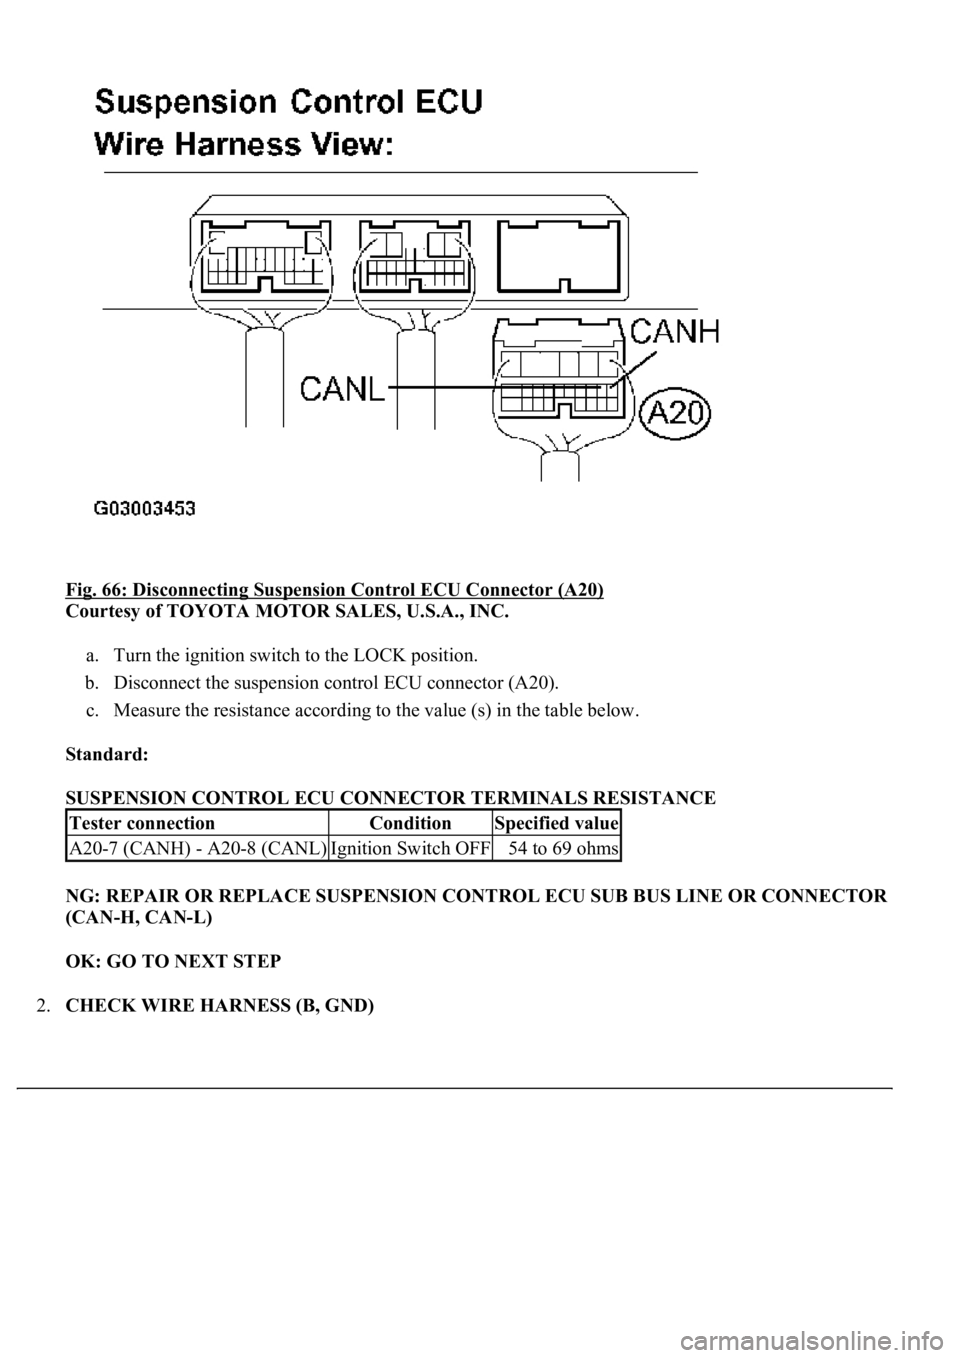
Fig. 66: Disconnecting Suspension Control ECU Connector (A20)
Courtesy of TOYOTA MOTOR SALES, U.S.A., INC.
a. Turn the ignition switch to the LOCK position.
b. Disconnect the suspension control ECU connector (A20).
c. Measure the resistance according to the value (s) in the table below.
Standard:
SUSPENSION CONTROL ECU CONNECTOR TERMINALS RESISTANCE
NG: REPAIR OR REPLACE SUSPENSION CONTROL ECU SUB BUS LINE OR CONNECTOR
(CAN-H, CAN-L)
OK: GO TO NEXT STEP
2.CHECK WIRE HARNESS (B, GND)
Tester connectionConditionSpecified value
A20-7 (CANH) - A20-8 (CANL)Ignition Switch OFF54 to 69 ohms
Page 1272 of 4500
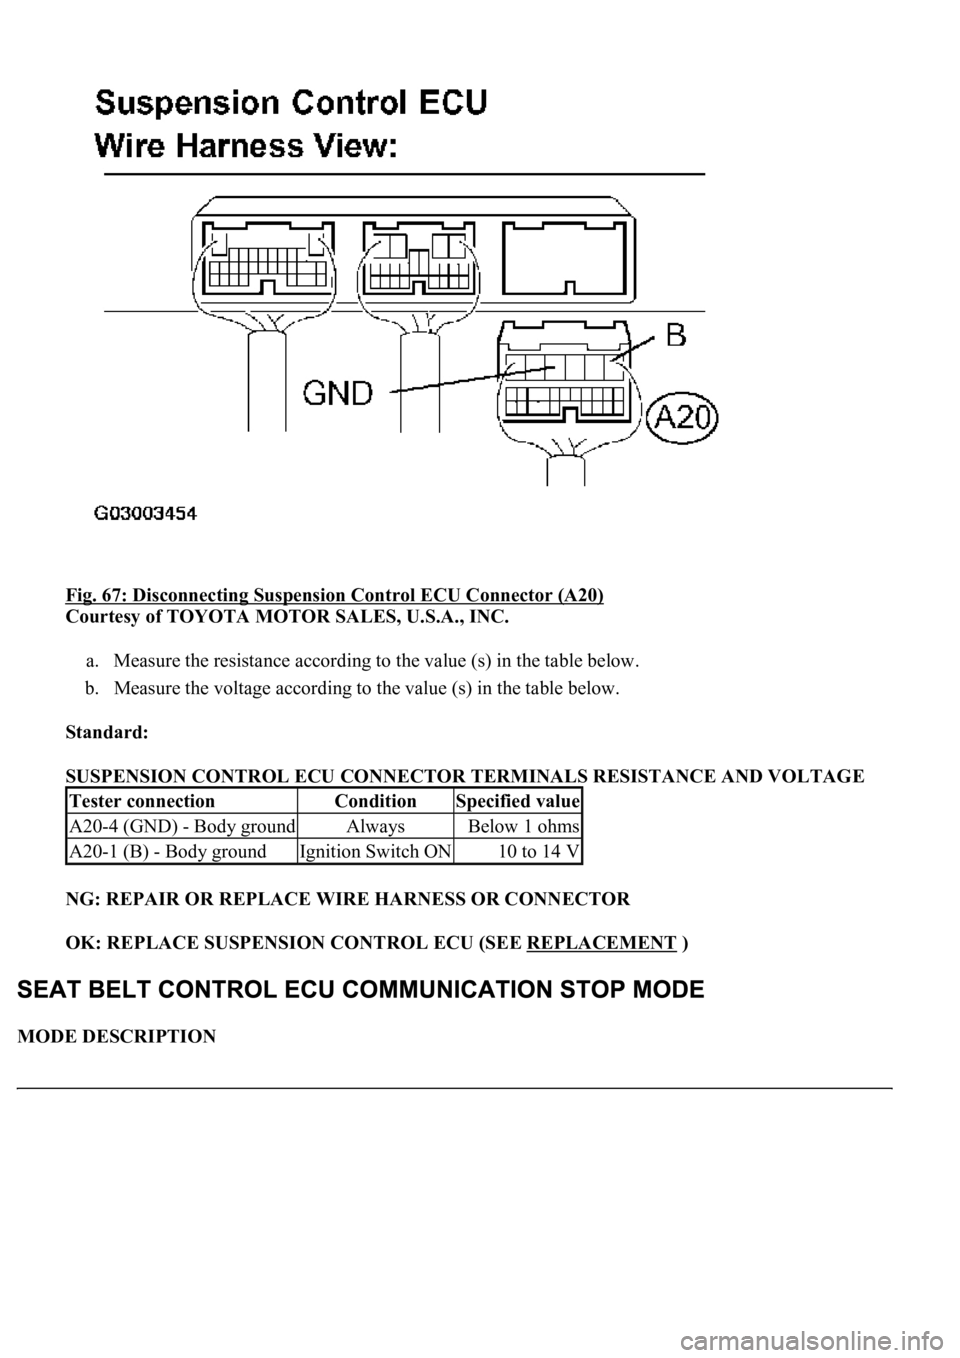
Fig. 67: Disconnecting Suspension Control ECU Connector (A20)
Courtesy of TOYOTA MOTOR SALES, U.S.A., INC.
a. Measure the resistance according to the value (s) in the table below.
b. Measure the voltage according to the value (s) in the table below.
Standard:
SUSPENSION CONTROL ECU CONNECTOR TERMINALS RESISTANCE AND VOLTAGE
NG: REPAIR OR REPLACE WIRE HARNESS OR CONNECTOR
OK: REPLACE SUSPENSION CONTROL ECU (SEE REPLACEMENT
)
MODE DESCRIPTION
Tester connectionConditionSpecified value
A20-4 (GND) - Body groundAlwaysBelow 1 ohms
A20-1 (B) - Body groundIgnition Switch ON10 to 14 V
Page 1273 of 4500
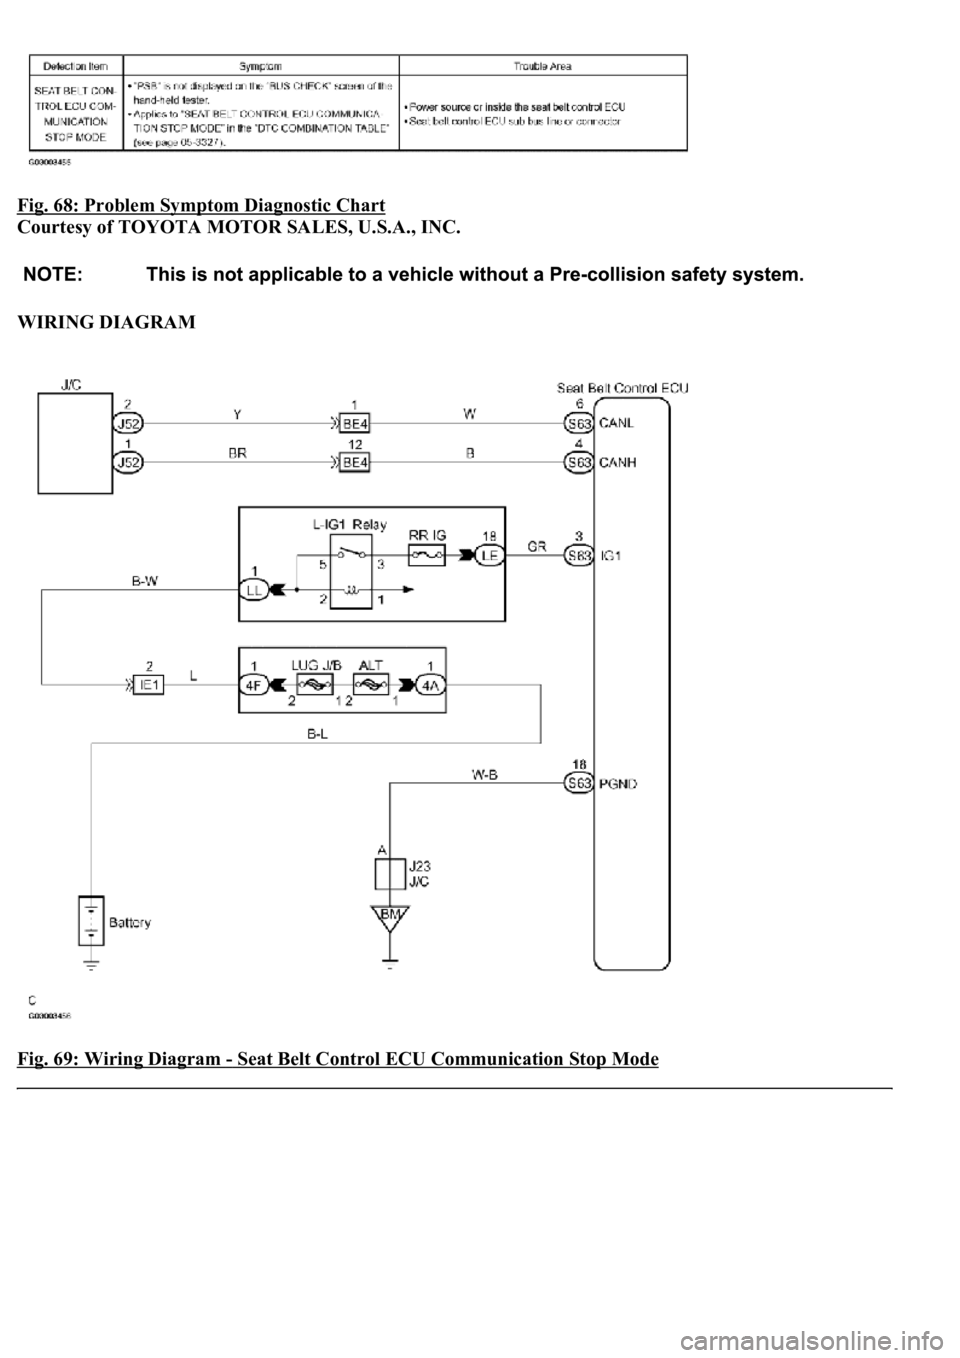
Fig. 68: Problem Symptom Diagnostic Chart
Courtesy of TOYOTA MOTOR SALES, U.S.A., INC.
WIRING DIAGRAM
Fig. 69: Wiring Diagram
- Seat Belt Control ECU Communication Stop Mode
Page 1274 of 4500
Courtesy of TOYOTA MOTOR SALES, U.S.A., INC.
INSPECTION PROCEDURE
1.CHECK CAN BUS LINE FOR DISCONNECTION (SEAT BELT CONTROL ECU SUB BUS
LINE)
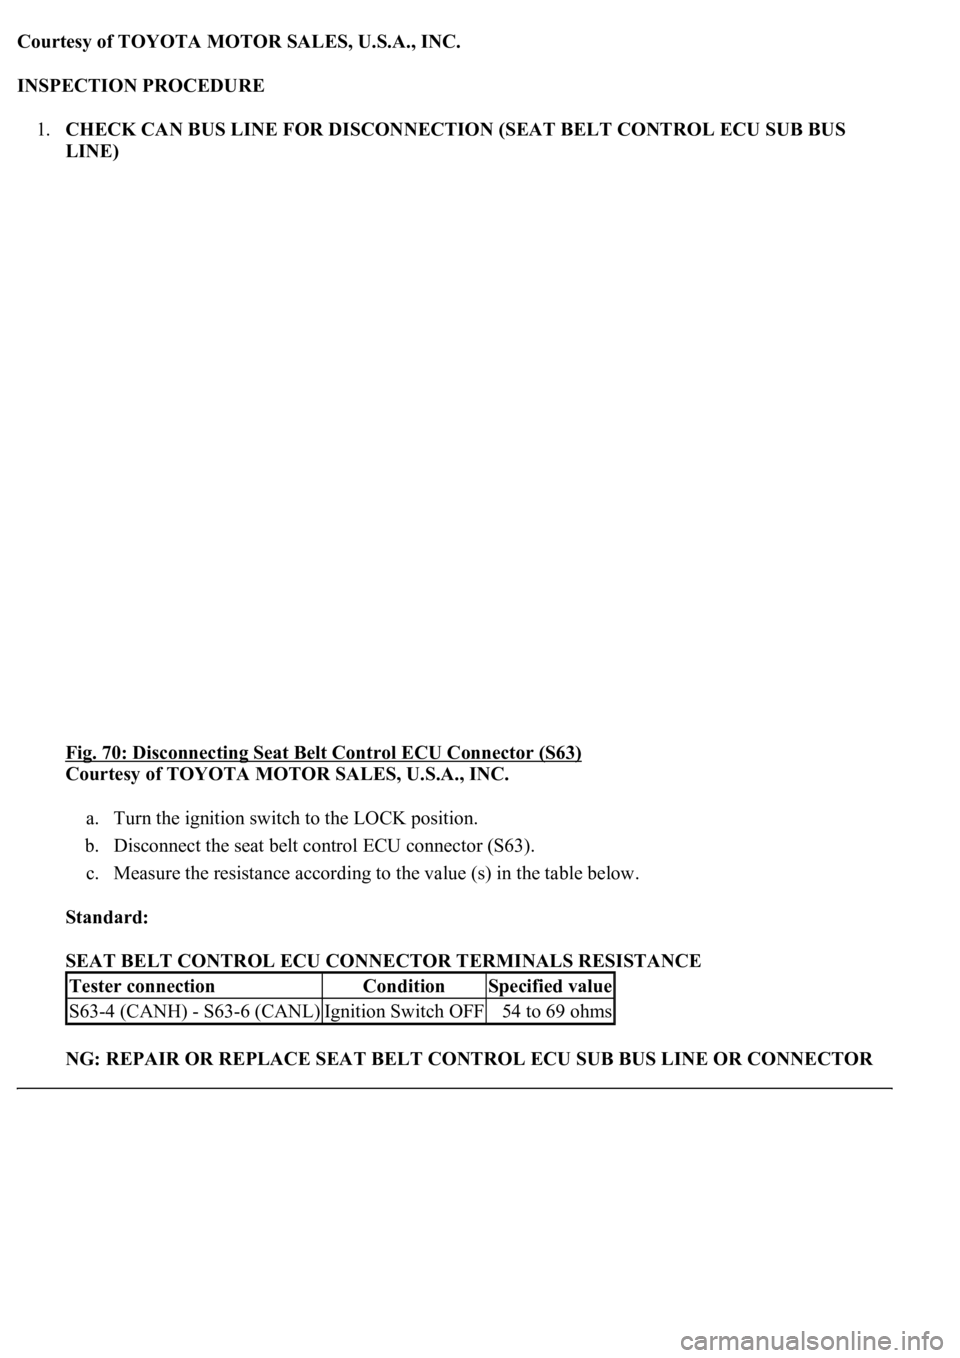
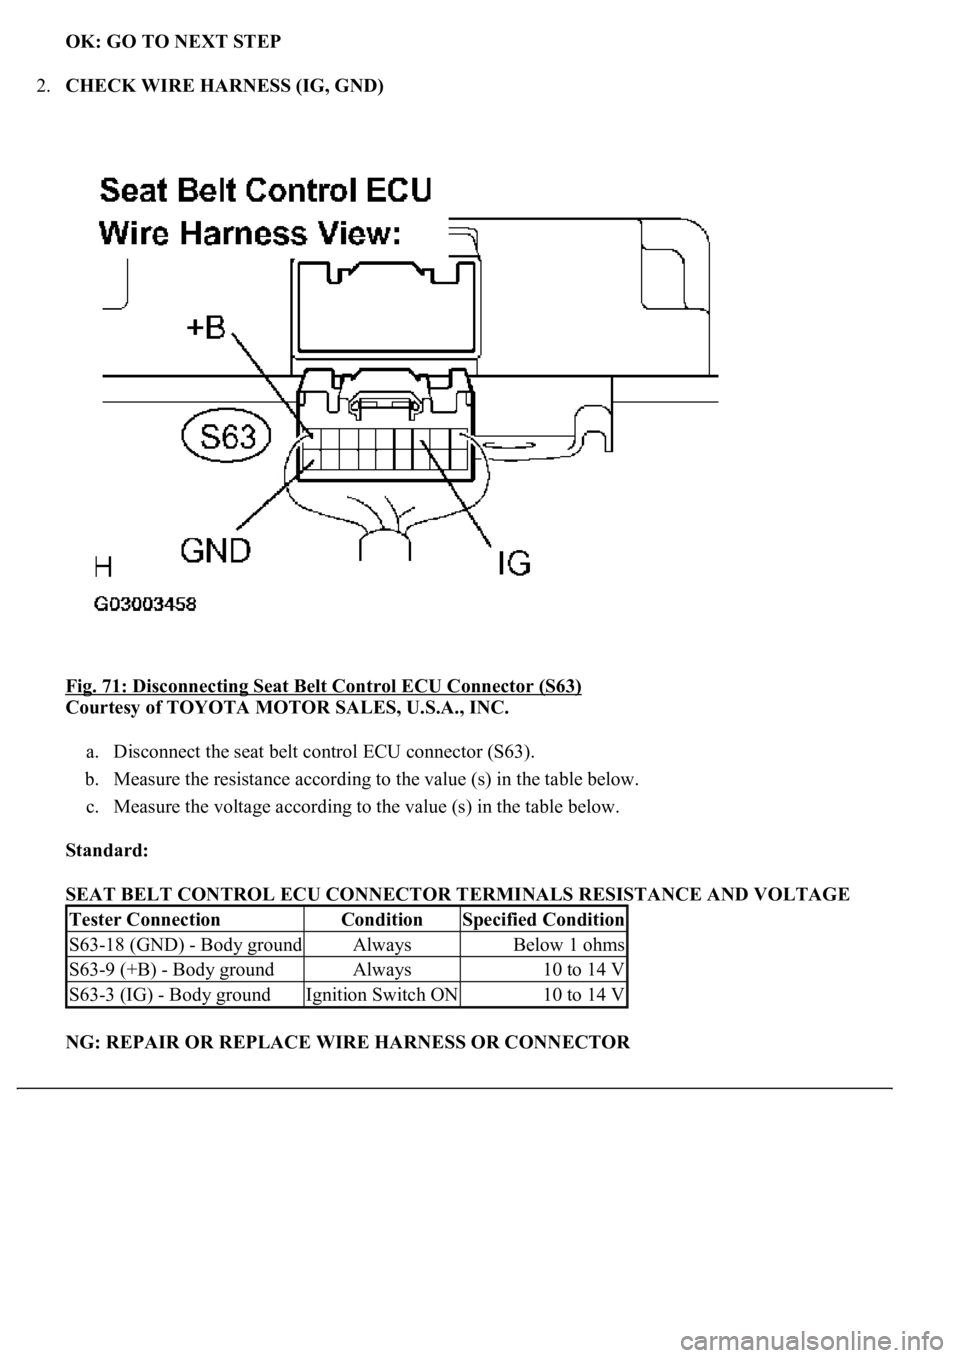
Fig. 70: Disconnecting Seat Belt Control ECU Connector (S63)
Courtesy of TOYOTA MOTOR SALES, U.S.A., INC.
a. Turn the ignition switch to the LOCK position.
b. Disconnect the seat belt control ECU connector (S63).
c. Measure the resistance according to the value (s) in the table below.
Standard:
SEAT BELT CONTROL ECU CONNECTOR TERMINALS RESISTANCE
NG: REPAIR OR REPLACE SEAT BELT CONTROL ECU SUB BUS LINE OR CONNECTOR
Tester connectionConditionSpecified value
S63-4 (CANH) - S63-6 (CANL)Ignition Switch OFF54 to 69 ohms
Page 1275 of 4500
OK: GO TO NEXT STEP
2.CHECK WIRE HARNESS (IG, GND)
Fig. 71: Disconnecting Seat Belt Control ECU Connector (S63)
Courtesy of TOYOTA MOTOR SALES, U.S.A., INC.
a. Disconnect the seat belt control ECU connector (S63).
b. Measure the resistance according to the value (s) in the table below.
c. Measure the voltage according to the value (s) in the table below.
Standard:
SEAT BELT CONTROL ECU CONNECTOR TERMINALS RESISTANCE AND VOLTAGE
NG: REPAIR OR REPLACE WIRE HARNESS OR CONNECTOR
Tester ConnectionConditionSpecified Condition
S63-18 (GND) - Body groundAlwaysBelow 1 ohms
S63-9 (+B) - Body groundAlways10 to 14 V
S63-3 (IG) - Body groundIgnition Switch ON10 to 14 V
Page 1276 of 4500
OK: REPLACE SEAT BELT CONTROL ECU
CIRCUIT DESCRIPTION
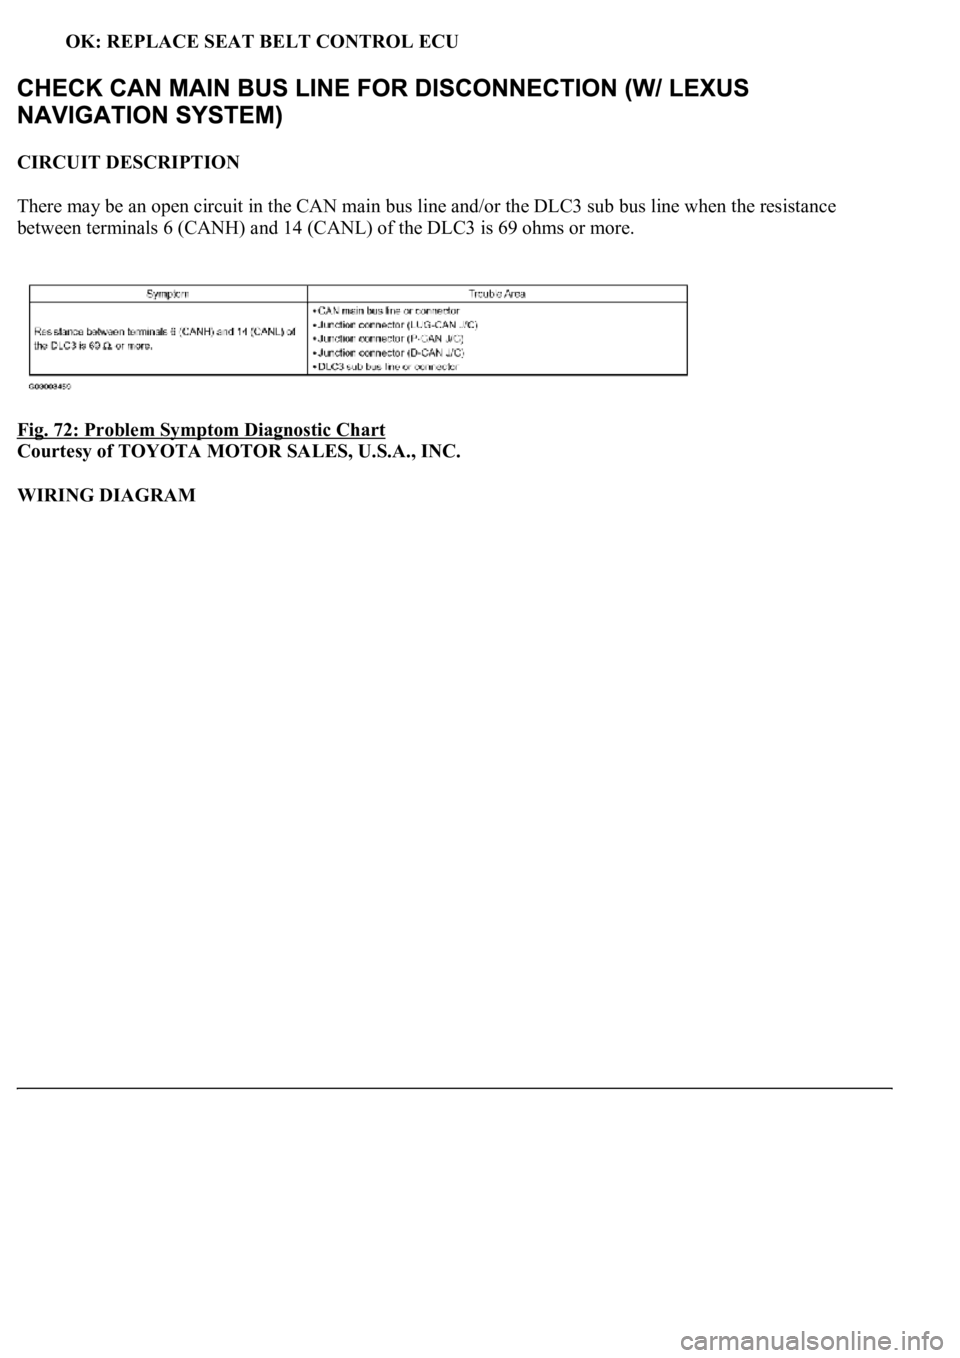
There may be an open circuit in the CAN main bus line and/or the DLC3 sub bus line when the resistance
between terminals 6 (CANH) and 14 (CANL) of the DLC3 is 69 ohms or more.
Fig. 72: Problem Symptom Diagnostic Chart
Courtesy of TOYOTA MOTOR SALES, U.S.A., INC.
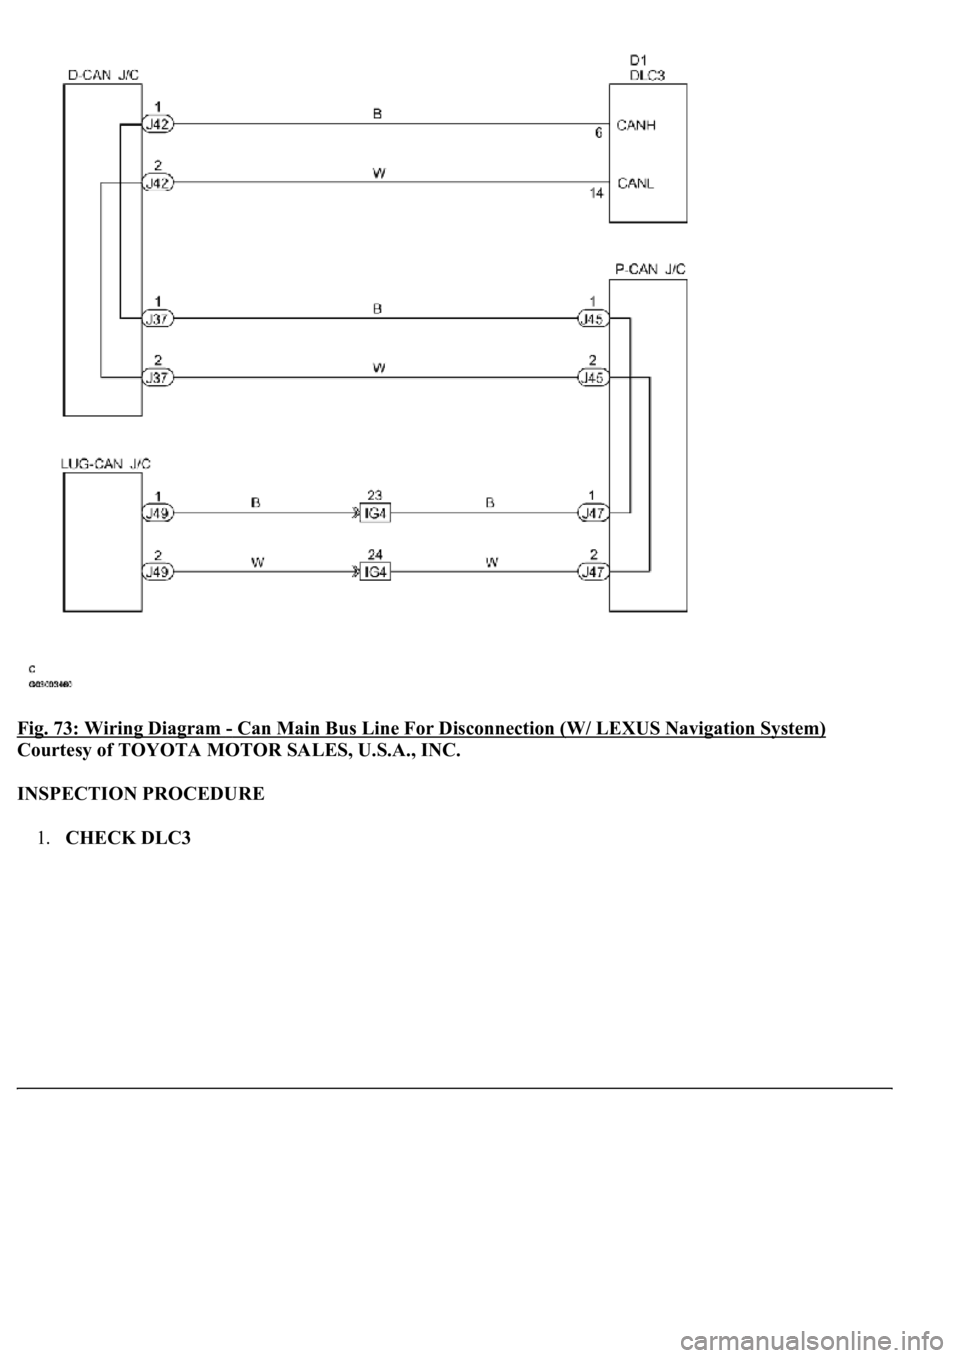
WIRING DIAGRAM
Page 1277 of 4500
Fig. 73: Wiring Diagram - Can Main Bus Line For Disconnection (W/ LEXUS Navigation System)
Courtesy of TOYOTA MOTOR SALES, U.S.A., INC.
INSPECTION PROCEDURE
1.CHECK DLC3
Page 1278 of 4500
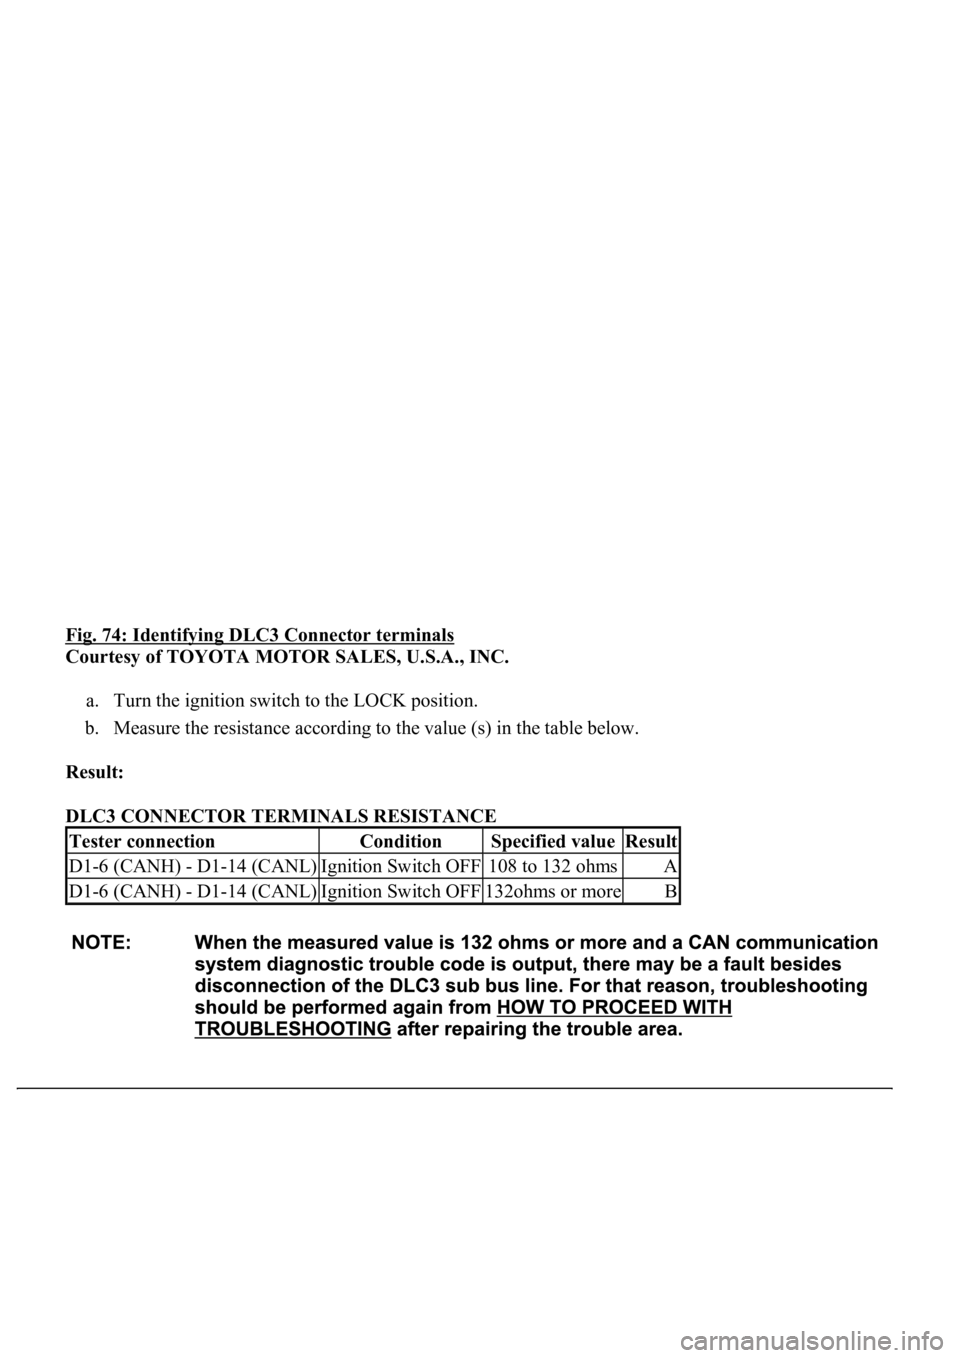
Fig. 74: Identifying DLC3 Connector terminals
Courtesy of TOYOTA MOTOR SALES, U.S.A., INC.
a. Turn the ignition switch to the LOCK position.
b. Measure the resistance according to the value (s) in the table below.
Result:
DLC3 CONNECTOR TERMINALS RESISTANCE
Tester connectionConditionSpecified valueResult
D1-6 (CANH) - D1-14 (CANL)Ignition Switch OFF108 to 132 ohmsA
D1-6 (CANH) - D1-14 (CANL)Ignition Switch OFF132ohms or moreB
Page 1279 of 4500
B: REPAIR OR REPLACE DLC3 SUB BUS LINE OR CONNECTOR (CAN-H, CAN-L)
A: GO TO NEXT STEP
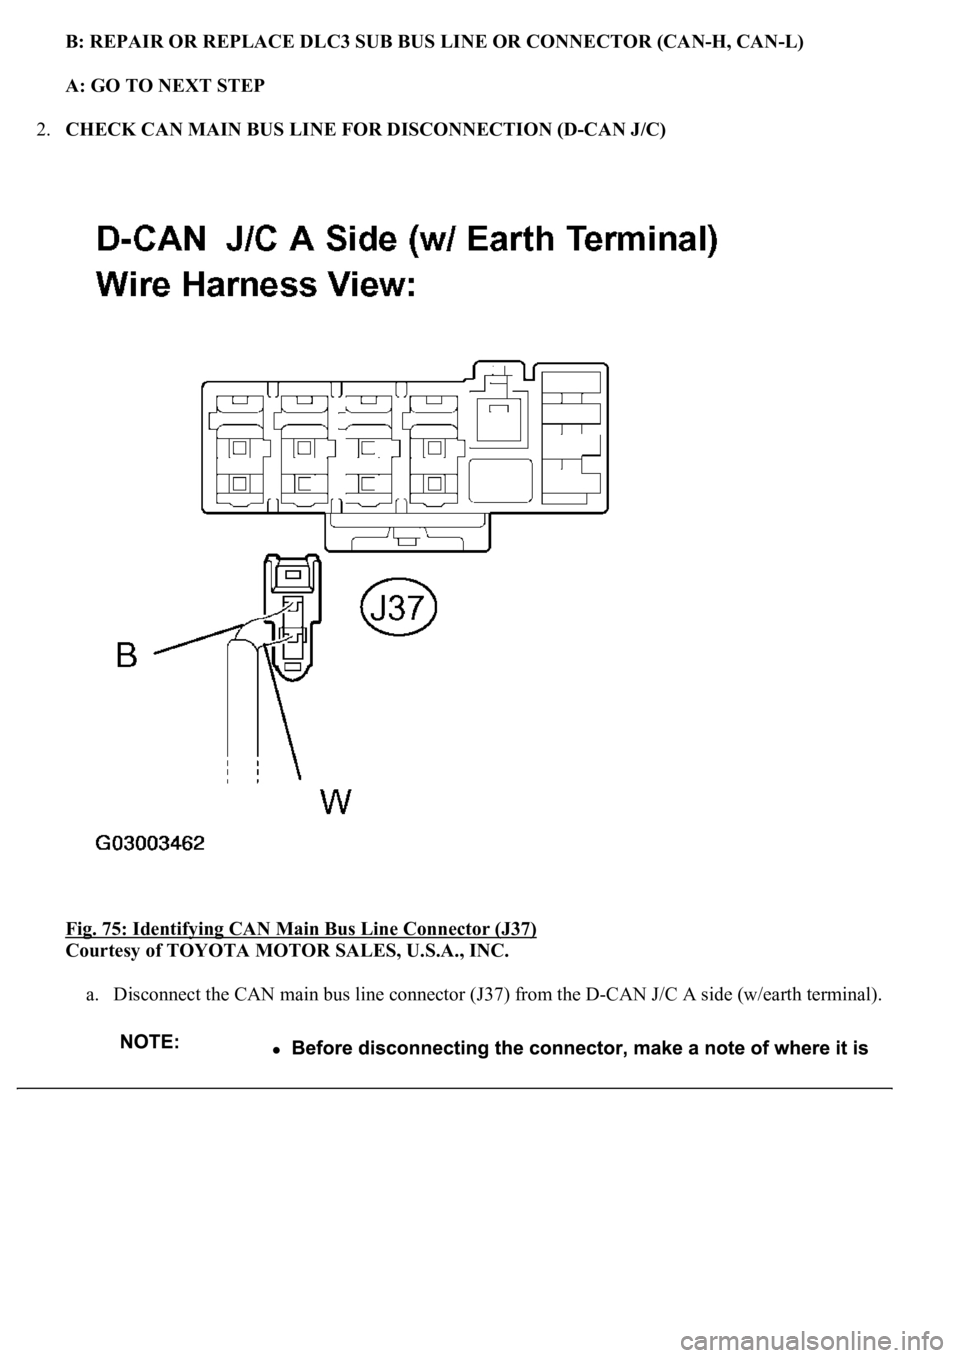
2.CHECK CAN MAIN BUS LINE FOR DISCONNECTION (D-CAN J/C)
Fig. 75: Identifying CAN Main Bus Line Connector (J37)
Courtesy of TOYOTA MOTOR SALES, U.S.A., INC.
a. Disconnect the CAN main bus line connector (J37) from the D-CAN J/C A side (w/earth terminal).
Page 1280 of 4500
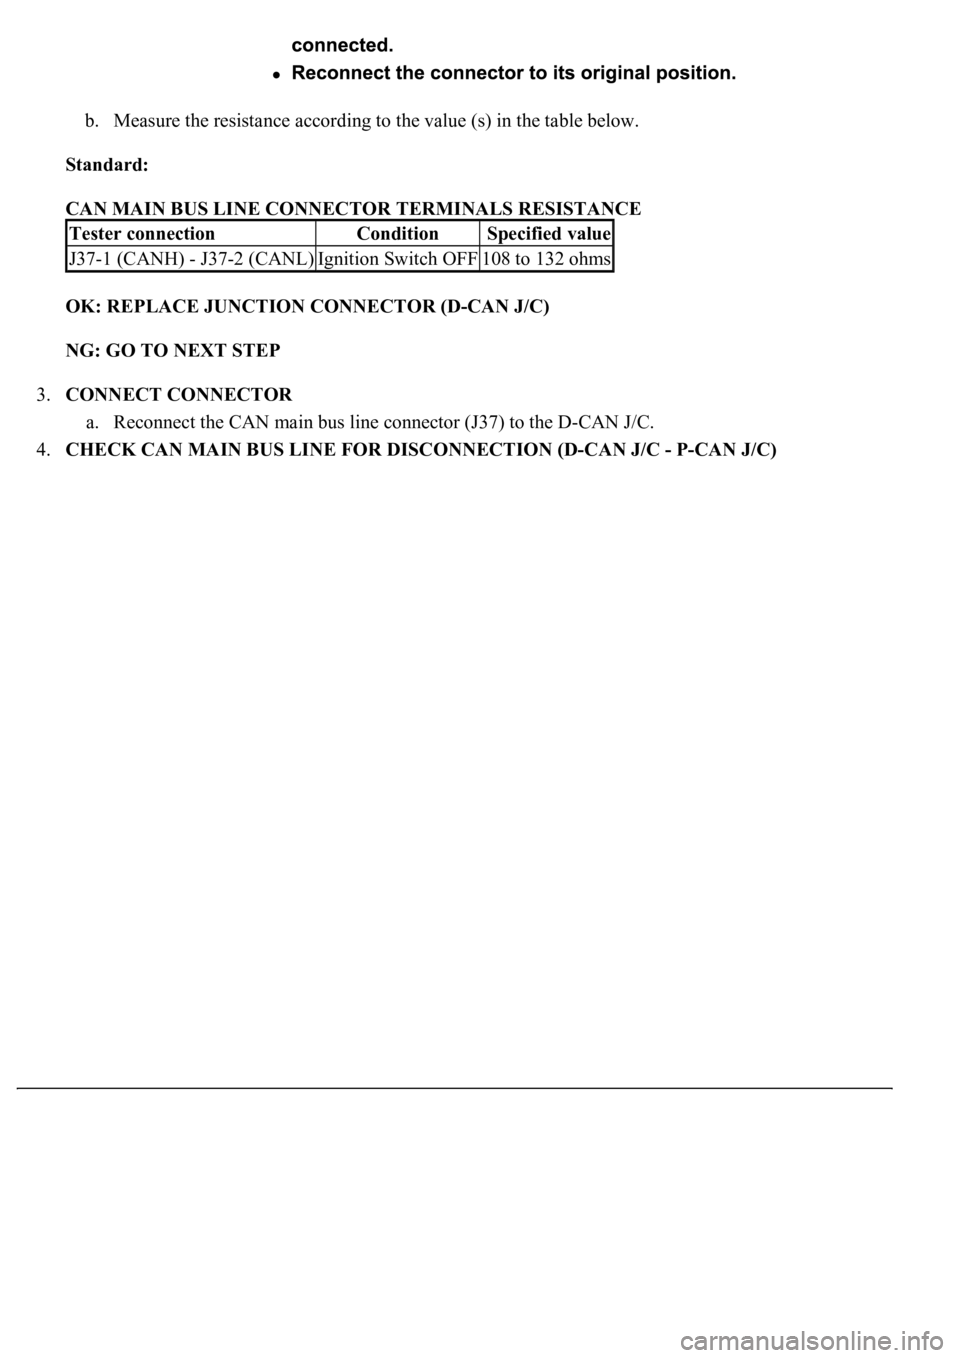
b. Measure the resistance according to the value (s) in the table below.
Standard:
CAN MAIN BUS LINE CONNECTOR TERMINALS RESISTANCE
OK: REPLACE JUNCTION CONNECTOR (D-CAN J/C)
NG: GO TO NEXT STEP
3.CONNECT CONNECTOR
a. Reconnect the CAN main bus line connector (J37) to the D-CAN J/C.
4.CHECK CAN MAIN BUS LINE FOR DISCONNECTION (D-CAN J/C - P-CAN J/C)
Tester connectionConditionSpecified value
J37-1 (CANH) - J37-2 (CANL)Ignition Switch OFF108 to 132 ohms
Trending: wiring, width, oil reset, trunk, Intake manifold, camshaft service, navigation
