MERCEDES-BENZ C-Class 2015 W205 Comand Manual
Manufacturer: MERCEDES-BENZ, Model Year: 2015, Model line: C-Class, Model: MERCEDES-BENZ C-Class 2015 W205Pages: 214, PDF Size: 5.16 MB
Page 161 of 214
0085
Channel information
0083 Category list
0084 Keyword search
006B Options menu
Channel information 0085can be viewed in
detail ( Ypage 161).
X To select Radio
Radio in the main function bar:
turn the controller and press to confirm.
If satellite radio mode was the last mode
selected, it will now be active.
If another radio mode is switched on, you
can now switch to satellite radio mode in
the carousel menu.
X To select Options Options: slide 00520064and press the
controller.
The message No Service
No Serviceappears if there is
no signal.
If the satellite receiver is not installed or is not
installed correctly, the Device Not Avail‐
Device Not Avail‐
able
able message will appear (Y page 158).Selecting a category
Satellite radio channels are sorted into vari-
ous categories. You can choose between var-
ious categories such as News/Discussions,
Sports and Country (if available). The cate-
gory list is sorted alphabetically. The content
of the categories is sorted by channel num-
bers.
X To call up the category list: selectCat‐
Cat‐
egory
egory in the menu bar: slide 00520064and press
the controller.
The category list appears.
X To select a category: turn the controller
and press to confirm.
The category selected is shown in the dis-
play. You hear the station last selected for
this category.
The 0036dot indicates the current setting.
The All Channels
All Channels category is at the top
of the category list. This category enables
you to browse all available channels. Selecting a channel
Channel search X
When the display/section window is
selected, slide 009500520096the controller.
COMAND searches in both directions
(ascending and descending) and stops at
the next channel found in the selected cat-
egory.
Entering channel numbers directly X
To select Options Optionsin the menu bar: slide
00520064 and press the controller.
The satellite radio menu appears.
X To select Enter Channel
Enter Channel: turn and press
the controller.
An input menu appears.
X For the channel number, press the corre-
sponding number keys on the control panel
one after the other.
COMAND sets the selected channel.
i You can only select currently permitted
digits.
Selecting a channel via the satellite
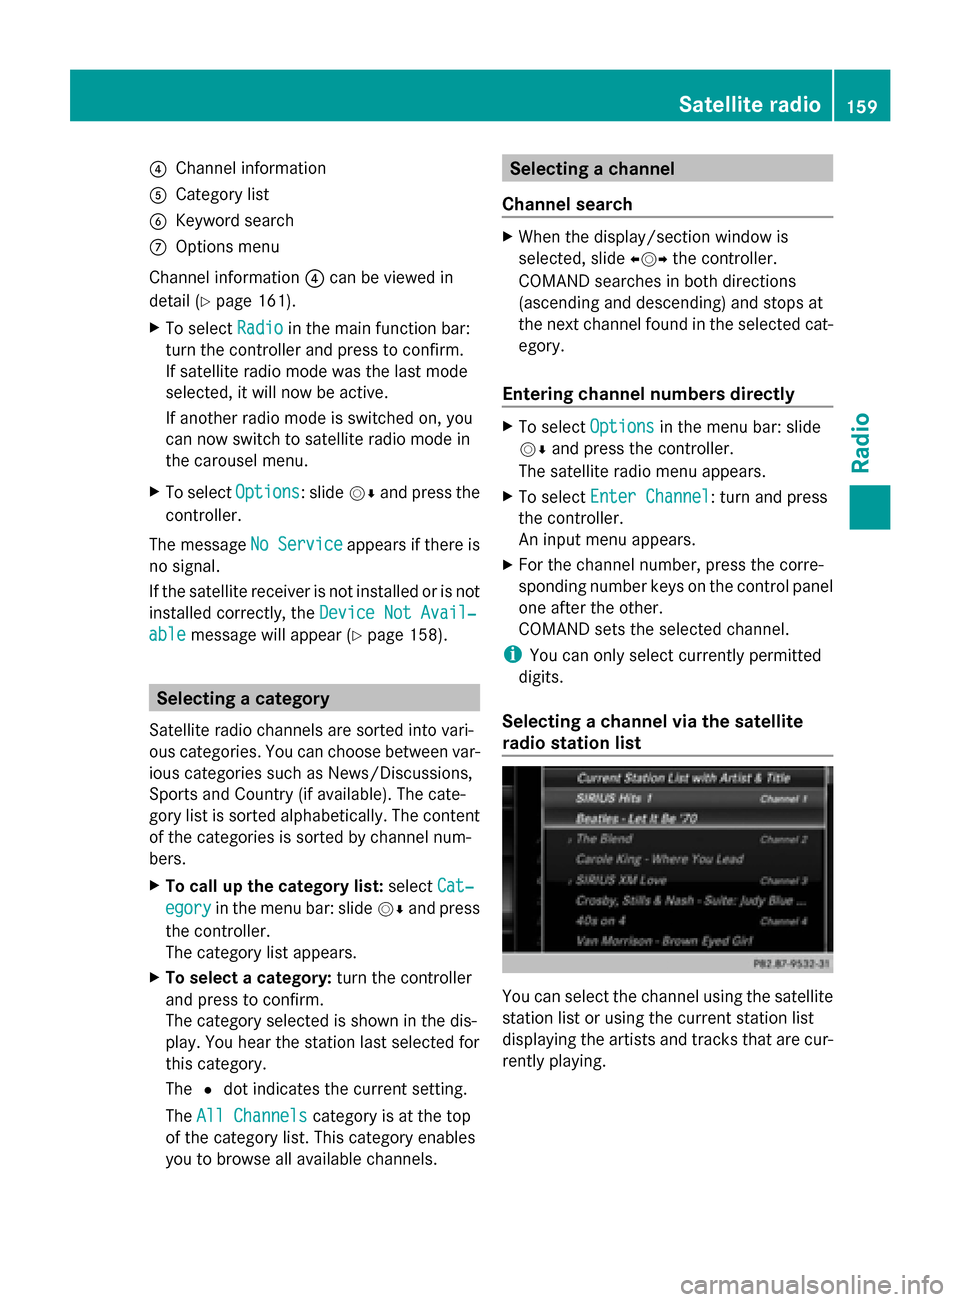
radio station list You can select the channel using the satellite
station list or using the current station list
displaying the artists and tracks that are cur-
rently playing. Satellite radio
159Radio
Page 162 of 214
X
To select Options
Optionsin the menu bar: slide
00520064 and press the controller.
X To select Current Station List with
Current Station List with
Artist & Title
Artist & Title: turn and press the con-
troller.
The channel list appears.
X Select the desired channel
Keyword search X
To select the keyword search 00D3in the
menu bar: slide 00520064and turn the controller.
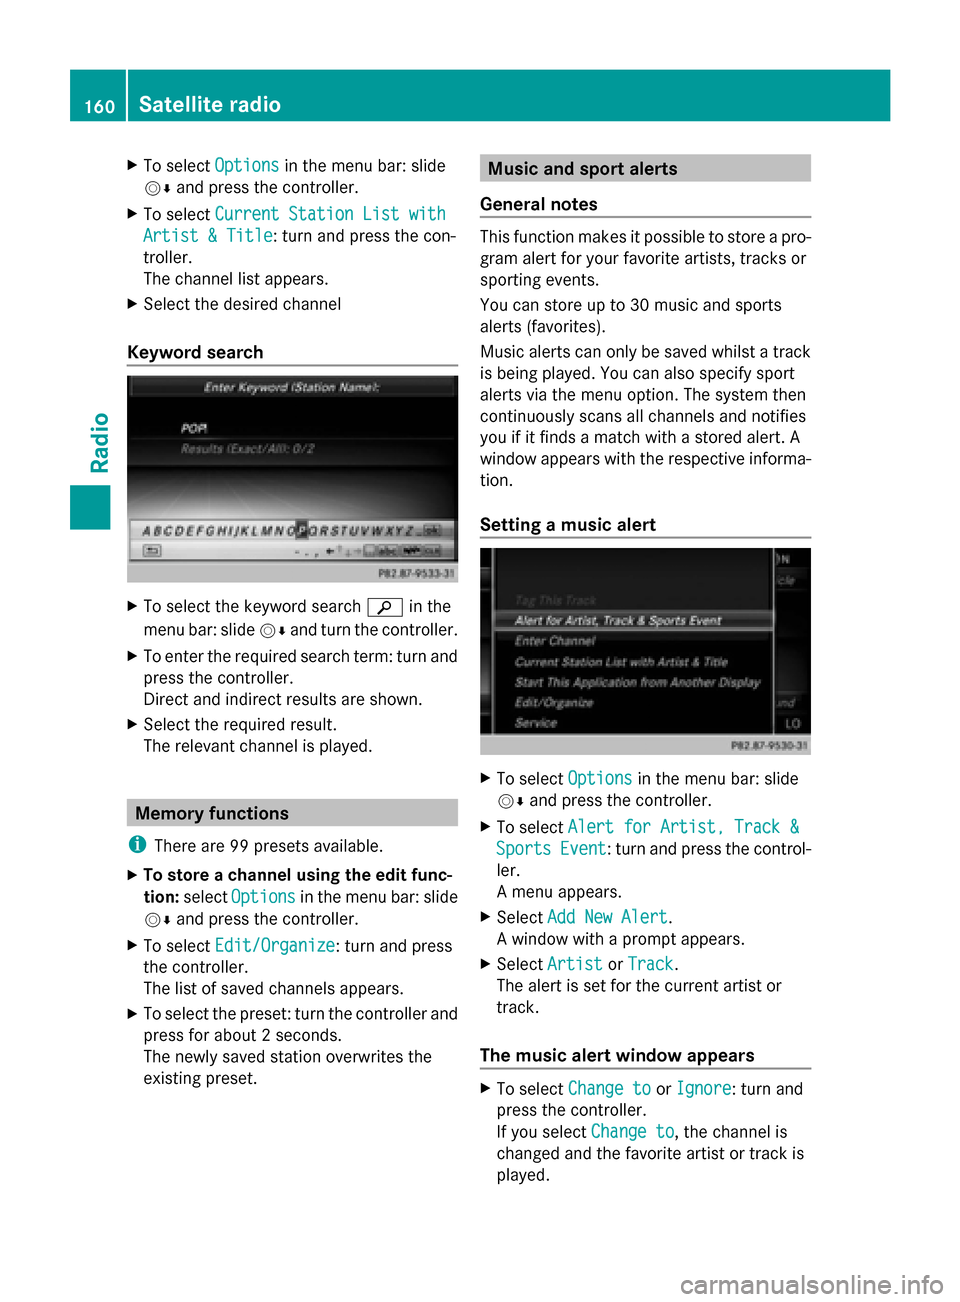
X To enter the required search term: turn and
press the controller.
Direct and indirect results are shown.
X Select the required result.
The relevant channel is played. Memory functions
i There are 99 presets available.
X To store a channel using the edit func-
tion: select Options
Options in the menu bar: slide
00520064 and press the controller.
X To select Edit/Organize Edit/Organize: turn and press
the controller.
The list of saved channels appears.
X To select the preset: turn the controller and
press for about 2 seconds.
The newly saved station overwrites the
existing preset. Music and sport alerts
General notes This function makes it possible to store a pro-
gram alert for your favorite artists, tracks or
sporting events.
You can store up to 30 music and sports
alerts (favorites).
Music alerts can only be saved whilst a track
is being played. You can also specify sport
alerts via the menu option. The system then
continuously scans all channels and notifies
you if it finds a match with a stored alert. A
window appears with the respective informa-
tion.
Setting a music alert
X
To select Options Optionsin the menu bar: slide
00520064 and press the controller.
X To select Alert for Artist, Track & Alert for Artist, Track &
Sports
Sports Event
Event: turn and press the control-
ler.
A menu appears.
X Select Add New Alert
Add New Alert.
A window with a prompt appears.
X Select Artist Artist orTrack
Track.
The alert is set for the current artist or
track.
The music alert window appears X
To select Change to Change to orIgnore
Ignore: turn and
press the controller.
If you select Change to
Change to, the channel is
changed and the favorite artist or track is
played. 160
Satellite radioRadio
Page 163 of 214
If you select
Ignore
Ignore, the current channel
will continue playing.
Setting a sport alert X
To select Options
Optionsin the menu bar: slide
00520064 and press the controller.
X To select Alert for Artist, Track &
Alert for Artist, Track &
Sports
Sports Event
Event: turn and press the control-
ler.
A menu appears.
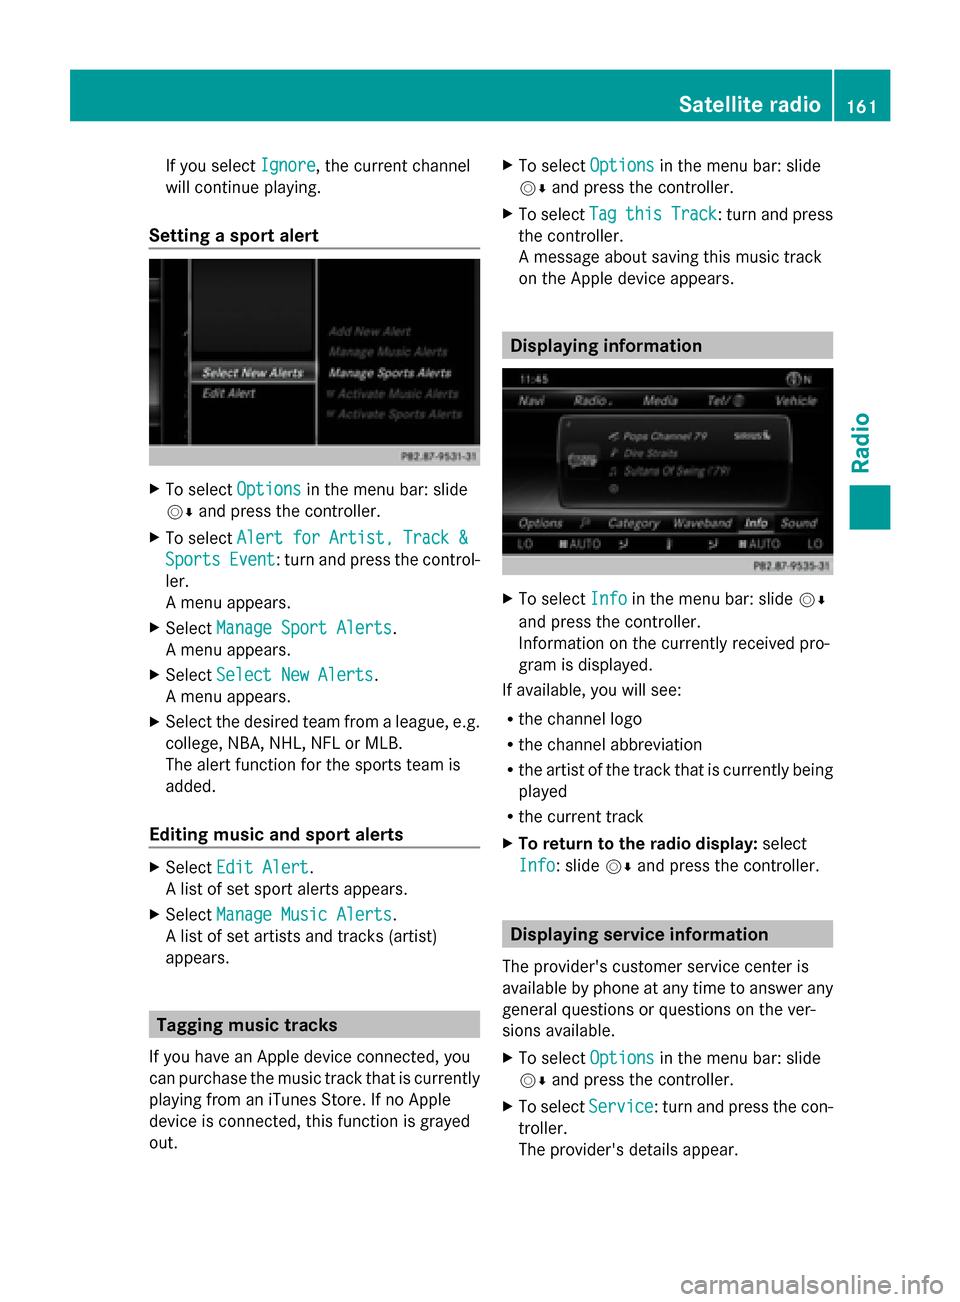
X Select Manage Sport Alerts Manage Sport Alerts.
A menu appears.
X Select Select New Alerts
Select New Alerts.
A menu appears.
X Select the desired team from a league, e.g.
college, NBA, NHL, NFL or MLB.
The alert function for the sports team is
added.
Editing music and sport alerts X
Select Edit Alert Edit Alert.
A list of set sport alerts appears.
X Select Manage Music Alerts
Manage Music Alerts.
A list of set artists and tracks (artist)
appears. Tagging music tracks
If you have an Apple device connected, you
can purchase the music track that is currently
playing from an iTunes Store. If no Apple
device is connected, this function is grayed
out. X
To select Options Optionsin the menu bar: slide
00520064 and press the controller.
X To select Tag
Tagthis
this Track
Track: turn and press
the controller.
A message about saving this music track
on the Apple device appears. Displaying information
X
To select Info Infoin the menu bar: slide 00520064
and press the controller.
Information on the currently received pro-
gram is displayed.
If available, you will see:
R the channel logo
R the channel abbreviation
R the artist of the track that is currently being
played
R the current track
X To return to the radio display: select
Info Info: slide 00520064and press the controller. Displaying service information
The provider's customer service center is
available by phone at any time to answer any
general questions or questions on the ver-
sions available.
X To select Options
Options in the menu bar: slide
00520064 and press the controller.
X To select Service Service: turn and press the con-
troller.
The provider's details appear. Satellite radio
161Radio
Page 164 of 214
X
To return to the main display: press the
0038 button. Channel list updates
During reception of a new channel list, the
Updating Channels...
Updating Channels... message is shown.
The station last selected is switched to mute
until the update has been completed. SatRa-
dio mode is not available during this process.
Once the update has been completed, the
SatRadio basic menu appears. The station
last selected is played. Sound settings
Information on sound settings ( Ypage 200). 162
Satellite radioRadio
Page 165 of 214
Your COMAND equipment
................164
Activating media mode ....................164
Audio/video mode ............................165
Media search ..................................... 173
MEDIA REGISTER ............................... 176
Bluetooth ®
audio mode .................... 180
Operation with the Media Inter-
face .................................................... 186
Audio AUX mode ............................... 189
Video AUX mode ............................... 190
Video DVD mode ............................... 191
Picture viewer ................................... 196 163Media
Page 166 of 214
Your COMAND equipment
These operating instructions describe all
standard and optional equipment available
for your COMAND system at the time of pur-
chase. Country-specific differences are pos-
sible. Please note that your COMAND system
may not be equipped with all the features
described. This also applies to safety-relevant
systems and functions. Therefore, the equip-
ment on your COMAND system may differ
from that in the descriptions and illustrations.
Should you have any questions concerning
equipment and operation, please consult an
authorized Mercedes-Benz Center. Activating media mode
General notes
There are several ways to activate media
sources using COMAND.
The relevant sections of the Operator's Man-
ual describe the simplest way to activate a
media source.
This section describes all options for activat-
ing media sources. Using the MEDIA button
X Press the 00FDbutton.
The menu for the last accessed media
source appears.
X To select the media source: keep pressing
the 00FD button until the required media
source has been set.
The media sources appear in the following
order:
R CD/DVD
R Memory card
R Media Register
R Vehicles without Media Interface: USB 1
and USB 2
R Vehicles with Media Interface: Media
Interface 1 and Media Interface 2 R
BT audio
R TV (if your vehicle is equipped with a TV)
R AUX
If playable music files are found, they will
be played by COMAND.
X To display the function bars: slide 00520064the
controller. Switching on automatically
After an external media source has been con-
nected, COMAND will only activate the cor-
responding media mode automatically in the
case of CDs and SD cards. When using USB
devices, depending on the vehicle's equip-
ment, the relevant Media Interface 1, 2 or
USB 1, 2 basic display must already be acti-
vated.
External media sources:
R Apple devices (e.g. iPhone ®
)
R USB devices (e.g. USB stick, MP3 player)
R CD
R DVD
R SD cards
R via AUX cable (automatic activation
depends on the device connected)
R via devices connected by Bluetooth ®
If playable music files are found, they will be
played by COMAND.
i If a media function is already switched on
in COMAND, this will be interrupted and the
basic display of the newly connected
device will appear.
If another function, such as navigation, is
operating, the basic display will not change.
Only the music from the newly connected
media source will play 164
Activa
ting media modeMedia
Page 167 of 214
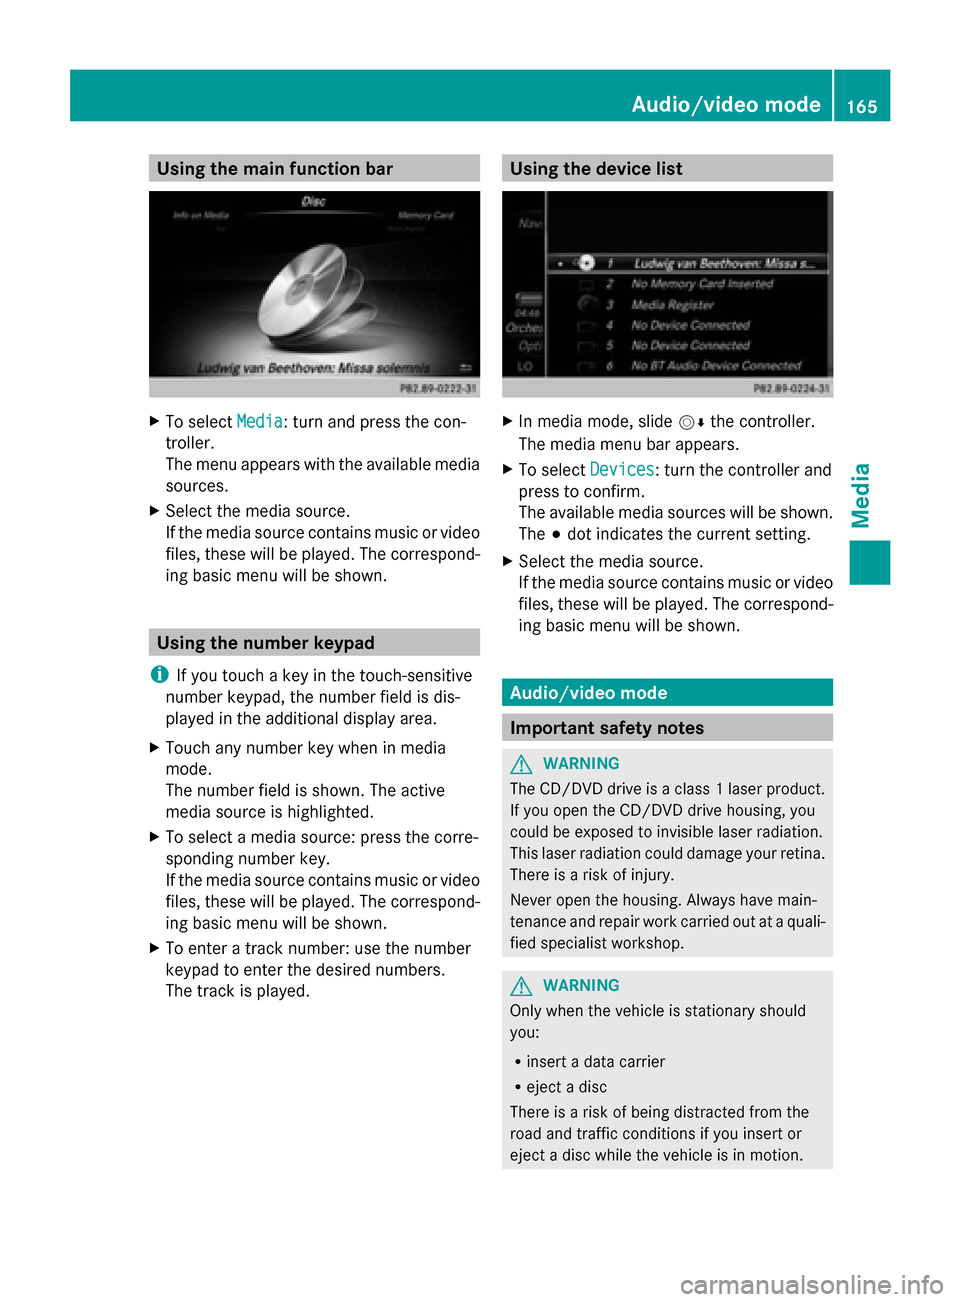
Using the main function bar
X
To select Media
Media: turn and press the con-
troller.
The menu appears with the available media
sources.
X Select the media source.
If the media source contains music or video
files, these will be played. The correspond-
ing basic menu will be shown. Using the number keypad
i If you touch a key in the touch-sensitive
number keypad, the number field is dis-
played in the additional display area.
X Touch any number key when in media
mode.
The number field is shown. The active
media source is highlighted.
X To select a media source: press the corre-
sponding number key.
If the media source contains music or video
files, these will be played. The correspond-
ing basic menu will be shown.
X To enter a track number: use the number
keypad to enter the desired numbers.
The track is played. Using the device list
X
In media mode, slide 00520064the controller.
The media menu bar appears.
X To select Devices Devices: turn the controller and
press to confirm.
The available media sources will be shown.
The 003Bdot indicates the current setting.
X Select the media source.
If the media source contains music or video
files, these will be played. The correspond-
ing basic menu will be shown. Audio/video mode
Important safety notes
G
WARNING
The CD/DVD drive is a class 1 laser product.
If you open the CD/DVD drive housing, you
could be exposed to invisible laser radiation.
This laser radiation could damage your retina.
There is a risk of injury.
Never open the housing. Always have main-
tenance and repair work carried out at a quali-
fied specialist workshop. G
WARNING
Only when the vehicle is stationary should
you:
R insert a data carrier
R eject a disc
There is a risk of being distracted from the
road and traffic conditions if you insert or
eject a disc while the vehicle is in motion. Audio/video mode
165Media Z
Page 168 of 214
Inserting and removing a disc from
the single CD/DVD drive
Before inserting a CD/DVD, ensure that the
cup holder is empty.
X To insert: press the00F8button on the
single drive.
If there is a disc already inserted, it will be
ejected.
X Insert a disc into the disc slot with the
printed side facing upwards.
The drive closes and the disc is played.
If the CD/DVD is operated in Media mode,
the corresponding basic menu will be
shown. If the CD/DVD is started using
another application (e.g. navigation), the
display will not change.
i The drive may not be able to play discs
with copy protection.
X To remove: press the00F8button.
The drive ejects the disc.
X Remove the ejected disc from the slot.
If you do not take the disc out of the slot, it
is drawn in again automatically after a short
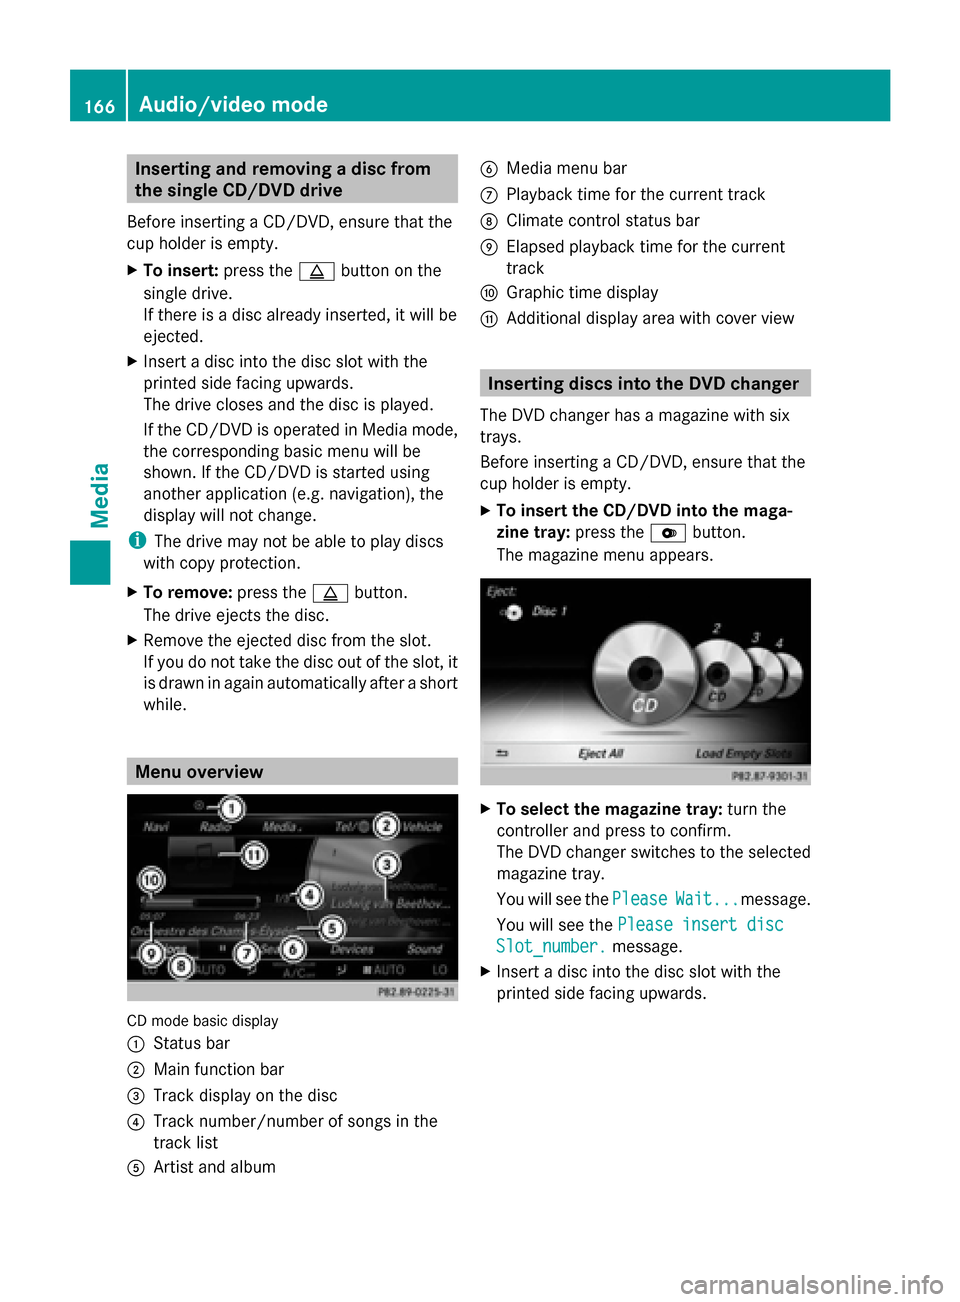
while. Menu overview
CD mode basic display
0043
Status bar
0044 Main function bar
0087 Track display on the disc
0085 Track number/number of songs in the
track list
0083 Artist and album 0084
Media menu bar
006B Playback time for the current track
006C Climate control status bar
006D Elapsed playback time for the current
track
006E Graphic time display
006F Additional display area with cover view Inserting discs into the DVD changer
The DVD changer has a magazine with six
trays.
Before inserting a CD/DVD, ensure that the
cup holder is empty.
X To insert the CD/DVD into the maga-
zine tray: press the0065button.
The magazine menu appears. X
To select the magazine tray: turn the
controller and press to confirm.
The DVD changer switches to the selected
magazine tray.
You will see the Please PleaseWait...
Wait...message.
You will see the Please insert disc
Please insert disc
Slot_number.
Slot_number. message.
X Insert a disc into the disc slot with the
printed side facing upwards. 166
Audio/video modeMedia
Page 169 of 214
X
To load all empty magazine trays: press
the 0065 button
The magazine menu appears.
X To select Load Empty Slots
Load Empty Slots: slide 00520064,
turn and press controller.
COMAND switches to the next empty mag-
azine tray.
You will see the Please PleaseWait...
Wait...message.
You will see the Please insert disc
Please insert disc
Slot_number.
Slot_number. message.
X Insert a disc into the disc slot with the
printed side facing upwards.
Once the disc is loaded, the DVD changer
switches to the next empty tray.
X Repeat these steps until all magazine trays
are filled.
The DVD changer plays the last inserted
disc.
X To cancel the loading process: press the
0065 button.
or
X To select 0038in the magazine menu: turn
and press the controller. Ejecting discs from the DVD changer
i If you remove one disc while playing
another disc, the DVD changer interrupts
playback. Playback continues once the disc
has been ejected.
X To eject a single CD/DVD: press the
0065 button.
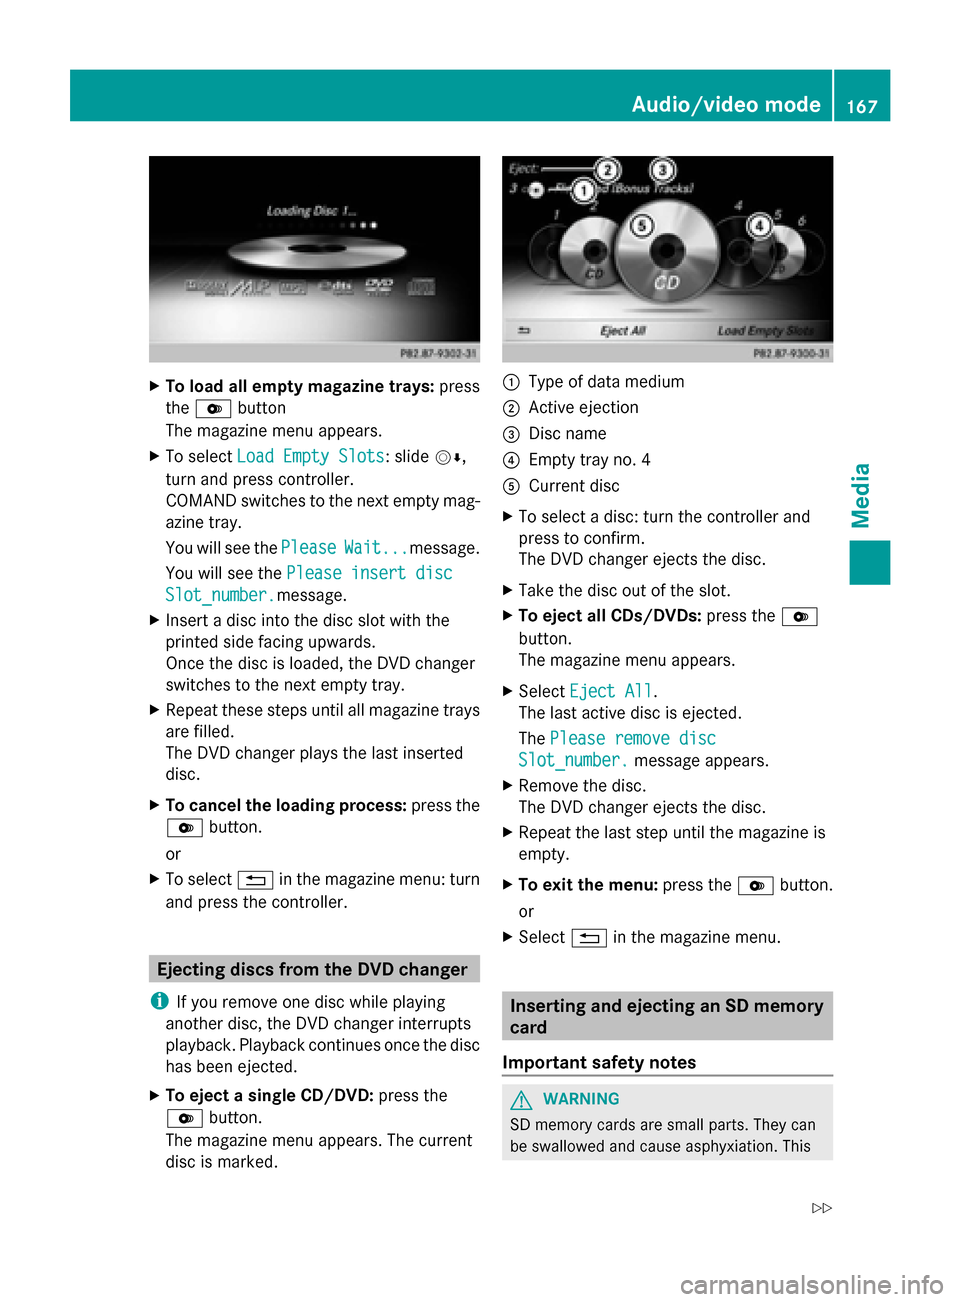
The magazine menu appears. The current
disc is marked. 0043
Type of data medium
0044 Active ejection
0087 Disc name
0085 Empty tray no. 4
0083 Current disc
X To select a disc: turn the controller and
press to confirm.
The DVD changer ejects the disc.
X Take the disc out of the slot.
X To eject all CDs/DVDs: press the0065
button.
The magazine menu appears.
X Select Eject All Eject All .
The last active disc is ejected.
The Please remove disc Please remove disc
Slot_number.
Slot_number. message appears.
X Remove the disc.
The DVD changer ejects the disc.
X Repeat the last step until the magazine is
empty.
X To exit the menu: press the0065button.
or
X Select 0038in the magazine menu. Inserting and ejecting an SD memory
card
Important safety notes G
WARNING
SD memory cards are small parts. They can
be swallowed and cause asphyxiation. This Audio/video mode
167Media
Z
Page 170 of 214
poses an increased risk of injury or even fatal
injury.
Keep SD memory cards out of the reach of
children. If an SD memory card is swallowed,
seek immediate medical attention.
! If you are no longer using the SD memory
card, you should remove it. High tempera-
tures can damage the card.
COMAND supports SD memory cards
(Secure Digital), SDHC memory cards
(Secure DigitalHighCapacity), and SDXC
memory cards (Secure Digital eXtended
Capacity.
Inserting an SD memory card X
Insert the SD memory card into the SD card
slot in the stowage space under the arm-
rest until the SD memory card engages into
place. The side with the contacts must face
downwards.
The music is played while the files are
loaded in the background. If there are no
supported audio/video files, you will see a
message to this effect.
Ejecting an SD memory card X
Press the memory card.
The memory card is ejected.
X Remove the memory card. Connecting USB devices
There are two USB ports in the stowage space
under the armrest.
X Connect the USB device to the USB port.
The data medium will only be played and
the files will only be loaded in the back-
ground if the corresponding media display
is visible. Otherwise, the system does not
automatically switch to USB. If there are no
supported audio/video files, you will see a
message to this effect. i
MP3 players must support Media Transfer
Protocol (MTP). Activating media mode
Switching on automatically After an external media source has been con-
nected, COMAND will only activate the cor-
responding media mode automatically and
show the basic display in the case of CDs and
SD cards. If the CD/DVD is started using
another application (e.g. navigation), the dis-
play will not change.
When using USB devices, depending on the
vehicle's equipment, the relevant Media
Interface 1, 2 or USB 1, 2 basic display must
already be activated.
X Insert the CDs/DVDs (Y page 166)
or
X Insert a SD memory card: (Y page 168)
or
X Connect a USB device: (Y page 168)
COMAND loads the medium inserted and
starts to play it automatically.
Further options for switching on R
Using the number keypad: (Y page 165)
R Using the main function bar: (Y page 165)
R Using the device list: (Y page 165)
R Using the 00FDbutton: (Y page 164) Options menu168
Audio/video modeMedia