MERCEDES-BENZ C-Class 2015 W205 Comand Manual
Manufacturer: MERCEDES-BENZ, Model Year: 2015, Model line: C-Class, Model: MERCEDES-BENZ C-Class 2015 W205Pages: 214, PDF Size: 5.16 MB
Page 131 of 214
Changing the displayed name of the e-
mail account X
Call up the settings menu for messages
(Y page 127).
X To highlight an e-mail account: turn the
controller.
X To select G: slide 9the controller.
X To select Own E-Mail Address
Own E-Mail Address: turn and
press the controller.
The input menu for entering your own e-
mail address is displayed. Downloading messages manually
X To call up the telephone menu: press the
002B button.
X To switch to the menu bar: slide 6the
controller.
X To select 0083: turn and press the controller.
The message menu is displayed.
X To switch to the menu bar: slide 6the
controller.
X To select Download
Download: turn and press the
controller.
Downloading text messages and e-mails
from the phone
X Select From the Phone From the Phone.
The messages are downloaded. If you have
selected Automatic Download
Automatic Download in the e-
mail settings, manual downloading is not
possible.
Updating from the e-mail server by the
mobile phone
X Select From the E-Mail Server
From the E-Mail Server .
The e-mails in the mobile phone are
updated.
This function is not supported by all mobile
phones. Reading messages
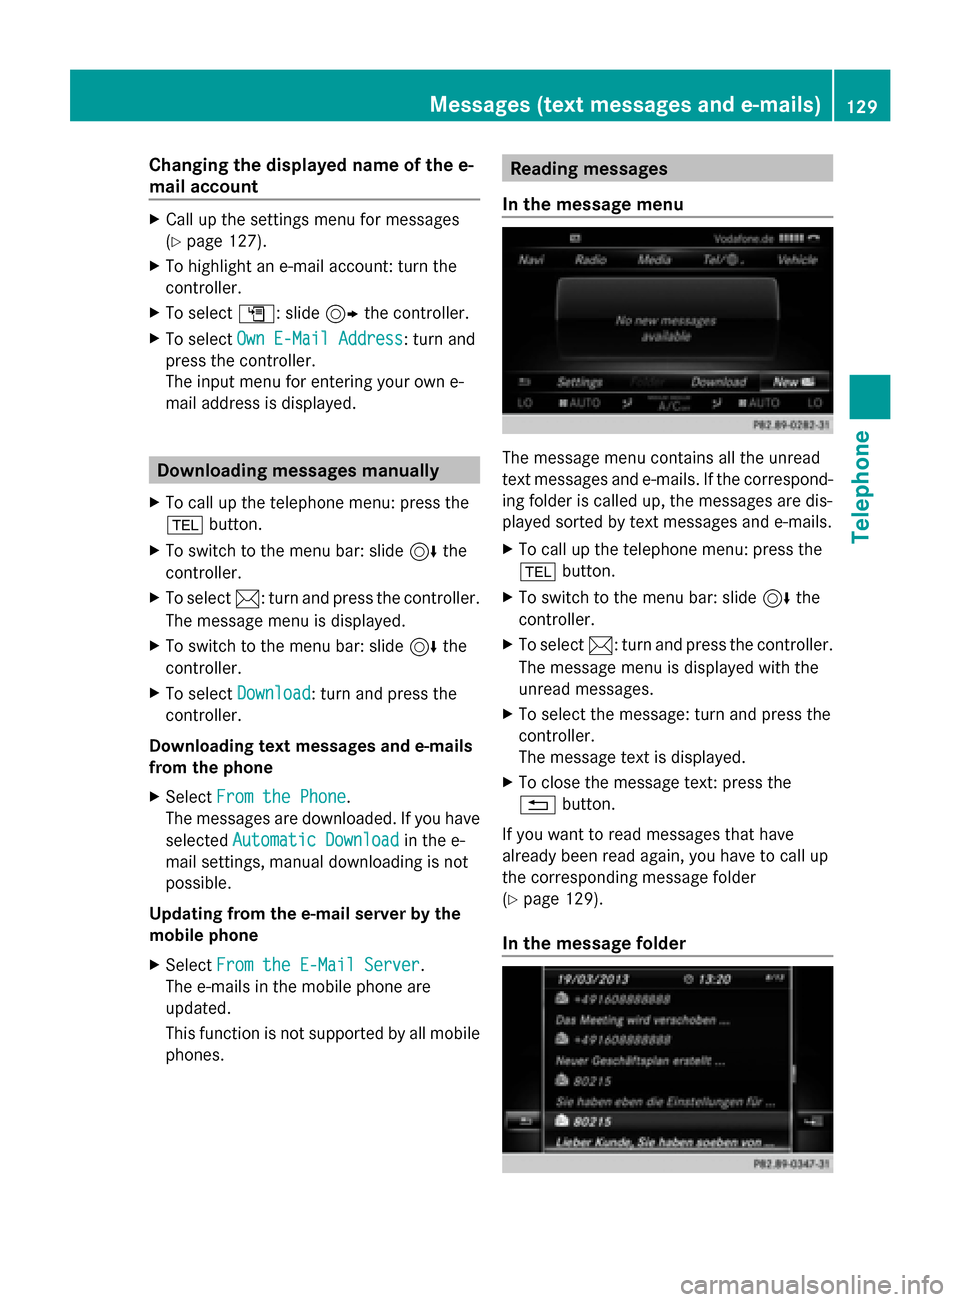
In the message menu The message menu contains all the unread
text messages and e-mails. If the correspond-
ing folder is called up, the messages are dis-
played sorted by text messages and e-mails.
X
To call up the telephone menu: press the
002B button.
X To switch to the menu bar: slide 6the
controller.
X To select 0083: turn and press the controller.
The message menu is displayed with the
unread messages.
X To select the message: turn and press the
controller.
The message text is displayed.
X To close the message text: press the
0038 button.
If you want to read messages that have
already been read again, you have to call up
the corresponding message folder
(Y page 129).
In the message folder Messages (text messages and e-mails)
129Telephone Z
Page 132 of 214
X
To call up the telephone menu: press the
002B button.
X To switch to the menu bar: slide 6the
controller.
X To select 0083: turn and press the controller.
The message menu is displayed.
X To switch to the menu bar: slide 6the
controller.
X To select Folder
Folder: turn and press the con-
troller.
X To select Text Message
Text Message orE-Mail
E-Mail: turn
and press the controller.
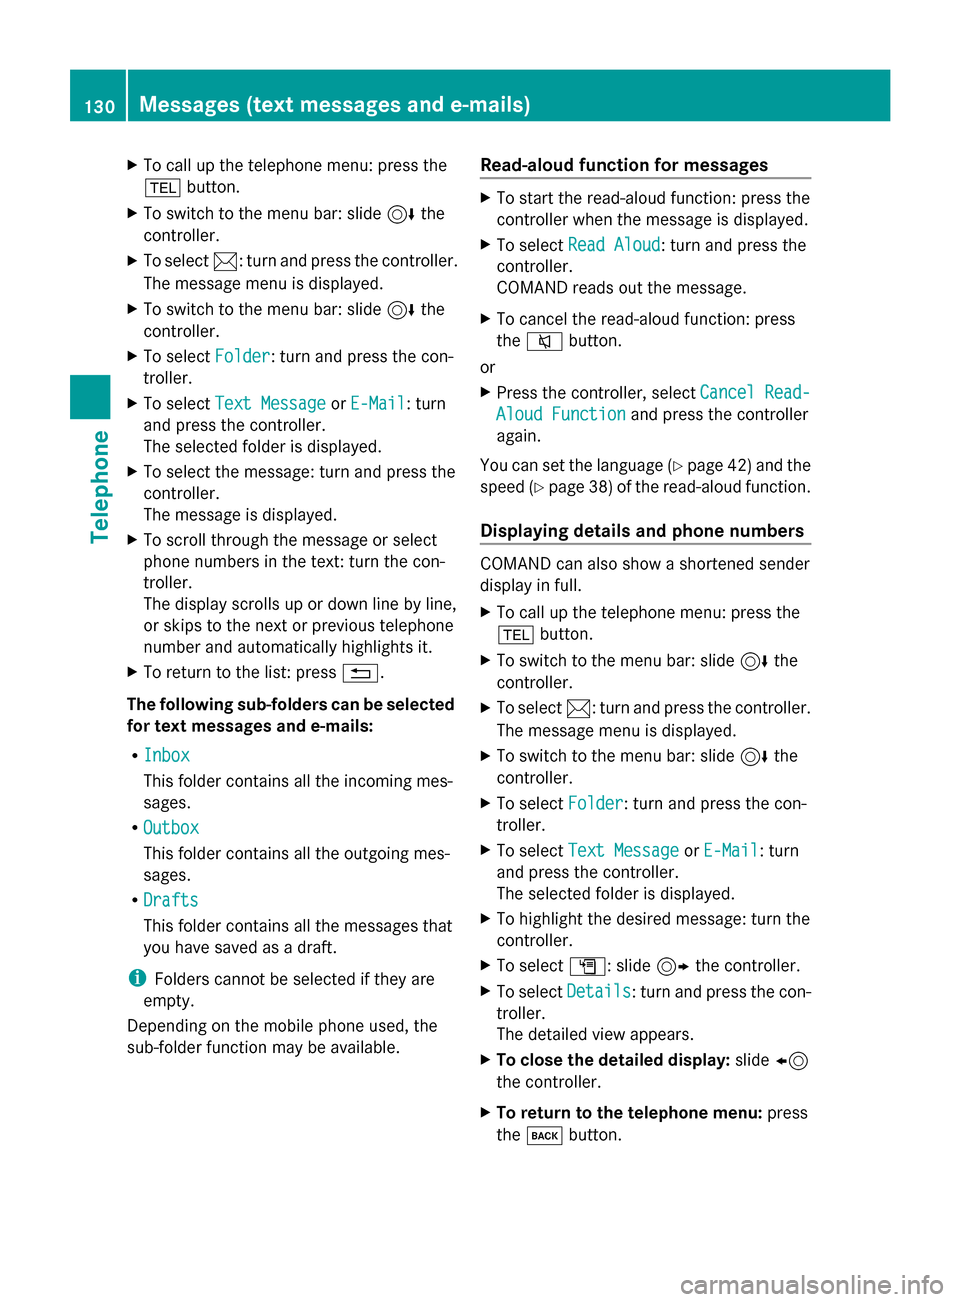
The selected folder is displayed.
X To select the message: turn and press the
controller.
The message is displayed.
X To scroll through the message or select
phone numbers in the text: turn the con-
troller.
The display scrolls up or down line by line,
or skips to the next or previous telephone
number and automatically highlights it.
X To return to the list: press 0038.
The following sub-folders can be selected
for text messages and e-mails:
R Inbox
Inbox
This folder contains all the incoming mes-
sages.
R Outbox Outbox
This folder contains all the outgoing mes-
sages.
R Drafts
Drafts
This folder contains all the messages that
you have saved as a draft.
i Folders cannot be selected if they are
empty.
Depending on the mobile phone used, the
sub-folder function may be available. Read-aloud function for messages X
To start the read-aloud function: press the
controller when the message is displayed.
X To select Read Aloud Read Aloud: turn and press the
controller.
COMAND reads out the message.
X To cancel the read-aloud function: press
the 0063 button.
or
X Press the controller, select Cancel Read- Cancel Read-
Aloud Function
Aloud Function and press the controller
again.
You can set the language (Y page 42) and the
speed (Y page 38) of the read-aloud function.
Displaying details and phone numbers COMAND can also show a shortened sender
display in full.
X
To call up the telephone menu: press the
002B button.
X To switch to the menu bar: slide 6the
controller.
X To select 0083: turn and press the controller.
The message menu is displayed.
X To switch to the menu bar: slide 6the
controller.
X To select Folder Folder: turn and press the con-
troller.
X To select Text Message
Text Message orE-Mail
E-Mail: turn
and press the controller.
The selected folder is displayed.
X To highlight the desired message: turn the
controller.
X To select G: slide 9the controller.
X To select Details Details: turn and press the con-
troller.
The detailed view appears.
X To close the detailed display: slide8
the controller.
X To return to the telephone menu: press
the 003D button. 130
Messages (text messages and e-mails)Telephone
Page 133 of 214
Writing text messages
Writing a new text message Observe the requirements for the message
function ( Ypage 127).
X To call up the telephone menu: press the
002B button.
X To switch to the menu bar: slide 6the
controller.
X To select 0083: turn and press the controller.
The message menu is displayed.
X To switch to the menu bar: slide 6the
controller.
X To select New
New: turn and press the controller.
X To select Text Message
Text Message : turn and press
the controller.
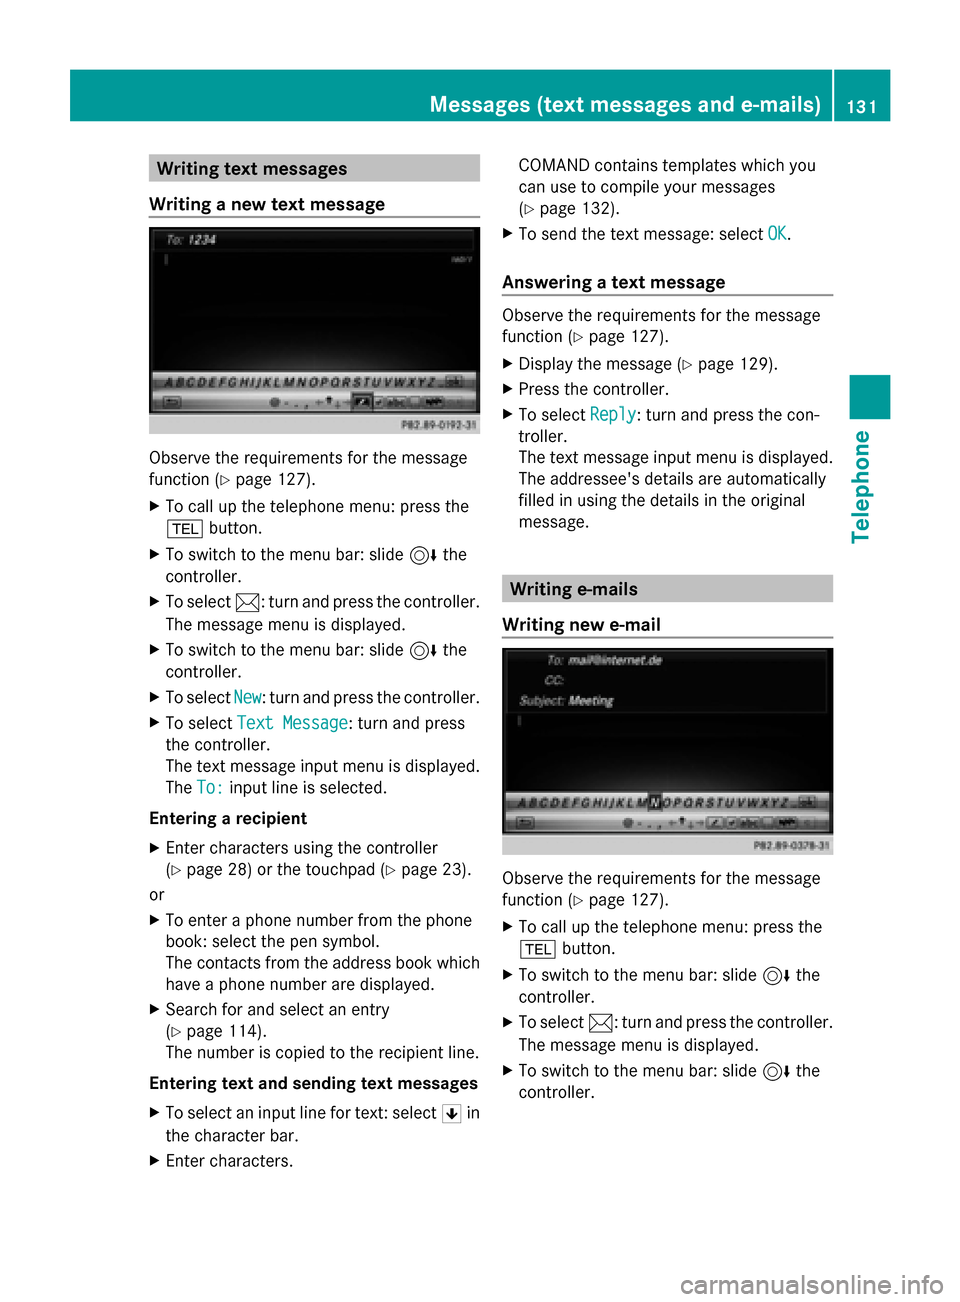
The text message input menu is displayed.
The To: To: input line is selected.
Entering a recipient
X Enter characters using the controller
(Y page 28) or the touchpad (Y page 23).
or
X To enter a phone number from the phone
book: select the pen symbol.
The contacts from the address book which
have a phone number are displayed.
X Search for and select an entry
(Y page 114).
The number is copied to the recipient line.
Entering text and sending text messages
X To select an input line for text: select 0060in
the character bar.
X Enter characters. COMAND contains templates which you
can use to compile your messages
(Y
page 132).
X To send the text message: select OK OK.
Answering a text message Observe the requirements for the message
function (
Ypage 127).
X Display the message (Y page 129).
X Press the controller.
X To select Reply
Reply: turn and press the con-
troller.
The text message input menu is displayed.
The addressee's details are automatically
filled in using the details in the original
message. Writing e-mails
Writing new e-mail Observe the requirements for the message
function (
Ypage 127).
X To call up the telephone menu: press the
002B button.
X To switch to the menu bar: slide 6the
controller.
X To select 0083: turn and press the controller.
The message menu is displayed.
X To switch to the menu bar: slide 6the
controller. Messages (text messages and e-mails)
131Telephone Z
Page 134 of 214
X
To select New
New: turn and press the controller.
X To select E-Mail
E-Mail: turn and press the con-
troller.
The e-mail input menu appears. The To:
To:
input line is selected.
Entering a recipient
X Enter characters using the controller
(Y page 28) or the touchpad (Y page 23).
or
X To insert an e-mail address from the
address book: select the pen symbol.
The contacts from the address book which
have an e-mail address are displayed.
X Search for and select an entry
(Y page 114).
The e-mail address is copied to the addres-
see line.
Entering the subject
X To select the Subject:
Subject: input line: select
0060 in the character bar.
X Enter characters.
Entering text and sending e-mails
X To select an input line for text: select 0060in
the character bar.
X Enter characters.
COMAND contains templates which you
can use to compile your messages
(Y page 132).
X To send the e-mail: select OK OK.
Answering an e-mail Observe the requirements for the message
function (Y page 127).
X Display the message (Y page 129).
X To call up a menu: press the controller.
X To select Reply
Reply: turn and press the con-
troller.
The e-mail input menu appears. The
addressee's details are automatically filled
in using the details in the original message.
When replying to an e-mail, you can also
select Reply
Reply to toAll
All instead of Reply
Reply. In this case, the reply is sent not just to the sender
but to all those who received the original mes-
sage.
Forwarding e-mail Observe the requirements for the message
function (Y
page 127).
X Display the message (Y page 129).
X To call up a menu: press the controller.
X To select Forward Forward: turn and press the con-
troller.
The input menu appears. The subject line
is automatically filled in with the same
details as those in the original message. Text templates
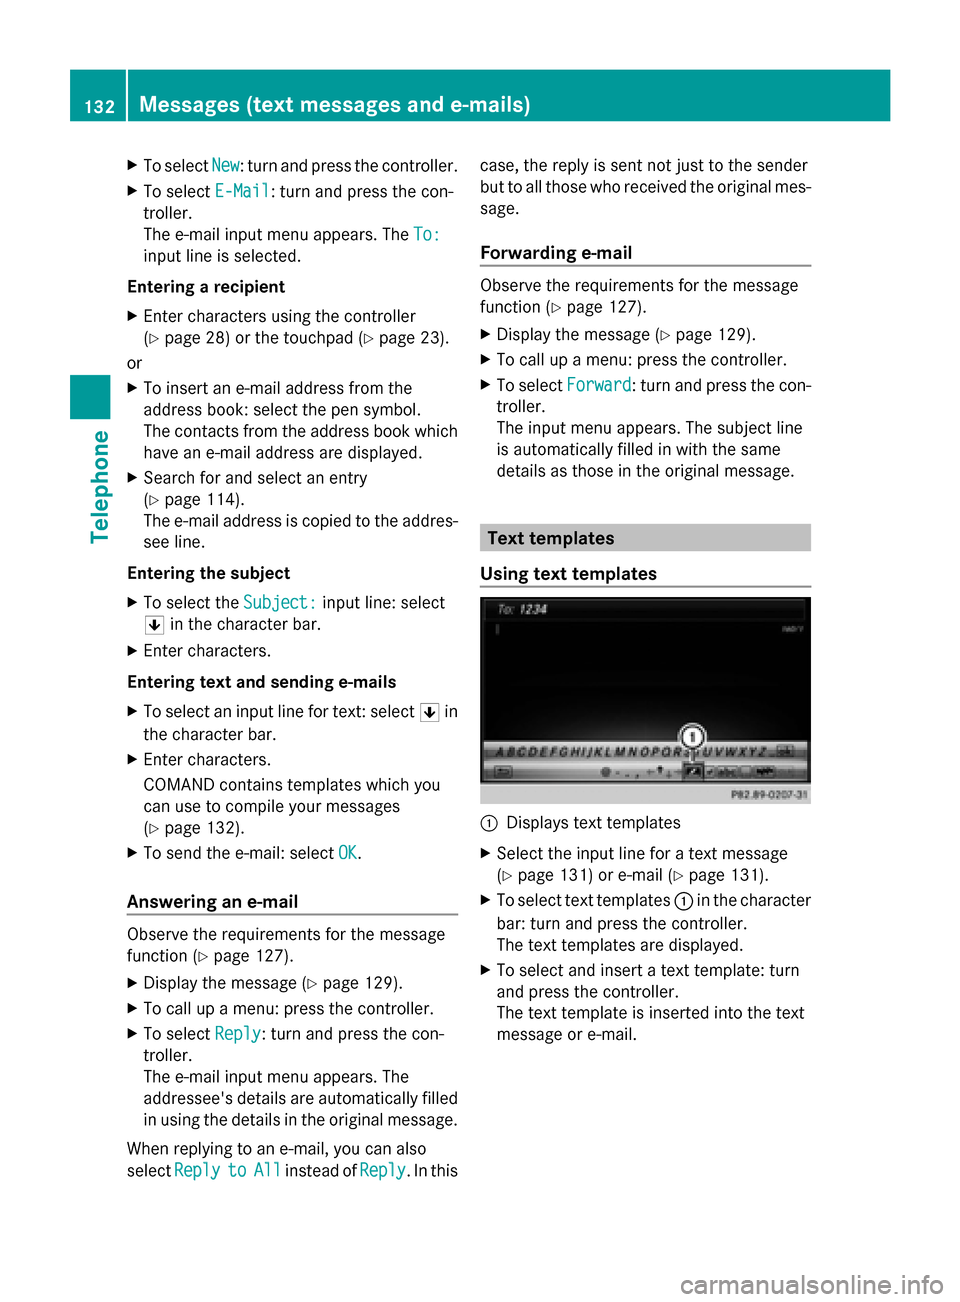
Using text templates 0043
Displays text templates
X Select the input line for a text message
(Y page 131) or e-mail (Y page 131).
X To select text templates 0043in the character
bar: turn and press the controller.
The text templates are displayed.
X To select and insert a text template: turn
and press the controller.
The text template is inserted into the text
message or e-mail. 132
Messages (text messages and e-mails)Telephone
Page 135 of 214
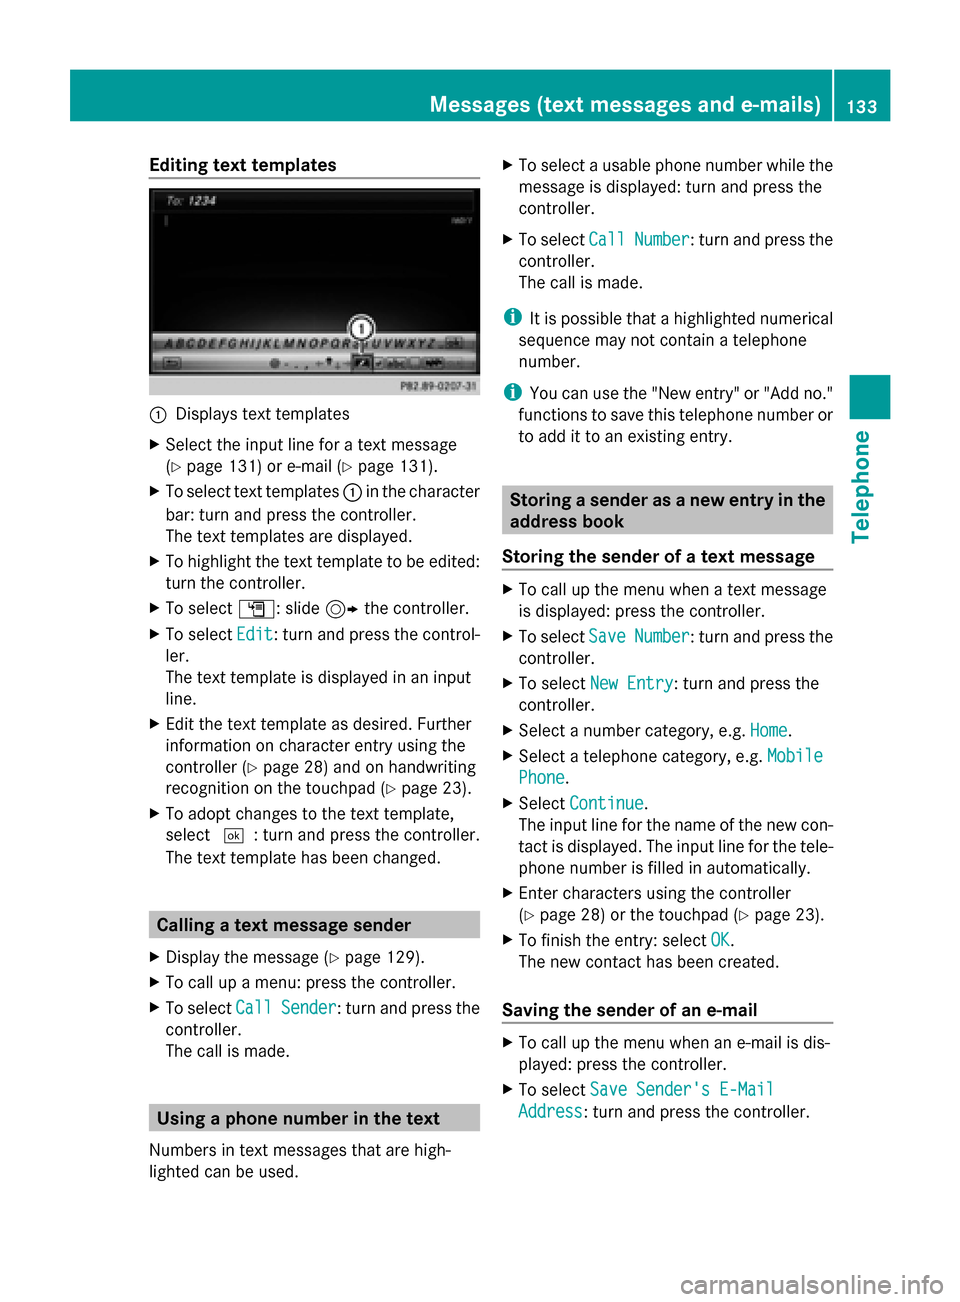
Editing text templates
0043
Displays text templates
X Select the input line for a text message
(Y page 131) or e-mail (Y page 131).
X To select text templates 0043in the character
bar: turn and press the controller.
The text templates are displayed.
X To highlight the text template to be edited:
turn the controller.
X To select G: slide 9the controller.
X To select Edit
Edit: turn and press the control-
ler.
The text template is displayed in an input
line.
X Edit the text template as desired. Further
information on character entry using the
controller (Y page 28) and on handwriting
recognition on the touchpad (Y page 23).
X To adopt changes to the text template,
select 0054: turn and press the controller.
The text template has been changed. Calling a text message sender
X Display the message ( Ypage 129).
X To call up a menu: press the controller.
X To select Call
Call Sender Sender : turn and press the
controller.
The call is made. Using a phone number in the text
Numbers in text messages that are high-
lighted can be used. X
To select a usable phone number while the
message is displayed: turn and press the
controller.
X To select Call
Call Number Number : turn and press the
controller.
The call is made.
i It is possible that a highlighted numerical
sequence may not contain a telephone
number.
i You can use the "New entry" or "Add no."
functions to save this telephone number or
to add it to an existing entry. Storing a sender as a new entry in the
address book
Storing the sender of a text message X
To call up the menu when a text message
is displayed: press the controller.
X To select Save SaveNumber
Number : turn and press the
controller.
X To select New Entry
New Entry: turn and press the
controller.
X Select a number category, e.g. Home
Home.
X Select a telephone category, e.g. Mobile
Mobile
Phone
Phone.
X Select Continue
Continue.
The input line for the name of the new con-
tact is displayed. The input line for the tele-
phone number is filled in automatically.
X Enter characters using the controller
(Y page 28) or the touchpad ( Ypage 23).
X To finish the entry: select OK
OK.
The new contact has been created.
Saving the sender of an e-mail X
To call up the menu when an e-mail is dis-
played: press the controller.
X To select Save Sender's E-Mail Save Sender's E-Mail
Address
Address: turn and press the controller. Messages (text messages and e-mails)
133Telephone Z
Page 136 of 214
X
To select New Entry
New Entry: turn and press the
controller.
The input line for the name of the new con-
tact is displayed. The input line for the e-
mail address is filled in automatically.
X Enter characters using the controller
(Y page 28) or the touchpad (Y page 23).
X To finish the entry: select OK
OK.
The new contact has been created. Adding the sender to an address book
entry
Storing the sender of a text message X
To call up the menu when a text message
is displayed: press the controller.
X To select Save SaveNumber
Number : turn and press the
controller.
X To select Add Phone No.
Add Phone No.: turn and press
the controller.
X To select a category for the number, e.g.
Home
Home: turn the controller and press to con-
firm.
X To select a telephone category, e.g.
Mobile Phone
Mobile Phone: turn the controller and
press to confirm.
X To select Continue
Continue: turn and press the
controller.
The address book is displayed.
X Search for the desired entry (Y page 117).
X Press the controller when you have finished
searching.
The telephone number has been added.
A maximum of five entries can be saved for
one category.
Saving the sender of an e-mail X
To call up the menu when an e-mail is dis-
played: press the controller.
X To select Save Sender's E-Mail
Save Sender's E-Mail
Address Address: turn and press the controller.
X To select Add
Add: turn and press the controller.
The address book is displayed. X
Search for the desired entry (Y page 117).
X Press the controller when you have finished
searching.
The e-mail address has been added. Deleting messages
X Call up the message folder (Y page 129).
X To select the message: turn and press the
controller.
X To select G: slide 9the controller.
X To select Delete Delete: turn and press the con-
troller.
X To select Yes Yes: turn and press the controller.
The message is deleted.
or
X To select No No: turn and press the controller.
The process is canceled.
i This delete function is not supported by
all mobile phones. The Delete failed.
Delete failed.
message then appears. 134
Messages (text messages and e-mails)Telephone
Page 137 of 214
Your COMAND equipment
................136
General notes .................................... 136
Establishing/ending the connec-
tion ..................................................... 136
Googleâ„¢ Local Search ......................137
Destination/route download ...........140
Weather ............................................. 142
Mercedes-Benz Apps ........................144
Options .............................................. 145
Internet radio .................................... 146
Internet .............................................. 147 135Online and Internet
Page 138 of 214
Your COMAND equipment
These operating instructions describe all
standard and optional equipment available
for your COMAND system at the time of pur-
chase. Country-specific differences are pos-
sible. Please note that your COMAND system
may not be equipped with all the features
described. This also applies to safety-relevant
systems and functions. Therefore, the equip-
ment on your COMAND system may differ
from that in the descriptions and illustrations.
Should you have any questions concerning
equipment and operation, please consult an
authorized Mercedes-Benz Center. General notes
Conditions for access
To use Mercedes-Benz Apps and Internet
access, the following conditions must be ful-
filled:
R mbrace is activated and operational
R mbrace is activated for Mercedes-Benz
Apps and Internet access
Priority of connections: an emergency call
has the highest priority. When a service call,
e.g. a breakdown service call or the MB Info
Call, is active, an emergency call can still be
initiated.
A service call, on the other hand, has priority
over a current Internet connection. Therefore,
you cannot establish an Internet connection
during a service call.
i The availability of individual Mercedes-
Benz Apps may vary depending on the
country.
i The terms of use are shown when the sys-
tem is used for the first time and then once
a year thereafter. Only read and accept the
terms of use when the vehicle is stationary.
i The driver is not permitted to call up web-
sites while driving and use of the Mercedes-
Benz Apps is restricted. Establishing/ending the connection
Establishing the connection
Read the conditions for establishing a con-
nection (Y page 136).
A connection can be established by:
R entering a web address (Y page 147).
R calling up the Mercedes-Benz Mobile Web-
site (Y page 144).
R calling up a Mercedes-Benz App
(Y page 144).
R calling up a Favorite.
R calling up the Internet radio (Y page 146).
R establishing an Internet connection via a
wireless networking device. The "Allow
shared WiFi usage" option must be acti-
vated on COMAND for this (Y page 39).
Ending the connection
X Press Cancel
Cancel in the connections window. Connection status
X
Press the 002Bbutton.
The last function called up appears.
X To select the TEL/ TEL/00A7menu: slide 5, turn
and press the controller.
A menu appears.
X To select Internet Internet : turn and press the
controller.
The menu for the Internet functions
appears. 136
Establishing/ending
theconnectionOnline and Internet
Page 139 of 214
X
To select Settings
Settings: slide 6the control-
ler, turn and press to confirm.
A menu appears.
X To select Connection Status
Connection Status: turn and
press the controller.
An overview of the connection status
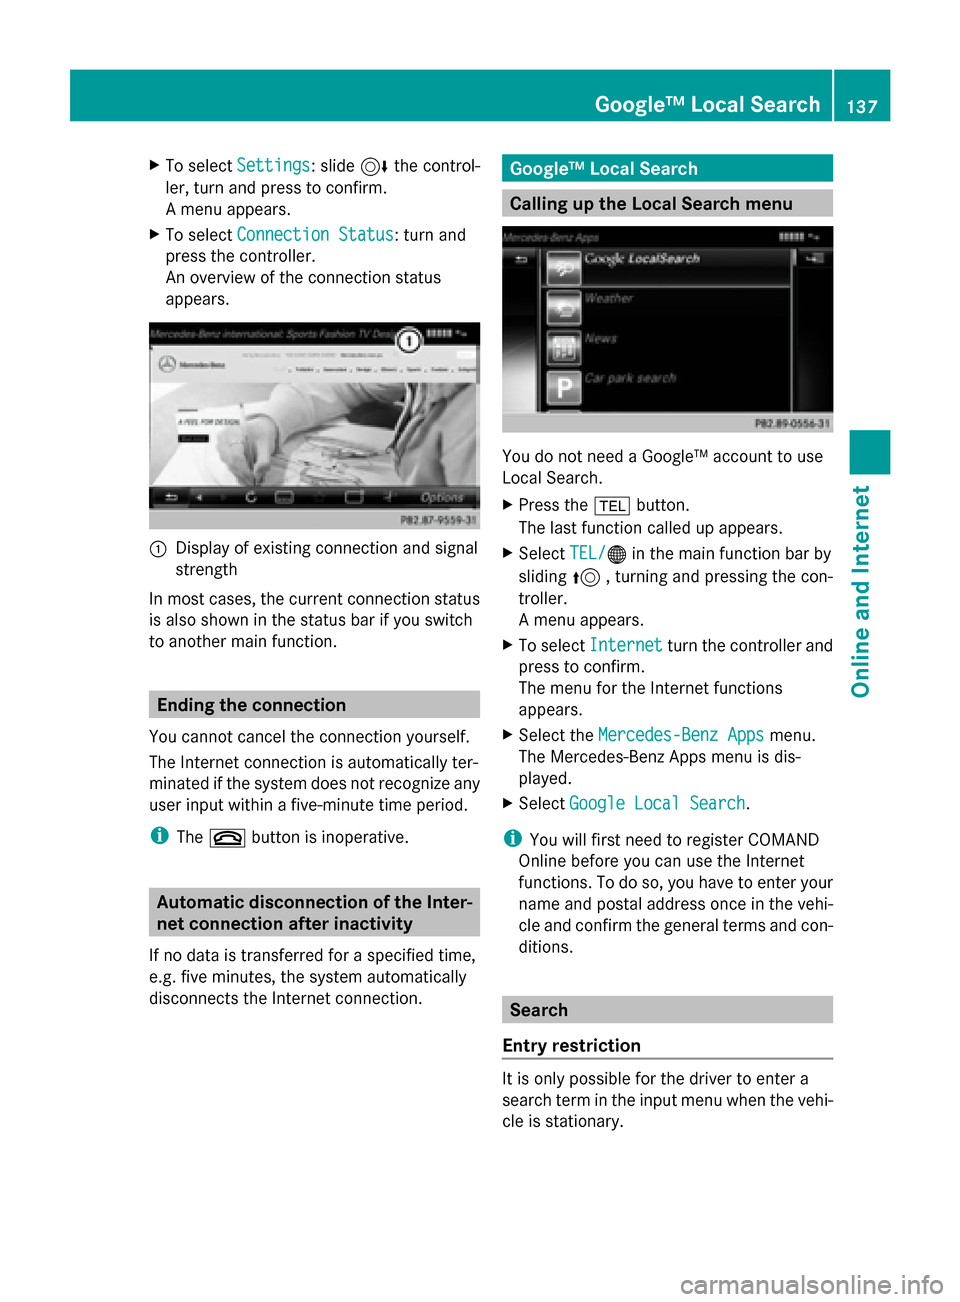
appears. 0043
Display of existing connection and signal
strength
In most cases, the current connection status
is also shown in the status bar if you switch
to another main function. Ending the connection
You cannot cancel the connection yourself.
The Internet connection is automatically ter-
minated if the system does not recognize any
user input within a five-minute time period.
i The 0076 button is inoperative. Automatic disconnection of the Inter-
net connection after inactivity
If no data is transferred for a specified time,
e.g. five minutes, the system automatically
disconnects the Internet connection. Googleâ„¢ Local Search
Calling up the Local Search menu
You do not need a Googleâ„¢ account to use
Local Search.
X
Press the 002Bbutton.
The last function called up appears.
X Select TEL/ TEL/00A7 in the main function bar by
sliding 5, turning and pressing the con-
troller.
A menu appears.
X To select Internet Internet turn the controller and
press to confirm.
The menu for the Internet functions
appears.
X Select the Mercedes-Benz Apps Mercedes-Benz Apps menu.
The Mercedes-Benz Apps menu is dis-
played.
X Select Google Local Search Google Local Search.
i You will first need to register COMAND
Online before you can use the Internet
functions. To do so, you have to enter your
name and postal address once in the vehi-
cle and confirm the general terms and con-
ditions. Search
Entry restriction It is only possible for the driver to enter a
search term in the input menu when the vehi-
cle is stationary. Googleâ„¢ Local Search
137Online and Internet
Page 140 of 214
Selecting the search position
X
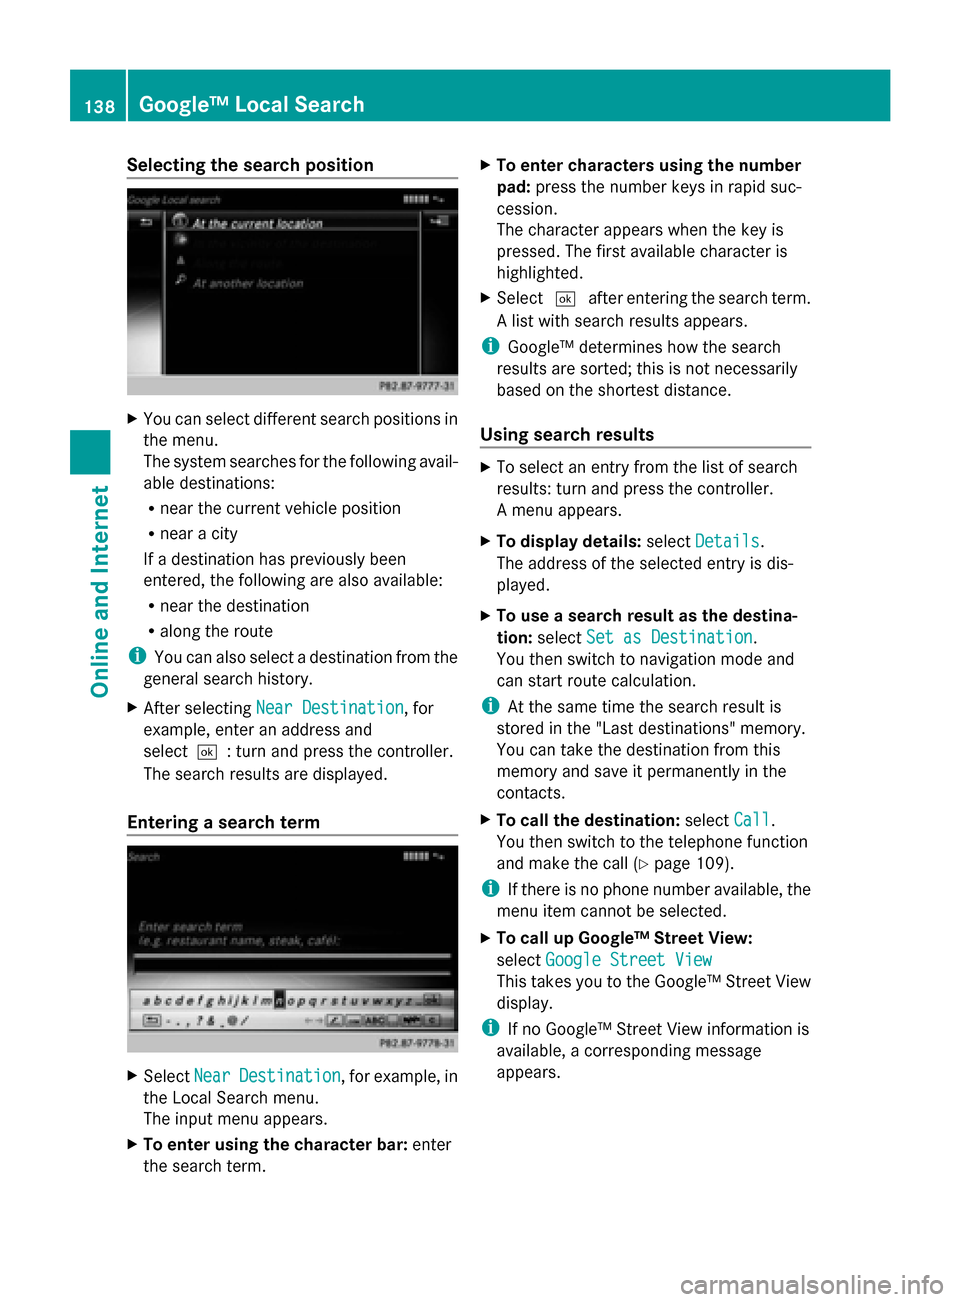
You can select different search positions in
the menu.
The system searches for the following avail-
able destinations:
R near the current vehicle position
R near a city
If a destination has previously been
entered, the following are also available:
R near the destination
R along the route
i You can also select a destination from the
general search history.
X After selecting Near Destination
Near Destination, for
example, enter an address and
select0054: turn and press the controller.
The search results are displayed.
Entering a search term X
Select Near NearDestination
Destination , for example, in
the Local Search menu.
The input menu appears.
X To enter using the character bar: enter
the search term. X
To enter characters using the number
pad: press the number keys in rapid suc-
cession.
The character appears when the key is
pressed. The first available character is
highlighted.
X Select 0054after entering the search term.
A list with search results appears.
i Googleâ„¢ determines how the search
results are sorted; this is not necessarily
based on the shortest distance.
Using search results X
To select an entry from the list of search
results: turn and press the controller.
A menu appears.
X To display details: selectDetails Details.
The address of the selected entry is dis-
played.
X To use a search result as the destina-
tion: select Set as Destination Set as Destination.
You then switch to navigation mode and
can start route calculation.
i At the same time the search result is
stored in the "Last destinations" memory.
You can take the destination from this
memory and save it permanently in the
contacts.
X To call the destination: selectCall
Call.
You then switch to the telephone function
and make the call (Y page 109).
i If there is no phone number available, the
menu item cannot be selected.
X To call up Googleâ„¢ Street View:
select Google Street View Google Street View
This takes you to the Googleâ„¢ Street View
display.
i If no Googleâ„¢ Street View information is
available, a corresponding message
appears. 138
Googleâ„¢ Local SearchOnline and Internet