MITSUBISHI CARISMA 2000 1.G Owners Manual
CARISMA 2000 1.G
MITSUBISHI
MITSUBISHI
https://www.carmanualsonline.info/img/19/7563/w960_7563-0.png
MITSUBISHI CARISMA 2000 1.G Owners Manual
Trending: batter, high beam, tire type, compression ratio, power steering fluid, coolant temperature, service indicator
Page 231 of 280
FOR EMERGENCIES
8–31
N10X039a
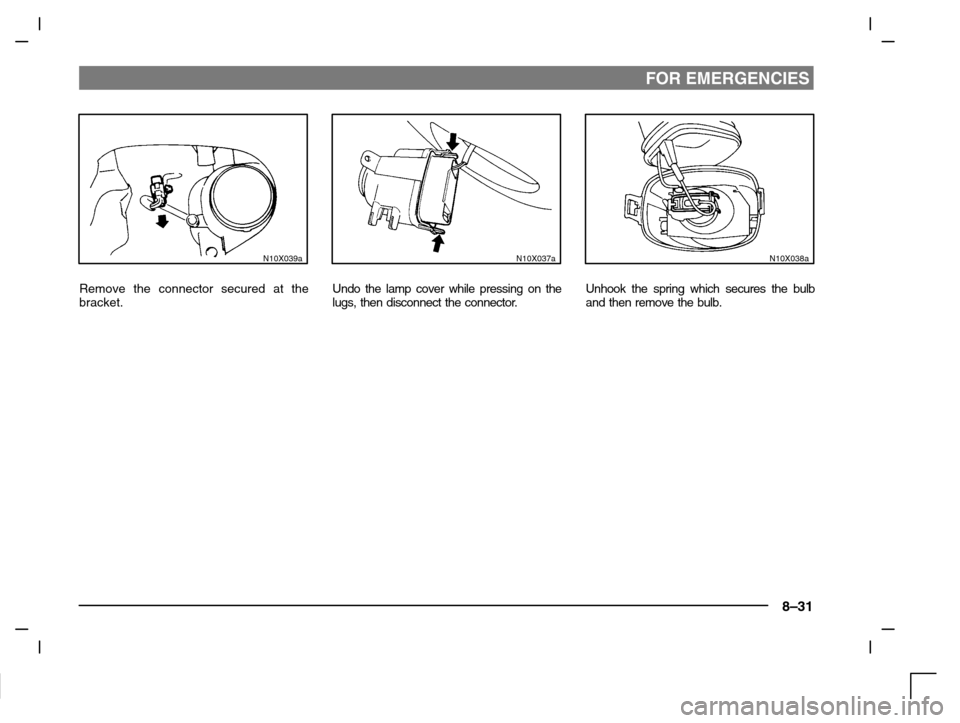
Remove the connector secured at the
bracket.
N10X037a
Undo the lamp cover while pressing on the
lugs, then disconnect the connector.
N10X038a
Unhook the spring which secures the bulb
and then remove the bulb.
Page 232 of 280
FOR EMERGENCIES
8–32
N10X079a
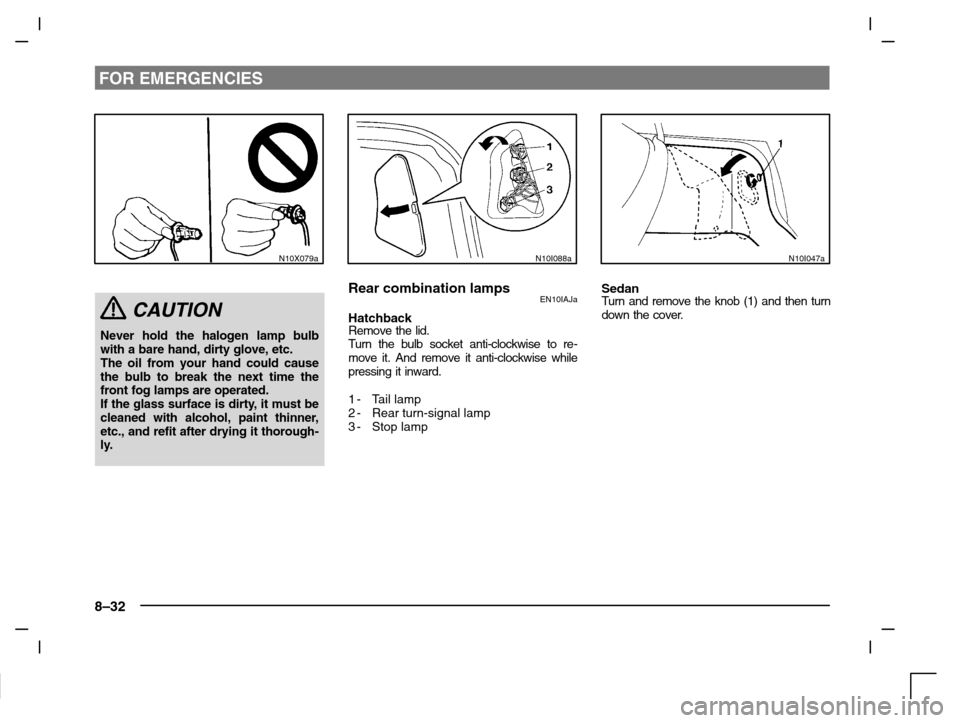
CAUTION
Never hold the halogen lamp bulb
with a bare hand, dirty glove, etc.
The oil from your hand could cause
the bulb to break the next time the
front fog lamps are operated.
If the glass surface is dirty, it must be
cleaned with alcohol, paint thinner,
etc., and refit after drying it thorough-
ly.
N10I088a
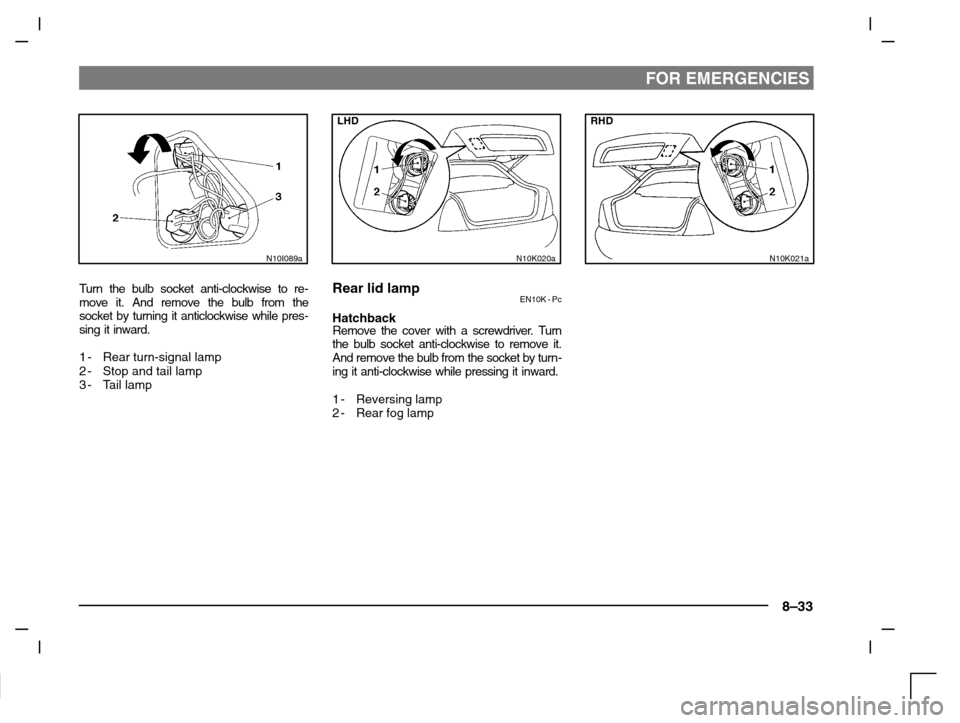
Rear combination lampsEN10IAJa
HatchbackRemove the lid.
Turn the bulb socket anti-clockwise to re-
move it. And remove it anti-clockwise while
pressing it inward.
1-Tail lamp
2-Rear turn-signal lamp
3-Stop lamp
N10I047a
SedanTurn and remove the knob (1) and then turn
down the cover.
Page 233 of 280
FOR EMERGENCIES
8–33
N10I089a
Turn the bulb socket anti-clockwise to re-
move it. And remove the bulb from the
socket by turning it anticlockwise while pres-
sing it inward.
1-Rear turn-signal lamp
2-Stop and tail lamp
3-Tail lamp
LHD
N10K020a
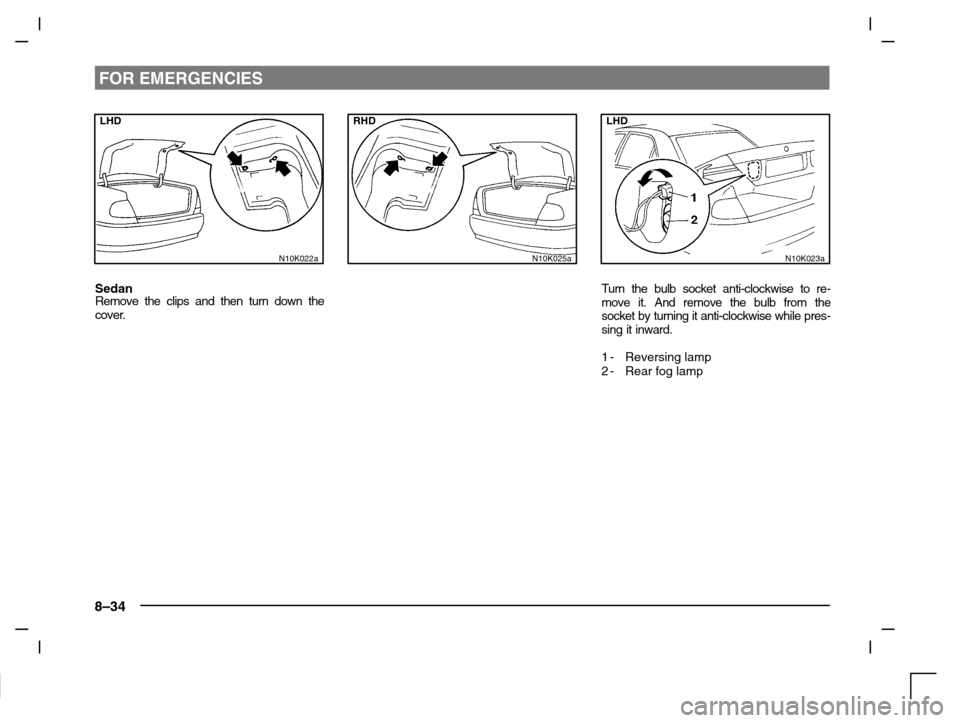
Rear lid lampEN10K - Pc
HatchbackRemove the cover with a screwdriver. Turn
the bulb socket anti-clockwise to remove it.
And remove the bulb from the socket by turn-
ing it anti-clockwise while pressing it inward.
1-Reversing lamp
2-Rear fog lamp
RHD
N10K021a
Page 234 of 280
FOR EMERGENCIES
8–34
N10K022a
LHD
SedanRemove the clips and then turn down the
cover.
RHD
N10K025a
LHD
N10K023a
Turn the bulb socket anti-clockwise to re-
move it. And remove the bulb from the
socket by turning it anti-clockwise while pres-
sing it inward.
1-Reversing lamp
2-Rear fog lamp
Page 235 of 280
FOR EMERGENCIES
8–35
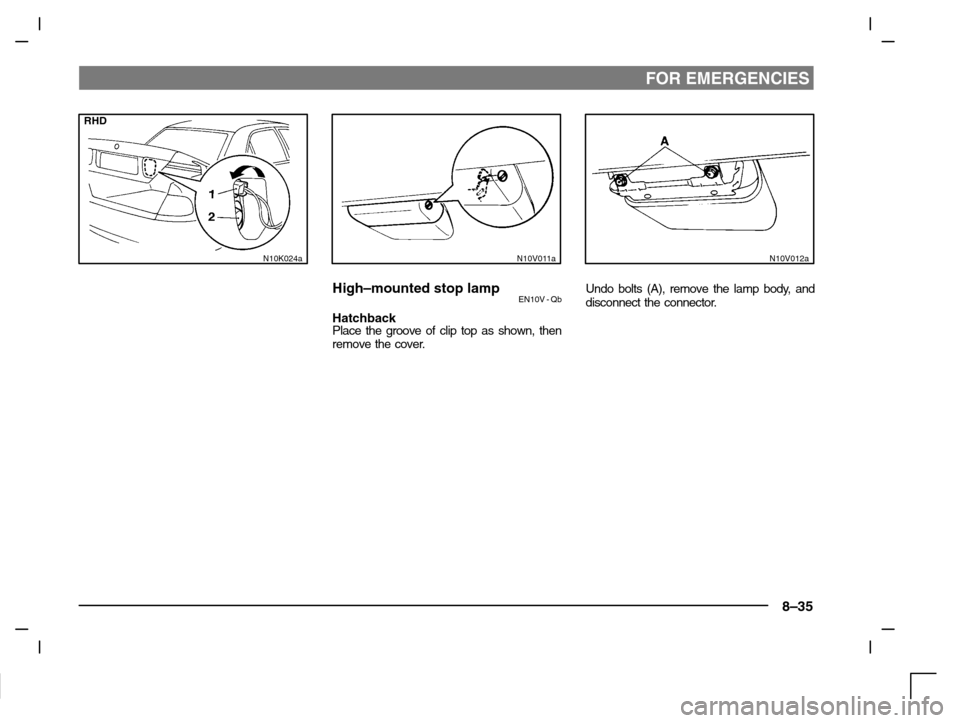
RHD
N10K024aN10V011a
High–mounted stop lampEN10V - Qb
HatchbackPlace the groove of clip top as shown, then
remove the cover.
N10V012a
Undo bolts (A), remove the lamp body, and
disconnect the connector.
Page 236 of 280
FOR EMERGENCIES
8–36
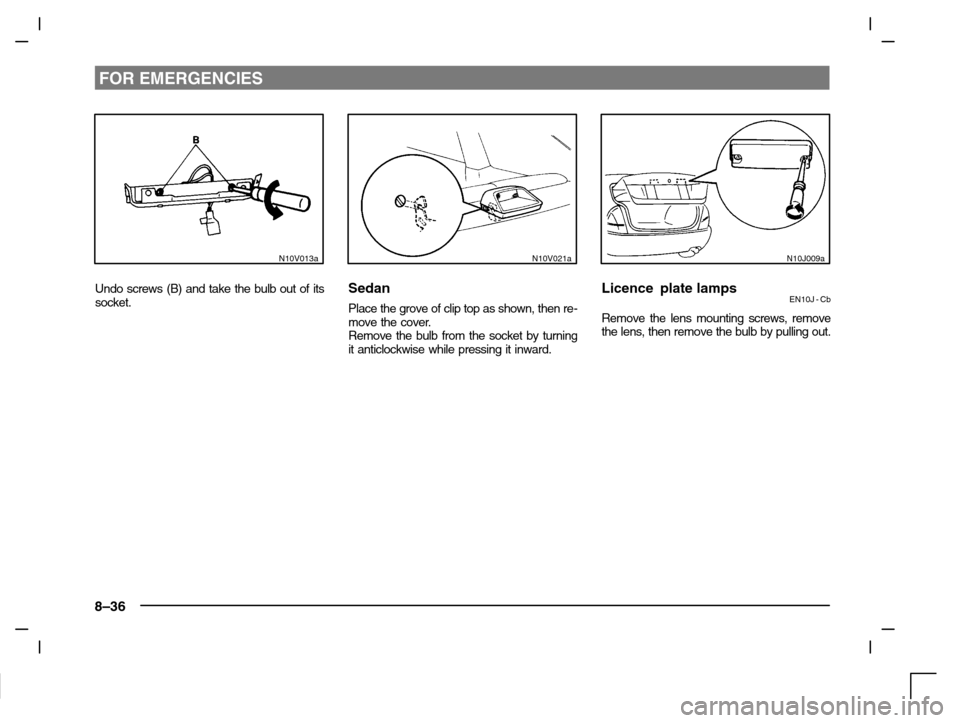
N10V013a
Undo screws (B) and take the bulb out of its
socket.
N10V021a
Sedan
Place the grove of clip top as shown, then re-
move the cover.
Remove the bulb from the socket by turning
it anticlockwise while pressing it inward.
N10J009a
Licence plate lampsEN10J - Cb
Remove the lens mounting screws, remove
the lens, then remove the bulb by pulling out.
Page 237 of 280
FOR EMERGENCIES
8–37
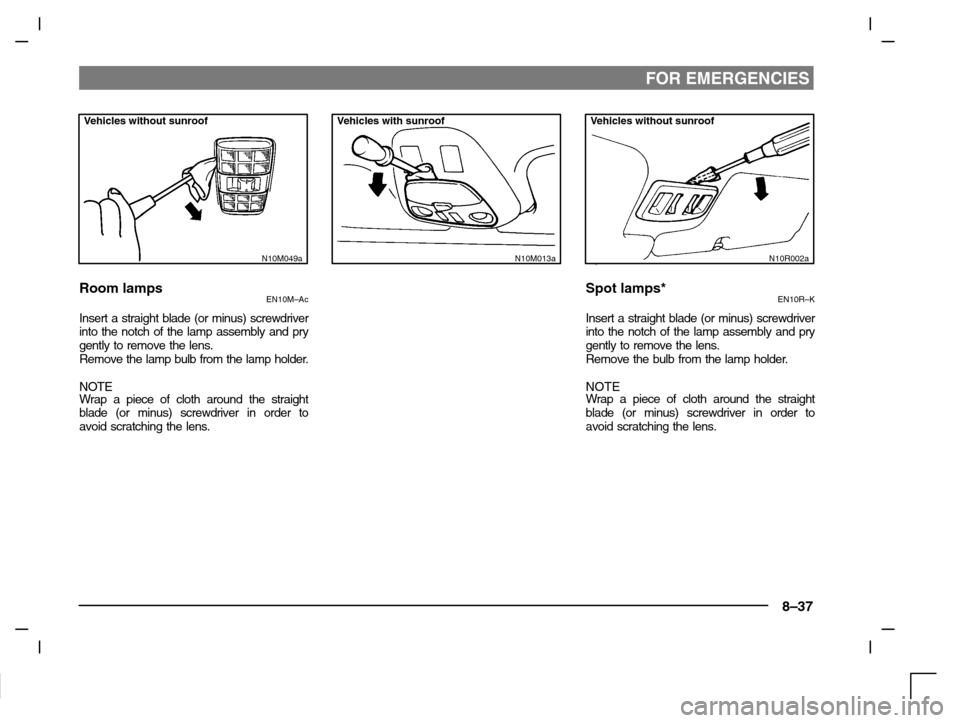
Vehicles without sunroof
N10M049a
Room lampsEN10M–Ac
Insert a straight blade (or minus) screwdriver
into the notch of the lamp assembly and pry
gently to remove the lens.
Remove the lamp bulb from the lamp holder.
NOTEWrap a piece of cloth around the straight
blade (or minus) screwdriver in order to
avoid scratching the lens.
Vehicles with sunroof
N10M013a
Vehicles without sunroof
N10R002a
Spot lamps*EN10R–K
Insert a straight blade (or minus) screwdriver
into the notch of the lamp assembly and pry
gently to remove the lens.
Remove the bulb from the lamp holder.
NOTE
Wrap a piece of cloth around the straight
blade (or minus) screwdriver in order to
avoid scratching the lens.
Page 238 of 280
FOR EMERGENCIES
8–38
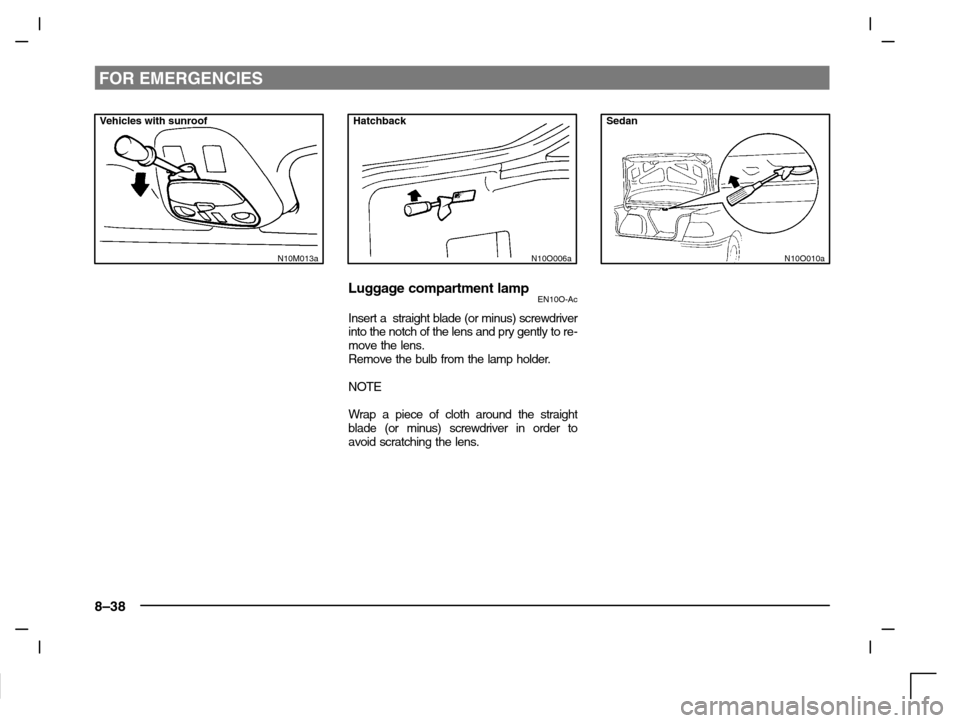
Vehicles with sunroof
N10M013a
Hatchback
N10O006a
Luggage compartment lampEN10O-Ac
Insert a straight blade (or minus) screwdriver
into the notch of the lens and pry gently to re-
move the lens.
Remove the bulb from the lamp holder.
NOTE
Wrap a piece of cloth around the straight
blade (or minus) screwdriver in order to
avoid scratching the lens.
Sedan
N10O010a
Page 239 of 280
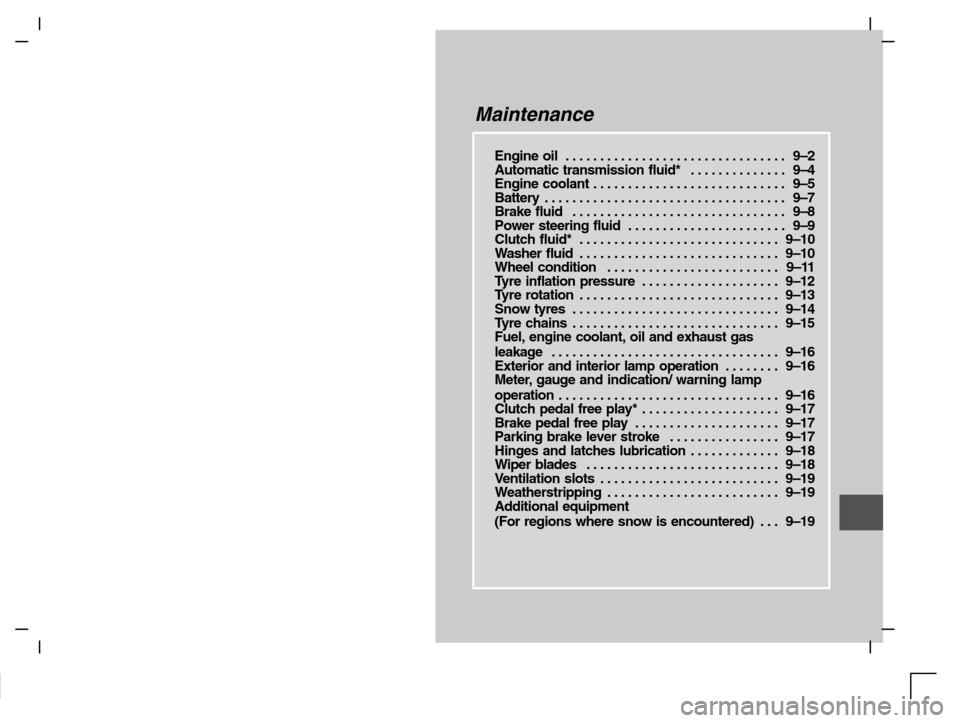
Maintenance
Engine oil 9–2. . . . . . . . . . . . . . . . . . . . . . . . . . . . . . . .
Automatic transmission fluid* 9–4. . . . . . . . . . . . . .
Engine coolant 9–5. . . . . . . . . . . . . . . . . . . . . . . . . . . .
Battery 9–7. . . . . . . . . . . . . . . . . . . . . . . . . . . . . . . . . . .
Brake fluid 9–8. . . . . . . . . . . . . . . . . . . . . . . . . . . . . . .
Power steering fluid 9–9. . . . . . . . . . . . . . . . . . . . . . .
Clutch fluid* 9–10. . . . . . . . . . . . . . . . . . . . . . . . . . . . .
Washer fluid 9–10. . . . . . . . . . . . . . . . . . . . . . . . . . . . .
Wheel condition 9–11. . . . . . . . . . . . . . . . . . . . . . . . .
Tyre inflation pressure 9–12. . . . . . . . . . . . . . . . . . . .
Tyre rotation 9–13. . . . . . . . . . . . . . . . . . . . . . . . . . . . .
Snow tyres 9–14. . . . . . . . . . . . . . . . . . . . . . . . . . . . . .
Tyre chains 9–15. . . . . . . . . . . . . . . . . . . . . . . . . . . . . .
Fuel, engine coolant, oil and exhaust gas
leakage 9–16. . . . . . . . . . . . . . . . . . . . . . . . . . . . . . . . .
Exterior and interior lamp operation 9–16. . . . . . . .
Meter, gauge and indication/ warning lamp
operation 9–16. . . . . . . . . . . . . . . . . . . . . . . . . . . . . . . .
Clutch pedal free play* 9–17. . . . . . . . . . . . . . . . . . . .
Brake pedal free play 9–17. . . . . . . . . . . . . . . . . . . . .
Parking brake lever stroke 9–17. . . . . . . . . . . . . . . .
Hinges and latches lubrication 9–18. . . . . . . . . . . . .
Wiper blades 9–18. . . . . . . . . . . . . . . . . . . . . . . . . . . .
Ventilation slots 9–19. . . . . . . . . . . . . . . . . . . . . . . . . .
Weatherstripping 9–19. . . . . . . . . . . . . . . . . . . . . . . . .
Additional equipment
(For regions where snow is encountered) 9–19. . .
Page 240 of 280
MAINTENANCE
9–2
EM01A -Fh
Adequate care of your vehicle at regular in-
tervals serves to preserve the value and ap-
pearance as long as possible.
Some maintenance items can be carried out
by the owner (do it yourself), while others
should be carried out by an authorized MIT-
SUBISHI dealer (periodic inspection and
maintenance). This section describes only
those items which can be carried out by the
owner. In the event a malfunction or other
problem is discovered, have it corrected by
an authorized MITSUBISHI dealer. This sec-
tion contains information on inspection main-
tenance procedures that you can do your-
self, if you wish to do so. Follow the
instructions and cautions for each of the va-
rious procedures.
WARNING
(1)When checking or servicing the in-
side of the engine compartment,
make sure the engine is switched
off and has had a chance to cool
down.
(2)If it is necessary to do work in the
engine compartment with the en-
gine running, be especially careful
that your clothing, hair, etc., does
not become caught by the fan,
drive belts or other moving parts.
WARNING
(3) The fan may turn on automati-
cally even if the engine is not run-
ning; turn the ignition key tothe
“LOCK” position and remove the
key to ensure safety while you
work in the engine compartment.
(4) Do not smoke, cause sparks or
allow open flames around fuel or
battery. The fumes are flammable.
(5) Be extremely cautious when
working around the battery. It
contains poisonous and corros-
ive sulphuric acid.
(6) Do not get under your vehicle
with just the body jack support-
ing it. Always use automotive
jack stands.
(7) Improper handling of compo-
nents and materials used in the
vehicle can endanger your per-
sonal safety.
Consult an authorized MITSUBI-
SHI dealer for necessary informa-
tion.
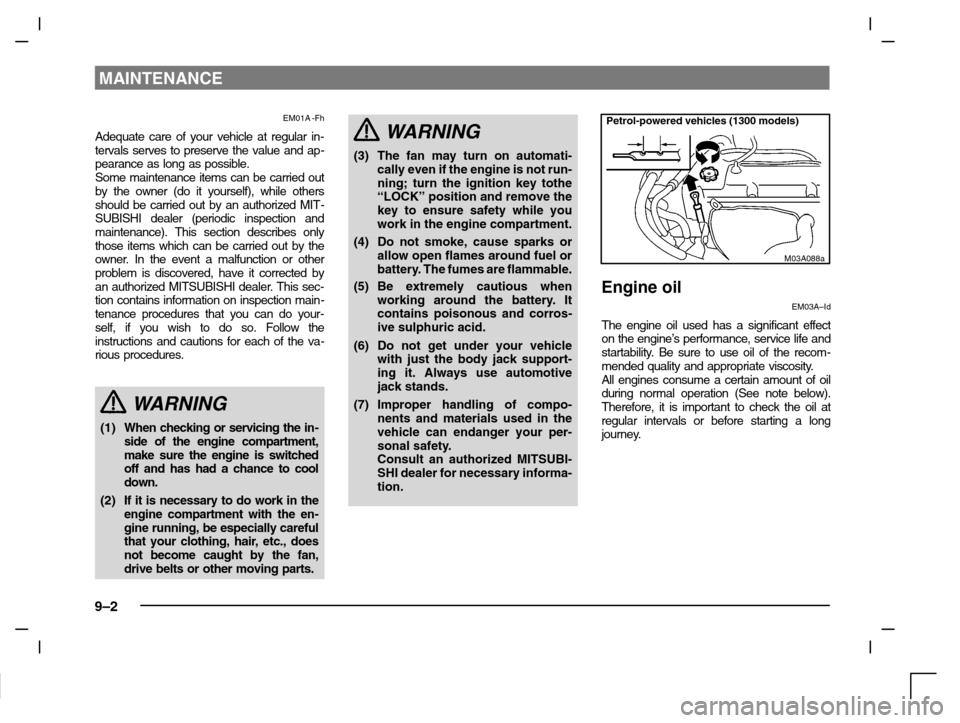
Petrol-powered vehicles (1300 models)
M03A088a
Engine oil
EM03A–Id
The engine oil used has a significant effect
on the engine’s performance, service life and
startability. Be sure to use oil of the recom-
mended quality and appropriate viscosity.
All engines consume a certain amount of oil
during normal operation (See note below).
Therefore, it is important to check the oil at
regular intervals or before starting a long
journey.
Trending: ECO mode, oil change, boot, odometer, weight, driver seat adjustment, brake sensor
