MITSUBISHI L200 2015 Owner's Manual (in English)
Manufacturer: MITSUBISHI, Model Year: 2015, Model line: L200, Model: MITSUBISHI L200 2015Pages: 418, PDF Size: 25.8 MB
Page 301 of 418
![MITSUBISHI L200 2015 Owners Manual (in English) 2
(
) -
[Vehicles without central door locks system]
The room lamp goes on when a
door is opened. When all doors
are closed, the room lamp is illu-
minated and dimmed gradually for 7 MITSUBISHI L200 2015 Owners Manual (in English) 2
(
) -
[Vehicles without central door locks system]
The room lamp goes on when a
door is opened. When all doors
are closed, the room lamp is illu-
minated and dimmed gradually for 7](/img/19/34877/w960_34877-300.png)
2
(
) -
[Vehicles without central door locks system]
The room lamp goes on when a
door is opened. When all doors
are closed, the room lamp is illu-
minated and dimmed gradually for 7 seconds then goes out.
However, the lamp goes out im- mediately without being dim-
med when the ignition switch is
turned to the “ON” position.
[Vehicles with central door
locks system]
The room lamp goes on when a
door is opened. When all doors
are closed, the room lamp is illu-
minated and dimmed gradually for 15 seconds then goes out.
However, the lamp goes out im- mediately without being dim-
med in case of the followings:
l All doors are closed and the
ignition switch is turned to the “ON” position.
l All doors are locked using
the key mechanism of the driver’s door, the lock knob
of the driver’s door, or the
remote control switch of the
keyless entry system (if so equipped). NOTEl On vehicles with keyless en-
try system, when the ignition
key is removed with the doors
closed, the lamp is illuminated
and after about 15 seconds it goes off.
The dimming period is also adjustable.
For further information, we
recommend you to consult a
MITSUBISHI MOTORS Au-
thorized Service Point.3
(OFF/
)
-
The lamp goes off.
Personal lamps*
E00712500156
Push the switch (A) to turn on the lamp. Push it again to turn it off.
Door courtesy lamps*
E00717500034
Each door courtesy lamp comes on when the
relevant door is opened and goes off when
the door is closed.
Centre console downlight
E00733300043
The centre console downlight go on when the lamp switch is in the “
” or the “” posi-
tion.
Interior lamps
7-111OKTE15E3For pleasant driving7
Page 302 of 418
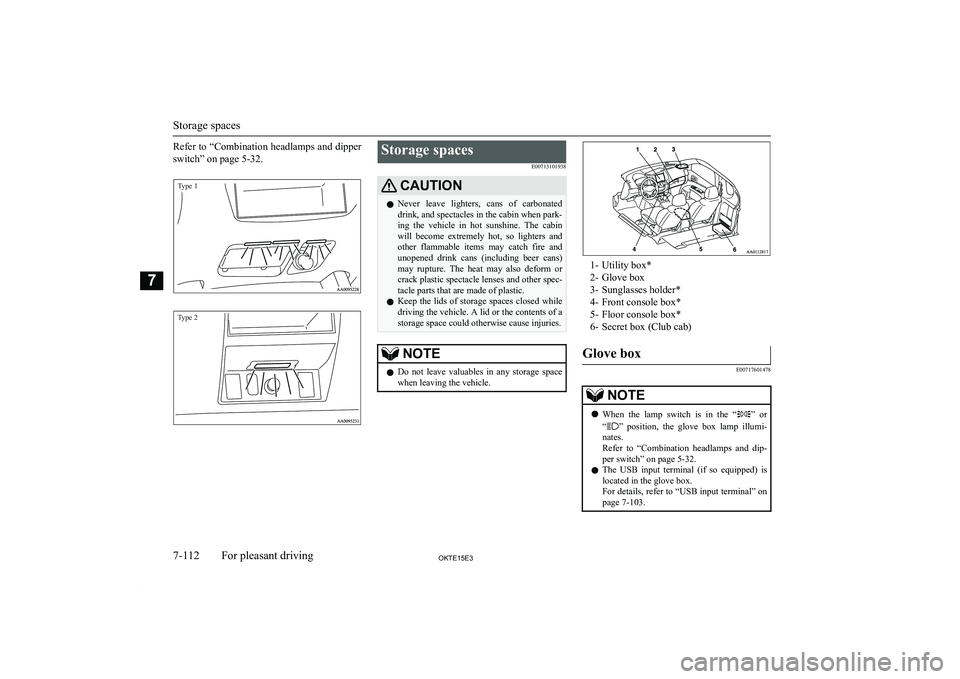
Refer to “Combination headlamps and dipperswitch” on page 5-32.Type 1Type 2
Storage spaces
E00713101938CAUTIONlNever leave lighters, cans of carbonated
drink, and spectacles in the cabin when park-ing the vehicle in hot sunshine. The cabin will become extremely hot, so lighters and
other flammable items may catch fire and unopened drink cans (including beer cans)
may rupture. The heat may also deform or crack plastic spectacle lenses and other spec-
tacle parts that are made of plastic.
l Keep the lids of storage spaces closed while
driving the vehicle. A lid or the contents of a
storage space could otherwise cause injuries.NOTEl Do not leave valuables in any storage space
when leaving the vehicle.
1- Utility box*
2- Glove box
3- Sunglasses holder*
4- Front console box*
5- Floor console box*
6- Secret box (Club cab)
Glove box
E00717601478
NOTEl When the lamp switch is in the “” or
“
” position, the glove box lamp illumi-
nates.
Refer to “Combination headlamps and dip- per switch” on page 5-32.
l The USB input terminal (if so equipped) is
located in the glove box.
For details, refer to “USB input terminal” on
page 7-103.
Storage spaces
7-112OKTE15E3For pleasant driving7
Page 303 of 418

Type 1
To open, pull the lever (A).
Type 2
The glove box can be locked and unlocked
using the key.
1- To lock
2- To unlock
3- To open, pull the lever
Front console box*
E00733400161
To open, pull up the knob (A).
Floor console box*
E00723302073
Type 1
To open, raise the lid.
Type 2
Upper and lower boxes are located inside the
floor console box.
The floor console box can also be used as an armrest.
1- Upper box
2- Lower box
NOTEl The Auxiliary Audio connector (RCA) is lo-
cated in the lower box (if so equipped). For details, refer to “To use the external audio
input function” on page 7-43 or refer to “Use
AUX” on page 7-74.
Storage spaces
7-113OKTE15E3For pleasant driving7
Page 304 of 418
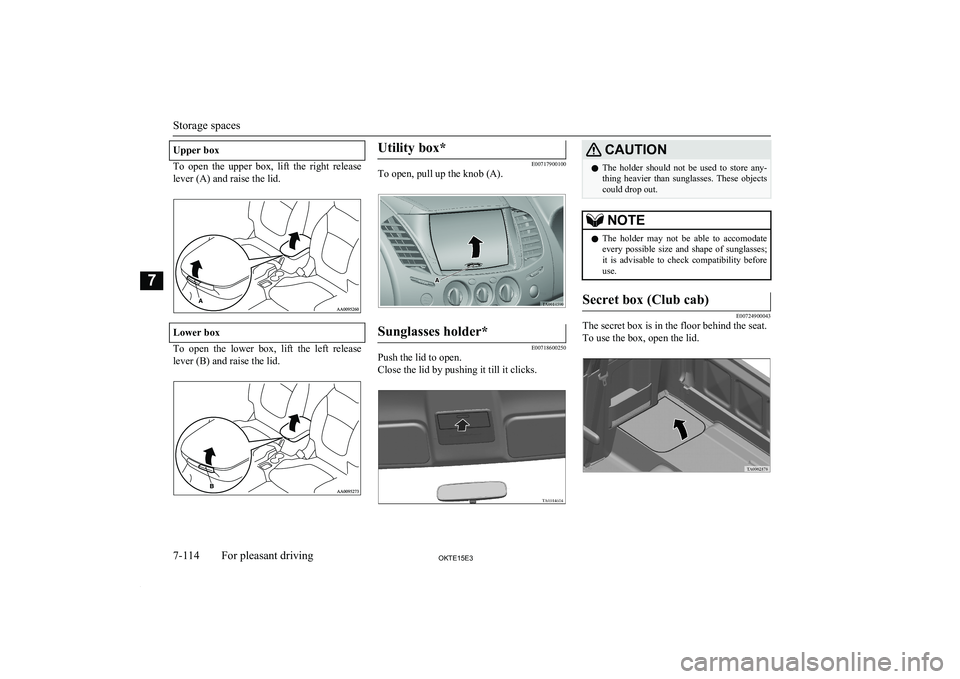
Upper box
To open the upper box, lift the right releaselever (A) and raise the lid.
Lower box
To open the lower box, lift the left release lever (B) and raise the lid.
Utility box*
E00717900100
To open, pull up the knob (A).
Sunglasses holder*
E00718600250
Push the lid to open.
Close the lid by pushing it till it clicks.
CAUTIONl The holder should not be used to store any-
thing heavier than sunglasses. These objects
could drop out.NOTEl The holder may not be able to accomodate
every possible size and shape of sunglasses;
it is advisable to check compatibility before use.Secret box (Club cab)
E00724900043
The secret box is in the floor behind the seat.
To use the box, open the lid.
Storage spaces
7-114OKTE15E3For pleasant driving7
Page 305 of 418
Cup holder*E00714500802CAUTIONlDo not drink beverages while driving the ve-
hicle; doing so could distract you and result
in an accident.
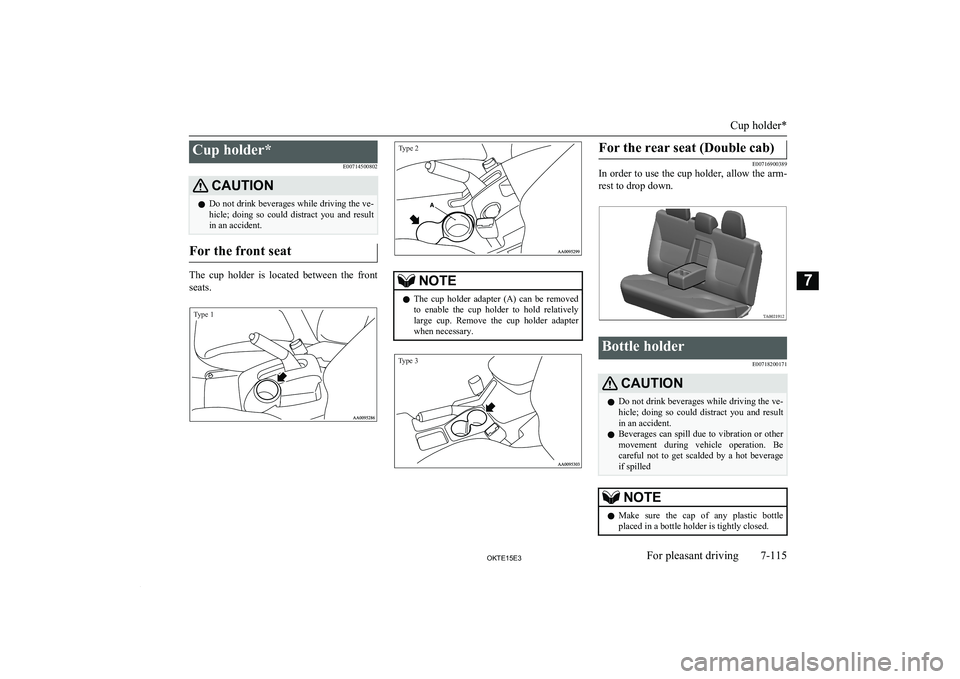
For the front seat
The cup holder is located between the front
seats.
Type 1Type 2
NOTEl The cup holder adapter (A) can be removed
to enable the cup holder to hold relativelylarge cup. Remove the cup holder adapter when necessary.Type 3For the rear seat (Double cab)
E00716900389
In order to use the cup holder, allow the arm-
rest to drop down.Bottle holder
E00718200171CAUTIONlDo not drink beverages while driving the ve-
hicle; doing so could distract you and result
in an accident.
l Beverages can spill due to vibration or other
movement during vehicle operation. Be careful not to get scalded by a hot beverage
if spilledNOTEl Make sure the cap of any plastic bottle
placed in a bottle holder is tightly closed.
Cup holder*
7-115OKTE15E3For pleasant driving7
Page 306 of 418
NOTElThe bottle holders may not accommodate
bottles of certain shapes and sizes.
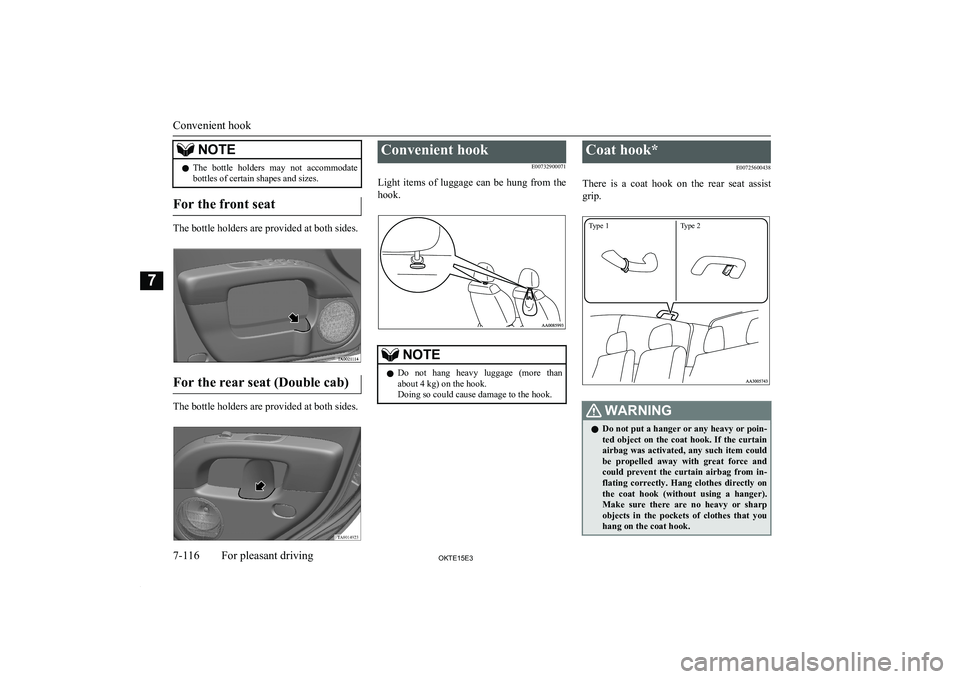
For the front seat
The bottle holders are provided at both sides.
For the rear seat (Double cab)
The bottle holders are provided at both sides.
Convenient hook
E00732900071
Light items of luggage can be hung from the hook.NOTEl Do not hang heavy luggage (more than
about 4 kg) on the hook.
Doing so could cause damage to the hook.Coat hook*
E00725600438
There is a coat hook on the rear seat assist
grip.
Type 1Type 2
WARNINGl Do not put a hanger or any heavy or poin-
ted object on the coat hook. If the curtain
airbag was activated, any such item could
be propelled away with great force and could prevent the curtain airbag from in-
flating correctly. Hang clothes directly on the coat hook (without using a hanger).
Make sure there are no heavy or sharp objects in the pockets of clothes that you
hang on the coat hook.
Convenient hook
7-116OKTE15E3For pleasant driving7
Page 307 of 418

First-aid kit and warningtriangle securing bands* E00717200028
A first-aid kit and a warning triangle can be secured with the band(s) installed in the illus- trated position.
Single cab, Double cab
The wall behind the seat is provided with a
band for securing a first-aid kit and a warning triangle.
Single cab, Double cab*Double cab*Club cab
A band for securing a first-aid kit is installed
in the secret box.
A band for securing a warning triangle is in- stalled left under the rear seat.
First-aid kit and warning triangle securing bands*
7-117OKTE15E3For pleasant driving7
Page 308 of 418

OKTE15E3
Page 309 of 418
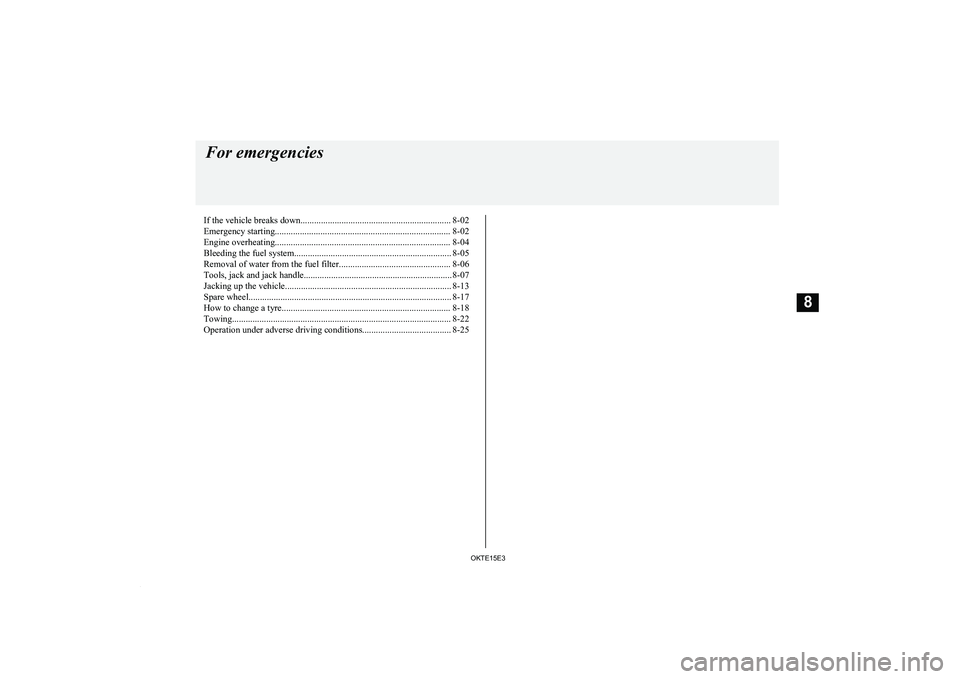
If the vehicle breaks down.................................................................. 8-02Emergency starting............................................................................. 8-02
Engine overheating............................................................................. 8-04
Bleeding the fuel system..................................................................... 8-05 Removal of water from the fuel filter................................................. 8-06
Tools, jack and jack handle................................................................. 8-07 Jacking up the vehicle......................................................................... 8-13
Spare wheel......................................................................................... 8-17
How to change a tyre.......................................................................... 8-18
Towing................................................................................................ 8-22
Operation under adverse driving conditions....................................... 8-25For emergencies
OKTE15E38
Page 310 of 418
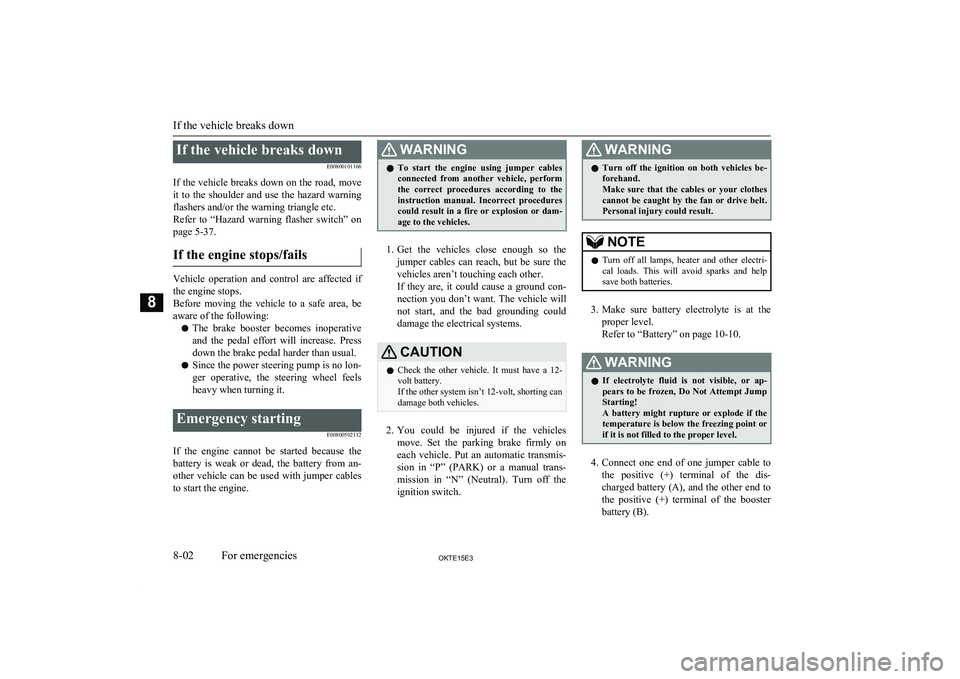
If the vehicle breaks downE00800101166
If the vehicle breaks down on the road, move it to the shoulder and use the hazard warning
flashers and/or the warning triangle etc.
Refer to “Hazard warning flasher switch” on page 5-37.
If the engine stops/fails
Vehicle operation and control are affected if
the engine stops.
Before moving the vehicle to a safe area, be aware of the following:
l The brake booster becomes inoperative
and the pedal effort will increase. Press
down the brake pedal harder than usual.
l Since the power steering pump is no lon-
ger operative, the steering wheel feels
heavy when turning it.
Emergency starting
E00800502112
If the engine cannot be started because thebattery is weak or dead, the battery from an-other vehicle can be used with jumper cables to start the engine.
WARNINGl To start the engine using jumper cables
connected from another vehicle, perform
the correct procedures according to the instruction manual. Incorrect procedures could result in a fire or explosion or dam-
age to the vehicles.
1. Get the vehicles close enough so the
jumper cables can reach, but be sure the vehicles aren’t touching each other.If they are, it could cause a ground con-
nection you don’t want. The vehicle will not start, and the bad grounding could
damage the electrical systems.
CAUTIONl Check the other vehicle. It must have a 12-
volt battery.
If the other system isn’t 12-volt, shorting can damage both vehicles.
2. You could be injured if the vehicles
move. Set the parking brake firmly on
each vehicle. Put an automatic transmis-
sion in “P” (PARK) or a manual trans- mission in “N” (Neutral). Turn off the
ignition switch.
WARNINGl Turn off the ignition on both vehicles be-
forehand.
Make sure that the cables or your clothes cannot be caught by the fan or drive belt.
Personal injury could result.NOTEl Turn off all lamps, heater and other electri-
cal loads. This will avoid sparks and help
save both batteries.
3. Make sure battery electrolyte is at the
proper level.
Refer to “Battery” on page 10-10.
WARNINGl If electrolyte fluid is not visible, or ap-
pears to be frozen, Do Not Attempt Jump
Starting!
A battery might rupture or explode if the temperature is below the freezing point orif it is not filled to the proper level.
4. Connect one end of one jumper cable to
the positive (+) terminal of the dis-charged battery (A), and the other end to
the positive (+) terminal of the booster
battery (B).
If the vehicle breaks down
8-02OKTE15E3For emergencies8