timing belt NISSAN TIIDA 2007 Service User Guide
[x] Cancel search | Manufacturer: NISSAN, Model Year: 2007, Model line: TIIDA, Model: NISSAN TIIDA 2007Pages: 5883, PDF Size: 78.95 MB
Page 2500 of 5883

P0340 CMP SENSOR
EC-1151
< COMPONENT DIAGNOSIS >[K9K]
C
D
E
F
G
H
I
J
K
L
MA
EC
N
P O
P0340 CMP SENSOR
DTC LogicINFOID:0000000001162615
DTC DETECTION LOGIC
NOTE:
Conditions for applying the diagnostic procedure to the stored DTCs:
The DTC is declared present after the engine is started or following a load test.
Special note:
Longer starting time, requires several attempts to start the vehicle.
Diagnosis ProcedureINFOID:0000000001162616
1.CHECK GROUND CONNECTIONS
1. Turn ignition switch OFF.
2. Check ground connection E15. Refer to Ground inspection in GI-58, "
Circuit Inspection".
Is the inspection result normal?
YES >> GO TO 2.
NO >> Repair or replace ground connection.
2.CHECK CMP SENSOR POWER SUPPLY CIRCUIT
1. Turn ignition switch OFF.
2. Disconnect camshaft position (CMP) sensor harness connector.
3. Turn ignition switch ON.
4. Check the voltage between CMP sensor harness connector and ground.
Is the inspection result normal?
YES >> GO TO 4.
NO >> GO TO 3.
3.DETECT MALFUNCTIONING PART
Check the following.
Harness connectors E8, F8
Harness for open or short between ECM and CMP sensor
Harness for open or short between IPDM E/R and CMP sensor
>> Repair open circuit or short to ground or short to power in harness or connectors.
4.CHECK CMP SENSOR GROUND CIRCUIT FOR OPEN AND SHORT
1. Turn ignition switch OFF.
2. Disconnect ECM harness connector.
3. Check the continuity between CMP sensor harness connector and ECM harness connector.
DTC No. Trouble diagnosis name Possible cause
P0340CAMSHAFT POSITION SENSOR CIRCUIT
1.DEF: Signal incoherence
2.DEF: No signal
3.DEF: Value out side level
4.DEF: Configuration/ initialisation Harness or connectors
(The sensor circuit is open or shorted.)
Camshaft position sensor
Timing belt
Signal plate
CMP sensor
Ground Voltage
Connector Terminal
F21 3 Ground Battery voltage
Page 2501 of 5883

EC-1152
< COMPONENT DIAGNOSIS >[K9K]
P0340 CMP SENSOR
4. Also check harness for short to ground and short to power.
Is the inspection result normal?
YES >> GO TO 5.
NO >> Repair open circuit or short to ground or short to power in harness or connectors.
5.CHECK CMP SENSOR INPUT SIGNAL CIRCUIT FOR OPEN AND SHORT
1. Check the continuity between CMP sensor harness connector and ECM harness connector.
2. Also check harness for short to ground and short to power.
Is the inspection result normal?
YES >> GO TO 6.
NO >> Repair open circuit or short to ground or short to power in harness or connectors.
6.CHECK CMP SENSOR
Refer to EC-1152, "
Component Inspection".
Is the inspection result normal?
YES >> GO TO 7.
NO >> Replace camshaft position sensor.
7.CHECK SPROCKET
Visually check for chipping signal plate gear tooth.
Is the inspection result normal?
YES >> GO TO 8.
NO >> Repair or replace sprocket.
8.CHECK TIMING BELT
Refer to EM-291, "
Removal and Installation".
Is the inspection result normal?
YES >> GO TO 9.
NO >> Replace timing belt.
9.CHECK INTERMITTENT INCIDENT
Refer to GI-55, "
Intermittent Incident".
>>INSPECTION END
Component InspectionINFOID:0000000001162617
1.CHECK CMP SENSOR
1. Reconnect all harness connectors disconnected.
2. Start engine and warm it up to normal operating temperature.
3. Measure the voltage signal between ECM harness connector and ground under the following conditions.
CMP sensor ECM
Continuity
Connector Terminal Connector Terminal
F21 1 F11 65 Existed
CMP sensor ECM
Continuity
Connector Terminal Connector Terminal
F21 2 F11 75 Existed
Page 2646 of 5883

PRECAUTIONS
EC-1297
< PRECAUTION >[K9K]
C
D
E
F
G
H
I
J
K
L
MA
EC
N
P O
NOTE:
Before any work is carried out on the high pressure injection system, protect:
the accessories and timing belts,
the electrical accessories, (starter, alternator, electric power assisted steering pump),
the flywheel surface, to prevent any diesel from running onto the clutch friction plate.
Check that you have plugs for the unions to be opened (set of plugs available from the Parts Department).
The plugs are single-use only. After use, they must be discarded (once used they are soiled and cleaning is
not sufficient to make them reusable). Unused plugs must be discarded.
Check that you have hermetically resealable plastic bags for storing removed parts. Stored parts will there-
fore be less subject to the risk of impurities. The bags are to be used once only, and discarded after use.
Use lint-free cleaning cloths. Using normal cloth or paper is prohibited. They are not lint-free and could con-
taminate the fuel circuit. Each cloth should only be used once.
Use fresh cleaning agent for each operation (used cleaning agent is contaminated). Pour it into an uncon-
taminated container.
For each operation, use a clean brush in good condition (the brush must not shed its bristles).
Use a brush and cleaning agent to clean the unions to be opened.
Blast compressed air over the cleaned parts (tools, workbench, the parts, unions and injection system
zones). Check that no bristles remain.
Wash your hands before and during the operation if necessary.
When wearing leather protective gloves cover them with latex gloves to prevent contamination.
INSTRUCTIONS TO BE FOLLOWED WHEN CARRYING OUT ANY WORK
As soon as the circuit is open, all openings must be plugged to prevent impurities from entering the system.
The plugs to be used are available from the Parts Department. The plugs must not be reused under any cir-
cumstances.
Seal the pouch shut, even if it has to be opened shortly afterwards. Ambient air carries contamination.
All components removed from the injection system must be stored in a hermetically sealed plastic bag once
they have been plugged.
Using a brush, cleaning agent, air gun, sponge or normal cloth is strictly prohibited once the circuit has been
opened. These items could allow contamination to enter the system.
A new component replacing an old one must not be removed from its packaging until it is to be fitted to the
vehicle.
Page 2649 of 5883
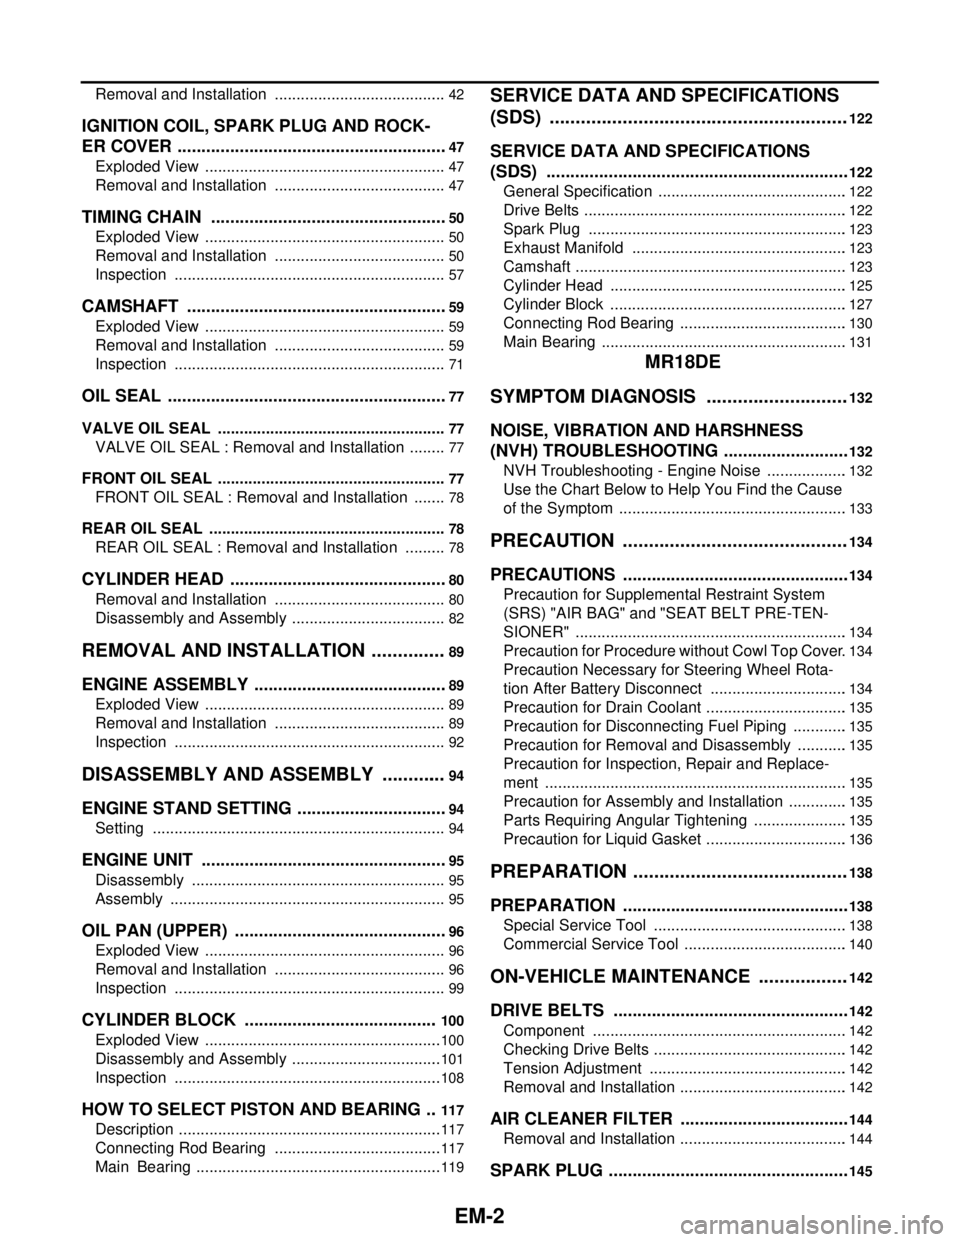
EM-2
Removal and Installation ........................................42
IGNITION COIL, SPARK PLUG AND ROCK-
ER COVER .........................................................
47
Exploded View ........................................................47
Removal and Installation ........................................47
TIMING CHAIN ..................................................50
Exploded View ........................................................50
Removal and Installation ........................................50
Inspection ...............................................................57
CAMSHAFT .......................................................59
Exploded View ........................................................59
Removal and Installation ........................................59
Inspection ...............................................................71
OIL SEAL ...........................................................77
VALVE OIL SEAL .....................................................77
VALVE OIL SEAL : Removal and Installation .........77
FRONT OIL SEAL .....................................................77
FRONT OIL SEAL : Removal and Installation ........78
REAR OIL SEAL .......................................................78
REAR OIL SEAL : Removal and Installation ..........78
CYLINDER HEAD ..............................................80
Removal and Installation ........................................80
Disassembly and Assembly ....................................82
REMOVAL AND INSTALLATION ...............89
ENGINE ASSEMBLY .........................................89
Exploded View ........................................................89
Removal and Installation ........................................89
Inspection ...............................................................92
DISASSEMBLY AND ASSEMBLY .............94
ENGINE STAND SETTING ................................94
Setting ....................................................................94
ENGINE UNIT ....................................................95
Disassembly ...........................................................95
Assembly ................................................................95
OIL PAN (UPPER) .............................................96
Exploded View ........................................................96
Removal and Installation ........................................96
Inspection ...............................................................99
CYLINDER BLOCK .........................................100
Exploded View .......................................................100
Disassembly and Assembly ...................................101
Inspection ..............................................................108
HOW TO SELECT PISTON AND BEARING ...117
Description .............................................................117
Connecting Rod Bearing .......................................117
Main Bearing .........................................................119
SERVICE DATA AND SPECIFICATIONS
(SDS) .........................................................
122
SERVICE DATA AND SPECIFICATIONS
(SDS) ................................................................
122
General Specification ............................................122
Drive Belts .............................................................122
Spark Plug ............................................................123
Exhaust Manifold ..................................................123
Camshaft ...............................................................123
Cylinder Head .......................................................125
Cylinder Block .......................................................127
Connecting Rod Bearing .......................................130
Main Bearing .........................................................131
MR18DE
SYMPTOM DIAGNOSIS ...........................
132
NOISE, VIBRATION AND HARSHNESS
(NVH) TROUBLESHOOTING ...........................
132
NVH Troubleshooting - Engine Noise ...................132
Use the Chart Below to Help You Find the Cause
of the Symptom .....................................................
133
PRECAUTION ...........................................134
PRECAUTIONS ................................................134
Precaution for Supplemental Restraint System
(SRS) "AIR BAG" and "SEAT BELT PRE-TEN-
SIONER" ...............................................................
134
Precaution for Procedure without Cowl Top Cover .134
Precaution Necessary for Steering Wheel Rota-
tion After Battery Disconnect ................................
134
Precaution for Drain Coolant .................................135
Precaution for Disconnecting Fuel Piping .............135
Precaution for Removal and Disassembly ............135
Precaution for Inspection, Repair and Replace-
ment ......................................................................
135
Precaution for Assembly and Installation ..............135
Parts Requiring Angular Tightening ......................135
Precaution for Liquid Gasket .................................136
PREPARATION .........................................138
PREPARATION ................................................138
Special Service Tool .............................................138
Commercial Service Tool ......................................140
ON-VEHICLE MAINTENANCE .................142
DRIVE BELTS ..................................................142
Component ...........................................................142
Checking Drive Belts .............................................142
Tension Adjustment ..............................................142
Removal and Installation .......................................142
AIR CLEANER FILTER ....................................144
Removal and Installation .......................................144
SPARK PLUG ...................................................145
Page 2650 of 5883
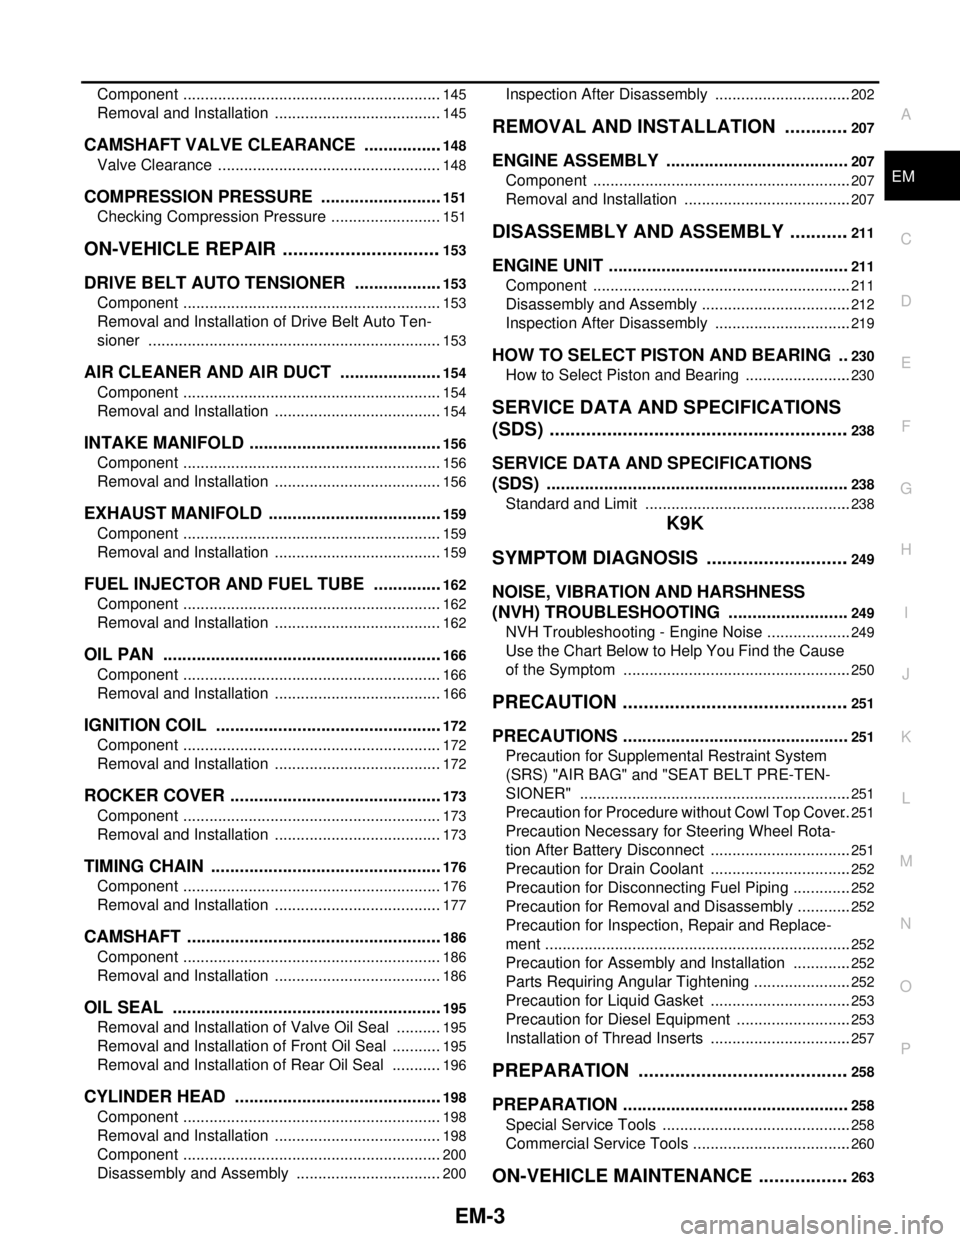
EM-3
C
D
E
F
G
H
I
J
K
L
M
EMA
N
O
P Component ............................................................
145
Removal and Installation .......................................145
CAMSHAFT VALVE CLEARANCE .................148
Valve Clearance ....................................................148
COMPRESSION PRESSURE ..........................151
Checking Compression Pressure ..........................151
ON-VEHICLE REPAIR ...............................153
DRIVE BELT AUTO TENSIONER ...................153
Component ............................................................153
Removal and Installation of Drive Belt Auto Ten-
sioner ....................................................................
153
AIR CLEANER AND AIR DUCT ......................154
Component ............................................................154
Removal and Installation .......................................154
INTAKE MANIFOLD .........................................156
Component ............................................................156
Removal and Installation .......................................156
EXHAUST MANIFOLD .....................................159
Component ............................................................159
Removal and Installation .......................................159
FUEL INJECTOR AND FUEL TUBE ...............162
Component ............................................................162
Removal and Installation .......................................162
OIL PAN ...........................................................166
Component ............................................................166
Removal and Installation .......................................166
IGNITION COIL ................................................172
Component ............................................................172
Removal and Installation .......................................172
ROCKER COVER .............................................173
Component ............................................................173
Removal and Installation .......................................173
TIMING CHAIN .................................................176
Component ............................................................176
Removal and Installation .......................................177
CAMSHAFT ......................................................186
Component ............................................................186
Removal and Installation .......................................186
OIL SEAL .........................................................195
Removal and Installation of Valve Oil Seal ...........195
Removal and Installation of Front Oil Seal ............195
Removal and Installation of Rear Oil Seal ............196
CYLINDER HEAD ............................................198
Component ............................................................198
Removal and Installation .......................................198
Component ............................................................200
Disassembly and Assembly ..................................200
Inspection After Disassembly ................................202
REMOVAL AND INSTALLATION .............207
ENGINE ASSEMBLY ......................................207
Component ............................................................207
Removal and Installation .......................................207
DISASSEMBLY AND ASSEMBLY ............211
ENGINE UNIT ..................................................211
Component ............................................................211
Disassembly and Assembly ...................................212
Inspection After Disassembly ................................219
HOW TO SELECT PISTON AND BEARING ..230
How to Select Piston and Bearing .........................230
SERVICE DATA AND SPECIFICATIONS
(SDS) ..........................................................
238
SERVICE DATA AND SPECIFICATIONS
(SDS) ...............................................................
238
Standard and Limit ................................................238
K9K
SYMPTOM DIAGNOSIS ............................
249
NOISE, VIBRATION AND HARSHNESS
(NVH) TROUBLESHOOTING .........................
249
NVH Troubleshooting - Engine Noise ....................249
Use the Chart Below to Help You Find the Cause
of the Symptom .....................................................
250
PRECAUTION ............................................251
PRECAUTIONS ...............................................251
Precaution for Supplemental Restraint System
(SRS) "AIR BAG" and "SEAT BELT PRE-TEN-
SIONER" ...............................................................
251
Precaution for Procedure without Cowl Top Cover ..251
Precaution Necessary for Steering Wheel Rota-
tion After Battery Disconnect .................................
251
Precaution for Drain Coolant .................................252
Precaution for Disconnecting Fuel Piping ..............252
Precaution for Removal and Disassembly .............252
Precaution for Inspection, Repair and Replace-
ment .......................................................................
252
Precaution for Assembly and Installation ..............252
Parts Requiring Angular Tightening .......................252
Precaution for Liquid Gasket .................................253
Precaution for Diesel Equipment ...........................253
Installation of Thread Inserts .................................257
PREPARATION .........................................258
PREPARATION ...............................................258
Special Service Tools ............................................258
Commercial Service Tools .....................................260
ON-VEHICLE MAINTENANCE ..................263
Page 2651 of 5883
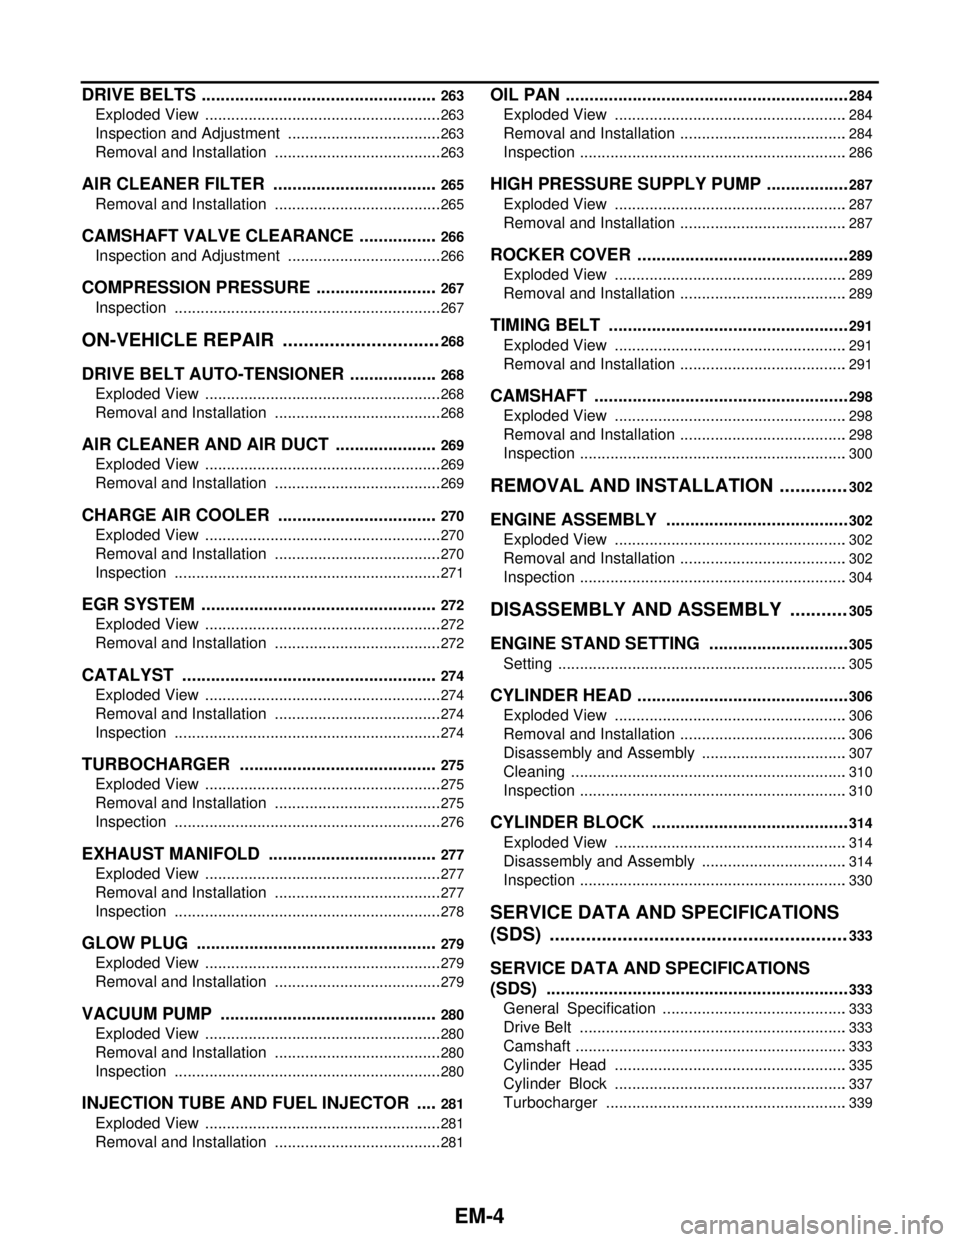
EM-4
DRIVE BELTS ..................................................263
Exploded View .......................................................263
Inspection and Adjustment ....................................263
Removal and Installation .......................................263
AIR CLEANER FILTER ...................................265
Removal and Installation .......................................265
CAMSHAFT VALVE CLEARANCE .................266
Inspection and Adjustment ....................................266
COMPRESSION PRESSURE ..........................267
Inspection ..............................................................267
ON-VEHICLE REPAIR ...............................268
DRIVE BELT AUTO-TENSIONER ...................268
Exploded View .......................................................268
Removal and Installation .......................................268
AIR CLEANER AND AIR DUCT ......................269
Exploded View .......................................................269
Removal and Installation .......................................269
CHARGE AIR COOLER ..................................270
Exploded View .......................................................270
Removal and Installation .......................................270
Inspection ..............................................................271
EGR SYSTEM ..................................................272
Exploded View .......................................................272
Removal and Installation .......................................272
CATALYST ......................................................274
Exploded View .......................................................274
Removal and Installation .......................................274
Inspection ..............................................................274
TURBOCHARGER ..........................................275
Exploded View .......................................................275
Removal and Installation .......................................275
Inspection ..............................................................276
EXHAUST MANIFOLD ....................................277
Exploded View .......................................................277
Removal and Installation .......................................277
Inspection ..............................................................278
GLOW PLUG ...................................................279
Exploded View .......................................................279
Removal and Installation .......................................279
VACUUM PUMP ..............................................280
Exploded View .......................................................280
Removal and Installation .......................................280
Inspection ..............................................................280
INJECTION TUBE AND FUEL INJECTOR .....281
Exploded View .......................................................281
Removal and Installation .......................................281
OIL PAN ............................................................284
Exploded View ......................................................284
Removal and Installation .......................................284
Inspection ..............................................................286
HIGH PRESSURE SUPPLY PUMP ..................287
Exploded View ......................................................287
Removal and Installation .......................................287
ROCKER COVER .............................................289
Exploded View ......................................................289
Removal and Installation .......................................289
TIMING BELT ...................................................291
Exploded View ......................................................291
Removal and Installation .......................................291
CAMSHAFT ......................................................298
Exploded View ......................................................298
Removal and Installation .......................................298
Inspection ..............................................................300
REMOVAL AND INSTALLATION .............302
ENGINE ASSEMBLY .......................................302
Exploded View ......................................................302
Removal and Installation .......................................302
Inspection ..............................................................304
DISASSEMBLY AND ASSEMBLY ...........305
ENGINE STAND SETTING ..............................305
Setting ...................................................................305
CYLINDER HEAD .............................................306
Exploded View ......................................................306
Removal and Installation .......................................306
Disassembly and Assembly ..................................307
Cleaning ................................................................310
Inspection ..............................................................310
CYLINDER BLOCK ..........................................314
Exploded View ......................................................314
Disassembly and Assembly ..................................314
Inspection ..............................................................330
SERVICE DATA AND SPECIFICATIONS
(SDS) .........................................................
333
SERVICE DATA AND SPECIFICATIONS
(SDS) ................................................................
333
General Specification ...........................................333
Drive Belt ..............................................................333
Camshaft ...............................................................333
Cylinder Head ......................................................335
Cylinder Block ......................................................337
Turbocharger ........................................................339
Page 2653 of 5883

EM-6
< SYMPTOM DIAGNOSIS >[HR16DE]
NOISE, VIBRATION AND HARSHNESS (NVH) TROUBLESHOOTING
Use the Chart Below to Help You Find the Cause of the Symptom
INFOID:0000000001381372
1. Locate the area where noise occurs.
2. Confirm the type of noise.
3. Specify the operating condition of engine.
4. Check specified noise source.
If necessary, repair or replace these parts.
A: Closely related B: Related C: Sometimes related —: Not relatedLocation
of noiseTyp e of
noiseOperating condition of engine
Source of
noiseCheck itemRefer-
ence page Before
warm-
upAfter
warm-
upWhen
start-
ingWhen
idlingWhen
racingWhile
driving
Top of en-
gine
Rocker
cover
Cylinder
headTicking or
clickingCA—AB—Tappet
noiseValve clearanceEM-21
Rattle C A — A B CCamshaft
bearing
noiseCamshaft journal oil
clearance
Camshaft runoutEM-123EM-123
Crank-
shaft pul-
ley
Cylinder
block
(Side of
engine)
Oil panSlap or
knock—A—BB—Piston pin
noisePiston to piston pin oil
clearance
Connecting rod small
end clearanceEM-127
EM-130
Slap or
rapA——BBAPiston
slap noisePiston to cylinder bore
clearance
Piston ring side clear-
ance
Piston ring end gap
Connecting rod bend
and torsionEM-127EM-127
EM-127
EM-130
Knock A B C B B BConnect-
ing rod
bearing
noiseConnecting rod small
end clearance
Connecting rod bearing
oil clearanceEM-127EM-130
Knock A B — A B CMain bear-
ing noiseMain bearing oil clear-
ance
Crankshaft runoutEM-131EM-127
Front of
engine
Front cov-
erTapping or
tickingAA—BBBTiming
chain and
chain ten-
sioner
noiseTiming chain cracks
and wear
Timing chain tensioner
operationEM-57
Front of
engineSqueak-
ing or fizz-
ingAB—B—CDrive belt
(Sticking
or slip-
ping)Drive belt deflection
EM-122
Creaking A B A B A BDrive belt
(Slipping)Idler pulley bearing op-
eration
Squall
CreakAB—BABWater
pump
noiseWater pump operationCO-21
Page 2698 of 5883

TIMING CHAIN
EM-51
< ON-VEHICLE REPAIR >[HR16DE]
C
D
E
F
G
H
I
J
K
L
MA
EM
N
P O
4. Remove the following parts.
Intake manifold: Refer to EM-29, "
Exploded View".
Drive belt: Refer to EM-16, "
Removal and Installation".
Water pump pulley: Refer to CO-20, "
Exploded View".
Ground cable (RH)
5. Support the bottom surface of engine using a transmission jack, and then remove the engine mounting
bracket and insulator (RH). Refer to EM-89, "
Exploded View".
6. Remove rocker cover. Refer to EM-47, "
Exploded View".
7. Set No. 1 cylinder at TDC of its compression stroke with the following procedure:
a. Rotate crankshaft pulley (2) clockwise and align TDC mark
(without paint mark) (A) to timing indicator (1) on front cover.
b. Make sure the matching marks on each camshaft sprocket are
positioned as shown.
If not, rotate crankshaft pulley one more turn to align matching
marks to the positions.
8. Remove crankshaft pulley with the following procedure:
a. Secure crankshaft pulley (1) using a suitable tool (A).
b. Loosen and pull out crankshaft pulley bolts.
CAUTION:
Never remove the mounting bolts as they are used as a sup-
porting point for the pulley puller.
c. Attach a pulley puller [SST: KV11103000] (A) in the M 6 thread
hole on crankshaft pulley, and remove crankshaft pulley.
B : White paint mark (Not use for service)
PBIC3673E
1 : Camshaft sprocket (EXH)
2 : Camshaft sprocket (INT)
A : Matching mark (stamp)
B : Matching mark (peripheral stamp line)
PBIC3872E
PBIC3710E
B: M6 bolt
PBIC3711E
Page 2706 of 5883

CAMSHAFT
EM-59
< ON-VEHICLE REPAIR >[HR16DE]
C
D
E
F
G
H
I
J
K
L
MA
EM
N
P O
CAMSHAFT
Exploded ViewINFOID:0000000001381414
Removal and InstallationINFOID:0000000001381415
CAUTION:
The rotation direction in the text indicates all directions seen from the engine front.
REMOVAL
1. Remove front wheel (RH). Refer to WT-6, "Rotation".
2. Remove front fender protector (RH). Refer to EXT-22, "
Removal and Installation".
3. Drain engine oil. Refer to LU-7, "
Draining".
CAUTION:
Be sure to perform this step when engine is cold.
4. Remove the following parts.
Intake manifold: Refer to EM-29, "
Exploded View".
Drive belt: Refer to EM-16, "
Removal and Installation".
Water pump pulley: Refer to CO-20, "
Exploded View".
Ground cable (RH)
1. Camshaft bracket (No. 2 to 5) 2. Camshaft bracket (No.1) 3. Camshaft sprocket (EXH)
4. Camshaft sprocket (INT) 5. Cylinder head 6. Oil filter (for intake valve timing control)
7. Washer 8. Plug 9. Intake valve timing control solenoid valve
10. O-ring 11. O-ring 12. Camshaft position sensor (PHASE)
13. Valve lifter 14. Camshaft (INT) 15. Camshaft (EXH)
A. Refer to EM-59
PBIC3672E
Page 2722 of 5883

CAMSHAFT
EM-75
< ON-VEHICLE REPAIR >[HR16DE]
C
D
E
F
G
H
I
J
K
L
MA
EM
N
P O Inspection for Leaks
The following are procedures for checking fluids leak, lubricates leak.
Before starting engine, check oil/fluid levels including engine coolant and engine oil. If less than required
quantity, fill to the specified level. Refer to MA-19, "
Fluids and Lubricants".
Use procedure below to check for fuel leakage.
- Turn ignition switch “ON” (with engine stopped). With fuel pressure applied to fuel piping, check for fuel leak-
age at connection points.
- Start engine. With engine speed increased, check again for fuel leakage at connection points.
Run engine to check for unusual noise and vibration.
NOTE:
If hydraulic pressure inside timing chain tensioner drops after removal/installation, slack in the guide may
generate a pounding noise during and just after engine start. However, this is normal. Noise will stop after
hydraulic pressure rises.
Warm up engine thoroughly to make sure there is no leakage of fuel, or any oil/fluids including engine oil and
engine coolant.
Bleed air from lines and hoses of applicable lines, such as in cooling system.
After cooling down engine, again check oil/fluid levels including engine oil and engine coolant. Refill to the
specified level, if necessary.
Summary of the inspection items:
*: Transmission/transaxle/CVT fluid, power steering fluid, brake fluid, etc.
Inspection of Camshaft Sprocket (INT) Oil Groove
CAUTION:
Perform this inspection only when DTC P0011 is detected in self-diagnostic results of CONSULT-III
and it is directed according to inspection procedure of EC section. Refer to EC-131, "
Diagnosis Pro-
cedure" (EURO-OBD), EC-484, "Diagnosis Procedure" (WITHOUT EURO-OBD).
Check when engine is cold so as to prevent burns from the splashing engine oil.
1. Check engine oil level. Refer to LU-6, "
Inspection".
2. Perform the following procedure so as to prevent the engine from being unintentionally started while
checking.
a. Release the fuel pressure. Refer to EC-377, "
Inspection" (EURO-OBD), EC-681, "Inspection" (WITHOUT
EURO-OBD).
b. Remove intake manifold. Refer to EM-29, "
Exploded View".
c. Disconnect ignition coil and injector harness connectors. Refer to EM-47, "
Exploded View".
3. Remove intake valve timing control solenoid valve. Refer to EM-50, "
Exploded View".
4. Crank engine, and then make sure that engine oil comes out
from intake valve timing control solenoid valve hole (A). End
crank after checking.
WARNING:
Be careful not to touch rotating parts (drive belts, idler pul-
ley, and crankshaft pulley, etc.).
CAUTION:
Prevent splashing by using a shop cloth so as to prevent
the worker from injury from engine oil and so as to prevent engine oil contamination.
Prevent splashing by using a shop cloth so as to prevent engine oil from being splashed to
engine and vehicle. Especially, be careful not to apply engine oil to rubber parts of drive belts,
engine mounting insulator, etc. Wipe engine oil off immediately if it is splashed.
Items Before starting engine Engine running After engine stopped
Engine coolant Level Leakage Level
Engine oil Level Leakage Level
Other oils and fluid* Level Leakage Level
Fuel Leakage Leakage Leakage
1: Plug
:Engine front
PBIC3706E