diagram RENAULT KANGOO 1997 KC / 1.G Engine And Peripherals Workshop Manual
[x] Cancel search | Manufacturer: RENAULT, Model Year: 1997, Model line: KANGOO, Model: RENAULT KANGOO 1997 KC / 1.GPages: 208
Page 4 of 208
Page
Cooling
Specifications
Filling and bleeding
Testing
Diagram
Water pump
Exhaust
General
Exhaust pipe assembly
Fuel tank
Tank
Sender unit
Pump and sender unit assembly
Engine suspension
Suspended engine mountings19-1
19-2
19-3
19-4
19-7
19-12
19-15
19-17
19-29
19-30
19-32 COOLING - EXHAUST - FUEL TANK -
ENGINE SUSPENSION
19
16-1
16-7 STARTING - CHARGING
Alternator
Starter
16
IGNITION - INJECTION
Ignition
Static ignition
Plugs
Injection
General
Location of components
Centralised coolant temperature
management
Injection fault warning light
Immobiliser function
Computer configuration depending
on gearbox type17
14-1
14-2
14-7
14-11 ANTIPOLLUTION
Test for the presence of lead
Fuel vapour rebreathing
Oil vapour rebreathing
Exhaust gas recirculation
(EGR)
14
17-17
17-18
17-19
17-20
17-22 IGNITION - INJECTION
(continued)
Injection/air conditioning
programming
Idle speed correction
Adaptive idle speed
correction
Richness regulation
Adaptive richness correction
17
Page
17-1
17-3
17-4
17-8
17-13
17-14
17-15
17-16
Contents
Page 15 of 208
ENGINE AND ENGINE PERIPHERALS
Engine and transmission assembly
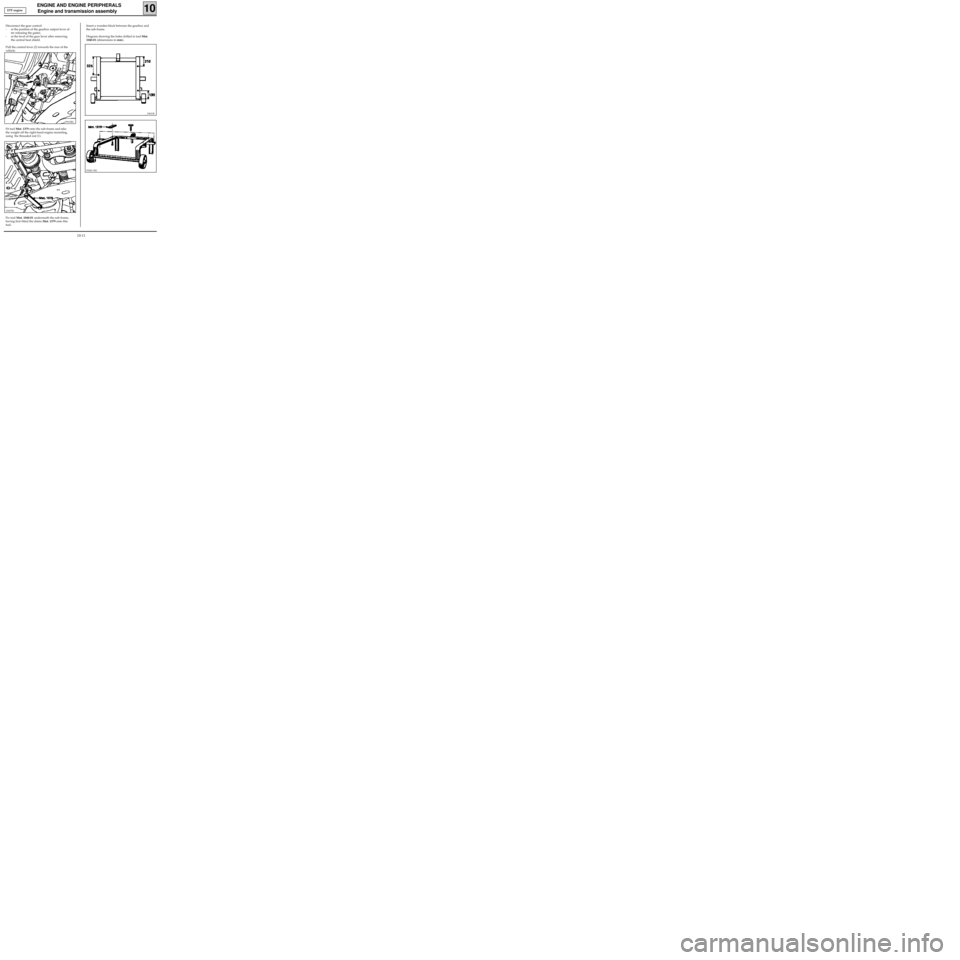
Insert a wooden block between the gearbox and
the sub-frame.
Diagram showing the holes drilled in tool Mot.
1040-01 (dimensions in mm).
10
Disconnect the gear control:
- at the position of the gearbox output lever af-
ter releasing the gaiter,
- at the level of the gear lever after removing
the central heat shield.
Pull the control lever (2) towards the rear of the
vehicle.
10621R
Fit tool Mot. 1379 onto the sub-frame and take
the weight off the right-hand engine mounting,
using the threaded rod (1).
10267R1
93912R2
Fix tool Mot. 1040-01 underneath the sub-frame,
having first fitted the shims Mot. 1379 onto this
tool.
92442-1R2
D7F engine
10-11
Page 18 of 208
ENGINE AND ENGINE PERIPHERALS
Engine and transmission assembly
10
Front sub-frame mounting bolt 6.2
Rear sub-frame mounting bolt 10.5
Mounting bolt for front right suspended
engine mounting cover on engine 6.2
Mounting nut for front right suspended
engine mounting cover 4.4
Mounting nut for rubber engine mounting pad
on front left-hand side member support 6.2
Shock absorber base bolt 18
Brake caliper mounting bolt 4
Steering shaft yoke bolt 3
Wheel bolt 9
TIGHTENING TORQUES (in daN.m)
REMOVAL
Put the vehicle on a 2 post lift.
Disconnect the battery.
Drain:
- the cooling circuit through the bottom hose
of the radiator,
- the gearbox and the engine if necessary.
Remove:
- the bonnet,
- the front wheels,
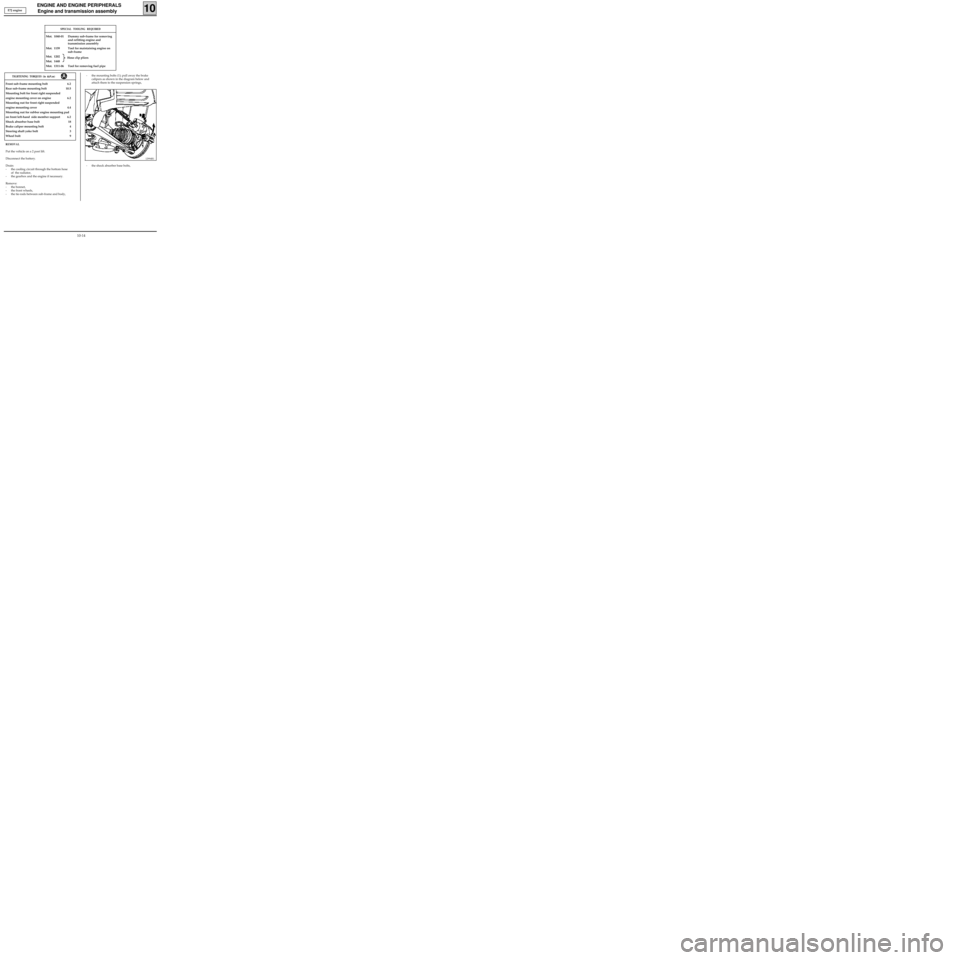
- the tie-rods between sub-frame and body,- the mounting bolts (1); pull away the brake
calipers as shown in the diagram below and
attach them to the suspension springs,
12994R1
- the shock absorber base bolts, E7J engine
SPECIAL TOOLING REQUIRED
Mot. 1040-01 Dummy sub-frame for removing
and refitting engine and
transmission assembly
Mot. 1159 Tool for maintaining engine on
sub-frame
Mot. 1202
Mot. 1448
Mot. 1311-06 Tool for removing fuel pipe
Hose clip pliers
10-14
Page 19 of 208
ENGINE AND ENGINE PERIPHERALS
Engine and transmission assembly
10
13085R
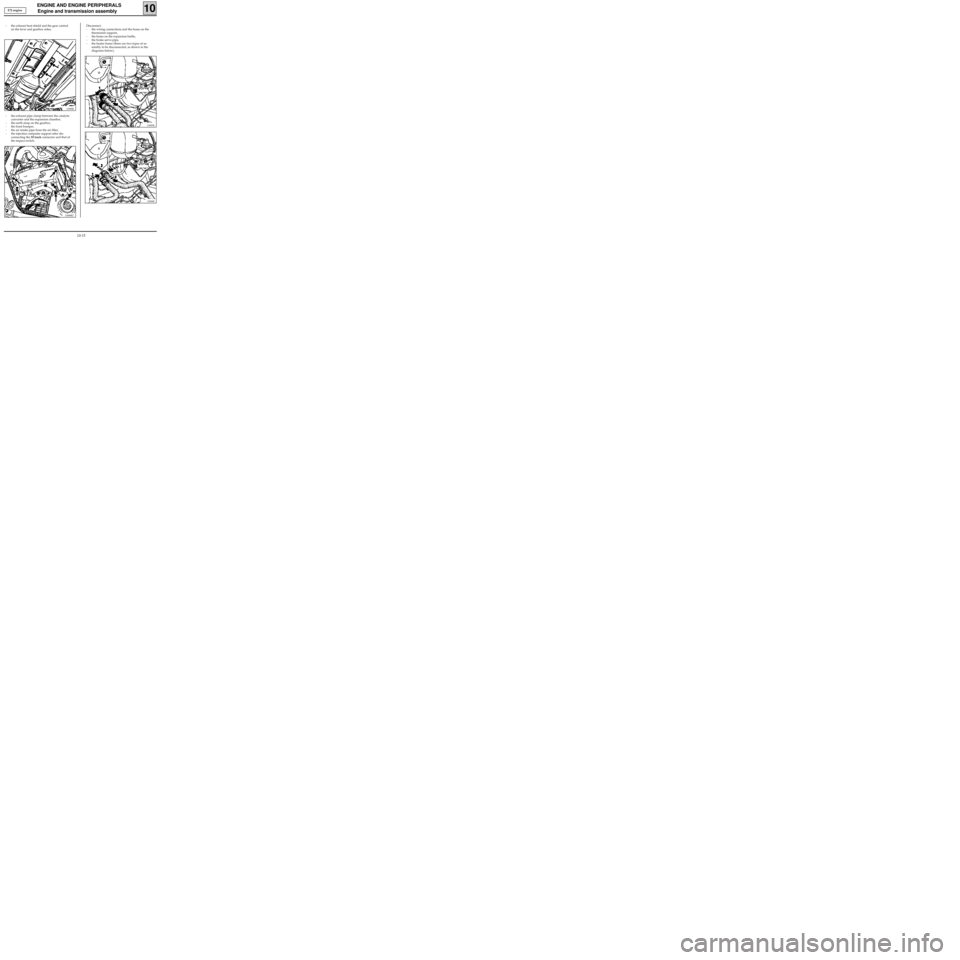
- the exhaust heat shield and the gear control
on the lever and gearbox sides,
12988R
- the exhaust pipe clamp between the catalytic
converter and the expansion chamber,
- the earth strap on the gearbox,
- the front bumper,
- the air intake pipe from the air filter,
- the injection computer support after dis-
connecting the 55 track connector and that of
the impact switch.
13088R2
Disconnect:
- the wiring connections and the hoses on the
thermostat support,
- the hoses on the expansion bottle,
- the brake servo pipe,
- the heater hoses (there are two types of as-
sembly to be disconnected, as shown in the
diagrams below),
13084R
E7J engine
10-15
Page 23 of 208
ENGINE AND ENGINE PERIPHERALS
Engine and transmission assembly
10
SPECIAL TOOLING REQUIRED
Mot. 1040-01 Dummy sub-frame for removing -
refitting the engine and
transmission assembly
Mot. 1159 Tool for maintaining engine on
sub-frame
Mot. 1202
Mot. 1448
Mot. 1311-06 Tool for removing fuel pipe
Front sub-frame mounting bolt 6.2
Rear sub-frame mounting bolt 10.5
Mounting bolt for front right suspended engine
mounting cover on engine 6.2
Mounting nut for front right suspended engine
mounting cover 4.4
Mounting nut for rubber engine mounting
pad on front left side member support 6.2
Shock absorber base bolt 18
Brake caliper mounting bolt 4
Steering shaft yoke bolt 3
Wheel bolt 9
TIGHTENING TORQUES (in daN.m)
REMOVAL
Put the vehicle on a 2 post lift.
Disconnect the battery.
Drain:
- the cooling circuit through the bottom hose
of the radiator,
- the gearbox and the engine if necessary.
Remove:
- the bonnet,
- the front wheels,
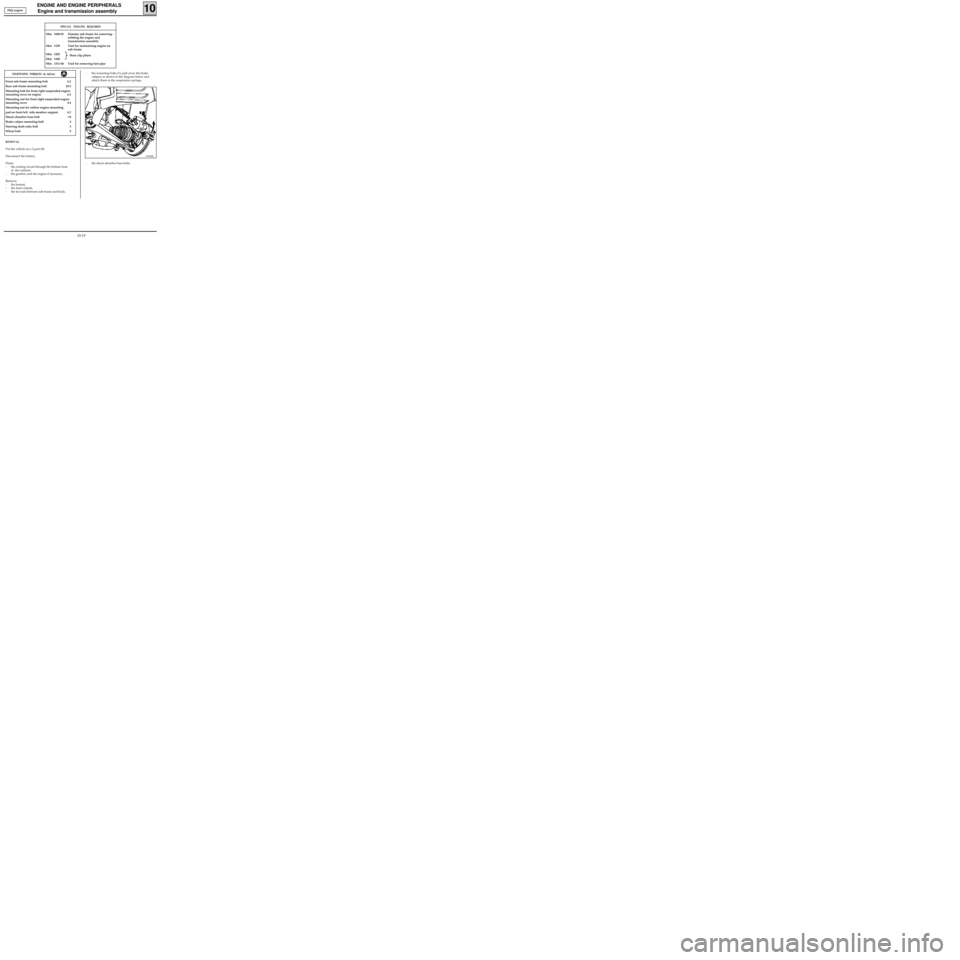
- the tie-rods between sub-frame and body,- the mounting bolts (1); pull away the brake
calipers as shown in the diagram below and
attach them to the suspension springs,
12994R1
- the shock absorber base bolts, F8Q engine
Hose clip pliers
10-19
Page 25 of 208
ENGINE AND ENGINE PERIPHERALS
Engine and transmission assembly
10
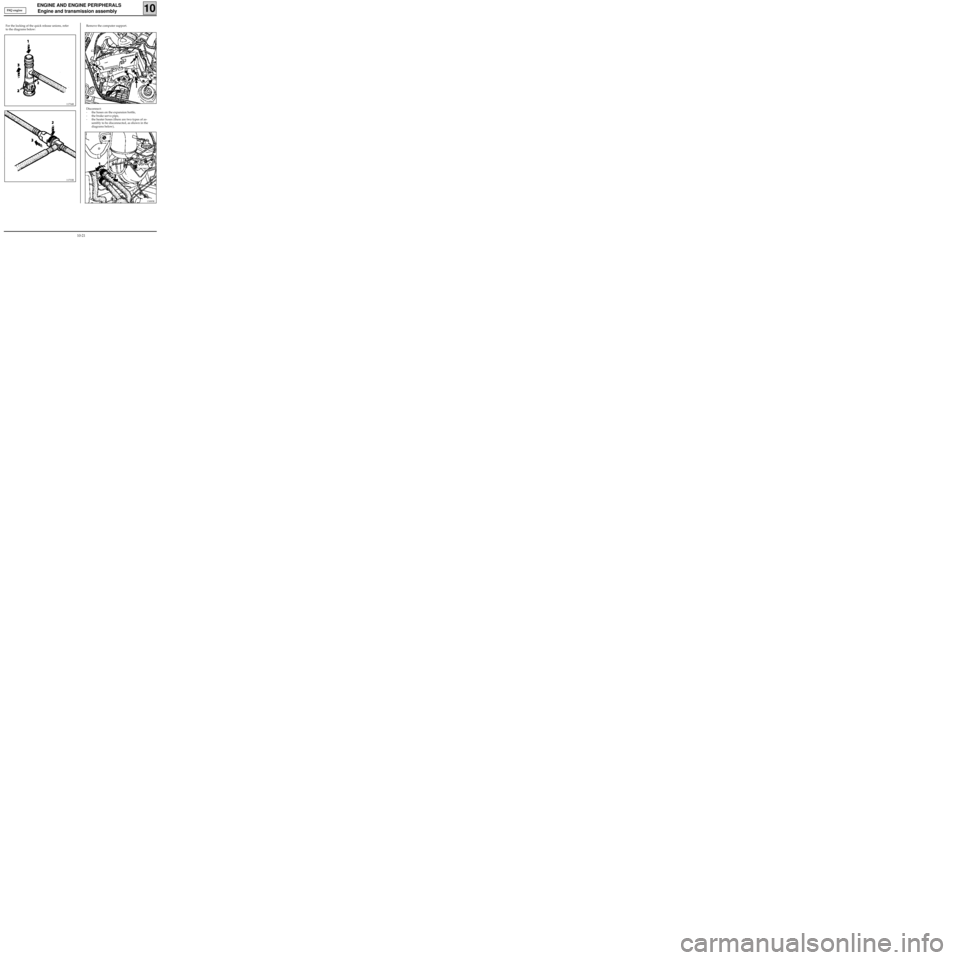
Remove the computer support.
13088R1
Disconnect:
- the hoses on the expansion bottle,
- the brake servo pipe,
- the heater hoses (there are two types of as-
sembly to be disconnected, as shown in the
diagrams below),
13085R
F8Q engine
11734R
For the locking of the quick release unions, refer
to the diagrams below:
11733R
10-21
Page 32 of 208
ENGINE AND ENGINE PERIPHERALS
Sump
10
REFITTING
Clean the sump.
E7J engine
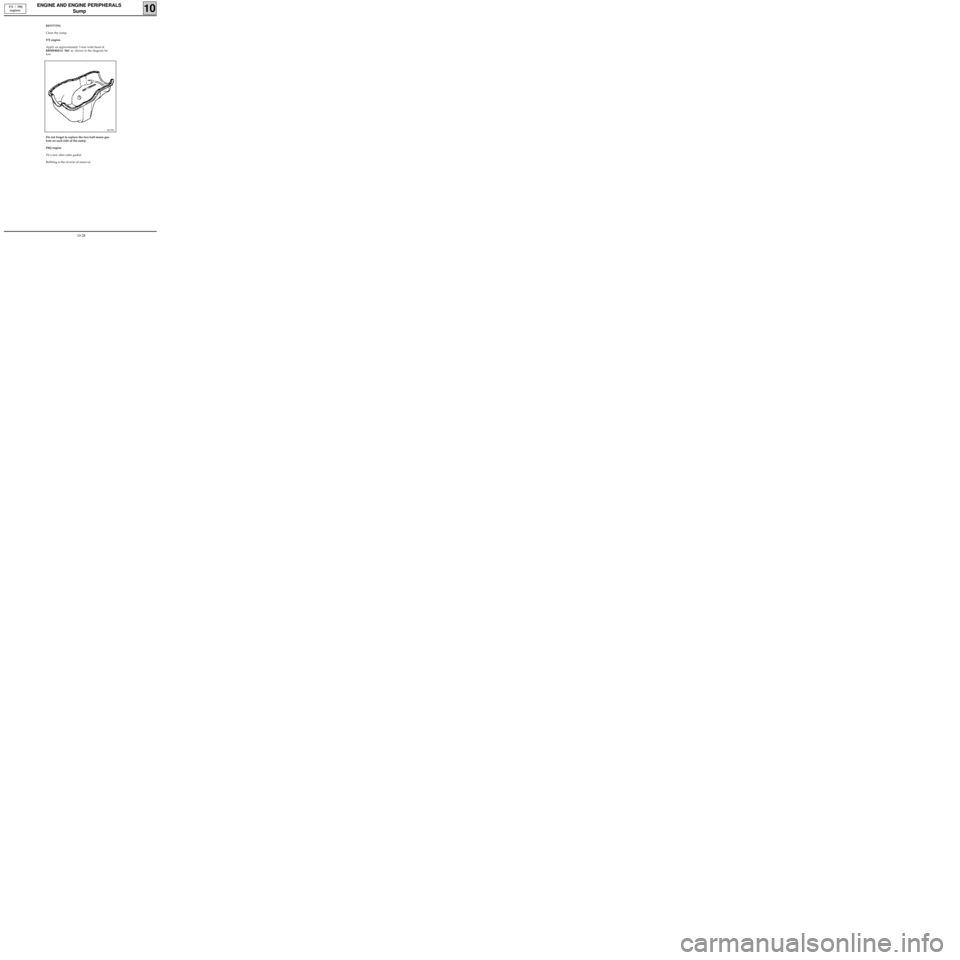
Apply an approximately 3 mm wide bead of
RHODORSEAL 5661 as shown in the diagram be-
low.
E7J / F8Q
engines
99179S
Do not forget to replace the two half-moon gas-
kets on each side of the sump.
F8Q engine
Fit a new after-sales gasket.
Refitting is the reverse of removal.
10-28
Page 60 of 208
TOP AND FRONT OF ENGINE
Cylinder head gasket
11
13083-1R1
To release the quick release unions, refer to the
following diagrams.
11734R
F8Q Engine
11-25
Page 128 of 208
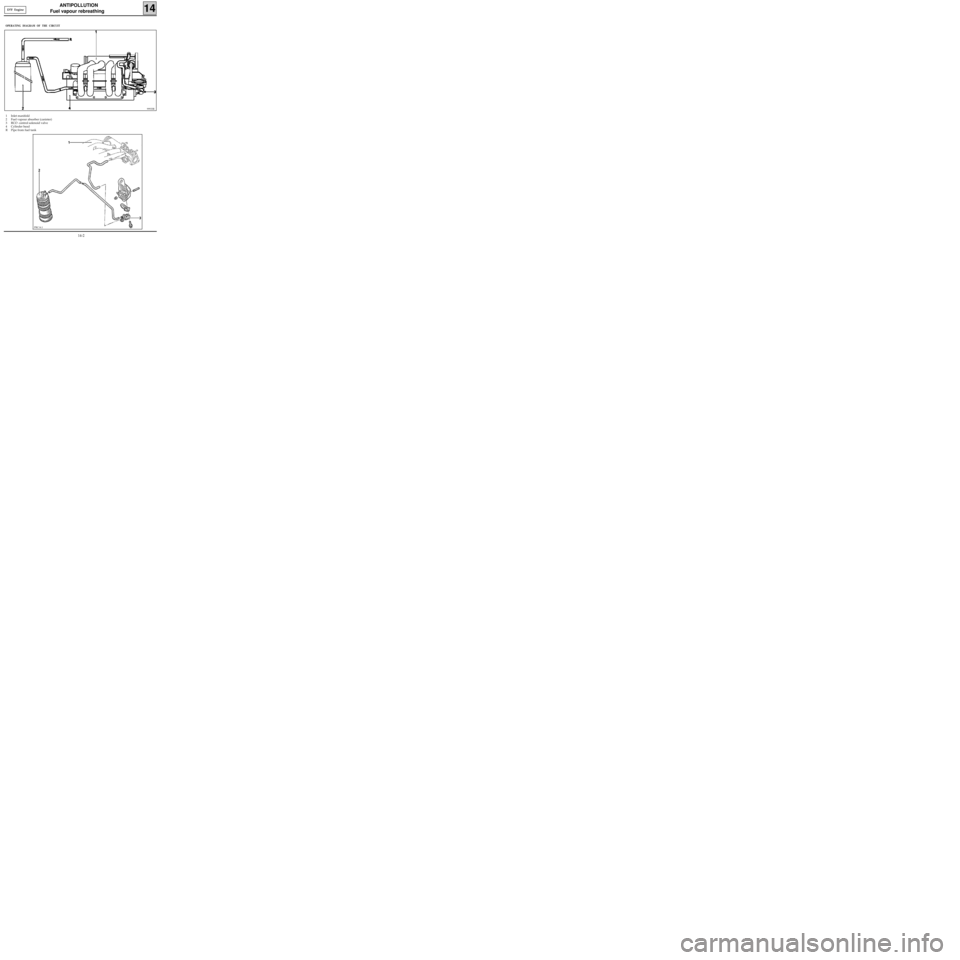
ANTIPOLLUTION
Fuel vapour rebreathing
14
OPERATING DIAGRAM OF THE CIRCUIT
1 Inlet manifold
2 Fuel vapour absorber (canister)
3 RCO control solenoid valve
4 Cylinder head
R Pipe from fuel tank
99933R
PRC14.1
D7F Engine
14-2
Page 129 of 208
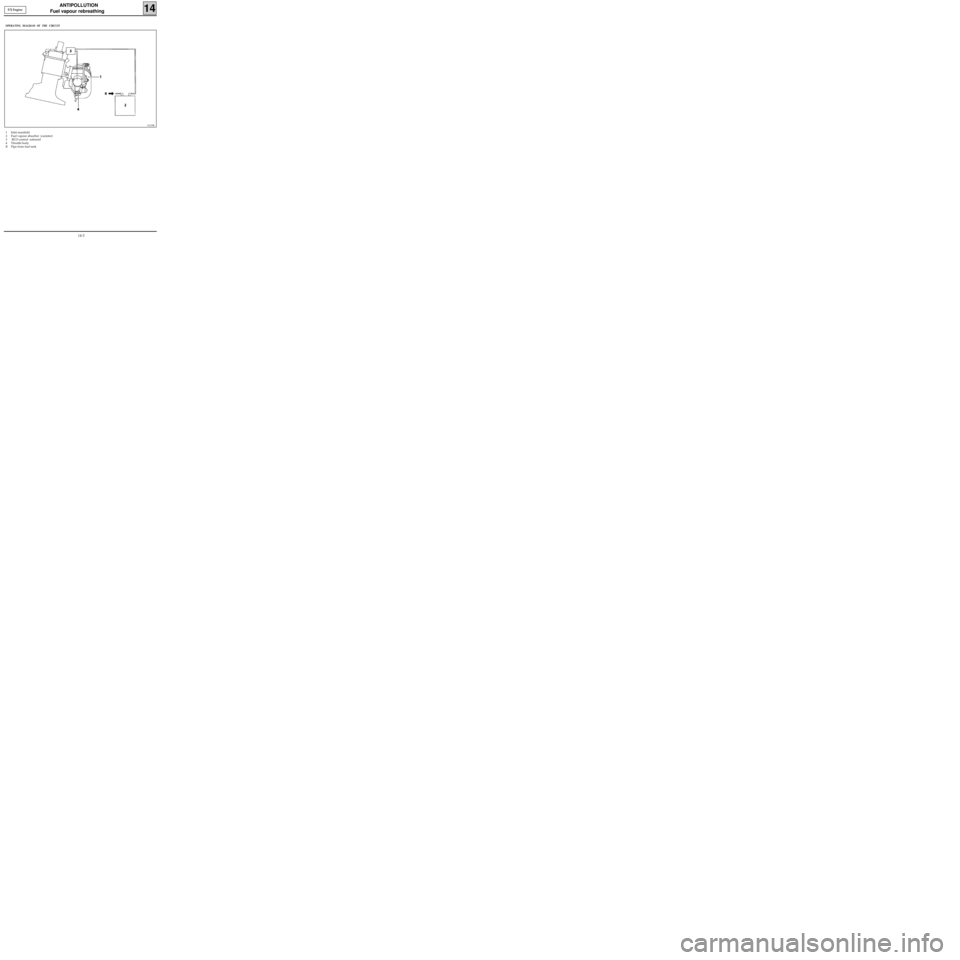
ANTIPOLLUTION
Fuel vapour rebreathing
14E7J Engine
OPERATING DIAGRAM OF THE CIRCUIT
1 Inlet manifold
2 Fuel vapour absorber (canister)
3 RCO control solenoid
4 Throttle body
R Pipe from fuel tank
13123R
14-3