ignition RENAULT KANGOO 1997 KC / 1.G Engine And Peripherals User Guide
[x] Cancel search | Manufacturer: RENAULT, Model Year: 1997, Model line: KANGOO, Model: RENAULT KANGOO 1997 KC / 1.GPages: 208
Page 109 of 208

DIESEL EQUIPMENT
Computer configuration
13
PROGRAMMING THE FULL LOAD POSITION
Switch the ignition off.
Replace the computer.
Carry out the programming of the full load position; in order to do this :
Switch the ignition on.
Connect the
XR25.
Set the selector to S8.
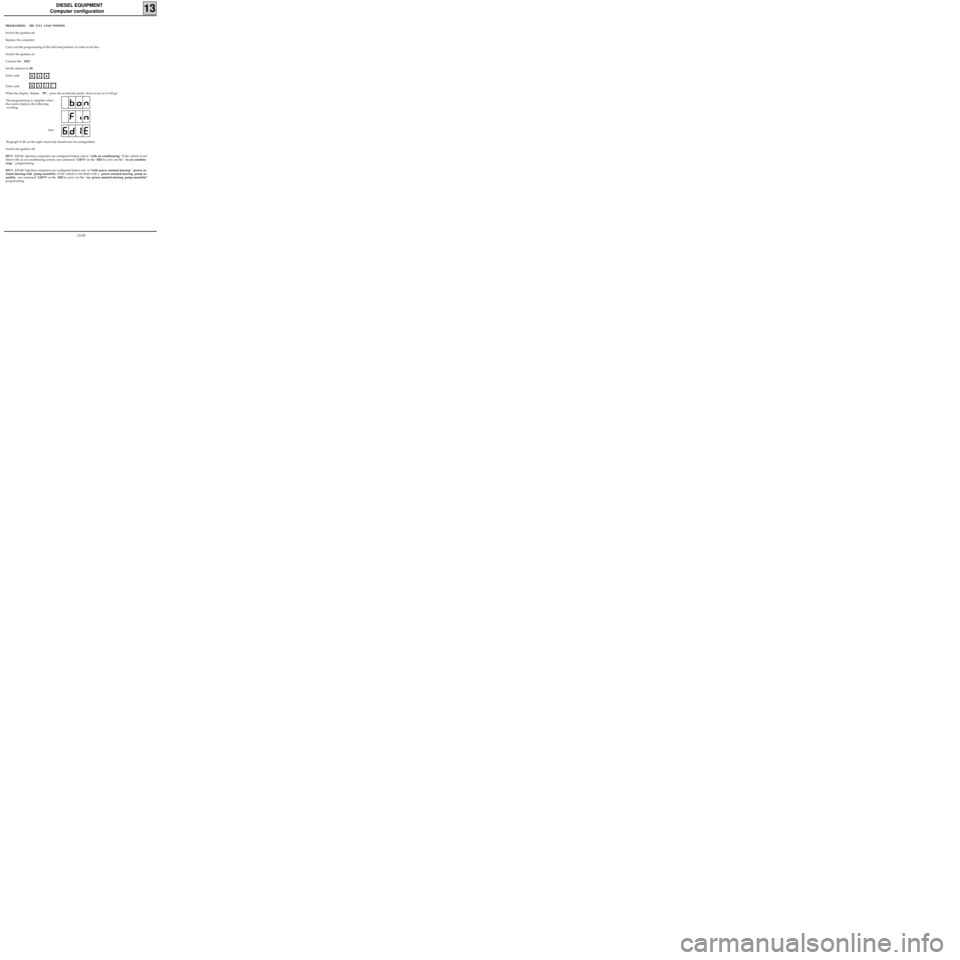
Enter code
Enter code
When the display flashes "PF", press the accelerator pedal down as far as it will go.
The programming is complete when
the screen displays the following
wording: D
34
G31*
Bargraph N.12 on the right hand side should now be extinguished.
Switch the ignition off.
DPCN LUCAS injection computers are configured before sale to "with air conditioning". If the vehicle is not
fitted with an air conditioning system, use command G50*4* on the
XR25 to carry out the "no air conditio-
ning " programming.
DPCN LUCAS "injection computers are configured before sale to "with power assisted steering " (power as-
sisted steering with pump assembly). If the vehicle is not fitted with a power assisted steering pump as-
sembly, use command G50*9* on the
XR25 to carry out the "no power assisted steering pump assembly"
programming.then
13-29
Page 112 of 208

DIESEL EQUIPMENT
Injection warning light
13
OPERATING PRINCIPLE OF THE DIESEL INJECTION WARNING LIGHT ON THE INSTRUMENT PANEL
On switching on the ignition, the diesel injection fault warning light is illuminated. It extinguishes as the en-
gine begins to run.
•Fault in a component of the injection assembly
Faults in the following components may cause the warning light to illuminate :
- injector with sensor
- advance solenoid valve,
- engine speed sensor ,
- load lever potentiometer,
- pre-postheating (according to version).
13-32
Page 113 of 208

DIESEL EQUIPMENT
Pre-postheating control
13
The pre-postheating function is controlled by the
computer, which controls the preheating plug re-
lay housing.
1) Ignition - Preheating
The preheating process is divided in two
phases :
a) Variable preheating
This is dependent on the coolant tempera-
ture, on the battery voltage and on alti-
tude (internal computer sensor) when the
ignition is switched on (the preheating
warning light illuminates).b) Fixed preheating
After the preheating warning light has
extinguished (variable preheating), the
plugs remain fed for 8 seconds before the
engine is started.
2) Starting the engine
During the action of the starter motor, the
four plugs are fed continuously.
3) Engine running - Postheating
The postheating also may be divided in two
phases:
a) Fixed postheating
After starting the engine, the plugs are
supplied simultaneously for a period of 10
seconds.
b) Variable postheating
Variable postheating begins when fixed
postheating ends. The time during which
the plugs are fed (continuously) depends
upon :
- the coolant temperature
- the engine speed ,
- the load (load potentiometer on pump
lever ).
Maximum preheating limit (battery vol-
tage lower than 9.3 volts and altitude hi-
gher than 2 000 m).
Minimum preheating limit (battery
voltage greater than 10.5 volts altitude
lower than 350 m).
13041S
13-33
Page 115 of 208

DIESEL EQUIPMENT
Fast idle speed control
13
- if the engine speed falls to 650 rpm and the
vehicle speed is lower than 15 mph (25 km/h)
(engine start improvement programming).
The fast idle speed is cut off once the speed
becomes > 850 rpm
NOTE :
- Fast idle speed operational :
• solenoid valve not operated,
• cable loose, and not tensioned.
- Nominal idle sped :
• solenoid valve operated
• cable tensioned
SPECIAL FEATURES : once the AC has been
selected on the instrument panel, the fast idle
speed function is activated. The fast idle speed function is controlled by the
computer via a solenoid valve operating the dia-
phragm (versions with or without air conditio-
ning).
The fast idle speed control becomes operational :
- if, on switching on the ignition, the coolant
temperature is below 10°C,
Coolant
temperature
on switching
ignition on (°C)Fast idle speed
cut-off
temperature
(°C) Fast idle speed
cut-off
temperature
(°C)
10
5
0
- 10
- 2020
20
30
40
5011
15
20
25
30
F8Q 662F8Q 630
13-35
Page 118 of 208

DIESEL EQUIPMENT
Defect modes
13
If there is a fault with one of the components listed below, the computer enters "defect mode", which means
that replacement values are used to ensure engine operation.
Faulty
componentSet values (for replacement)
Advance
corrector Pre-postheating
timeEGR function Fast idle speed AC function
Coolant sensorRunning time
functionPreheating : -
30°C
Postheating :
80°CCutRunning time
function-
Air sensorTemperature
= 22°C- Cut - -
Load
potentiometer100 % load lever
positionPostheating:
30 % load lever
position Cut - 20 % load lever
position
Altitude sensorAltitude
= 900 mAltitude
= 900 mCut - -
Battery
16 V < U < 6 VUbatt = 13.5V Not controlled - - -
TDC sensorMinimum
advance
Solenoid valve
fully open
position Postheating :
Not controlled
until ignition is
switched off
then on againCutSpeed
= 2 000 rpmSpeed
= 2 000 rpm
Needle lift
sensorDefect mode
advance
(Carto soft
F8Q 662)
Maximum
advance
(F8Q 630)----
Vehicle speed
sensor--Position :
V = 175 km/hPosition :
V = 175 km/hPosition :
V = 175 km/h
Heater plugs
relay housing- Cut - - -
13-38
Page 131 of 208

ANTIPOLLUTION
Fuel vapour rebreathing
14
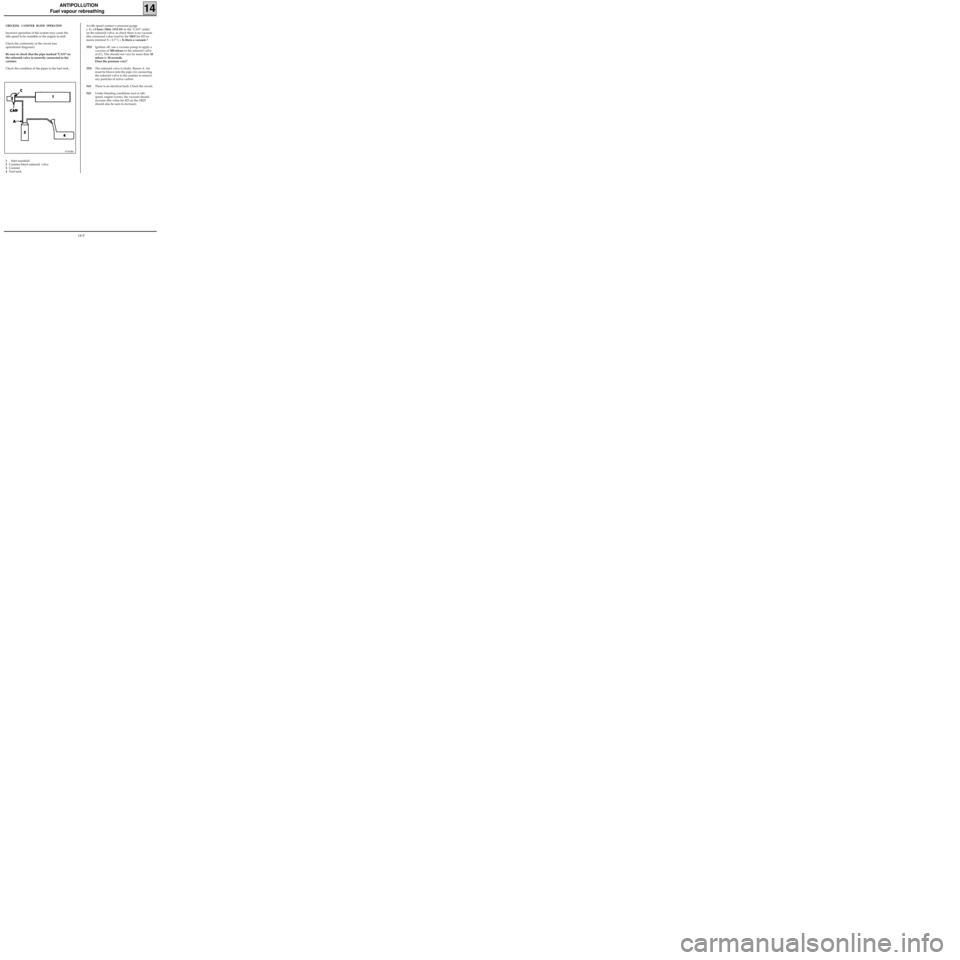
CHECKING CANISTER BLEED OPERATION
Incorrect operation of the system may cause the
idle speed to be unstable or the engine to stall.
Check the conformity of the circuit (see
operational diagrams)
Be sure to check that the pipe marked "CAN" on
the solenoid valve is correctly connected to the
canister.
Check the condition of the pipes to the fuel tank.
97393R6
1Inlet manifold
2Canister bleed solenoid valve
3Canister
4Fuel tankAt idle speed connect a pressure gauge
(- 3 ; +3 bars) (Mot. 1311-01) to the "CAN" outlet
on the solenoid valve, to check there is no vacuum
(the command value read by the
XR25 for #23 re-
mains minimal X = 0.7 % ). Is there a vacuum ?
YESIgnition off, use a vacuum pump to apply a
vacuum of 500 mbars to the solenoid valve
at (C). This should not vary by more than 10
mbars in 30 seconds.
Does the pressure vary?
YESThe solenoid valve is faulty. Renew it. Air
must be blown into the pipe (A) connecting
the solenoid valve to the canister to remove
any particles of active carbon.
NOThere is an electrical fault. Check the circuit.
NOUnder bleeding conditions (not at idle
speed, engine warm), the vacuum should
increase (the value for #23 on the XR25
should also be seen to increase).
14-5
Page 141 of 208

STARTING - CHARGING
Alternator
16
OPERATION - FAULT FINDING
These vehicles are equipped with alternators with
internal ventilation and integral regulator, also
with a warning light on the instrument panel
which has the following functions :
- when the ignition is switched on, the light illu-
minates
- when the engine is started the light extin-
guishes,
- if the light illuminates whilst the engine is
running there is a "charging "fault.
LOOKING FOR FAULTS
The warning light does not illuminate when the
ignition is switched on.
Check:
- all electrical connections are good.
- the bulb has not blown. (Earth the circuit and
the bulb should illuminate).
The warning light illuminates when the engine is
running.
This indicates a charging fault which could be
caused by :
- the alternator drive belt being broken or the
charging wiring being cut,
- internal alternator damage (rotor, stator,
diodes or brush),
- a regulator fault,
- excess voltage.The customer complains of a lack of charge and
the warning light is operating correctly.
If the regulated voltage is less than 13.5 V, check
the alternator. The fault could be caused by :
- a diode which has been damaged,
- a phase which is cut,
- contaminated or worn tracks.
Checking the voltage
Connect a voltmeter across the battery terminals
and read the battery voltage.
Start the engine and increase the engine speed
until the needle registers a stable regulated
voltage.
This voltage should be between 13.5 V and 14.8 V.
Connect as many consumers as possible, the
regulated voltage should be between 13.5 V and
14.8 V.
IMPORTANT: if arc welding work is to be carried
out on the vehicle, the battery and regulator
must be disconnected.
16-2
Page 142 of 208

STARTING - CHARGING
Alternator
16
OPTIMA 5800 Diagnostic station
CHECKING THE CHARGING CIRCUIT USING THE DIAGNOSTIC STATION
The OPTIMA 5800 diagnostic station allows the alternator to be checked by measuring the voltage and cur-
rent delivered , with or without electrical consumers .
NOTE : the Amps clamp used for this station is of the inductive type (measurement range: 0 to 1 000 A). It
is fitted without disconnecting the battery, which allows the the computer memory and adaptive informa-
tion to be saved.
Fit the Amps clamp directly at the alternator output, with the arrow pointing towards the alternator (any in-
correct positioning is detected by the station).
The measurement is carried out in three stages :
- measurement of the battery voltage, ignition off,
- measurement of the regulated voltage and of the current supplied, without consumers,
- measurement of the regulated voltage and current supplied, with a maximum number of consumers.
On completion of the test, the values noted will lead to the following fault finding messages :
- Battery voltage, no load < 12.3 V = battery uncharged.
Without consumers :
- Regulated voltage > 14,8 V = > regulator faulty ,
- (regulated voltage, no load < 13.2 V) or (charging current< 2 A) = >charging fault.
With consumers :
- Regulated voltage > 14.8 V = > regulator faulty,
- Regulated voltage < 12.7 V = > it is necessary to check the alternator supply in relation to its specifica-
tions :
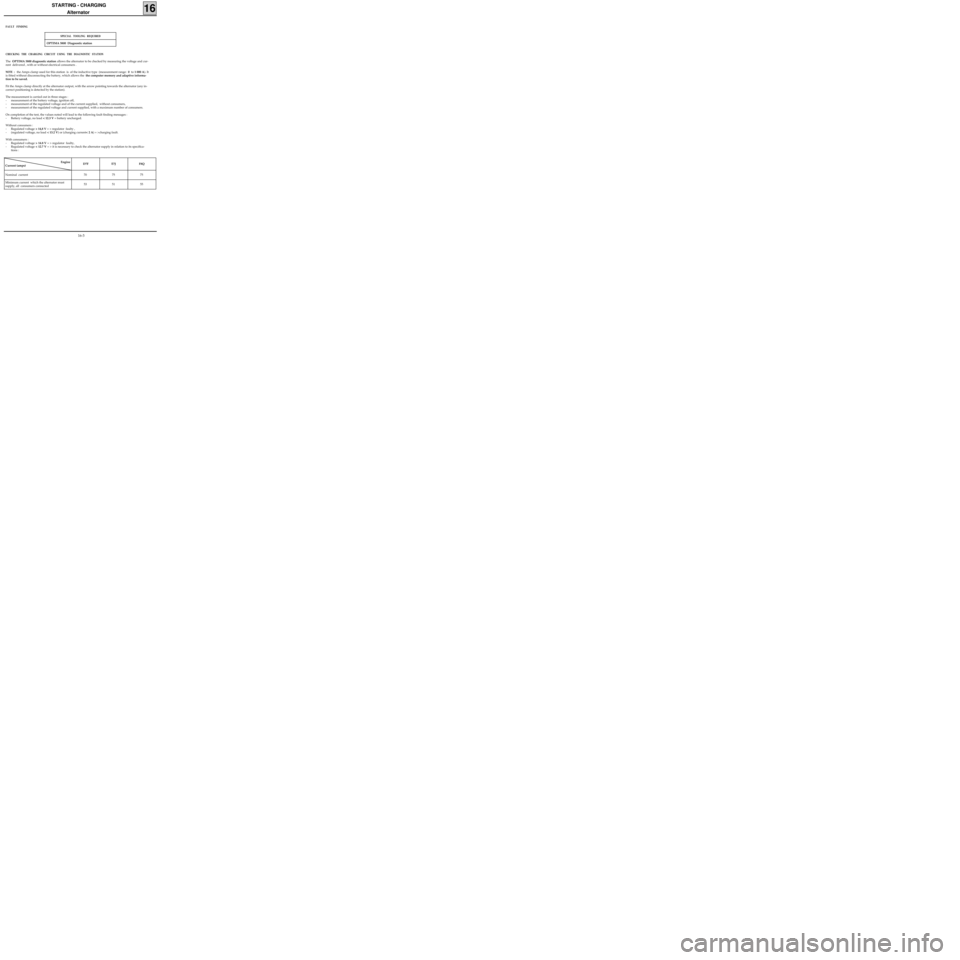
Engine
Current (amps)D7F E7J F8Q
Nominal current 70 75 75
Minimum current which the alternator must
supply, all consumers connected 53 51 55
FAULT FINDING
SPECIAL TOOLING REQUIRED
16-3
Page 147 of 208

STARTING - CHARGING
Starter motor
16
OPTIMA 5800 Diagnostic station
CHECKING THE STARTER MOTOR USING THE DIAGNOSTIC STATION
Checking of the starter motor is carried out using the OPTIMA 5800, by measuring the battery voltage and
the current absorbed in the engine starting phase. The following operation faults may be highlighted :
- a fault in the battery ( the voltage falls during the starting phase),
- locking of the starter motor (the current absorbed is too high),
- a fault in the engine starter gear (the current absorbed is too low).
In order to carry out the measurement, it is necessary to stop the vehicle from starting :
- for D7F and E7J engines : disconnect the engine speed sensor (located on the clutch housing ,
- for
F8Q engines : disconnect the pump electrical solenoid and isolate the terminal.
NOTE :
- an open circuit on the engine speed sensor or the ignition creates a fault memorised by the injection
computer, this fault must then be erased from the memory using the
XR25 (see "Injection" section),
- if the engine is fitted with an immobiliser, it is sufficient to lock the doors using the remote control.
FAULT FINDING
SPECIAL TOOLING REQUIRED
16-8
Page 151 of 208

IGNITION
Semi-static ignition
17
PRESENTATION
The system comprises:
- the injection computer (the ignition power
stage is integrated into the computer),
- two dual output coils, (for the
D7F engine,
these are moulded into one),
- four spark plugs,
- an anti-interference condenser (4).
DESCRIPTION - OPERATING PRINCIPLE
COMPUTER
The injection computer (120), depending on the
information received from various sensors, but
principally depending on the engine speed and
load, determines:
- the number of degrees of advance to be used
and consequently the ignition point,
- which cylinders are at TDC and consequently
the ignition coil to be operated.
The spark is created at the two cylinders at TDC by
cutting the earth to the coil concerned.
COILS (1)
There are two coils. They are of the dual output
type (they cannot be separated in the
D7F en-
gine ).
They are controlled separately by the computer.
They create two sparks simultaneously.
Both coils are connected to an anti-interference
condenser.
99931-1R2
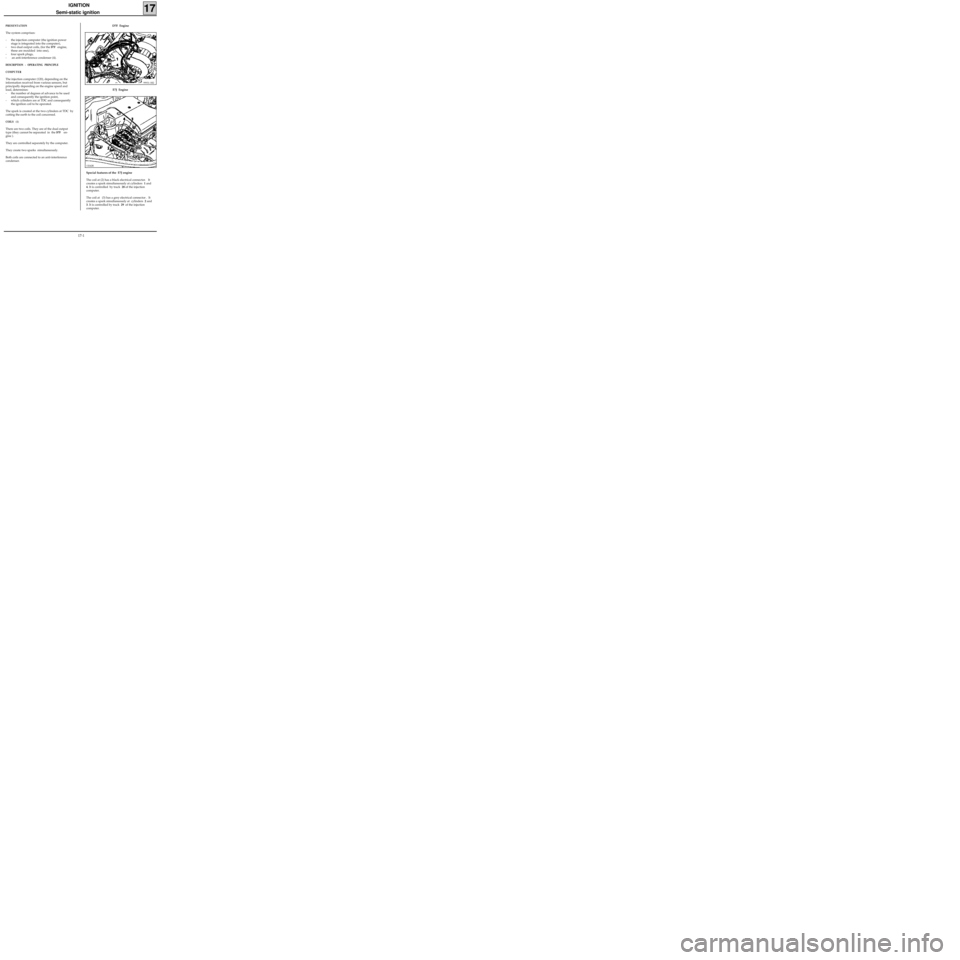
D7F Engine
E7J Engine
13242R
Special features of the E7J engine
The coil at (2) has a black electrical connector. It
creates a spark simultaneously at cylinders 1 and
4. It is controlled by track 28 of the injection
computer.
The coil at (3) has a grey electrical connector . It
creates a spark simultaneously at cylinders 2 and
3. It is controlled by track 29 of the injection
computer.
17-1