warning RENAULT TWINGO 2009 2.G Engine And Peripherals Manual PDF
[x] Cancel search | Manufacturer: RENAULT, Model Year: 2009, Model line: TWINGO, Model: RENAULT TWINGO 2009 2.GPages: 652
Page 311 of 652
12A-46
FUEL MIXTURE
Injector holder shim: Removal - Refitting
K4M
12A
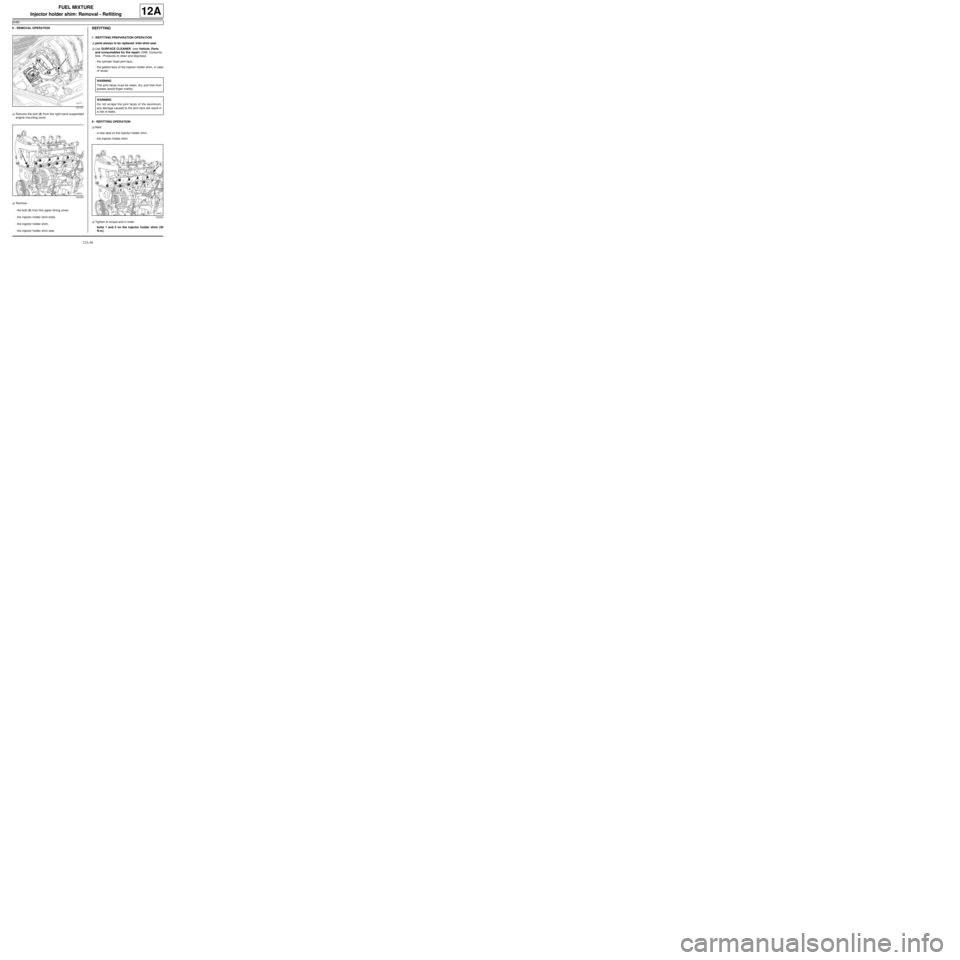
II - REMOVAL OPERATION
aRemove the bolt (2) from the right-hand suspended
engine mounting cover.
aRemove:
-the bolt (3) from the upper timing cover,
-the injector holder shim bolts,
-the injector holder shim,
-the injector holder shim seal.REFITTING
I - REFITTING PREPARATION OPERATION
aparts always to be replaced: Inlet shim seal.
aUse SURFACE CLEANER (see Vehicle: Parts
and consumables for the repair) (04B, Consuma-
bles - Products) to clean and degrease:
-the cylinder head joint face,
-the gasket face of the injector holder shim, in case
of reuse.
II - REFITTING OPERATION
aRefit:
-a new seal on the injector holder shim,
-the injector holder shim.
aTighten to torque and in order:
-bolts 1 and 2 on the injector holder shim (30
N.m),
131777
102303
WARNING
The joint faces must be clean, dr y and free from
grease (avoid finger marks).
WARNING
Do not scrape the joint faces of the aluminium,
any damage caused to the joint face will result in
a risk of leaks.
102303
Page 316 of 652
12A-51
FUEL MIXTURE
Exhaust manifold: Removal - Refitting
K9K
12A
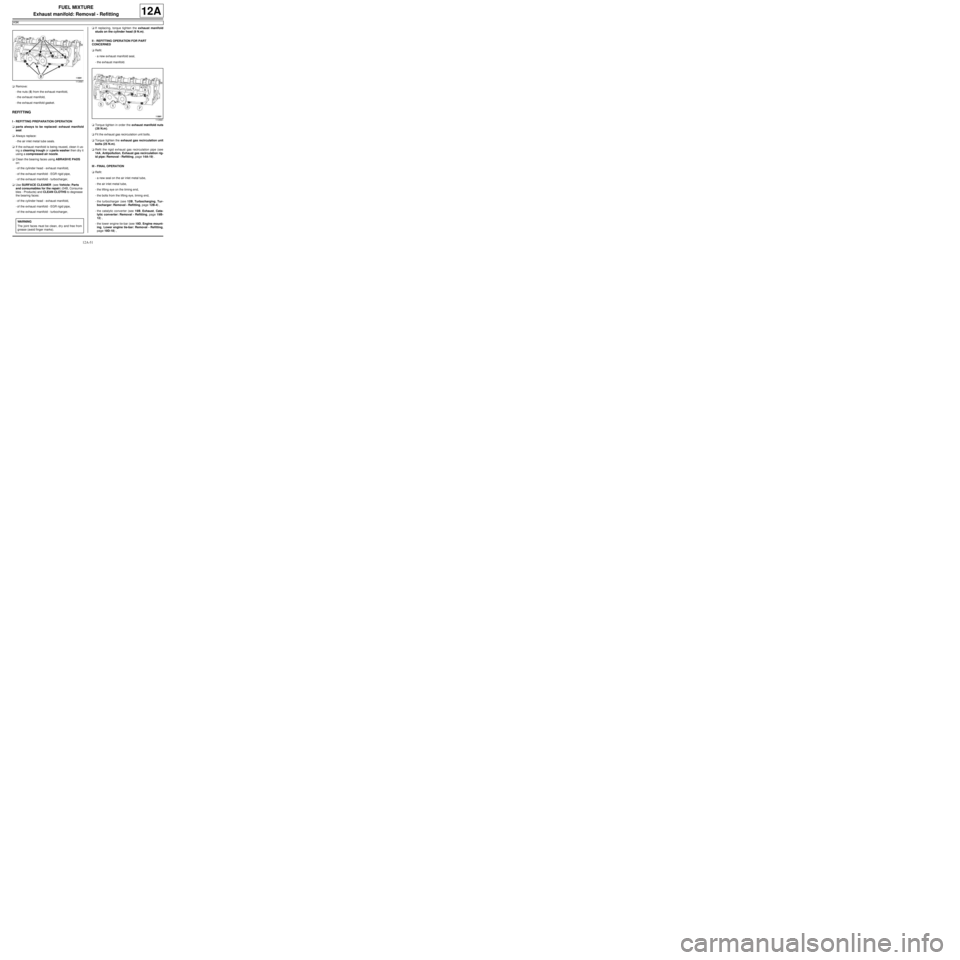
aRemove:
-the nuts (5) from the exhaust manifold,
-the exhaust manifold,
-the exhaust manifold gasket.
REFITTING
I - REFITTING PREPARATION OPERATION
aparts always to be replaced: exhaust manifold
seal.
aAlways replace:
-the air inlet metal tube seals.
aIf the exhaust manifold is being reused, clean it us-
ing a cleaning trough or a parts washer then dry it
using a compressed air nozzle.
aClean the bearing faces using ABRASIVE PADS
on:
-of the cylinder head - exhaust manifold,
-of the exhaust manifold - EGR rigid pipe,
-of the exhaust manifold - turbocharger,
aUse SURFACE CLEANER (see Vehicle: Parts
and consumables for the repair) (04B, Consuma-
bles - Products) and CLEAN CLOTHS to degrease
the bearing faces:
-of the cylinder head - exhaust manifold,
-of the exhaust manifold - EGR rigid pipe,
-of the exhaust manifold - turbocharger,aIf replacing, torque tighten the exhaust manifold
studs on the cylinder head (9 N.m).
II - REFITTING OPERATION FOR PART
CONCERNED
aRefit:
-a new exhaust manifold seal,
-the exhaust manifold.
aTorque tighten in order the exhaust manifold nuts
(26 N.m).
aFit the exhaust gas recirculation unit bolts.
aTorque tighten the exhaust gas recirculation unit
bolts (25 N.m).
aRefit the rigid exhaust gas recirculation pipe (see
14A, Antipollution, Exhaust gas recirculation rig-
id pipe: Removal - Refitting, page 14A-19) .
III - FINAL OPERATION
aRefit:
-a new seal on the air inlet metal tube,
-the air inlet metal tube,
-the lifting eye on the timing end,
-the bolts from the lifting eye, timing end,
-the turbocharger (see 12B, Turbocharging, Tur-
bocharger: Removal - Refitting, page 12B-4) ,
-the catalytic converter (see 19B, Exhaust, Cata-
lytic converter: Removal - Refitting, page 19B-
12) ,
-the lower engine tie-bar (see 19D, Engine mount-
ing, Lower engine tie-bar: Removal - Refitting,
page 19D-18) ,
113561
WARNING
The joint faces must be clean, dr y and free from
grease (avoid finger marks).
113561
Page 326 of 652
12B-1
TURBOCHARGING
Turbocharging: Precautions for the repair
D4F or K9K
12B
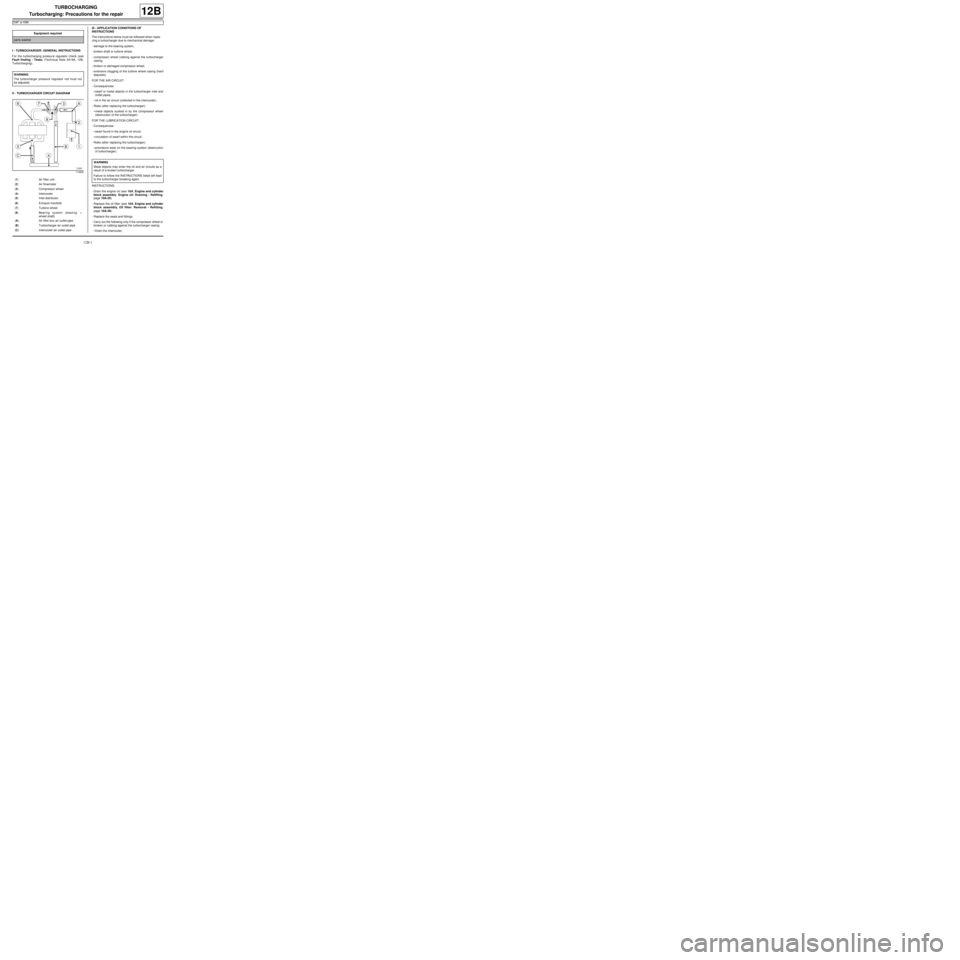
I - TURBOCHARGER: GENERAL INSTRUCTIONS
For the turbocharging pressure regulator check (see
Fault finding - Tests) (Technical Note 3419A, 12B,
Turbocharging).
II - TURBOCHARGER CIRCUIT DIAGRAMIII - APPLICATION CONDITIONS OF
INSTRUCTIONS
The instructions below must be followed when repla-
cing a turbocharger due to mechanical damage:
-damage to the bearing system,
-broken shaft or turbine wheel,
-compressor wheel rubbing against the turbocharger
casing,
-broken or damaged compressor wheel,
-extensive clogging of the turbine wheel casing (hard
deposits).
FOR THE AIR CIRCUIT:
-Consequences:
•swarf or metal objects in the turbocharger inlet and
outlet pipes,
•oil in the air circuit (collected in the intercooler).
-Risks (after replacing the turbocharger):
•metal objects sucked in by the compressor wheel
(destruction of the turbocharger).
FOR THE LUBRICATION CIRCUIT:
-Consequences:
•swarf found in the engine oil circuit,
•circulation of swarf within the circuit.
-Risks (after replacing the turbocharger):
•premature wear on the bearing system (destruction
of turbocharger).
INSTRUCTIONS:
-Drain the engine oil (see 10A, Engine and cylinder
block assembly, Engine oil: Draining - Refilling,
page 10A-22)
-Replace the oil filter (see 10A, Engine and cylinder
block assembly, Oil filter: Removal - Refitting,
page 10A-29) .
-Replace the seals and fittings,
-Carry out the following only if the compressor wheel is
broken or rubbing against the turbocharger casing:
•Drain the intercooler, Equipment required
par ts washer
WARNING
The turbocharger pressure regulator rod must not
be adjusted.
112666
(1) Air filter unit
(2) Air flowmeter
(3) Compressor wheel
(4) Intercooler
(5) Inlet distributor
(6) Exhaust manifold
(7) Turbine wheel
(8) Bearing system (bearing +
wheel shaft)
(A) Air filter box air outlet pipe
(B) Turbocharger air outlet pipe
(C) Intercooler air outlet pipe
WARNING
Metal objects may enter the oil and air circuits as a
result of a broken turbocharger.
Failure to follow the INSTRUCTIONS listed will lead
to the turbocharger breaking again.
Page 328 of 652
12B-3
TURBOCHARGING
Turbocharging: Precautions for the repair
D4F or K9K
12B
One by one, clean the pipes removed with the parts
washer :
-brush as much of the inside of the pipe as possible
(only use brushes with plastic bristles),
-wash plenty of cleaning product from the cleaning sta-
tion through the pipe,
-allow the cleaned pipe to drain by standing it upright,
-ensure the cleaning product has drained out com-
pletely (check areas where liquid may be retained,
e.g. gaiters, resonators etc.).
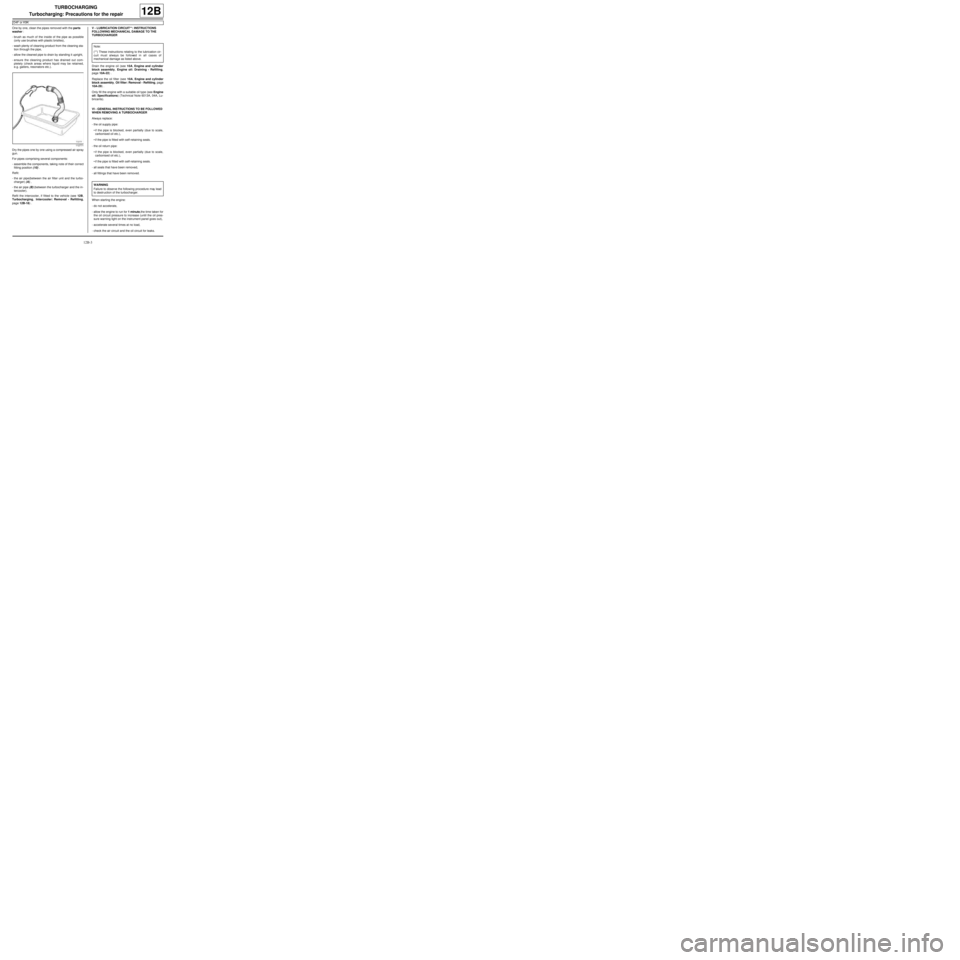
Dry the pipes one by one using a compressed air spray
gun.
For pipes comprising several components:
-assemble the components, taking note of their correct
fitting position (10) .
Refit:
-the air pipe(between the air filter unit and the turbo-
charger) (A) ,
-the air pipe (B) (between the turbocharger and the in-
tercooler).
Refit the intercooler, if fitted to the vehicle (see 12B,
Turbocharging, Intercooler: Removal - Refitting,
page 12B-18) .V - LUBRICATION CIRCUIT**: INSTRUCTIONS
FOLLOWING MECHANICAL DAMAGE TO THE
TURBOCHARGER
Drain the engine oil (see 10A, Engine and cylinder
block assembly, Engine oil: Draining - Refilling,
page 10A-22) .
Replace the oil filter (see 10A, Engine and cylinder
block assembly, Oil filter: Removal - Refitting, page
10A-29) .
Only fill the engine with a suitable oil type (see Engine
oil: Specifications) (Technical Note 6013A, 04A, Lu-
bricants).
VI - GENERAL INSTRUCTIONS TO BE FOLLOWED
WHEN REMOVING A TURBOCHARGER
Always replace:
-the oil supply pipe:
•if the pipe is blocked, even partially (due to scale,
carbonised oil etc.),
•if the pipe is fitted with self-retaining seals.
-the oil return pipe:
•if the pipe is blocked, even partially (due to scale,
carbonised oil etc.),
•if the pipe is fitted with self-retaining seals.
-all seals that have been removed,
-all fittings that have been removed.
When starting the engine:
-do not accelerate,
-allow the engine to run for 1 minute,the time taken for
the oil circuit pressure to increase (until the oil pres-
sure warning light on the instrument panel goes out),
-accelerate several times at no load,
-check the air circuit and the oil circuit for leaks.
112771
Note:
(**) These instructions relating to the lubrication cir-
cuit must always be followed in all cases of
mechanical damage as listed above.
WARNING
Failure to observe the following procedure may lead
to destr uction of the turbocharger.
Page 331 of 652
12B-6
TURBOCHARGING
Turbocharger: Removal - Refitting
K9K
12B
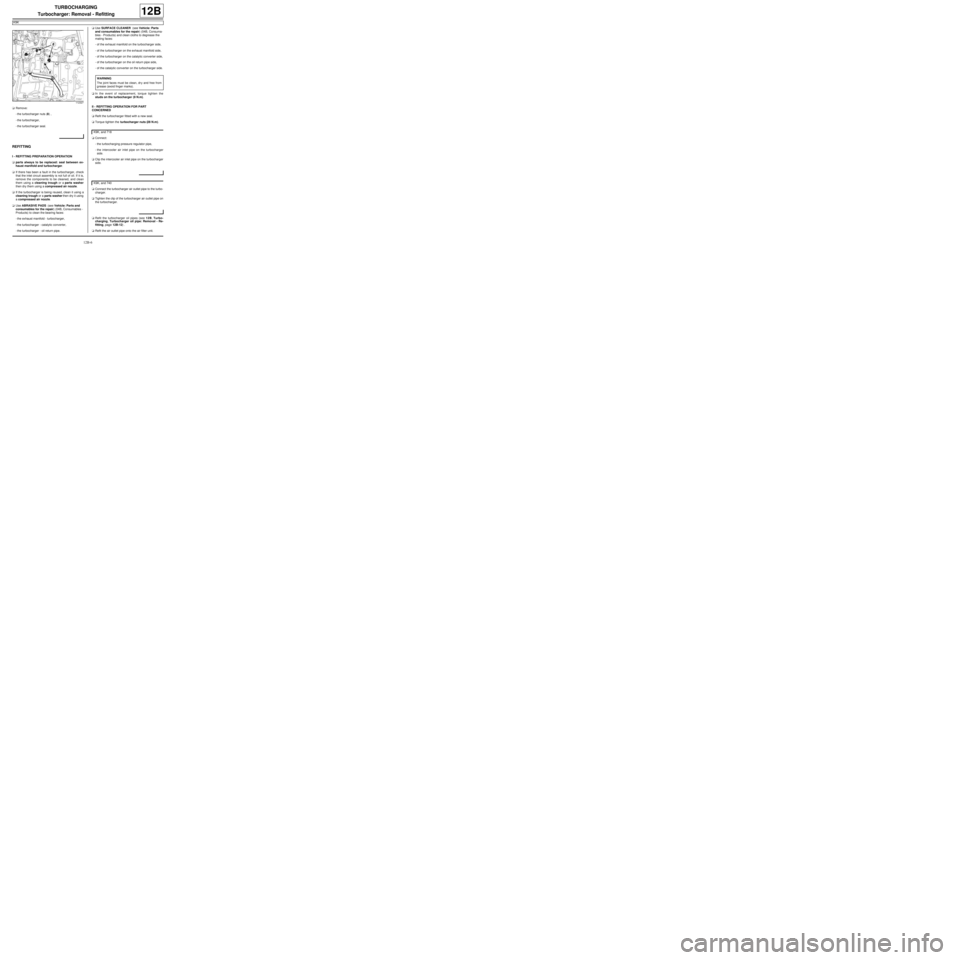
aRemove:
-the turbocharger nuts (8) ,
-the turbocharger,
-the turbocharger seal.
REFITTING
I - REFITTING PREPARATION OPERATION
aparts always to be replaced: seal between ex-
haust manifold and turbocharger.
aIf there has been a fault in the turbocharger, check
that the inlet circuit assembly is not full of oil. If it is,
remove the components to be cleaned, and clean
them using a cleaning trough or a parts washer
then dry them using a compressed air nozzle.
aIf the turbocharger is being reused, clean it using a
cleaning trough or a parts washer then dry it using
a compressed air nozzle.
aUse ABRASIVE PADS (see Vehicle: Parts and
consumables for the repair) (04B, Consumables -
Products) to clean the bearing faces:
-the exhaust manifold - turbocharger,
-the turbocharger - catalytic converter,
-the turbocharger - oil return pipe.aUse SURFACE CLEANER (see Vehicle: Parts
and consumables for the repair) (04B, Consuma-
bles - Products) and clean cloths to degrease the
mating faces:
-of the exhaust manifold on the turbocharger side,
-of the turbocharger on the exhaust manifold side,
-of the turbocharger on the catalytic converter side,
-of the turbocharger on the oil return pipe side,
-of the catalytic converter on the turbocharger side.
aIn the event of replacement, torque tighten the
studs on the turbocharger (9 N.m).
II - REFITTING OPERATION FOR PART
CONCERNED
aRefit the turbocharger fitted with a new seal.
aTorque tighten the turbocharger nuts (28 N.m).
aConnect:
-the turbocharging pressure regulator pipe,
-the intercooler air inlet pipe on the turbocharger
side.
aClip the intercooler air inlet pipe on the turbocharger
side.
aConnect the turbocharger air outlet pipe to the turbo-
charger.
aTighten the clip of the turbocharger air outlet pipe on
the turbocharger.
aRefit the turbocharger oil pipes (see 12B, Turbo-
charging, Turbocharger oil pipe: Removal - Re-
fitting, page 12B-12) .
aRefit the air outlet pipe onto the air filter unit.
112327
WARNING
The joint faces must be clean, dr y and free from
grease (avoid finger marks).
K9K, and 718
K9K, and 740
Page 335 of 652
12B-10
TURBOCHARGING
Turbocharger: Removal - Refitting
D4F, and 780 or 782
12B
aLoosen the clip of the air filter unit air outlet pipe.
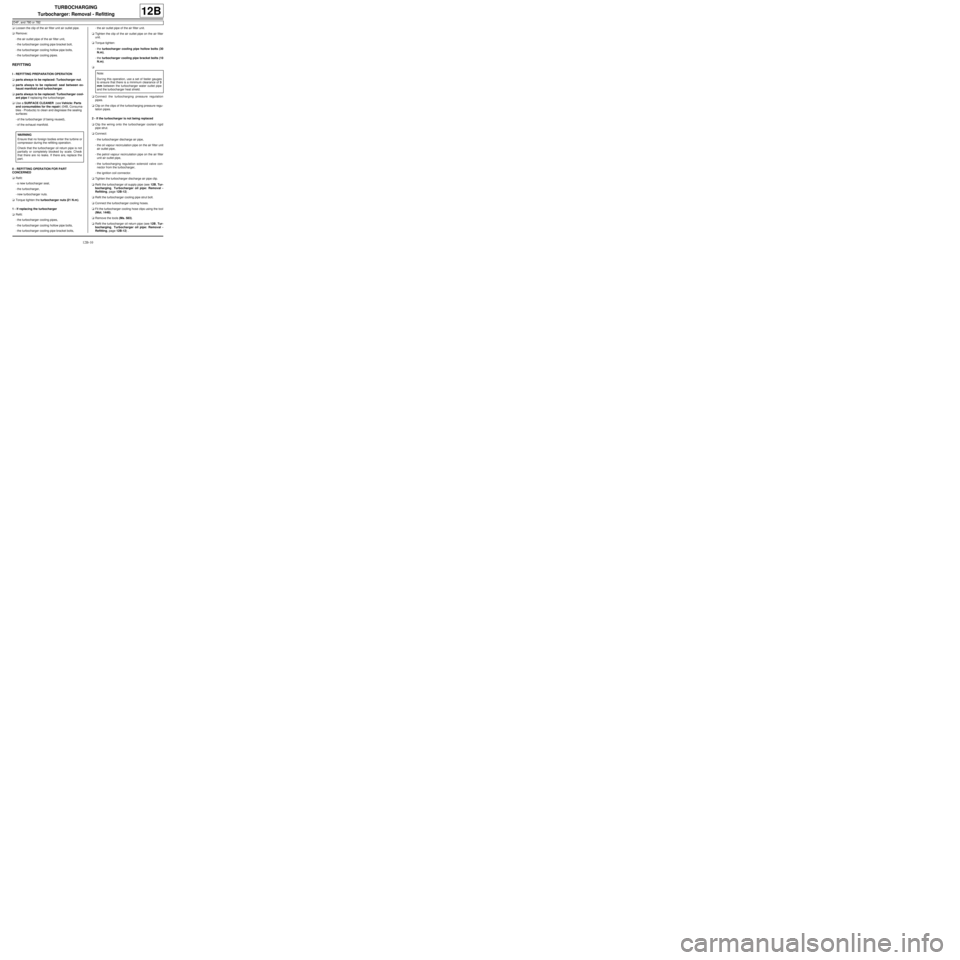
aRemove:
-the air outlet pipe of the air filter unit,
-the turbocharger cooling pipe bracket bolt,
-the turbocharger cooling hollow pipe bolts,
-the turbocharger cooling pipes.
REFITTING
I - REFITTING PREPARATION OPERATION
aparts always to be replaced: Turbocharger nut.
aparts always to be replaced: seal between ex-
haust manifold and turbocharger.
aparts always to be replaced: Turbocharger cool-
ant pipe if replacing the turbocharger.
aUse a SURFACE CLEANER (see Vehicle: Parts
and consumables for the repair) (04B, Consuma-
bles - Products) to clean and degrease the sealing
surfaces:
-of the turbocharger (if being reused),
-of the exhaust manifold.
II - REFITTING OPERATION FOR PART
CONCERNED
aRefit:
-a new turbocharger seal,
-the turbocharger,
-new turbocharger nuts.
aTorque tighten the turbocharger nuts (21 N.m).
1 - If replacing the turbocharger
aRefit:
-the turbocharger cooling pipes,
-the turbocharger cooling hollow pipe bolts,
-the turbocharger cooling pipe bracket bolts,-the air outlet pipe of the air filter unit.
aTighten the clip of the air outlet pipe on the air filter
unit.
aTorque tighten:
-the turbocharger cooling pipe hollow bolts (30
N.m),
-the turbocharger cooling pipe bracket bolts (10
N.m).
a
aConnect the turbocharging pressure regulation
pipes.
aClip on the clips of the turbocharging pressure regu-
lation pipes.
2 - If the turbocharger is not being replaced
aClip the wiring onto the turbocharger coolant rigid
pipe strut.
aConnect:
-the turbocharger discharge air pipe,
-the oil vapour recirculation pipe on the air filter unit
air outlet pipe,
-the petrol vapour recirculation pipe on the air filter
unit air outlet pipe,
-the turbocharging regulation solenoid valve con-
nector from the turbocharger,
-the ignition coil connector.
aTighten the turbocharger discharge air pipe clip.
aRefit the turbocharger oil supply pipe (see 12B, Tur-
bocharging, Turbocharger oil pipe: Removal -
Refitting, page 12B-12) .
aRefit the turbocharger cooling pipe strut bolt.
aConnect the turbocharger cooling hoses.
aFit the turbocharger cooling hose clips using the tool
(Mot. 1448).
aRemove the tools (Ms. 583).
aRefit the turbocharger oil return pipe (see 12B, Tur-
bocharging, Turbocharger oil pipe: Removal -
Refitting, page 12B-12) . WARNING
Ensure that no foreign bodies enter the turbine or
compressor during the refitting operation.
Check that the turbocharger oil return pipe is not
partially or completely blocked by scale. Check
that there are no leaks. If there are, replace the
part.Note:
Dur ing this operation, use a set of feeler gauges
to ensure that there is a minimum clearance of 3
mm between the turbocharger water outlet pipe
and the turbocharger heat shield.
Page 344 of 652
13A-1
FUEL SUPPLY
Diesel supply circuit: Operating diagram
K9K
13A
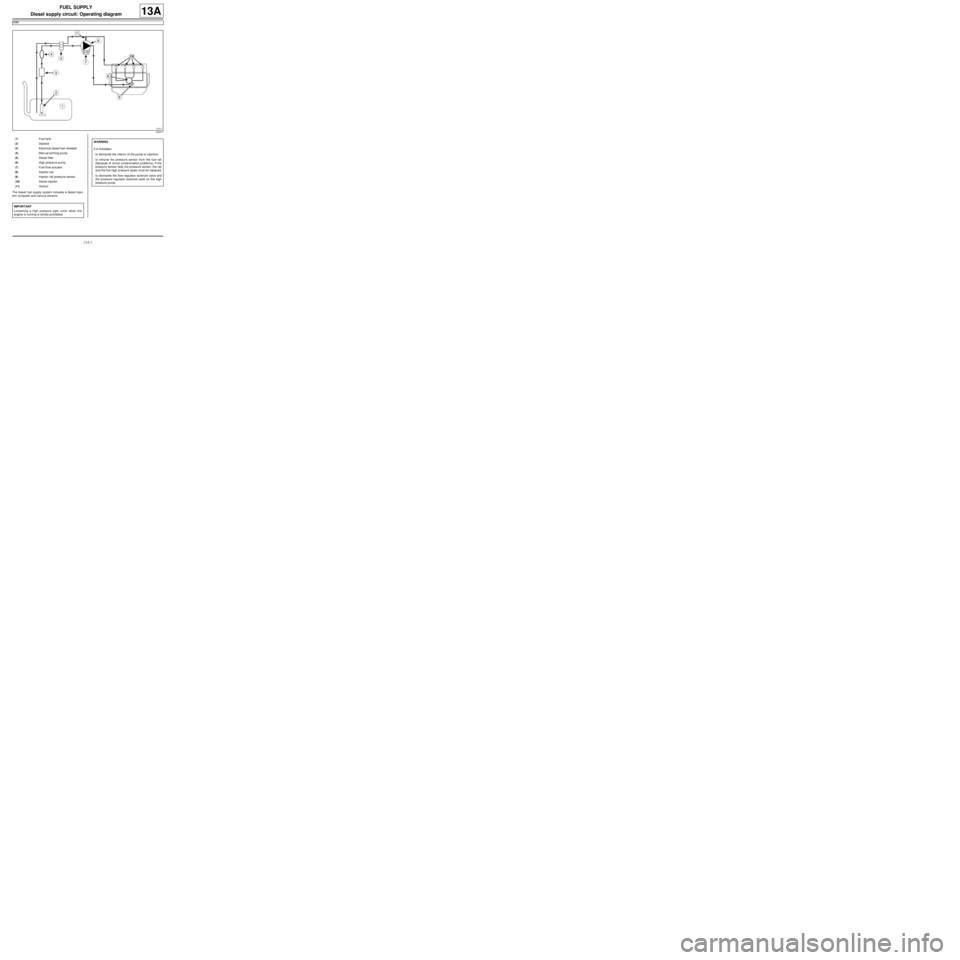
The diesel fuel supply system includes a diesel injec-
tion computer and various sensors.
120417
(1) Fuel tank
(2) Dipstick
(3) Electrical diesel fuel reheater
(4) Man ual priming pump
(5) Diesel filter
(6) High pressure pump
(7) Fuel fl ow actuator
(8) Injector rail
(9) Injector rail pressure sensor
(10) Diesel injector
(11) Venturi
IMPORTANT
Loosening a high pressure pipe union when the
engine is running is strictly prohibited.
WARNING
It is forbidden:
-to dismantle the interior of the pump or injectors.
-to remove the pressure sensor from the fuel rail
(because of circuit contamination problems). If the
pressure sensor fails, the pressure sensor, the rail
and the five high pressure pipes must be replaced,
-to dismantle the flow regulator solenoid valve and
the pressure regulator solenoid valve on the high
pressure pump.
Page 345 of 652
13A-2
FUEL SUPPLY
Manual priming pump: Removal - Refitting
K9K
13A
PARTS AND CONSUMABLES FOR THE
REPAIR WORK
aCONSUMABLES:
-cleaning cloths.
a
REMOVAL
I - REMOVAL PREPARATION OPERATION
aPosition the vehicle on a two-post lift (see Vehicle:
Towing and lifting) (MR 411, 02A, Lifting equip-
ment).
aRemove the front engine cover.II - OPERATION FOR REMOVAL OF PART
CONCERNED
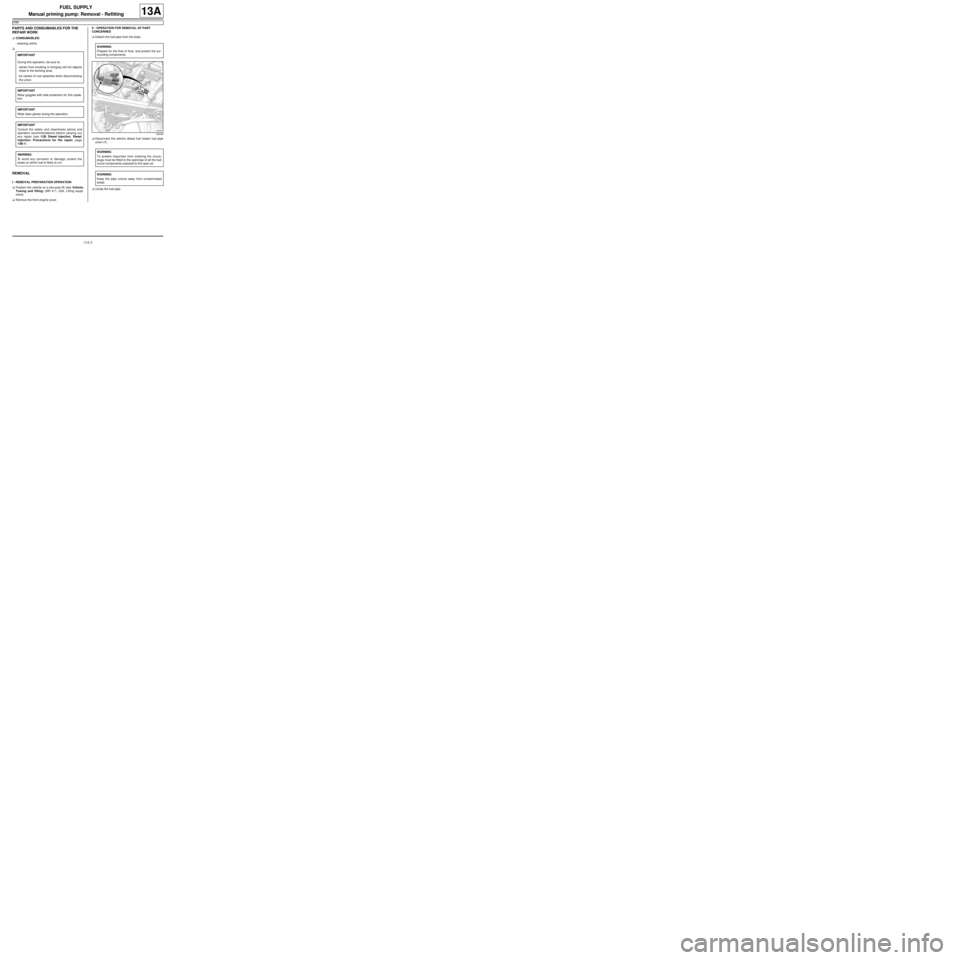
aDetach the fuel pipe from the body.
aDisconnect the electric diesel fuel heater fuel pipe
union (1) .
aUnclip the fuel pipe. IMPORTANT
During this operation, be sure to:
-refrain from smoking or bringing red hot objects
close to the working area,
-be careful of fuel splashes when disconnecting
the union.
IMPORTANT
Wear goggles with side protectors for this opera-
tion.
IMPORTANT
Wear latex gloves during the operation.
IMPORTANT
Consult the safety and cleanliness advice and
operation recommendations before carrying out
any repair (see 13B, Diesel injection, Diesel
injection: Precautions for the repair, page
13B-1) .
WARNING
To avoid any corrosion or damage, protect the
areas on which fuel is likely to run.
WARNING
Prepare for the flow of fluid, and protect the sur-
rounding components.
120049
WARNING
To prevent impur ities from entering the circuit,
plugs must be fitted to the openings of all the fuel
circuit components exposed to the open air.
WARNING
Keep the pipe unions away from contaminated
areas.
Page 346 of 652
13A-3
FUEL SUPPLY
Manual priming pump: Removal - Refitting
K9K
13A
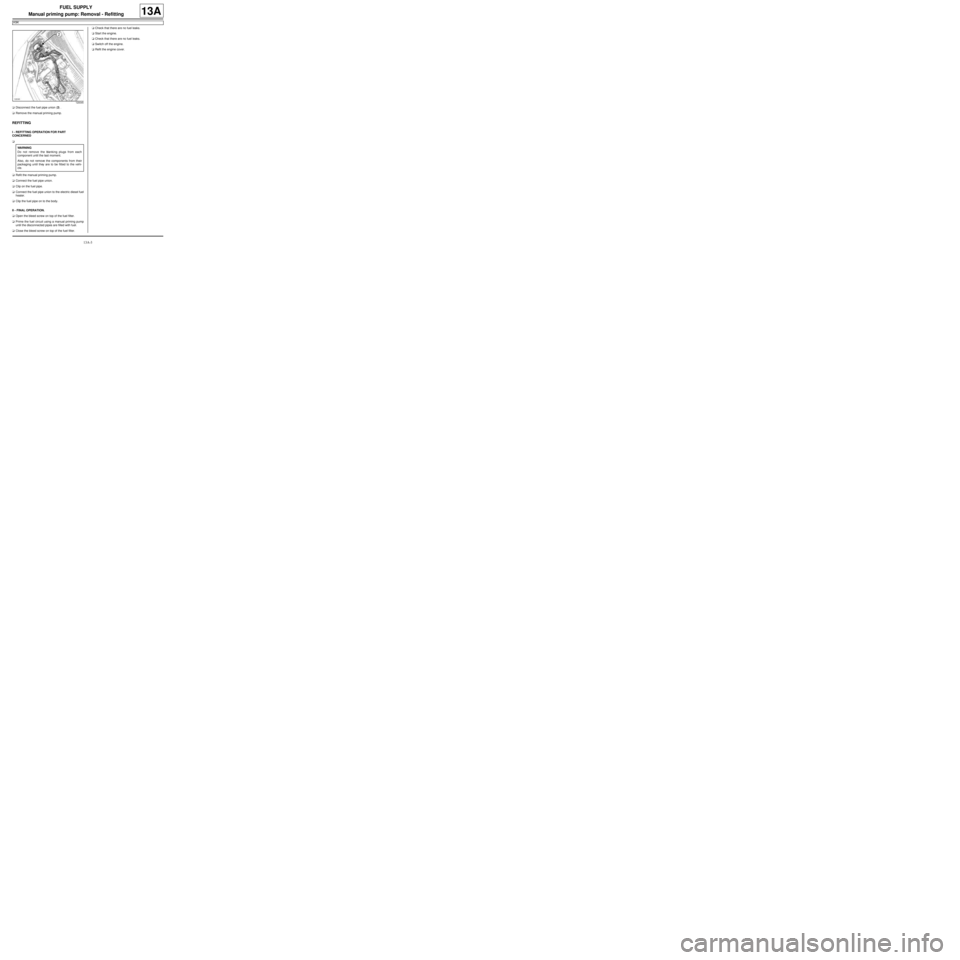
aDisconnect the fuel pipe union (2) .
aRemove the manual priming pump.
REFITTING
I - REFITTING OPERATION FOR PART
CONCERNED
a
aRefit the manual priming pump.
aConnect the fuel pipe union.
aClip on the fuel pipe.
aConnect the fuel pipe union to the electric diesel fuel
heater.
aClip the fuel pipe on to the body.
II - FINAL OPERATION.
aOpen the bleed screw on top of the fuel filter.
aPrime the fuel circuit using a manual priming pump
until the disconnected pipes are filled with fuel.
aClose the bleed screw on top of the fuel filter.aCheck that there are no fuel leaks.
aStart the engine.
aCheck that there are no fuel leaks.
aSwitch off the engine.
aRefit the engine cover.
120045
WARNING
Do not remove the blanking plugs from each
component until the last moment.
Also, do not remove the components from their
packaging until they are to be fitted to the vehi-
cle.
Page 347 of 652
13A-4
FUEL SUPPLY
Fuel filter: Removal - Refitting
K9K
13A
PARTS AND CONSUMABLES FOR THE
REPAIR WORK
aCONSUMABLES:
-cleaning cloths.
aMake sure you have a new diesel filter before open-
ing the fuel circuit.
REMOVAL
I - REMOVAL PREPARATION OPERATION
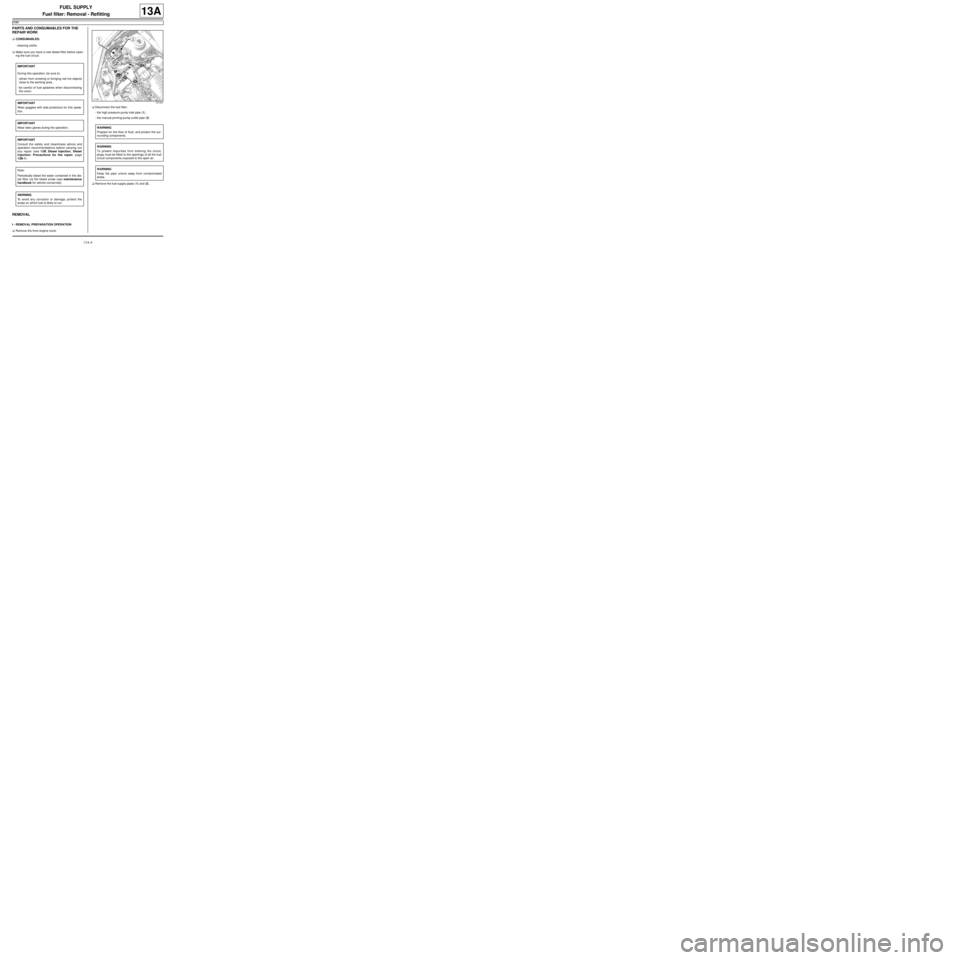
aRemove the front engine cover.aDisconnect the fuel filter:
-the high pressure pump inlet pipe (1) ,
-the manual priming pump outlet pipe (2) .
aRemove the fuel supply pipes (1) and (2) . IMPORTANT
During this operation, be sure to:
-refrain from smoking or bringing red hot objects
close to the working area,
-be careful of fuel splashes when disconnecting
the union.
IMPORTANT
Wear goggles with side protectors for this opera-
tion.
IMPORTANT
Wear latex gloves during the operation.
IMPORTANT
Consult the safety and cleanliness advice and
operation recommendations before carrying out
any repair (see 13B, Diesel injection, Diesel
injection: Precautions for the repair, page
13B-1) .
Note:
Periodically bleed the water contained in the die-
sel filter via the bleed screw (see maintenance
handbook for vehicle concerned).
WARNING
To avoid any corrosion or damage, protect the
areas on which fuel is likely to run.
121441
WARNING
Prepare for the flow of fluid, and protect the sur-
rounding components.
WARNING
To prevent impur ities from entering the circuit,
plugs must be fitted to the openings of all the fuel
circuit components exposed to the open air.
WARNING
Keep the pipe unions away from contaminated
areas.