K4M RENAULT TWINGO RS 2009 2.G Engine And Peripherals Manual Online
[x] Cancel search | Manufacturer: RENAULT, Model Year: 2009, Model line: TWINGO RS, Model: RENAULT TWINGO RS 2009 2.GPages: 652
Page 283 of 652
12A-18
FUEL MIXTURE
Air filter unit: Removal - Refitting
K4M
12A
REMOVAL
REMOVAL OPERATION
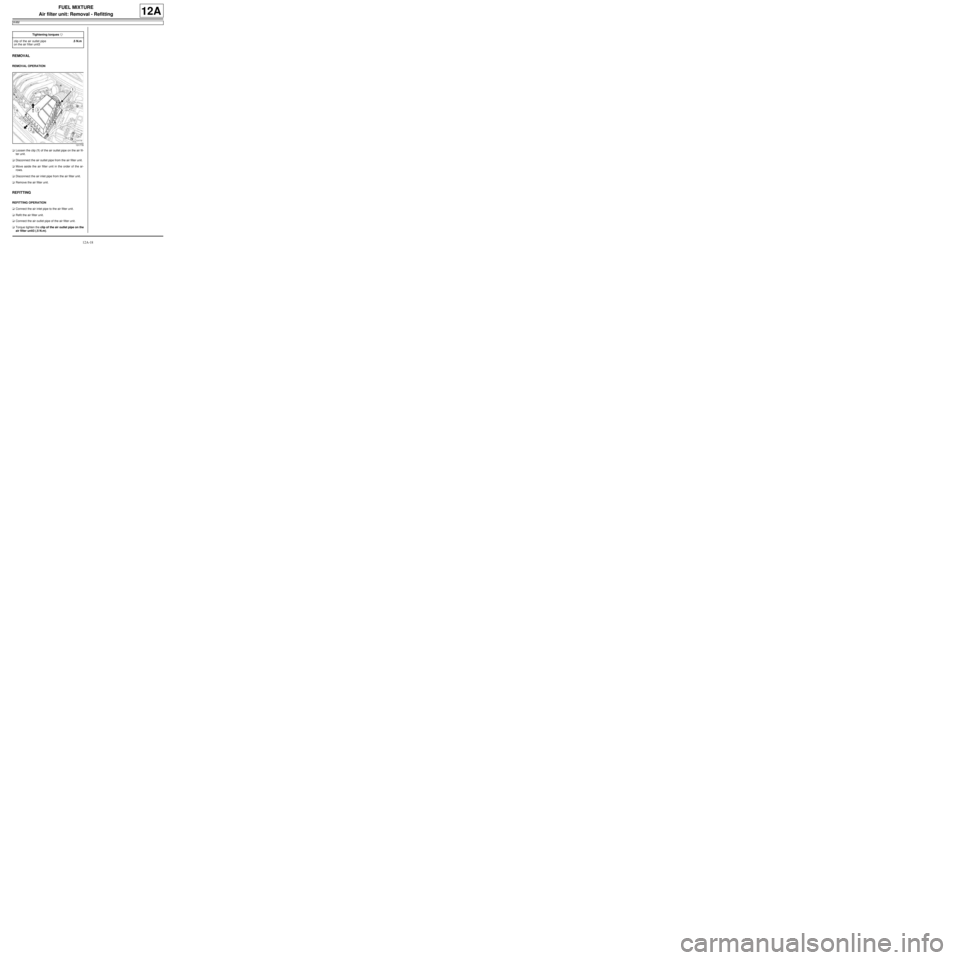
aLoosen the clip (1) of the air outlet pipe on the air fil-
ter unit.
aDisconnect the air outlet pipe from the air filter unit.
aMove aside the air filter unit in the order of the ar-
rows.
aDisconnect the air inlet pipe from the air filter unit.
aRemove the air filter unit.
REFITTING
REFITTING OPERATION
aConnect the air inlet pipe to the air filter unit.
aRefit the air filter unit.
aConnect the air outlet pipe of the air filter unit.
aTorque tighten the clip of the air outlet pipe on the
air filter unit3 (.5 N.m). Tightening torquesm
clip of the air outlet pipe
on the air fi lter unit3.5 N.m
131778
Page 284 of 652
12A-19
FUEL MIXTURE
Air resonator: Removal - Refitting
K4M
12A
REMOVAL
I - REMOVAL PREPARATION OPERATION
aPosition the vehicle on a two-post lift (see Vehicle:
Towing and lifting) (02A, Lifting equipment).
aRemove:
-the engine undertray,
-the front left-hand wheel (see Wheel: Removal -
Refitting) (35A, Wheels and tyres),
-the front left-hand wheel arch liner (see Front
wheel arch liner: Removal - Refitting) (55A, Ex-
terior protection).
II - REMOVAL OPERATION
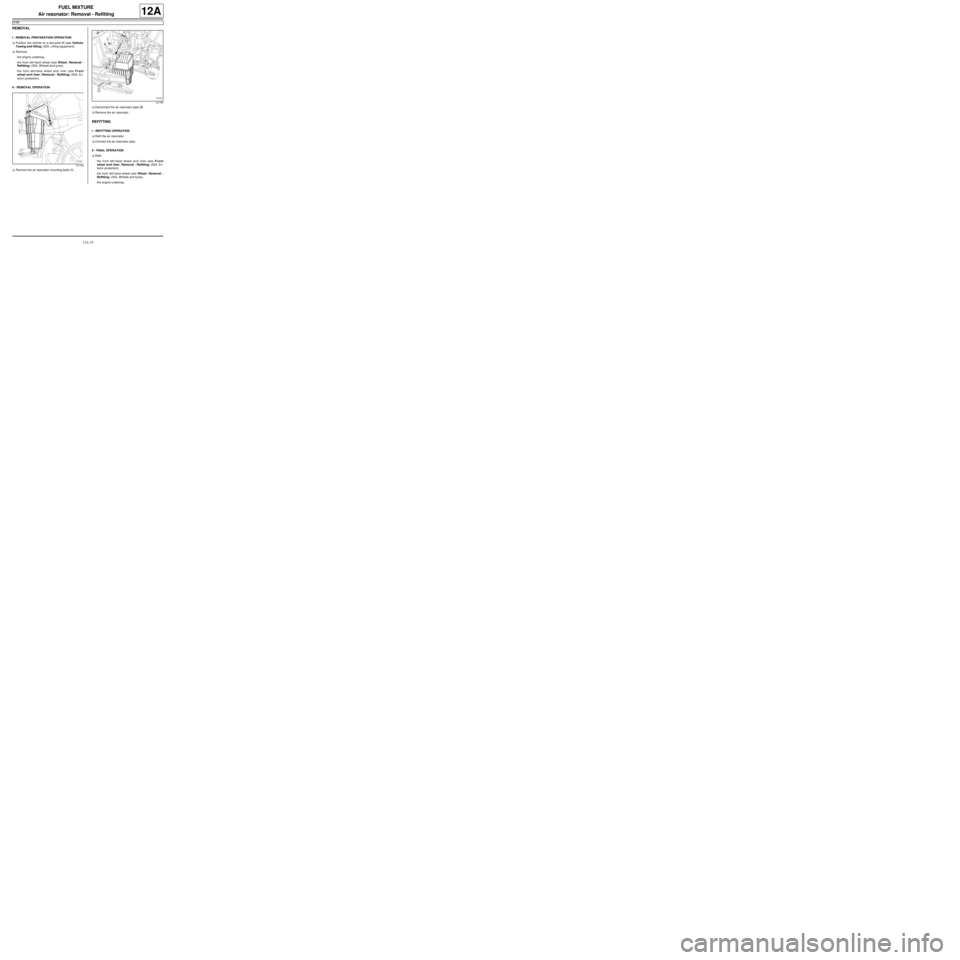
aRemove the air resonator mounting bolts (1) .aDisconnect the air resonator pipe (2) .
aRemove the air resonator .
REFITTING
I - REFITTING OPERATION
aRefit the air resonator.
aConnect the air resonator pipe.
II - FINAL OPERATION
aRefit:
-the front left-hand wheel arch liner (see Front
wheel arch liner: Removal - Refitting) (55A, Ex-
terior protection),
-the front left-hand wheel (see Wheel: Removal -
Refitting) (35A, Wheels and tyres),
-the engine undertray.
131764
131765
Page 289 of 652
12A-24
FUEL MIXTURE
Throttle valve: Removal - Refitting
K4M
12A
REMOVAL
I - REMOVAL PREPARATION OPERATION
aUndo:
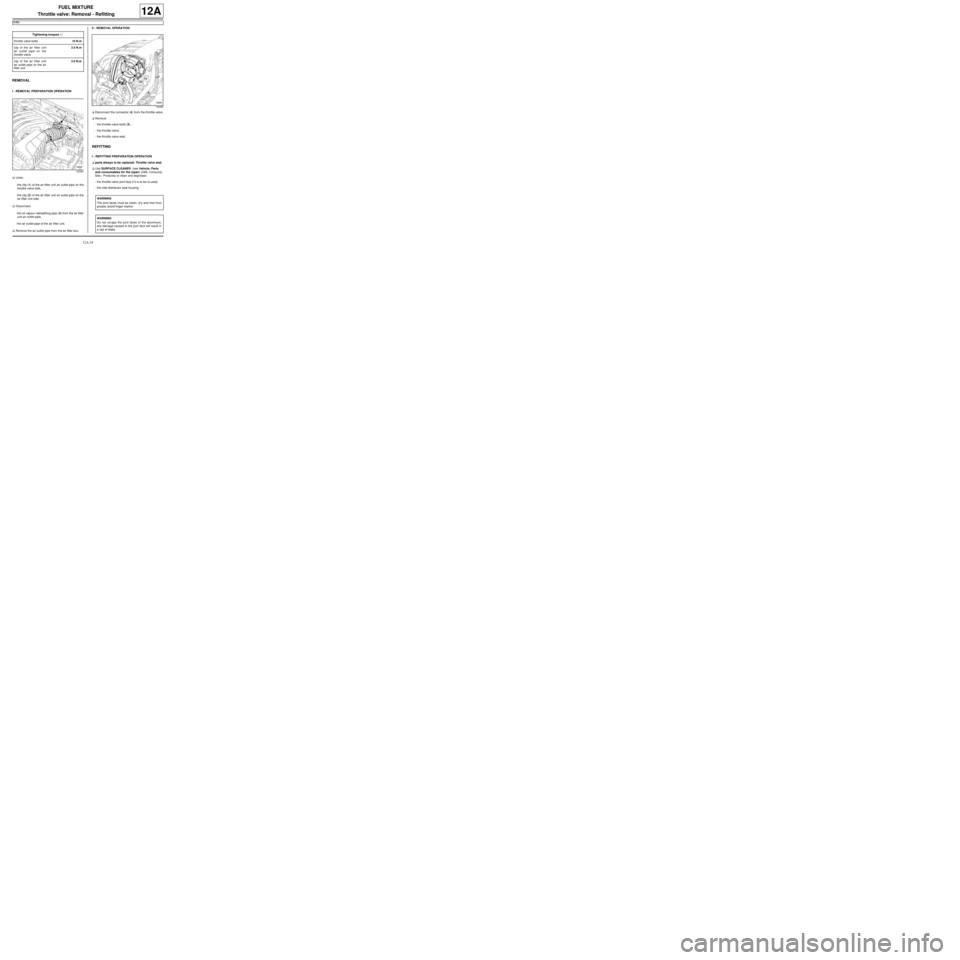
-the clip (1) of the air filter unit air outlet pipe on the
throttle valve side,
-the clip (2) of the air filter unit air outlet pipe on the
air filter unit side.
aDisconnect:
-the oil vapour rebreathing pipe (3) from the air filter
unit air outlet pipe,
-the air outlet pipe of the air filter unit.
aRemove the air outlet pipe from the air filter box.II - REMOVAL OPERATION
aDisconnect the connector (4) from the throttle valve.
aRemove:
-the throttle valve bolts (5) ,
-the throttle valve,
-the throttle valve seal.
REFITTING
I - REFITTING PREPARATION OPERATION
aparts always to be replaced: Throttle valve seal.
aUse SURFACE CLEANER (see Vehicle: Parts
and consumables for the repair) (04B, Consuma-
bles - Products) to clean and degrease:
-the throttle valve joint face if it is to be re-used,
-the inlet distributor seal housing. Tightening torquesm
throttle valve bolts10 N.m
clip of the air filter unit
air outlet pipe on the
throttle valve3.5 N.m
clip of the air filter unit
air outlet pipe on the air
filter unit3.5 N.m
132382
132383
WARNING
The joint faces must be clean, dr y and free from
grease (avoid finger marks).
WARNING
Do not scrape the joint faces of the aluminium,
any damage caused to the joint face will result in
a risk of leaks.
Page 290 of 652
12A-25
FUEL MIXTURE
Throttle valve: Removal - Refitting
K4M
12A
II - REFITTING OPERATION
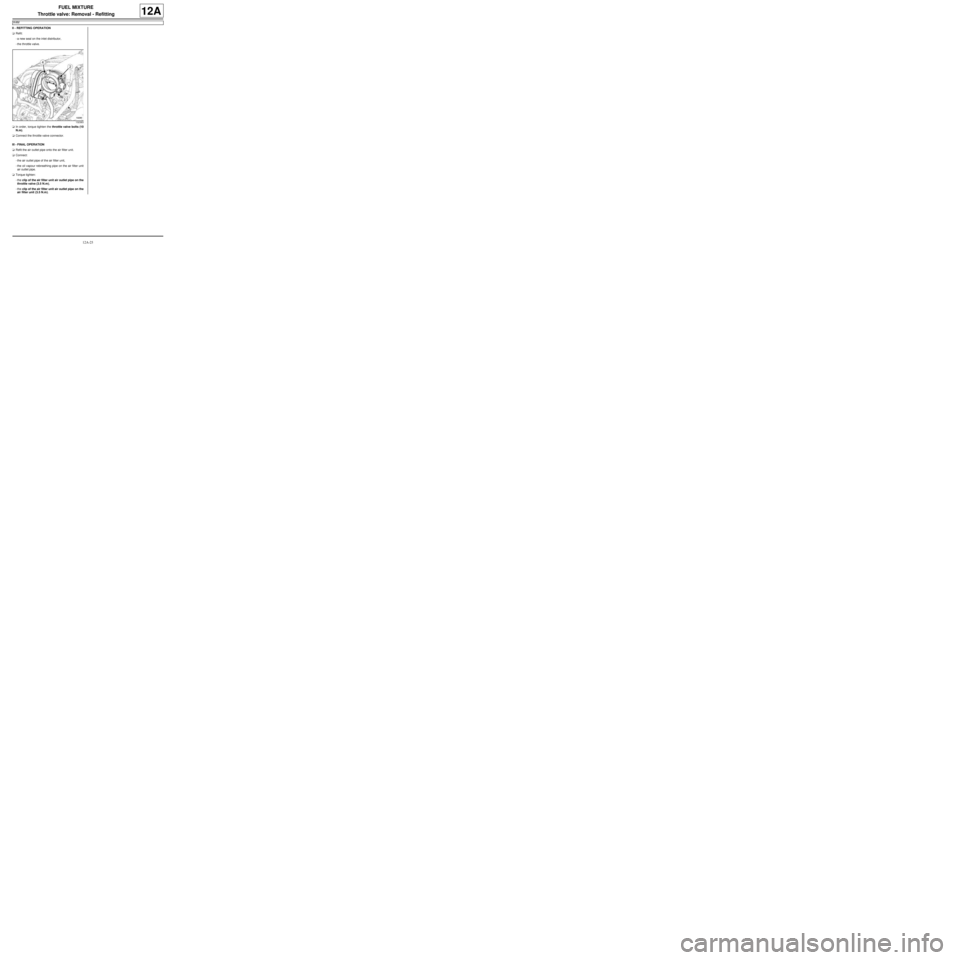
aRefit:
-a new seal on the inlet distributor,
-the throttle valve.
aIn order, torque tighten the throttle valve bolts (10
N.m).
aConnect the throttle valve connector.
III - FINAL OPERATION
aRefit the air outlet pipe onto the air filter unit.
aConnect:
-the air outlet pipe of the air filter unit,
-the oil vapour rebreathing pipe on the air filter unit
air outlet pipe.
aTorque tighten:
-the clip of the air filter unit air outlet pipe on the
throttle valve (3.5 N.m),
-the clip of the air filter unit air outlet pipe on the
air filter unit (3.5 N.m).
132383
Page 291 of 652
12A-26
FUEL MIXTURE
Throttle valve: Cleaning
D4F or D7F or K4M
12A
CLEANING
I - CLEANING PREPARATION OPERATION
aRemove the throttle valve (see 12A, Fuel mixture,
Throttle valve: Removal - Refitting, page 12A-20)
.
II - CLEANING THE PART CONCERNED
a
aRemove the seal(s) of the throttle valve.aHold the throttle valve flap open manually.
aSpray CARBURETTOR CLEANER (see Vehicle:
Parts and consumables for the repair) (04B, Con-
sumables - Products) into the air vent until all traces
of clogging have disappeared. Equipment required
compressed air nozzle
IMPORTANT
Wear leaktight gloves (Nitrile type) for this opera-
tion.
IMPORTANT
Always wear protective gear (gloves, goggles and
breathing masks).
Note:
Be sure to work in a clean environment so as not to
allow any contamination of the throttle valve.
Note:
The CARBURETTOR CLEANING product dam-
ages the seals.
124736
Note:
Do not spray any cleaning product onto the out-
side of the cylinder, inside the spring housing or
onto the connector.
Page 292 of 652
12A-27
FUEL MIXTURE
Throttle valve: Cleaning
D4F or D7F or K4M
12A
aRemove the residues of CARBURETTOR CLEAN-
ER and the residual dirt using a LINT-FREE CLOTH
(see Vehicle: Parts and consumables for the re-
pair) (04B, Consumables - Products).
aUse a compressed air nozzle to blast the throttle
valve edges and the air vent.
parts always to be replaced: Throttle valve seal.III - FINAL OPERATION
aRefit the throttle valve (see 12A, Fuel mixture,
Throttle valve: Removal - Refitting, page 12A-20)
.
124737
124738
Note:
If the throttle valve is dropped or receives any
other impact, it will need to be replaced.
Page 305 of 652
12A-40
FUEL MIXTURE
Inlet distributor: Removal - Refitting
K4M
12A
REMOVAL
I - REMOVAL PREPARATION OPERATION
aDisconnect the battery (see Battery: Removal - Re-
fitting) (80A, Battery).
aRemove:
-the windscreen wiper arms (see Windscreen wip-
er arm: Removal - Refitting) (85A, Wiping -
Washing),-the scuttle panel grille (see Scuttle panel grille:
Removal - Refitting) (56A, Exterior equipment),
-the scoop under the scuttle panel grille (see Scoop
under the scuttle panel grille: Removal - Refit-
ting) (56A, Exterior equipment),
-the dipstick.
aUndo:
-the clip (1) of the air filter unit air outlet pipe on the
air filter unit side,
-the clip (2) of the air filter unit air outlet pipe on the
throttle valve side.
aDisconnect:
-the oil vapour rebreathing pipe (3) from the air filter
unit air outlet pipe,
-the air outlet pipe of the air filter unit.
aRemove the air outlet pipe from the air filter box. Tightening torquesm
throttle valve bolts10 N.m
inlet distributor bolts12 N.m
clip of the air filter unit
air outlet pipe on the
throttle valve3.5 N.m
clip of the air filter unit
air outlet pipe on the air
filter unit3.5 N.m
IMPORTANT
During this oper ation, be sure to:
-refrain from smoking or bringing red hot objects
close to the working area,
-be careful of fuel splashes when disconnecting the
union.
IMPORTANT
Wear leaktight gloves (Nitrile type) for this opera-
tion.
WARNING
To avoid any corrosion or damage, protect the
areas on which fuel is likely to run.
WARNING
To prevent impurities from entering the circuit, plugs
must be fitted to the openings of all the fuel circuit
components exposed to the open air.
132382
Page 306 of 652
12A-41
FUEL MIXTURE
Inlet distributor: Removal - Refitting
K4M
12A
aDisconnect:
-the throttle valve connector (4) ,
-the brake servo non-return valve at the inlet distrib-
utor.
aDisconnect the air inlet temperature sensor connec-
tor (5) .aDisconnect:
-all coil connectors (6) ,
-the inlet air pressure sensor connector (7) ,
-the camshaft dephaser solenoid valve connector
(8) .
aUnpick the wiring (9) .
aMove aside the wiring.
aDisconnect the petrol vapour recirculation pipe (10) .
132383
132369132370
131766
Page 307 of 652
12A-42
FUEL MIXTURE
Inlet distributor: Removal - Refitting
K4M
12A
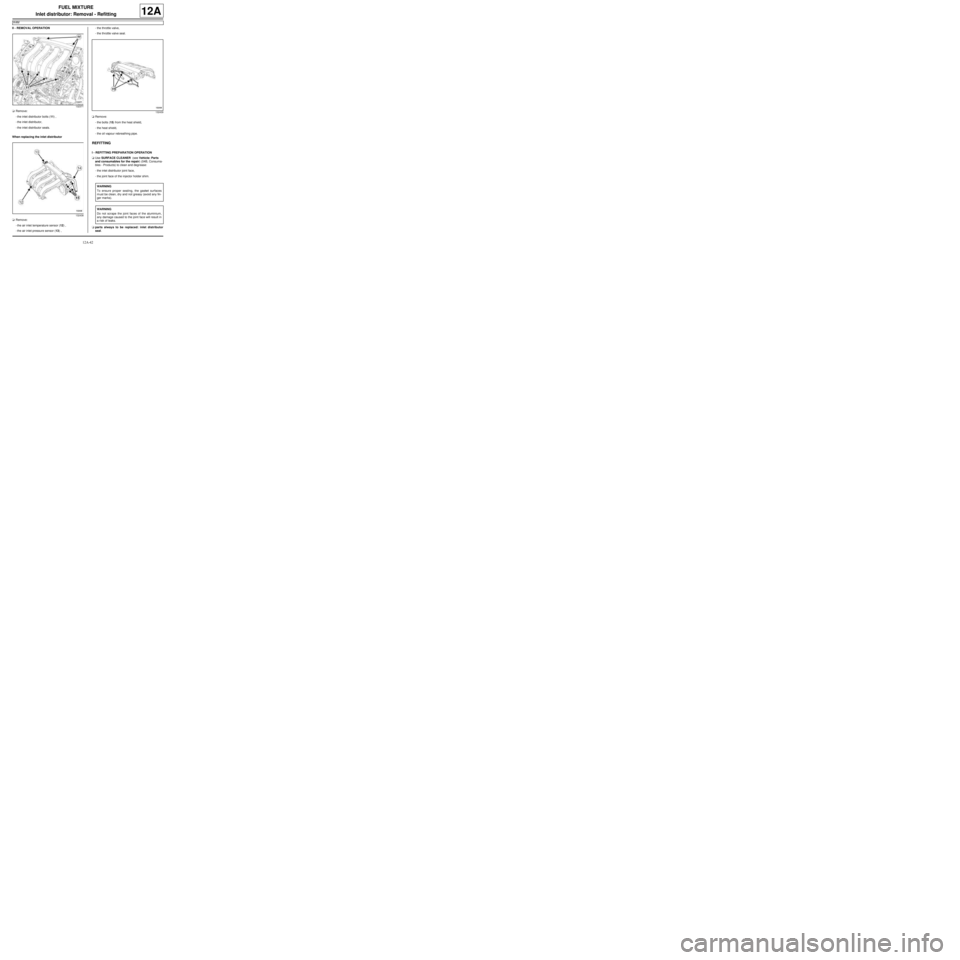
II - REMOVAL OPERATION
aRemove:
-the inlet distributor bolts (11) ,
-the inlet distributor,
-the inlet distributor seals.
When replacing the inlet distributor
aRemove:
-the air inlet temperature sensor (12) ,
-the air inlet pressure sensor (13) ,-the throttle valve,
-the throttle valve seal.
aRemove:
-the bolts (15) from the heat shield,
-the heat shield,
-the oil vapour rebreathing pipe.
REFITTING
I - REFITTING PREPARATION OPERATION
aUse SURFACE CLEANER (see Vehicle: Parts
and consumables for the repair) (04B, Consuma-
bles - Products) to clean and degrease:
-the inlet distributor joint face,
-the joint face of the injector holder shim.
aparts always to be replaced: inlet distributor
seal.
132371
132438
132439
WARNING
To ensure proper sealing, the gasket surfaces
must be clean, dry and not greasy (avoid any fin-
ger mar ks).
WARNING
Do not scrape the joint faces of the aluminium,
any damage caused to the joint face will result in
a risk of leaks.
Page 308 of 652
12A-43
FUEL MIXTURE
Inlet distributor: Removal - Refitting
K4M
12A
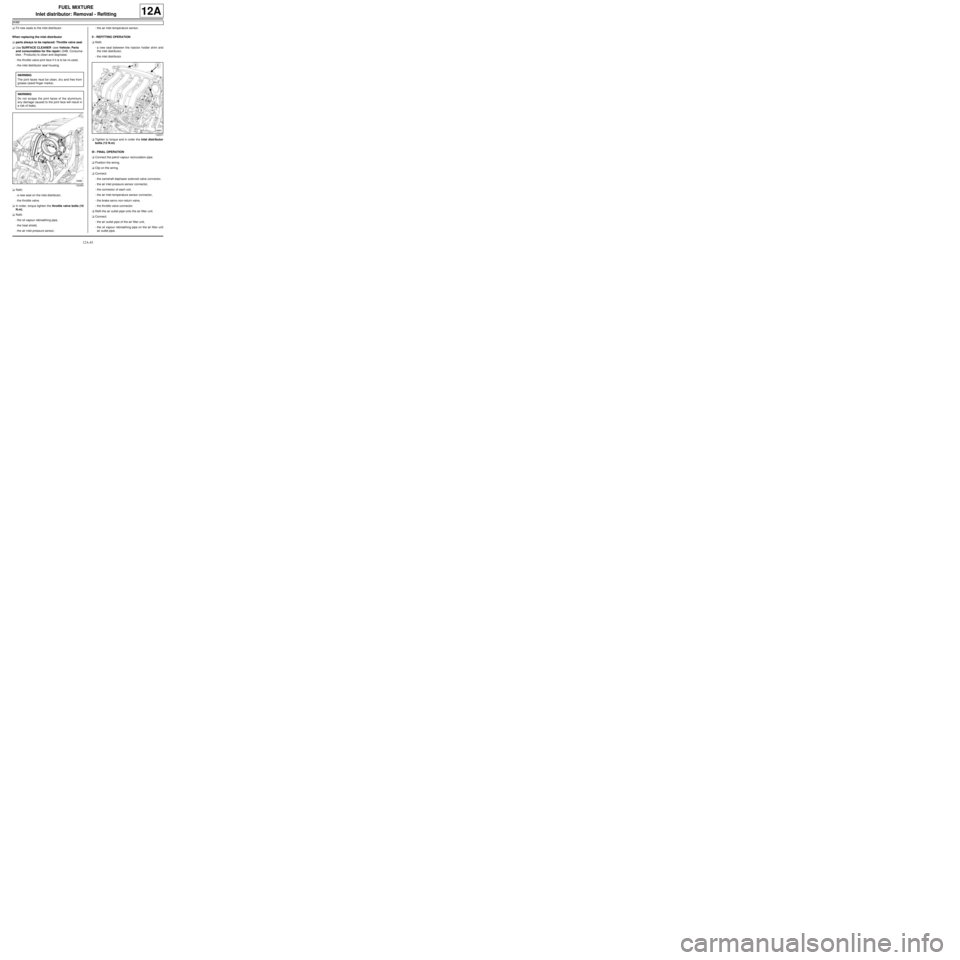
aFit new seals to the inlet distributor.
When replacing the inlet distributor
aparts always to be replaced: Throttle valve seal.
aUse SURFACE CLEANER (see Vehicle: Parts
and consumables for the repair) (04B, Consuma-
bles - Products) to clean and degrease:
-the throttle valve joint face if it is to be re-used,
-the inlet distributor seal housing.
aRefit:
-a new seal on the inlet distributor,
-the throttle valve.
aIn order, torque tighten the throttle valve bolts (10
N.m).
aRefit:
-the oil vapour rebreathing pipe,
-the heat shield,
-the air inlet pressure sensor,-the air inlet temperature sensor.
II - REFITTING OPERATION
aRefit:
-a new seal between the injector holder shim and
the inlet distributor,
-the inlet distributor.
aTighten to torque and in order the inlet distributor
bolts (12 N.m).
III - FINAL OPERATION
aConnect the petrol vapour recirculation pipe.
aPosition the wiring.
aClip on the wiring.
aConnect:
-the camshaft dephaser solenoid valve connector,
-the air inlet pressure sensor connector,
-the connector of each coil,
-the air inlet temperature sensor connector,
-the brake servo non-return valve,
-the throttle valve connector.
aRefit the air outlet pipe onto the air filter unit.
aConnect:
-the air outlet pipe of the air filter unit,
-the oil vapour rebreathing pipe on the air filter unit
air outlet pipe. WARNING
The joint faces must be clean, dr y and free from
grease (avoid finger marks).
WARNING
Do not scrape the joint faces of the aluminium,
any damage caused to the joint face will result in
a risk of leaks.
132383
132371