SUZUKI MARUTI 2005 1.G Workshop Manual
Manufacturer: SUZUKI, Model Year: 2005, Model line: MARUTI, Model: SUZUKI MARUTI 2005 1.GPages: 136, PDF Size: 2.93 MB
Page 51 of 136
Downloaded from www.Manualslib.com manuals search engine 5183KEXAMPLE
83K-02-098
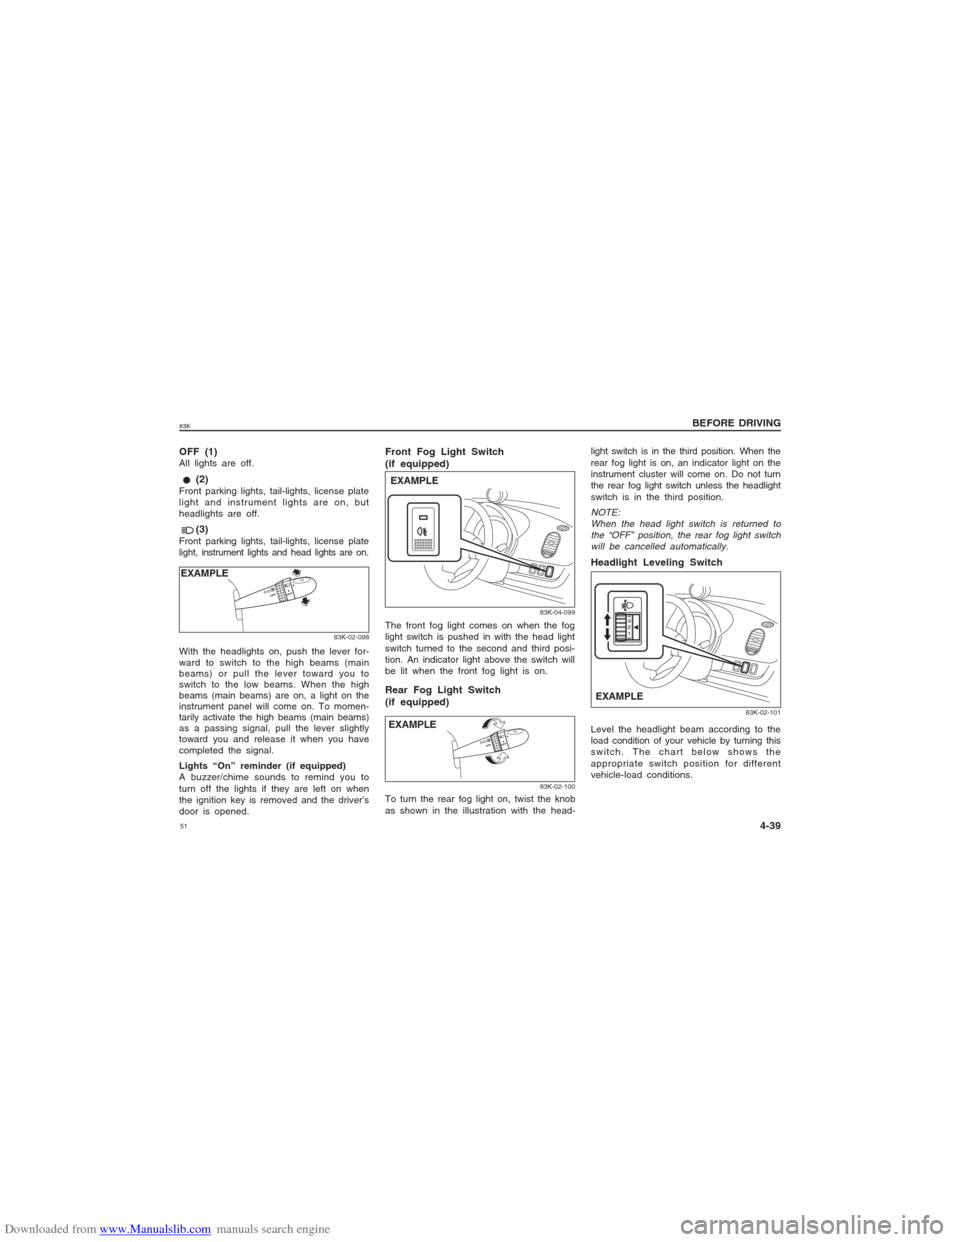
With the headlights on, push the lever for-
ward to switch to the high beams (main
beams) or pull the lever toward you to
switch to the low beams. When the high
beams (main beams) are on, a light on the
instrument panel will come on. To momen-
tarily activate the high beams (main beams)
as a passing signal, pull the lever slightly
toward you and release it when you have
completed the signal.
Lights “On” reminder (if equipped)
A buzzer/chime sounds to remind you to
turn off the lights if they are left on when
the ignition key is removed and the driver’s
door is opened.OFF (1)All lights are off. (2)Front parking lights, tail-lights, license plate
light and instrument lights are on, but
headlights are off. (3)Front parking lights, tail-lights, license plate
light, instrument lights and head lights are on.
Front Fog Light Switch
(if equipped)
83K-04-099
EXAMPLEThe front fog light comes on when the fog
light switch is pushed in with the head light
switch turned to the second and third posi-
tion. An indicator light above the switch will
be lit when the front fog light is on.Rear Fog Light Switch
(if equipped)
83K-02-100
To turn the rear fog light on, twist the knob
as shown in the illustration with the head-
light switch is in the third position. When the
rear fog light is on, an indicator light on the
instrument cluster will come on. Do not turn
the rear fog light switch unless the headlight
switch is in the third position.NOTE:
When the head light switch is returned to
the “OFF” position, the rear fog light switch
will be cancelled automatically.Headlight Leveling Switch
83K-02-101
EXAMPLELevel the headlight beam according to the
load condition of your vehicle by turning this
switch. The chart below shows the
appropriate switch position for different
vehicle-load conditions.
BEFORE DRIVING
4-39 EXAMPLE
Page 52 of 136
Downloaded from www.Manualslib.com manuals search engine 5283K
BEFORE DRIVING
4-40Driver only 0 0
Driver + 1 passenger 0 0
(in front seat)
Driver + 4 passengers,
no cargo 2 2
Driver + 4 passengers,
cargo added 3 3
Driver + full cargo 4 4Vehicle Load
Condition
Switch PositionPetrol Diesel
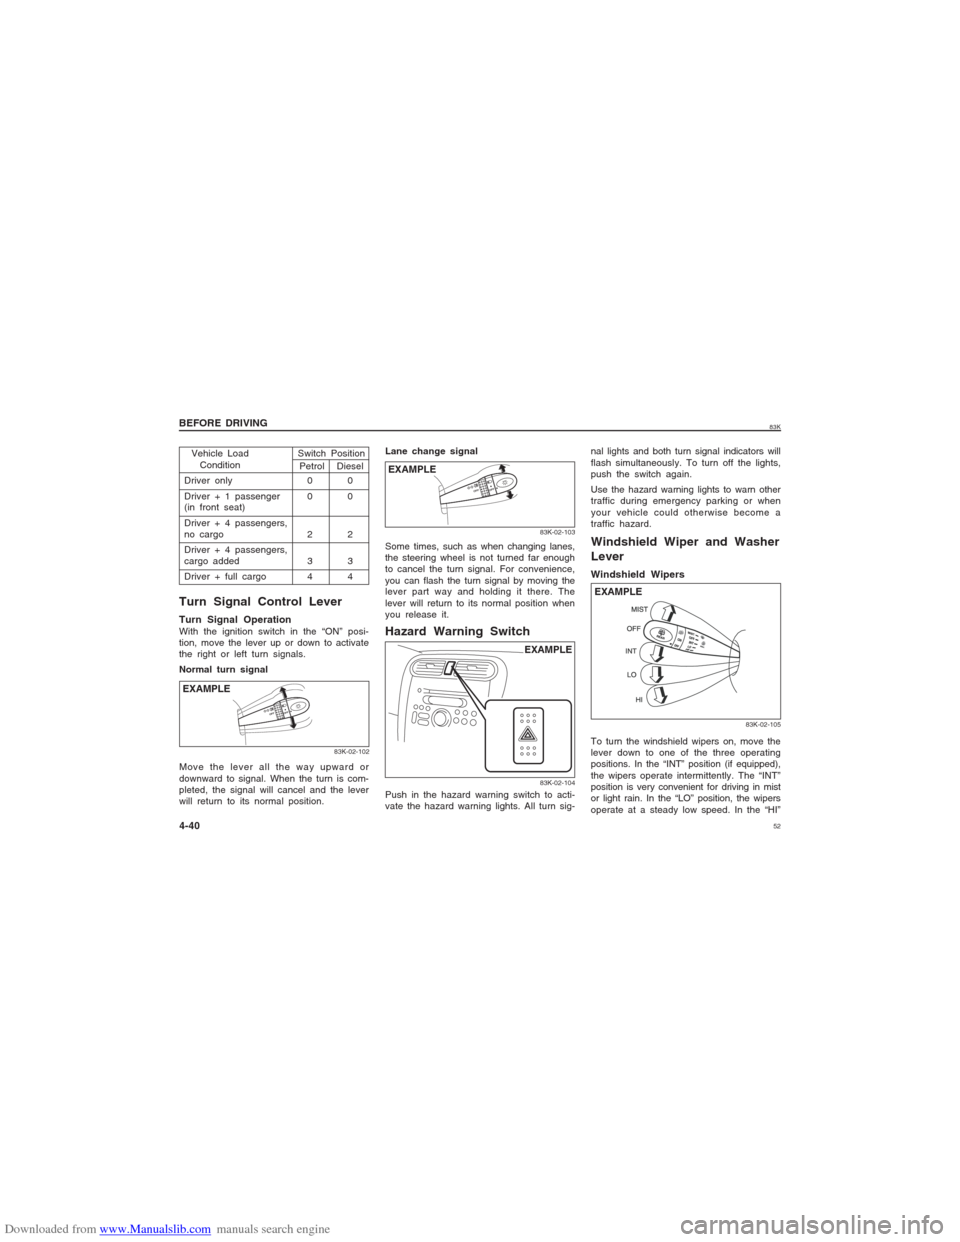
Turn Signal Control LeverTurn Signal OperationWith the ignition switch in the “ON” posi-
tion, move the lever up or down to activate
the right or left turn signals.
Normal turn signalEXAMPLE
83K-02-102
Lane change signalEXAMPLE
83K-02-103
Some times, such as when changing lanes,
the steering wheel is not turned far enough
to cancel the turn signal. For convenience,
you can flash the turn signal by moving the
lever part way and holding it there. The
lever will return to its normal position when
you release it.Hazard Warning Switch
Move the lever all the way upward or
downward to signal. When the turn is com-
pleted, the signal will cancel and the lever
will return to its normal position.
83K-02-104
Windshield Wiper and Washer
LeverWindshield Wipers
83K-02-105
EXAMPLE
Push in the hazard warning switch to acti-
vate the hazard warning lights. All turn sig-nal lights and both turn signal indicators will
flash simultaneously. To turn off the lights,
push the switch again.
Use the hazard warning lights to warn other
traffic during emergency parking or when
your vehicle could otherwise become a
traffic hazard.
To turn the windshield wipers on, move the
lever down to one of the three operating
positions. In the “INT” position (if equipped),
the wipers operate intermittently. The “INT”
position is very convenient for driving in mist
or light rain. In the “LO” position, the wipers
operate at a steady low speed. In the “HI”
EXAMPLE
Page 53 of 136
Downloaded from www.Manualslib.com manuals search engine 5383K
BEFORE DRIVING
4-41
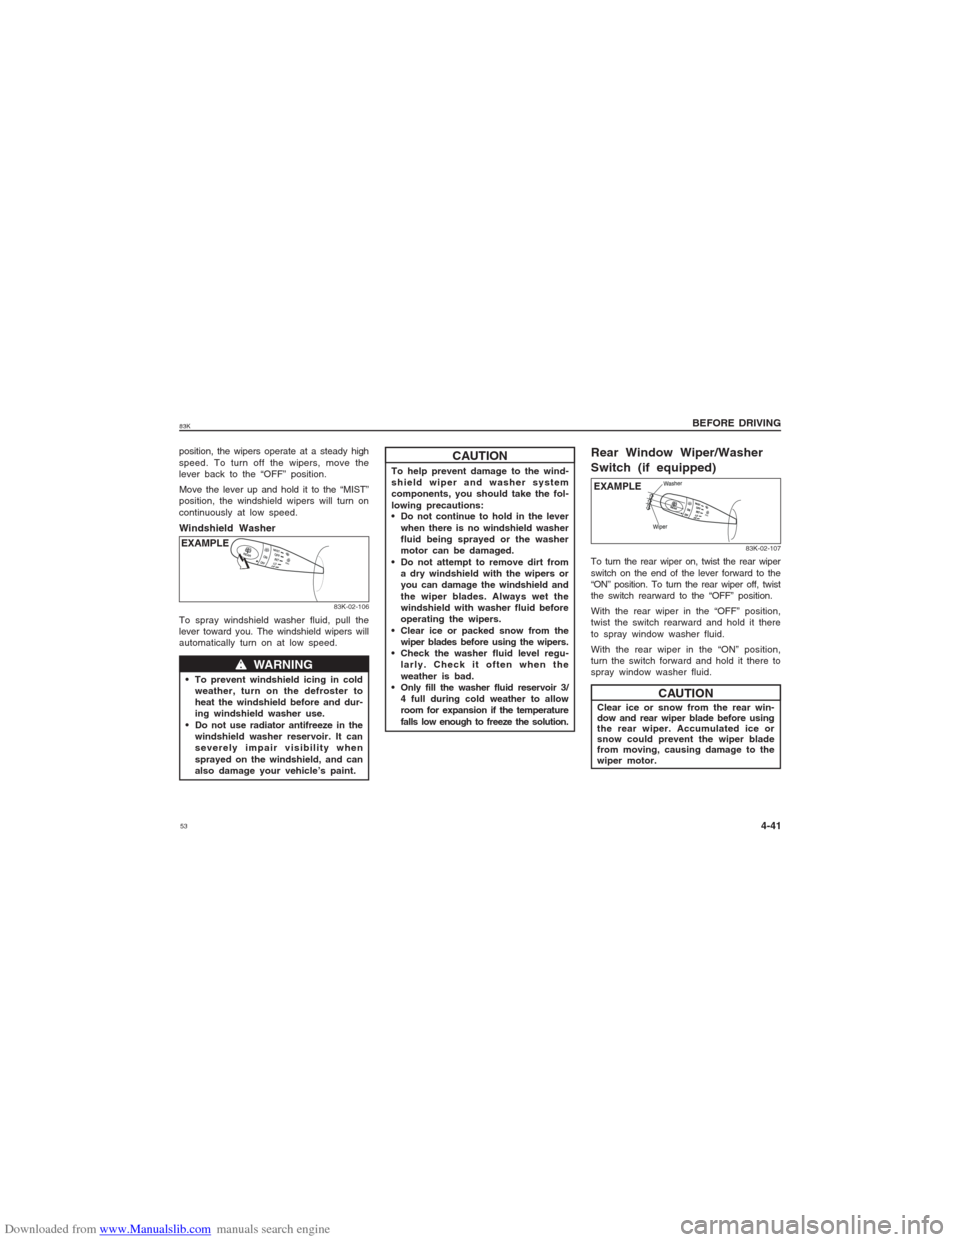
position, the wipers operate at a steady high
speed. To turn off the wipers, move the
lever back to the “OFF” position.
Move the lever up and hold it to the “MIST”
position, the windshield wipers will turn on
continuously at low speed.Windshield Washer
83K-02-106
w ww w
w WARNING
To prevent windshield icing in cold
weather, turn on the defroster to
heat the windshield before and dur-
ing windshield washer use.
Do not use radiator antifreeze in the
windshield washer reservoir. It can
severely impair visibility when
sprayed on the windshield, and can
also damage your vehicle’s paint.EXAMPLE
CAUTION
To help prevent damage to the wind-
shield wiper and washer system
components, you should take the fol-
lowing precautions:
Do not continue to hold in the lever
when there is no windshield washer
fluid being sprayed or the washer
motor can be damaged.
Do not attempt to remove dirt from
a dry windshield with the wipers or
you can damage the windshield and
the wiper blades. Always wet the
windshield with washer fluid before
operating the wipers.
Clear ice or packed snow from the
wiper blades before using the wipers.
Check the washer fluid level regu-
larly. Check it often when the
weather is bad.
Only fill the washer fluid reservoir 3/
4 full during cold weather to allow
room for expansion if the temperature
falls low enough to freeze the solution.
To spray windshield washer fluid, pull the
lever toward you. The windshield wipers will
automatically turn on at low speed.
EXAMPLE
83K-02-107
Rear Window Wiper/Washer
Switch (if equipped)To turn the rear wiper on, twist the rear wiper
switch on the end of the lever forward to the
“ON” position. To turn the rear wiper off, twist
the switch rearward to the “OFF” position.
With the rear wiper in the “OFF” position,
twist the switch rearward and hold it there
to spray window washer fluid.
With the rear wiper in the “ON” position,
turn the switch forward and hold it there to
spray window washer fluid.
Clear ice or snow from the rear win-
dow and rear wiper blade before using
the rear wiper. Accumulated ice or
snow could prevent the wiper blade
from moving, causing damage to the
wiper motor.
CAUTION
Page 54 of 136
Downloaded from www.Manualslib.com manuals search engine 5483K
BEFORE DRIVING
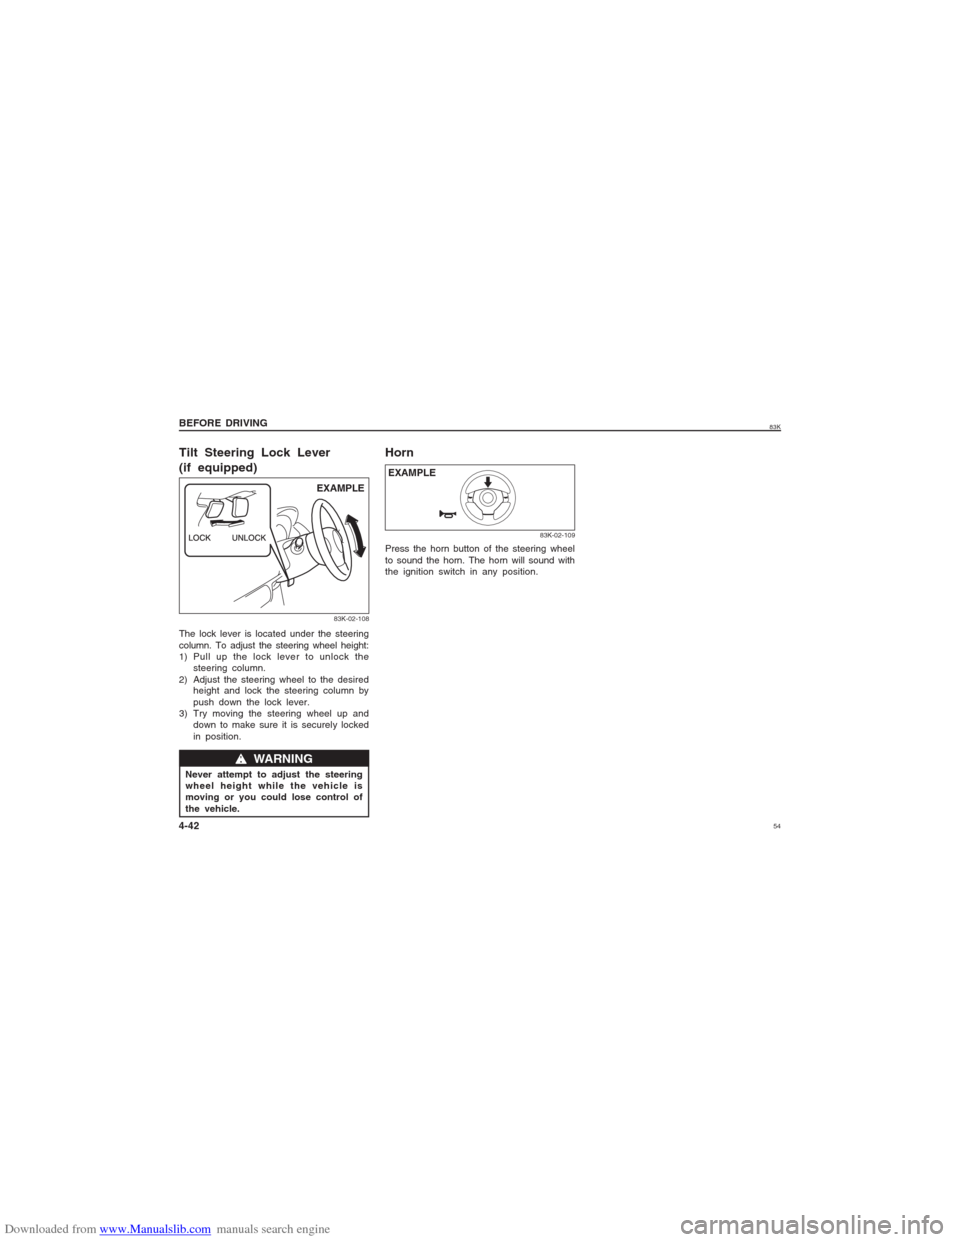
4-42Tilt Steering Lock Lever
(if equipped)
83K-02-108
EXAMPLE
w ww w
w WARNING
Never attempt to adjust the steering
wheel height while the vehicle is
moving or you could lose control of
the vehicle.
83K-02-109
HornPress the horn button of the steering wheel
to sound the horn. The horn will sound with
the ignition switch in any position.EXAMPLE
The lock lever is located under the steering
column. To adjust the steering wheel height:
1) Pull up the lock lever to unlock the
steering column.
2) Adjust the steering wheel to the desired
height and lock the steering column by
push down the lock lever.
3) Try moving the steering wheel up and
down to make sure it is securely locked
in position.
Page 55 of 136
Downloaded from www.Manualslib.com manuals search engine 5583KOPERATING YOUR VEHICLE
Exhaust Gas Warning........................................................................................................ 5-1
Daily Inspection Checklist................................................................................................ 5-1
Engine Oil Consumption................................................................................................... 5-2
Ignition Switch .................................................................................................................... 5-2
Parking Brake Lever.......................................................................................................... 5-4
Pedal..................................................................................................................................... 5-4
Starting the Engine............................................................................................................5-5
Using the Transmission.................................................................................................... 5-6
Braking .................................................................................................................................. 5-9
OPERATING YOUR VEHICLE
Page 56 of 136
Downloaded from www.Manualslib.com manuals search engine 5683K
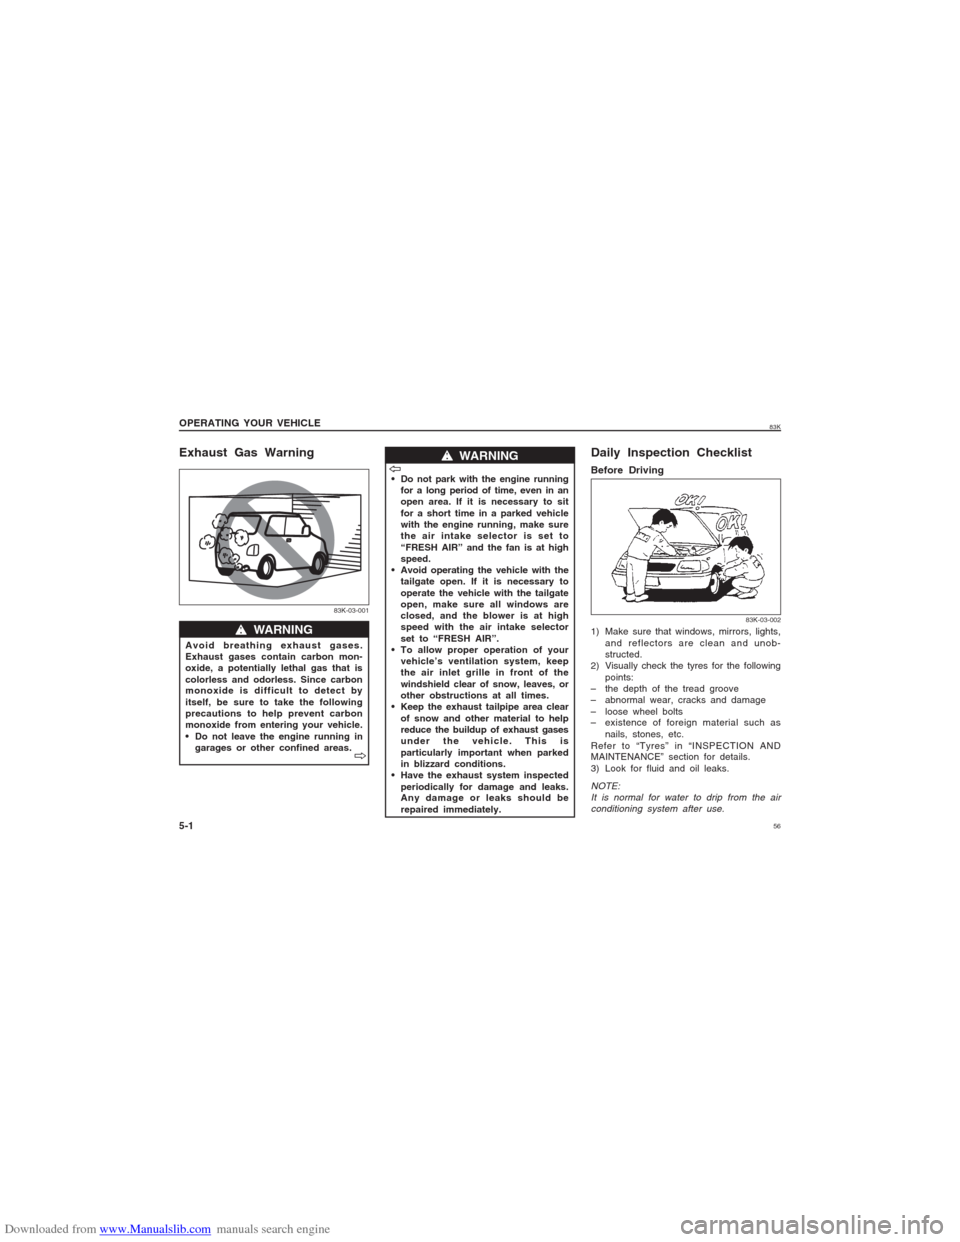
Exhaust Gas Warning
83K-03-001
w ww w
w WARNING
Avoid breathing exhaust gases.
Exhaust gases contain carbon mon-
oxide, a potentially lethal gas that is
colorless and odorless. Since carbon
monoxide is difficult to detect by
itself, be sure to take the following
precautions to help prevent carbon
monoxide from entering your vehicle.
Do not leave the engine running in
garages or other confined areas.
w ww w
w WARNING
Do not park with the engine running
for a long period of time, even in an
open area. If it is necessary to sit
for a short time in a parked vehicle
with the engine running, make sure
the air intake selector is set to
“FRESH AIR” and the fan is at high
speed.
Avoid operating the vehicle with the
tailgate open. If it is necessary to
operate the vehicle with the tailgate
open, make sure all windows are
closed, and the blower is at high
speed with the air intake selector
set to “FRESH AIR”.
To allow proper operation of your
vehicle’s ventilation system, keep
the air inlet grille in front of the
windshield clear of snow, leaves, or
other obstructions at all times.
Keep the exhaust tailpipe area clear
of snow and other material to help
reduce the buildup of exhaust gases
under the vehicle. This is
particularly important when parked
in blizzard conditions.
Have the exhaust system inspected
periodically for damage and leaks.
Any damage or leaks should be
repaired immediately.
Daily Inspection ChecklistBefore Driving1) Make sure that windows, mirrors, lights,
and reflectors are clean and unob-
structed.
2) Visually check the tyres for the following
points:
– the depth of the tread groove
– abnormal wear, cracks and damage
– loose wheel bolts
– existence of foreign material such as
nails, stones, etc.
Refer to “Tyres” in “INSPECTION AND
MAINTENANCE” section for details.
3) Look for fluid and oil leaks.NOTE:
It is normal for water to drip from the air
conditioning system after use.
83K-03-002
OPERATING YOUR VEHICLE
5-1
V VV V
V
V VV V
V
Page 57 of 136
Downloaded from www.Manualslib.com manuals search engine 5783K4) Make sure the bonnet is fully closed and
latched.
5) Check the headlights, turn signal lights,
brake lights and horn for proper opera-
tion.
6) Adjust the seat and adjustable head
restraint (if equipped).
7) Check the brake pedal and the parking
brake lever.
8) Adjust the mirrors.
9) Make sure that you and all passengers
have properly fastened your seat belts.
10)Make sure that all warning lights come
on as the key is turned to the “ON” or
“START” position.
11)Check all gauges.
12)Make sure that the BRAKE SYSTEM
WARNING light turns off when the
parking brake is released.
Once a week, or each time you fill your fuel
tank, perform the following under-hood
checks:
1) Engine oil level
2) Coolant level
3) Brake fluid level
4) Windshield washer fluid level
5) Battery solution level
6) Bonnet latch operation
Pull the Bonnet release handle inside the
vehicle. Make sure that you cannot open
the Bonnet all the way without releasingthe secondary latch. Be sure to close
the Bonnet securely after checking for
proper latch operation. See “All latches,
hinges & locks” of “CHASSIS AND
BODY” in the “Periodic Maintenance
Schedule” in the “INSPECTION AND
MAINTENANCE” section for lubrication
schedule.
w ww w
w WARNING
Make sure the bonnet is fully closed
and latched before driving. If it is not,
it can fly up unexpectedly during
driving, obstructing your view and
resulting in an accident.
Once a month, or each time you fill your
fuel tank, check the tyre pressure using a
tyre pressure gauge. Also check the tyre
pressure of the spare tyre.since its pistons, piston rings and cylinder
walls have not yet become conditioned. New
engines reach the normal level of oil
consumption only after approximately 5000
km (3000 miles) driving.
When judging the amount of oil consump-
tion, note that the oil may become diluted
and make it difficult to accurately judge the
true oil level.
As an example, if a vehicle is used for
repeated short trips, and consumes a nor-
mal amount of oil, the dipstick may not
show any drop in the oil level at all, even
after 1000 km (600 miles) or more of driv-
ing. This is because the oil is gradually
becoming diluted with fuel or moisture,
making it appear that the oil level has not
changed.
You should also be aware that the diluting
ingredients evaporate out when the vehicle
is subsequently driven at high speeds, such
as on an expressway, making it appear that
oil is excessively consumed after high-speed
driving.
OPERATING YOUR VEHICLE
5-2
Engine Oil ConsumptionIt is normal for the engine to consume some
engine oil during normal vehicle operation.
The amount of engine oil consumed
depends on the viscosity of the oil, the
quality of the oil and the conditions the
vehicle is driven under.
More oil is consumed during high-speed
driving and when there is frequent acceler-
ation and deceleration. Under high loads,
your engine also will consume more oil.
A new engine also consumes more oil,
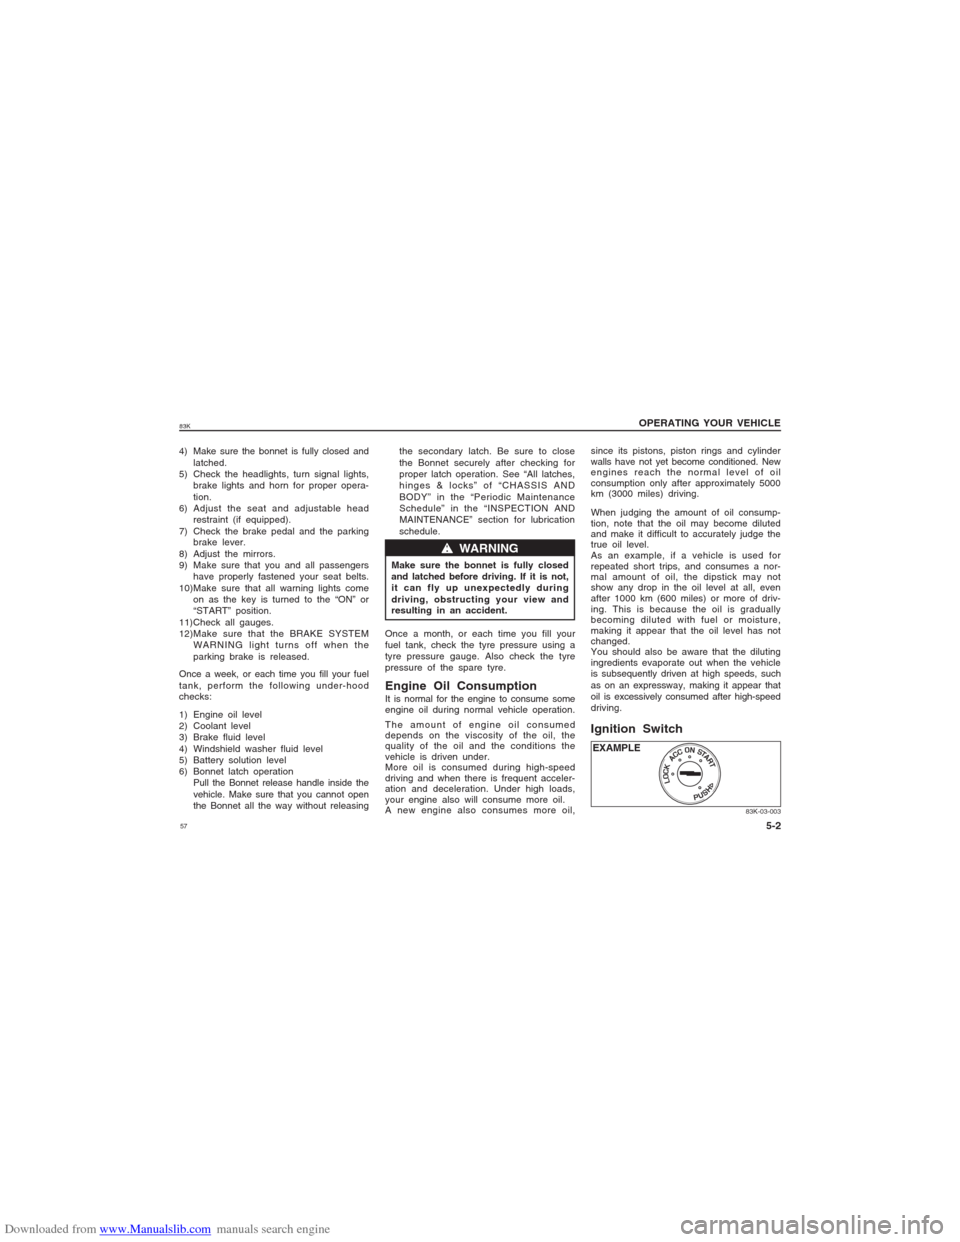
83K-03-003
Ignition SwitchEXAMPLE
Page 58 of 136
Downloaded from www.Manualslib.com manuals search engine 5883K
w ww w
w WARNING
To avoid possible injury, do not oper-
ate controls by reaching through the
steering wheel.
83K-03-004
EXAMPLE OPERATING YOUR VEHICLE
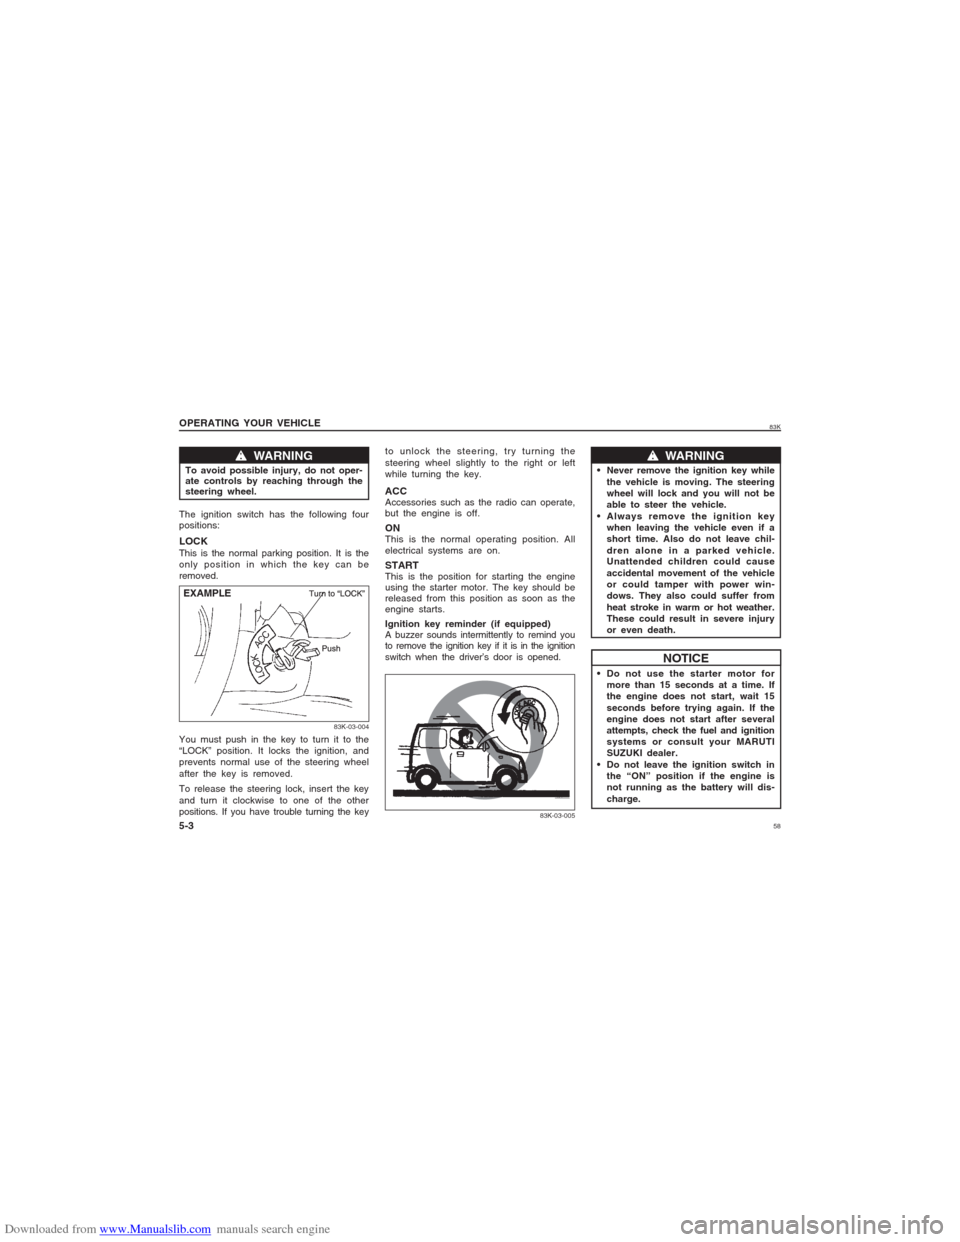
5-3The ignition switch has the following four
positions:LOCKThis is the normal parking position. It is the
only position in which the key can be
removed.
You must push in the key to turn it to the
“LOCK” position. It locks the ignition, and
prevents normal use of the steering wheel
after the key is removed.
To release the steering lock, insert the key
and turn it clockwise to one of the other
positions. If you have trouble turning the keyto unlock the steering, try turning the
steering wheel slightly to the right or left
while turning the key.
ACCAccessories such as the radio can operate,
but the engine is off.ONThis is the normal operating position. All
electrical systems are on.STARTThis is the position for starting the engine
using the starter motor. The key should be
released from this position as soon as the
engine starts.
Ignition key reminder (if equipped)
A buzzer sounds intermittently to remind you
to remove the ignition key if it is in the ignition
switch when the driver’s door is opened.
w ww w
w WARNING
Never remove the ignition key while
the vehicle is moving. The steering
wheel will lock and you will not be
able to steer the vehicle.
Always remove the ignition key
when leaving the vehicle even if a
short time. Also do not leave chil-
dren alone in a parked vehicle.
Unattended children could cause
accidental movement of the vehicle
or could tamper with power win-
dows. They also could suffer from
heat stroke in warm or hot weather.
These could result in severe injury
or even death.
NOTICE
Do not use the starter motor for
more than 15 seconds at a time. If
the engine does not start, wait 15
seconds before trying again. If the
engine does not start after several
attempts, check the fuel and ignition
systems or consult your MARUTI
SUZUKI dealer.
Do not leave the ignition switch in
the “ON” position if the engine is
not running as the battery will dis-
charge.
83K-03-005
Page 59 of 136
Downloaded from www.Manualslib.com manuals search engine 5983K
OPERATING YOUR VEHICLE
5-4
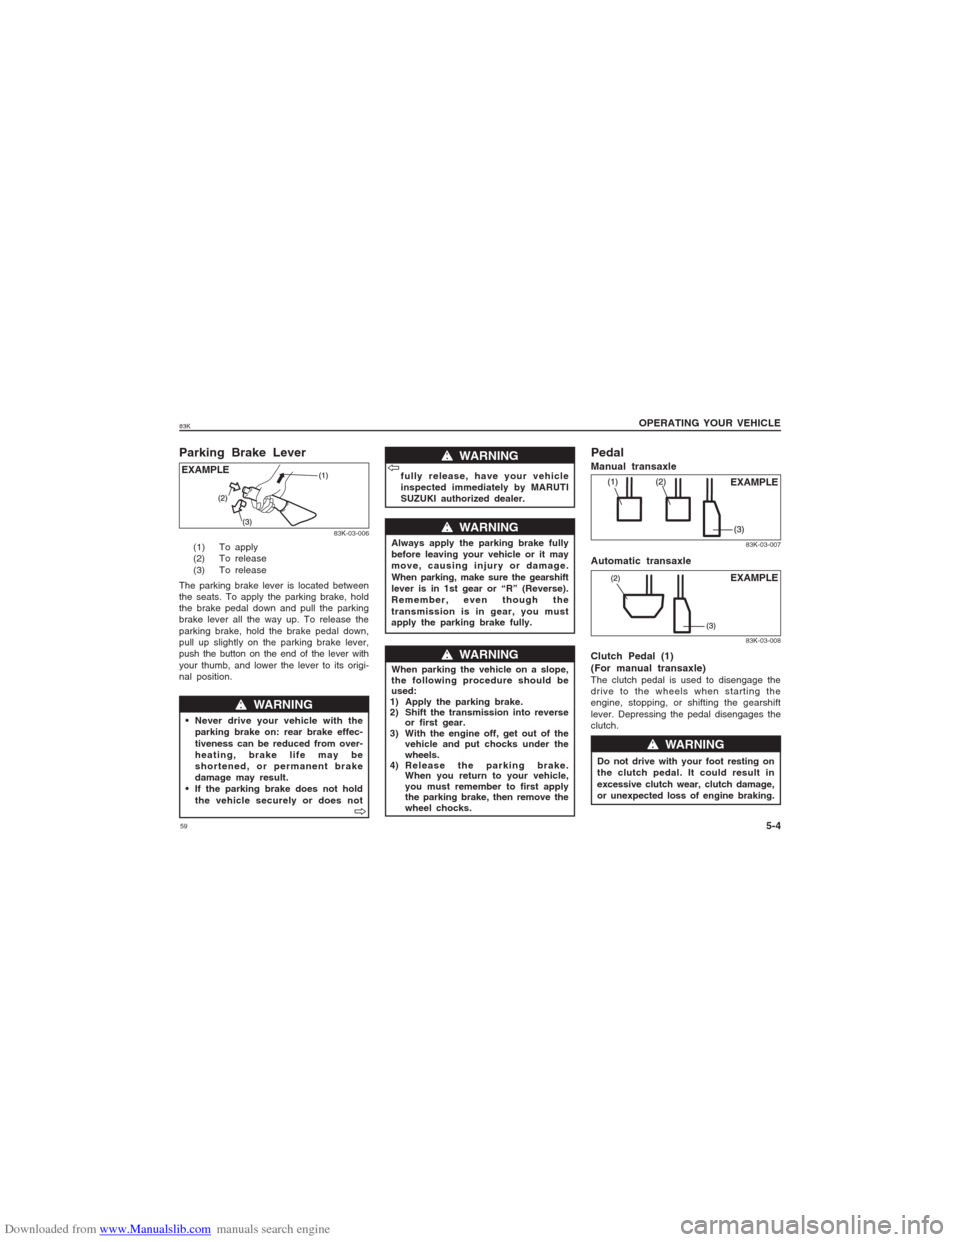
Parking Brake Lever
83K-03-006
w ww w
w WARNING
Never drive your vehicle with the
parking brake on: rear brake effec-
tiveness can be reduced from over-
heating, brake life may be
shortened, or permanent brake
damage may result.
If the parking brake does not hold
the vehicle securely or does not (1) To apply
(2) To release
(3) To release
The parking brake lever is located between
the seats. To apply the parking brake, hold
the brake pedal down and pull the parking
brake lever all the way up. To release the
parking brake, hold the brake pedal down,
pull up slightly on the parking brake lever,
push the button on the end of the lever with
your thumb, and lower the lever to its origi-
nal position.
V VV V
V
w ww w
w WARNING
V VV V
V
w ww w
w WARNING
Always apply the parking brake fully
before leaving your vehicle or it may
move, causing injury or damage.
When parking, make sure the gearshift
lever is in 1st gear or “R” (Reverse).
Remember, even though the
transmission is in gear, you must
apply the parking brake fully.fully release, have your vehicle
inspected immediately by MARUTI
SUZUKI authorized dealer.
w ww w
w WARNING
When parking the vehicle on a slope,
the following procedure should be
used:
1) Apply the parking brake.
2) Shift the transmission into reverse
or first gear.
3) With the engine off, get out of the
vehicle and put chocks under the
wheels.
4) Release the parking brake.
When you return to your vehicle,
you must remember to first apply
the parking brake, then remove the
wheel chocks.
EXAMPLE
PedalManual transaxle
83K-03-007
EXAMPLE
Automatic transaxle
83K-03-008
EXAMPLE
Clutch Pedal (1)
(For manual transaxle)The clutch pedal is used to disengage the
drive to the wheels when starting the
engine, stopping, or shifting the gearshift
lever. Depressing the pedal disengages the
clutch.
w ww w
w WARNING
Do not drive with your foot resting on
the clutch pedal. It could result in
excessive clutch wear, clutch damage,
or unexpected loss of engine braking.
Page 60 of 136
Downloaded from www.Manualslib.com manuals search engine 6083K
OPERATING YOUR VEHICLE
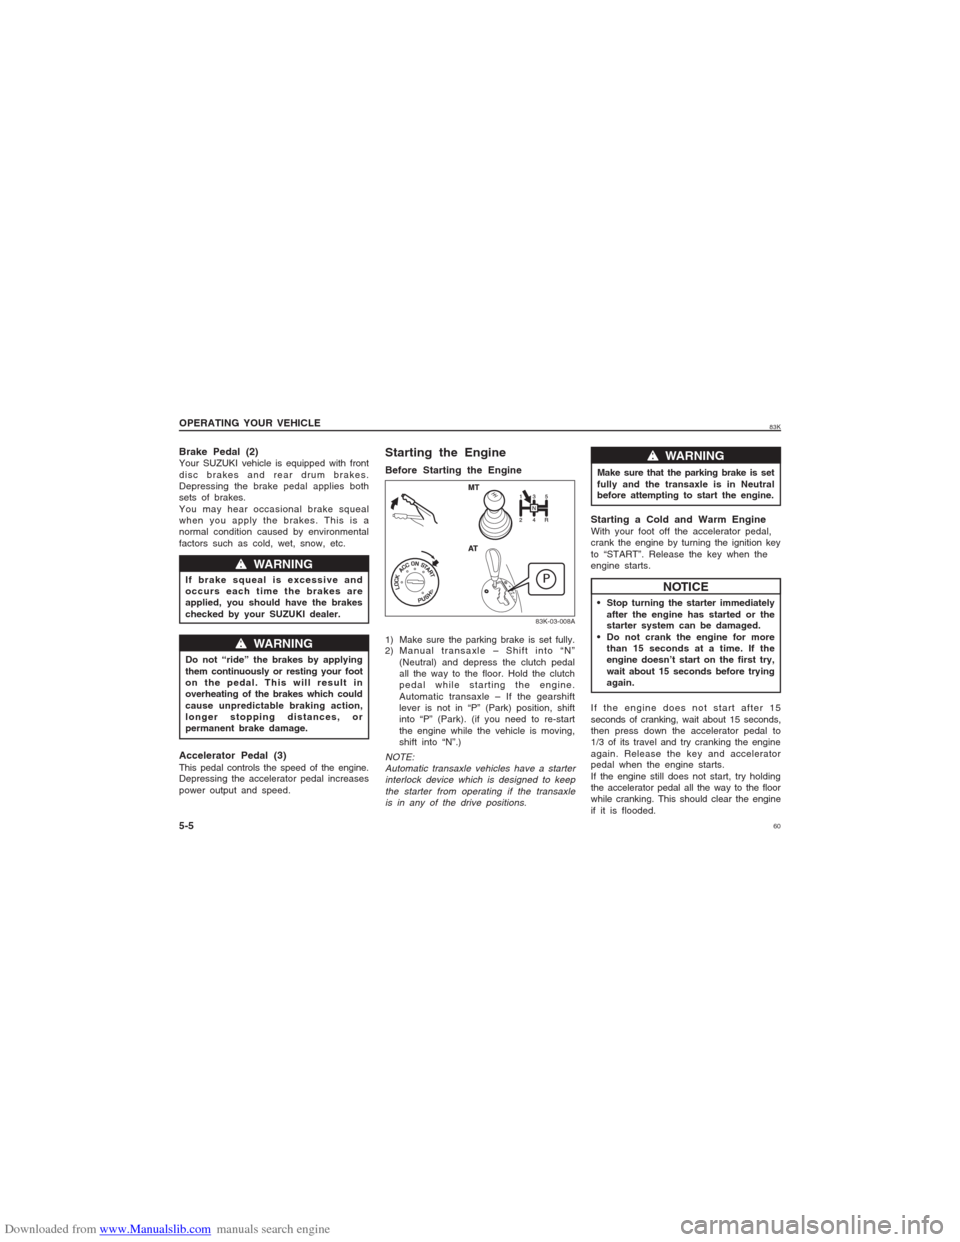
5-5 Brake Pedal (2)Your SUZUKI vehicle is equipped with front
disc brakes and rear drum brakes.
Depressing the brake pedal applies both
sets of brakes.
You may hear occasional brake squeal
when you apply the brakes. This is a
normal condition caused by environmental
factors such as cold, wet, snow, etc.
w ww w
w WARNING
If brake squeal is excessive and
occurs each time the brakes are
applied, you should have the brakes
checked by your SUZUKI dealer.
w ww w
w WARNING
Do not “ride” the brakes by applying
them continuously or resting your foot
on the pedal. This will result in
overheating of the brakes which could
cause unpredictable braking action,
longer stopping distances, or
permanent brake damage.Accelerator Pedal (3)This pedal controls the speed of the engine.
Depressing the accelerator pedal increases
power output and speed.
Starting the EngineBefore Starting the Engine
83K-03-008A
1) Make sure the parking brake is set fully.
2) Manual transaxle – Shift into “N”
(Neutral) and depress the clutch pedal
all the way to the floor. Hold the clutch
pedal while starting the engine.
Automatic transaxle – If the gearshift
lever is not in “P” (Park) position, shift
into “P” (Park). (if you need to re-start
the engine while the vehicle is moving,
shift into “N”.)NOTE:
Automatic transaxle vehicles have a starter
interlock device which is designed to keep
the starter from operating if the transaxle
is in any of the drive positions.
Make sure that the parking brake is set
fully and the transaxle is in Neutral
before attempting to start the engine.
w ww w
w WARNING
Starting a Cold and Warm EngineWith your foot off the accelerator pedal,
crank the engine by turning the ignition key
to “START”. Release the key when the
engine starts.
NOTICE
Stop turning the starter immediately
after the engine has started or the
starter system can be damaged.
Do not crank the engine for more
than 15 seconds at a time. If the
engine doesn’t start on the first try,
wait about 15 seconds before trying
again.
If the engine does not start after 15
seconds of cranking, wait about 15 seconds,
then press down the accelerator pedal to
1/3 of its travel and try cranking the engine
again. Release the key and accelerator
pedal when the engine starts.
If the engine still does not start, try holding
the accelerator pedal all the way to the floor
while cranking. This should clear the engine
if it is flooded.