TOYOTA iQ EV 2013 Owners Manual (in English)
Manufacturer: TOYOTA, Model Year: 2013, Model line: iQ EV, Model: TOYOTA iQ EV 2013Pages: 444, PDF Size: 7.34 MB
Page 201 of 444
2015-4. How to charge
5
Driving
CAUTION
●When the traction battery is charged in rain or snow, check that no water,
snow or ice has accumulated around the charging connector terminals
and the vehicle charging inlet. Tap snow, water or ice gently from connec-
tor prior to inserting charging connector into the vehicle’s charging inlet.
● Do not charge the traction battery when there is a possibility of lightning.
If you notice lightning while charging the vehicle, do not touch the vehicle
and the charging cable.
■ Warning while charging
The radiator cooling fan may start operating similar to when the EV system
is operated. Do not touch or get close to the operating cooling fan. Doing so
could cause a part of your body or clothes to be entangled with the fan,
resulting in serious injury.
■ When the charging cable is connected to the vehicle
Do not operate the shift lever.
In the unlikely event that the charging cable has been damaged, the shift
position may change from P to another position and the vehicle could move,
possibly leading to an accident.
■ When a quick charger is used
Use quick chargers compliant with the CHAdeMO specifications to charge
the battery. If a quick charger that is not compliant with CHAdeMO is used,
fire or electrical shock may occur, possibly resulting in death or serious
injury.
NOTICE
■When the battery is char ged with quick chargers
Follow the instructions provided by the manufacturer of the quick charger.
Incorrect use of the quick charger could cause damage to the vehicle or the
quick charger.
■ After charging
After the charging connector is disconnected from the charging inlet, close
the charging inlet cap and recharge inlet door.
If the recharge inlet door is left open, water or foreign objects may enter the
charging inlet, which could cause damage to the vehicle.
Page 202 of 444
2025-4. How to charge
Timer charging (nor mal charging only)
By using the charging timer function, deterioration of the traction bat-
tery charge can be suppressed ( P. 190), and off-peak electricity
*
can be used effectively.
*: Since electricity rates change based on contractual coverage, please con-
firm with the contracted electric power company about off-peak rates.
● A charging time can be assigned by setting the charging start time
or finish time. ( P. 207)
● Once the time has been set, timer charging can be scheduled with
the previously set time at the next time.
● The settings of the charging ti mer function schedule is automati-
cally turns off, when charge has started.
■Setting the charging timer function
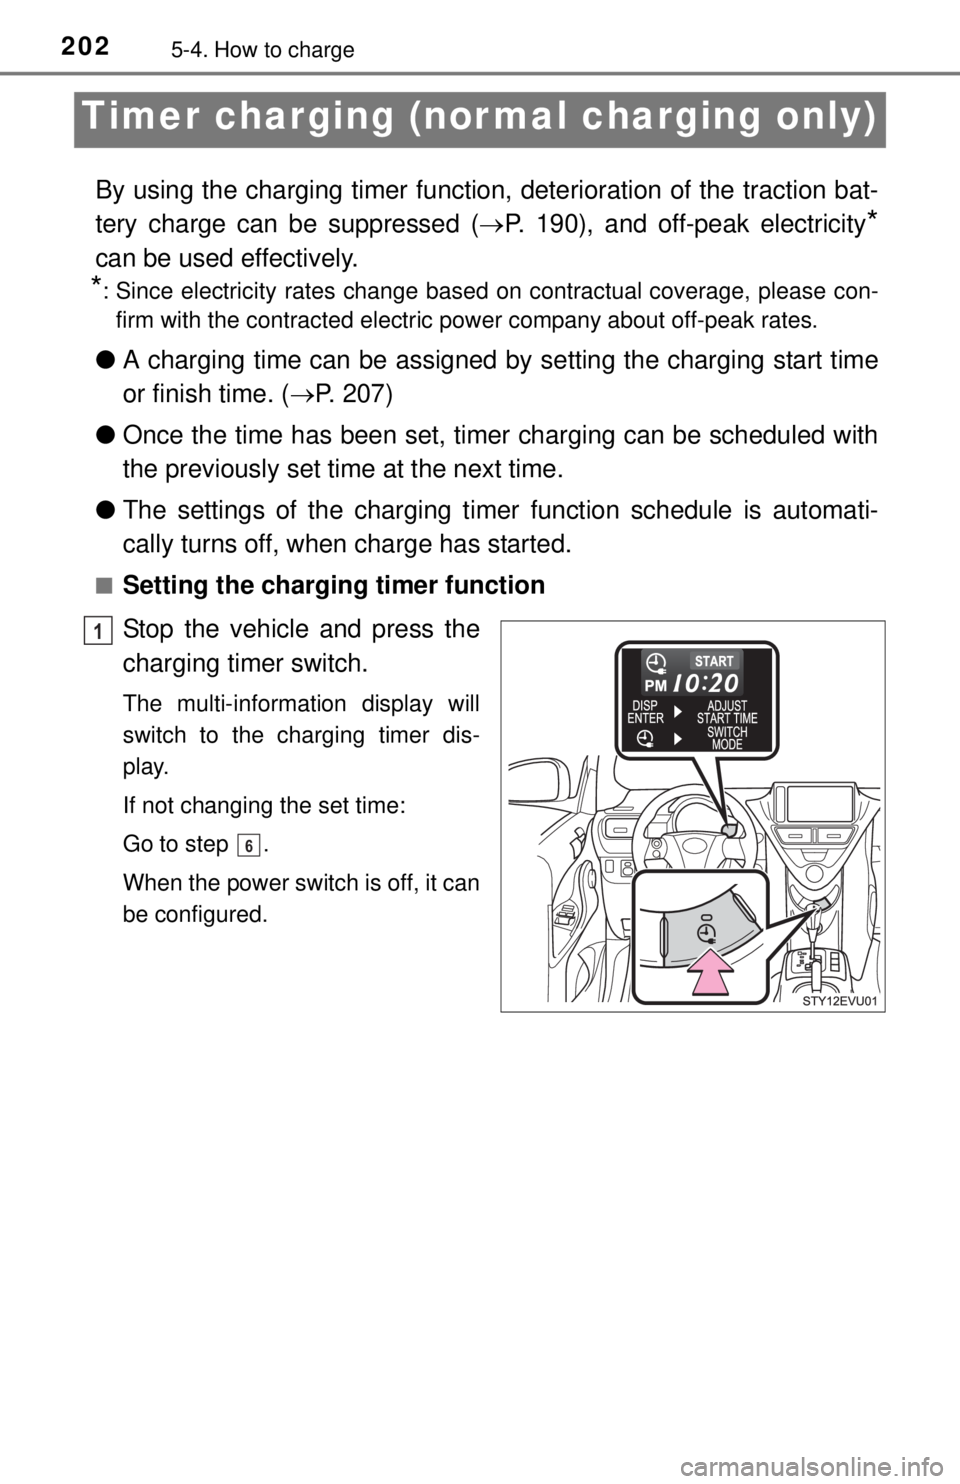
Stop the vehicle and press the
charging timer switch.
The multi-information display will
switch to the charging timer dis-
play.
If not changing the set time:
Go to step .
When the power switch is off, it can
be configured.
1
6
Page 203 of 444
2035-4. How to charge
5
Driving
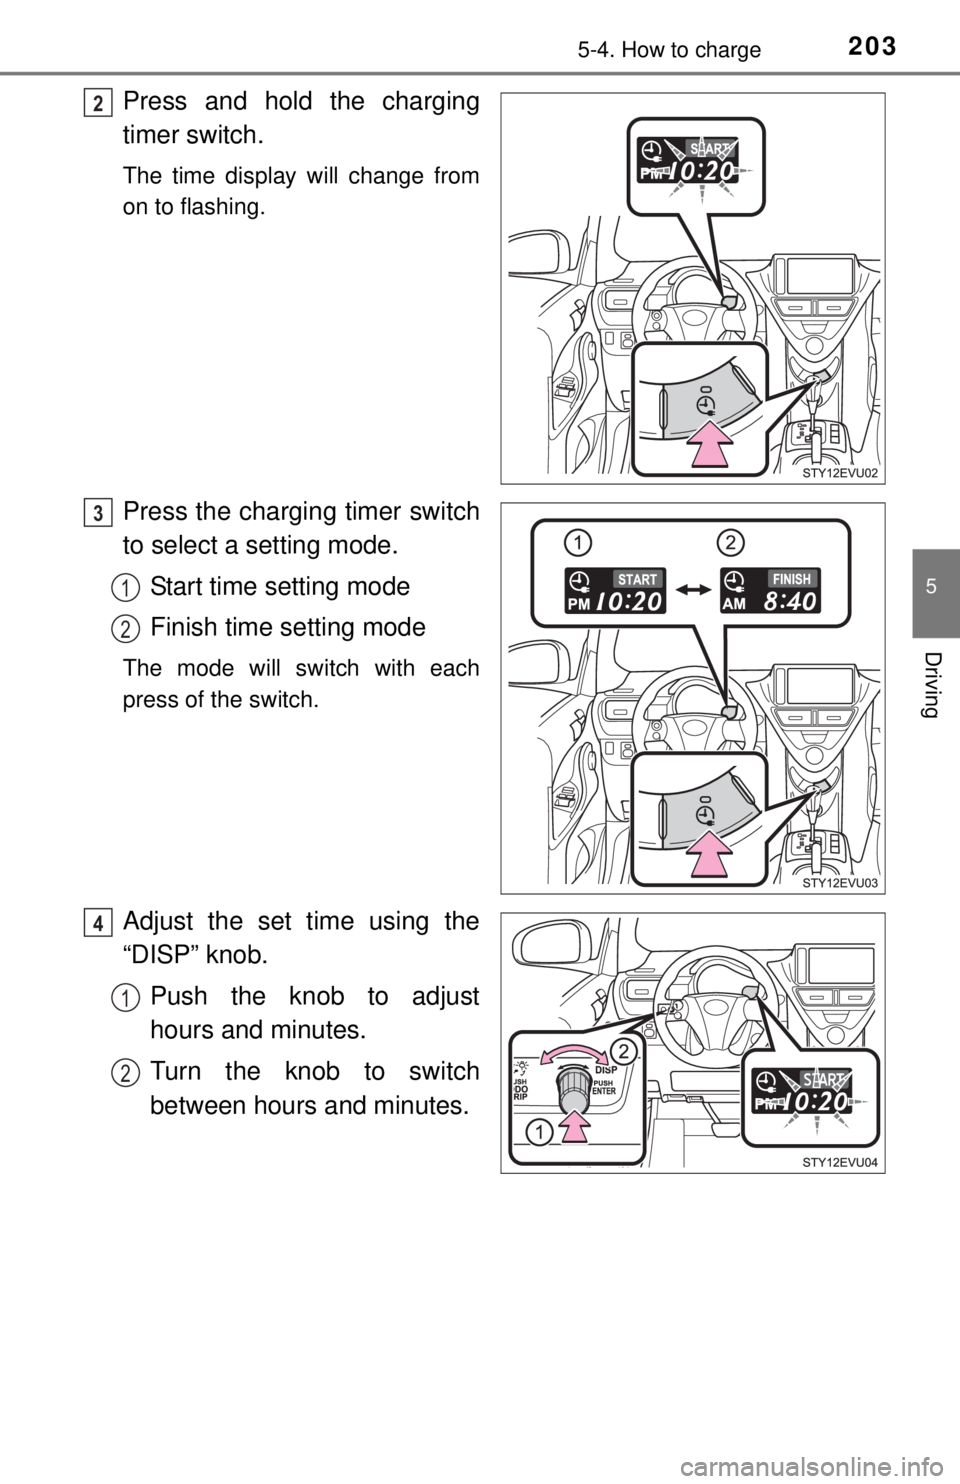
Press and hold the charging
timer switch.
The time display will change from
on to flashing.
Press the charging timer switch
to select a setting mode.Start time setting mode
Finish time setting mode
The mode will switch with each
press of the switch.
Adjust the set time using the
“DISP” knob.Push the knob to adjust
hours and minutes.
Turn the knob to switch
between hours and minutes.
2
3
1
2
4
1
2
Page 204 of 444
2045-4. How to charge
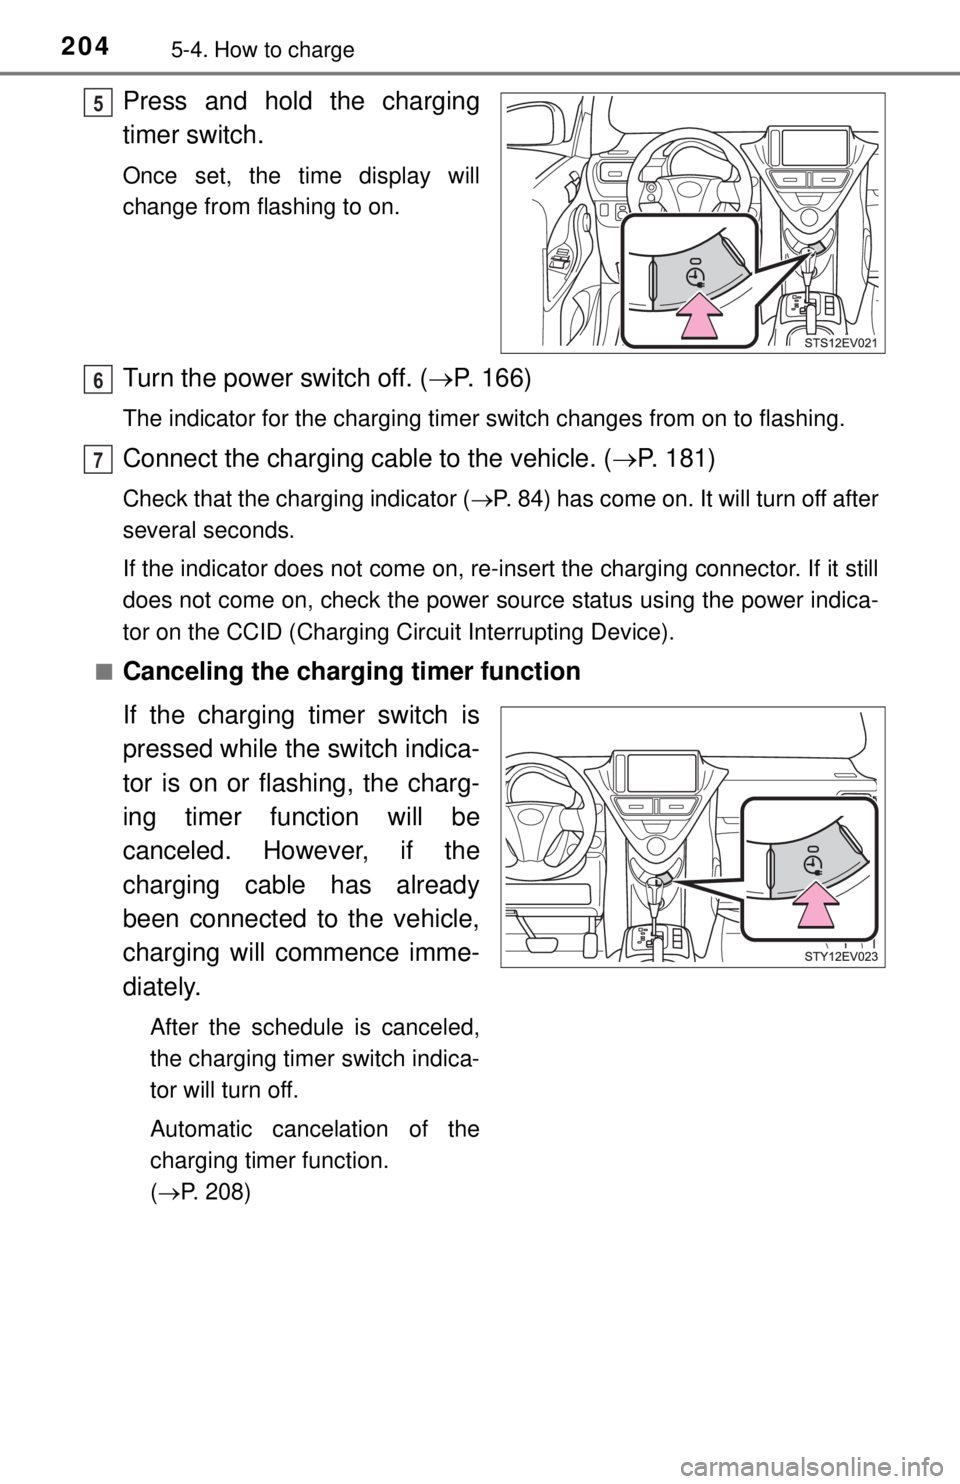
Press and hold the charging
timer switch.
Once set, the time display will
change from flashing to on.
Turn the power switch off. (P. 166)
The indicator for the charging timer switch changes from on to flashing.
Connect the charging cable to the vehicle. ( P. 181)
Check that the charging indicator ( P. 84) has come on. It will turn off after
several seconds.
If the indicator does not come on, re-insert the charging connector. If it still
does not come on, check the power source status using the power indica-
tor on the CCID (Charging Circuit Interrupting Device).
■
Canceling the charging timer function
If the charging timer switch is
pressed while the switch indica-
tor is on or flashing, the charg-
ing timer function will be
canceled. However, if the
charging cable has already
been connected to the vehicle,
charging will commence imme-
diately.
After the schedule is canceled,
the charging timer switch indica-
tor will turn off.
Automatic cancelation of the
charging timer function.
( P. 208)
5
6
7
Page 205 of 444
2055-4. How to charge
5
Driving
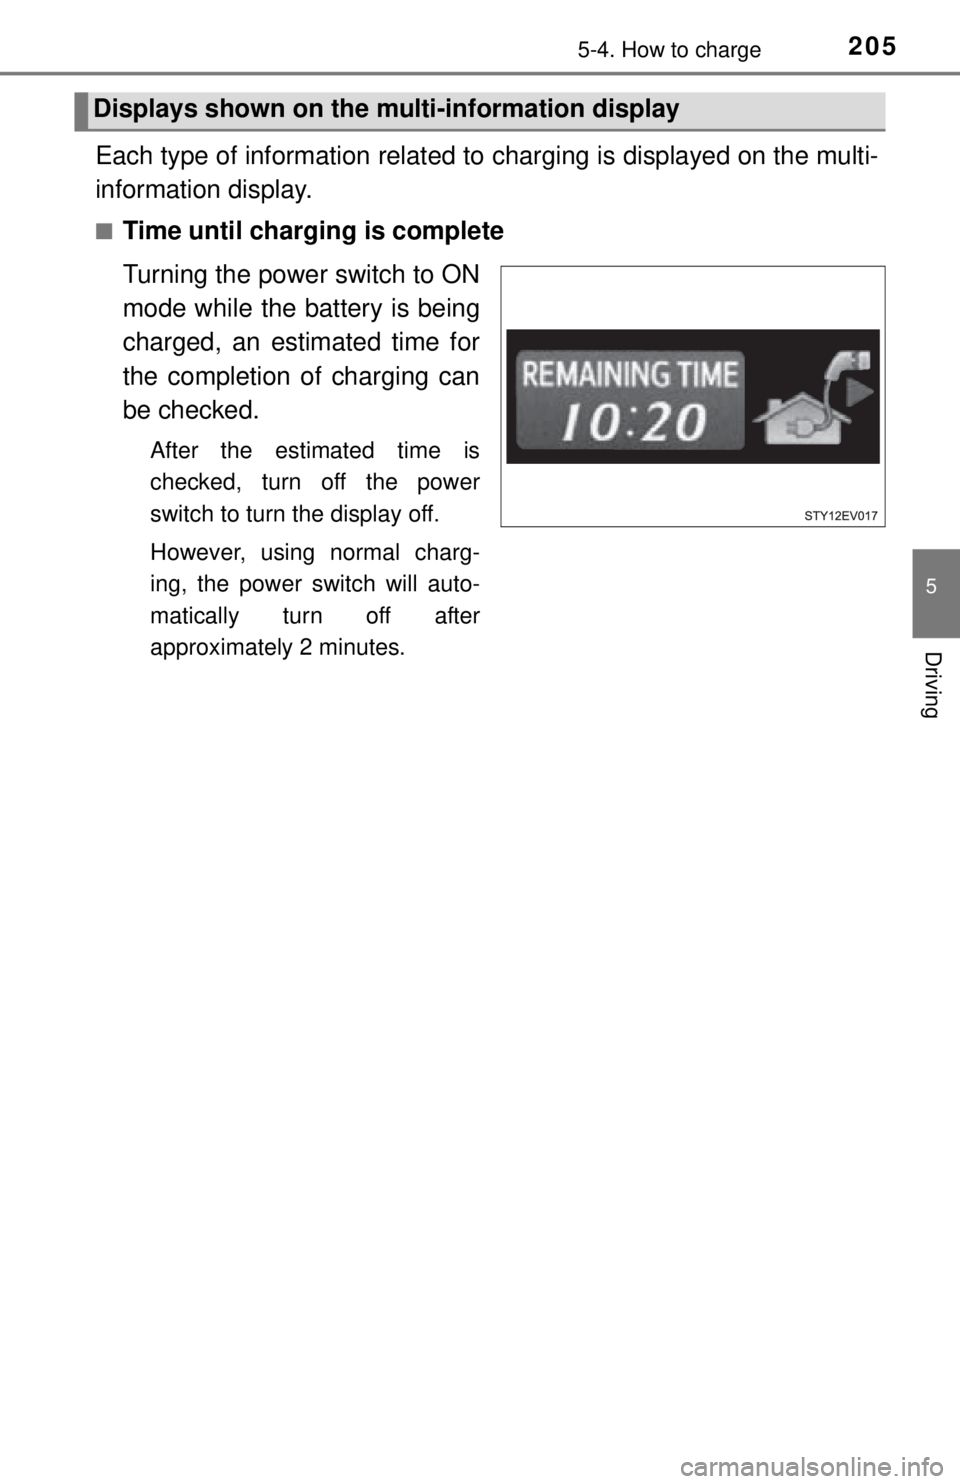
Each type of information related to charging is displayed on the multi-
information display.
■Time until charging is complete
Turning the power switch to ON
mode while the battery is being
charged, an estimated time for
the completion of charging can
be checked.
After the estimated time is
checked, turn off the power
switch to turn the display off.
However, using normal charg-
ing, the power switch will auto-
matically turn off after
approximately 2 minutes.
Displays shown on the mu lti-information display
Page 206 of 444
2065-4. How to charge
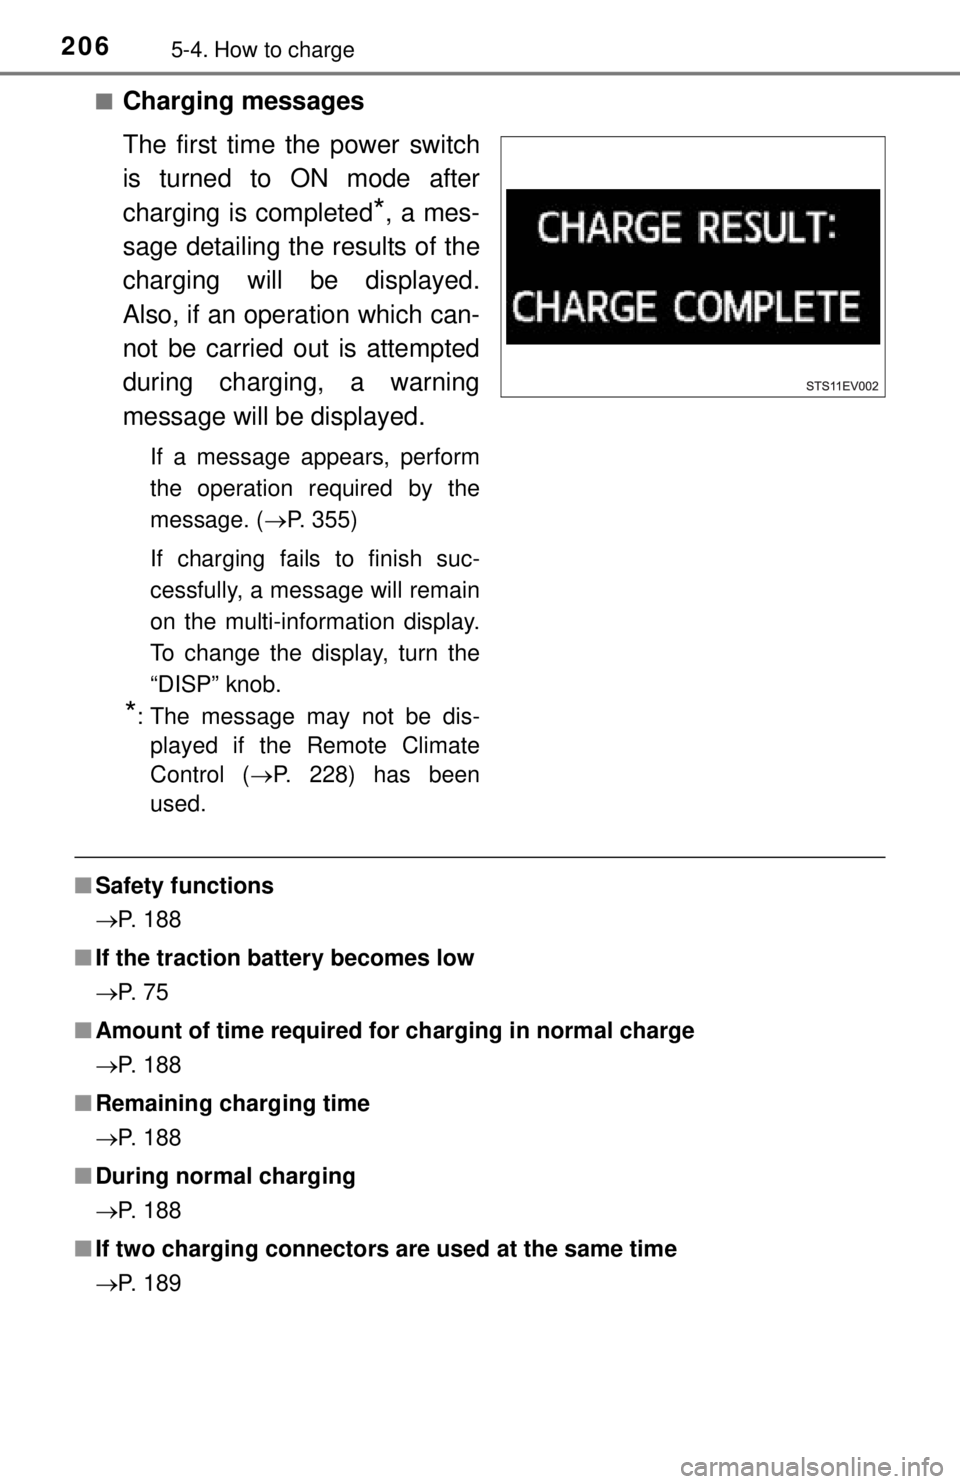
■Charging messages
The first time the power switch
is turned to ON mode after
charging is completed
*, a mes-
sage detailing the results of the
charging will be displayed.
Also, if an operation which can-
not be carried out is attempted
during charging, a warning
message will be displayed.
If a message appears, perform
the operation required by the
message. ( P. 355)
If charging fails to finish suc-
cessfully, a message will remain
on the multi-information display.
To change the display, turn the
“DISP” knob.
*: The message may not be dis- played if the Remote Climate
Control ( P. 228) has been
used.
■ Safety functions
P. 188
■ If the traction battery becomes low
P. 7 5
■ Amount of time required fo r charging in normal charge
P. 188
■ Remaining charging time
P. 188
■ During normal charging
P. 188
■ If two charging connectors are used at the same time
P. 189
Page 207 of 444
2075-4. How to charge
5
Driving
■Timer charging function
●While the Remote Climate Control is in operation, the timer charging func-
tion cannot be used.
● While charging with the quick charger, the timer charging function cannot be
used.
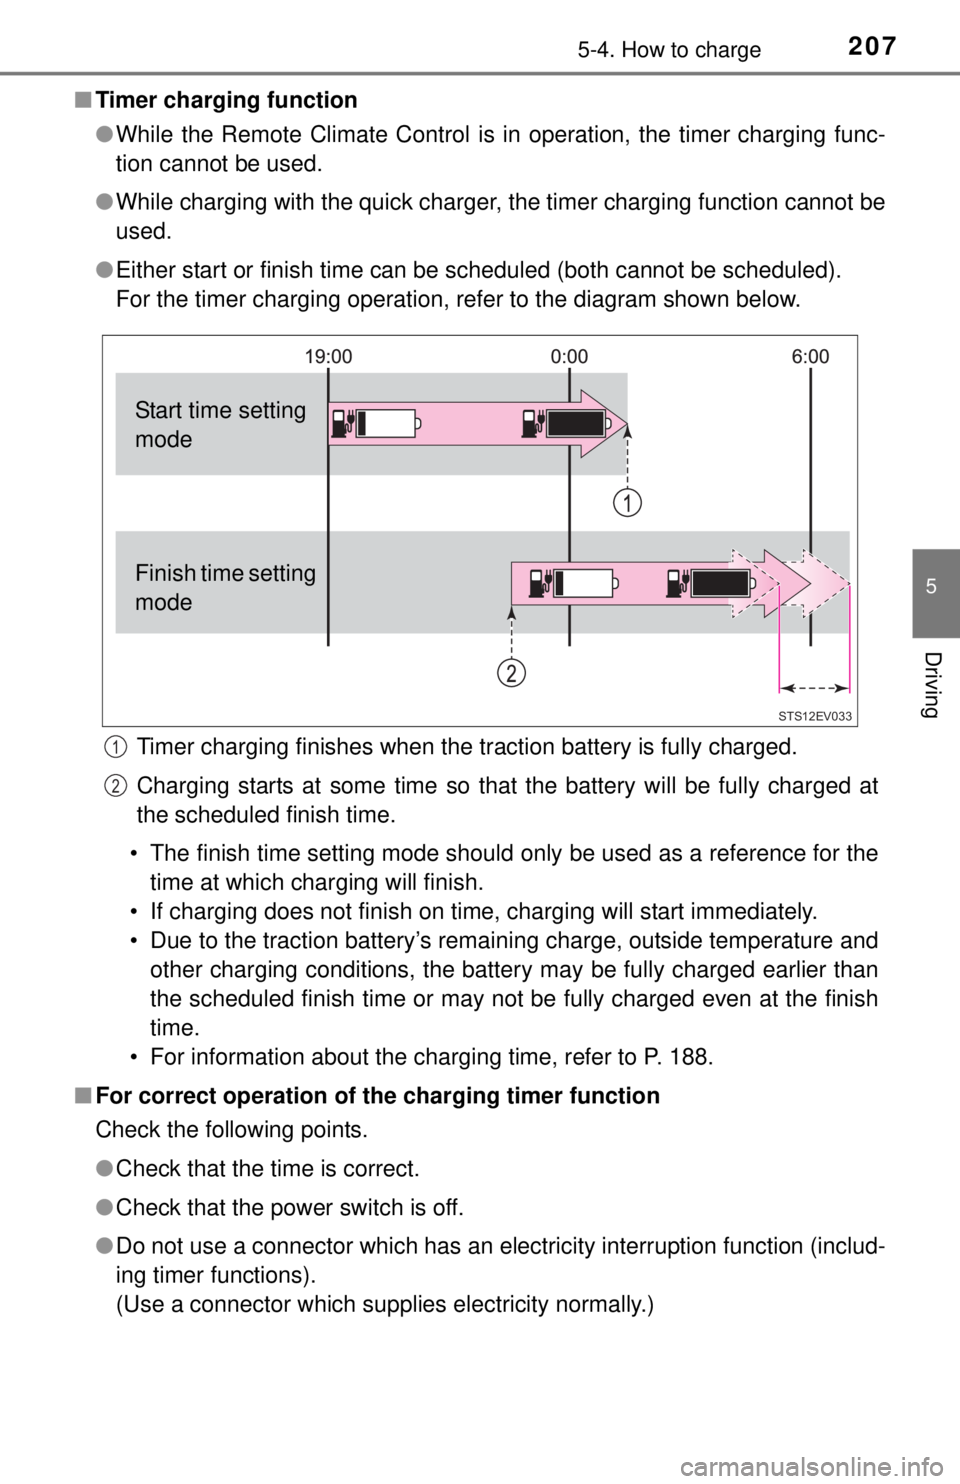
● Either start or finish time can be scheduled (both cannot be scheduled).
For the timer charging operation, refer to the diagram shown below.
Timer charging finishes when the traction battery is fully charged.
Charging starts at some time so that the battery will be fully charged at
the scheduled finish time.
• The finish time setting mode should only be used as a reference for the time at which charging will finish.
• If charging does not finish on time, charging will start immediately.
• Due to the traction battery’s remaining charge, outside temperature and other charging conditions, the battery may be fully charged earlier than
the scheduled finish time or may not be fully charged even at the finish
time.
• For information about the charging time, refer to P. 188.
■ For correct operation of the charging timer function
Check the following points.
●Check that the time is correct.
● Check that the power switch is off.
● Do not use a connector which has an electricity interruption function (includ-
ing timer functions).
(Use a connector which supplies electricity normally.)
STS12EV033
Start time setting
mode
Finish time setting
mode
1
2
Page 208 of 444
2085-4. How to charge
■Automatic cancelation of the charging timer function
●If the Remote Climate Control is operated while the charging cable is con-
nected, the charging timer function will be canceled. Charging will com-
mence after the Remote Climate Control has been turned off.
● When quick charging is started, the timer charging function will be canceled
so that quick charging will commence.
● Charging will not commence if the power switch is not off, even at the set
time.
■ When the 12-volt battery is disconnected
Disconnecting the 12-volt battery terminal will reset the set time of scheduled
timer charging. The timer charging func tion will also be canceled. In addition
to setting a charging start or finish time, a charging schedule will need to be
set.
■ Charging indicator
P. 189
■ When the outside temperature is low or high
P. 189
■ Charging time may increase
P. 190
■ Capacity reduction of the traction battery
P. 190
■ Handling the traction battery
P. 8 3
■ When not using the vehicle for an extended period of time
P. 191
■ If the recharge inle t door cannot be opened
P. 191
■ Charging cable
P. 191
Page 209 of 444
2095-4. How to charge
5
Driving
CAUTION
■When charging
P. 192
■ Warning while charging
P. 193
■ Warning after normal charging
P. 193
■ Battery charger
P. 193
■ If the error warning indicator on the CCID (Charging Circuit Interrupt-
ing Device) stays on during charging
P. 193
■ When the charging cable is connected to the vehicle
P. 194
NOTICE
■After charging
P. 194
■ Using private power generators
P. 194
■ Usable temperature range
P. 194
Page 210 of 444
2105-5. Using the driving support systems
Driving assist systems
◆ABS (Anti-lock Brake System)
Helps to prevent wheel lock when the brakes are applied suddenly,
or if the brakes are applied while driving on a slippery road surface
◆Brake assist
Generates an increased level of braking force after the brake pedal
is depressed when the system detects a panic stop situation
◆VSC (Vehicle Stability Control)
Helps the driver to control skidding when swerving suddenly or
turning on slippery road surfaces
◆Enhanced VSC (Enhanced Ve hicle Stability Control)
Provides cooperative control of the ABS, TRAC, VSC and EPS.
Helps to maintain directional st ability when swerving on slippery
road surfaces by controllin g steering performance.
◆TRAC (Traction Control)
Helps to maintain drive power and prevent the drive wheels from
spinning when starting the vehicle or accelerating on slippery roads
◆Hill-start assist control
P. 2 1 3
◆EPS (Electric Power Steering)
Employs an electric motor to redu ce the amount of effort needed to
turn the steering wheel
To help enhance driving safety and performance, the following
systems operate automatically in response to various driving
situations. Be aware, however, that these systems are supple-
mentary and should not be relied upon too heavily when operat-
ing the vehicle.