JAGUAR XFR 2010 1.G Workshop Manual
XFR 2010 1.G
JAGUAR
JAGUAR
https://www.carmanualsonline.info/img/21/7642/w960_7642-0.png
JAGUAR XFR 2010 1.G Workshop Manual
Trending: Ejb, radio antenna, height adjustment, navigation update, buttons, width, oil viscosity
Page 2461 of 3039
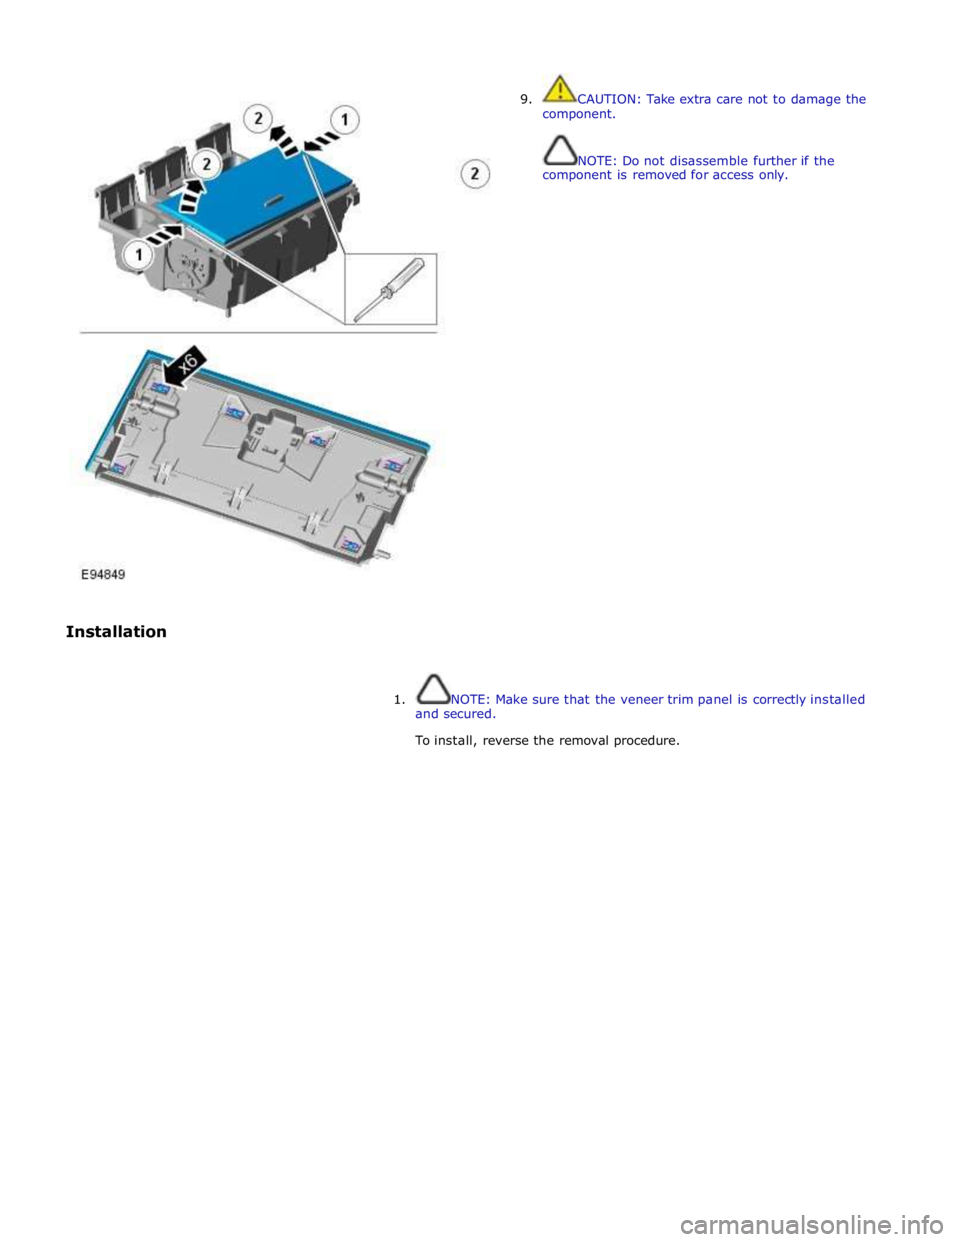
Installation 9. CAUTION: Take extra care not to damage the
component.
NOTE: Do not disassemble further if the
component is removed for access only.
1. NOTE: Make sure that the veneer trim panel is correctly installed
and secured.
To install, reverse the removal procedure.
Page 2462 of 3039
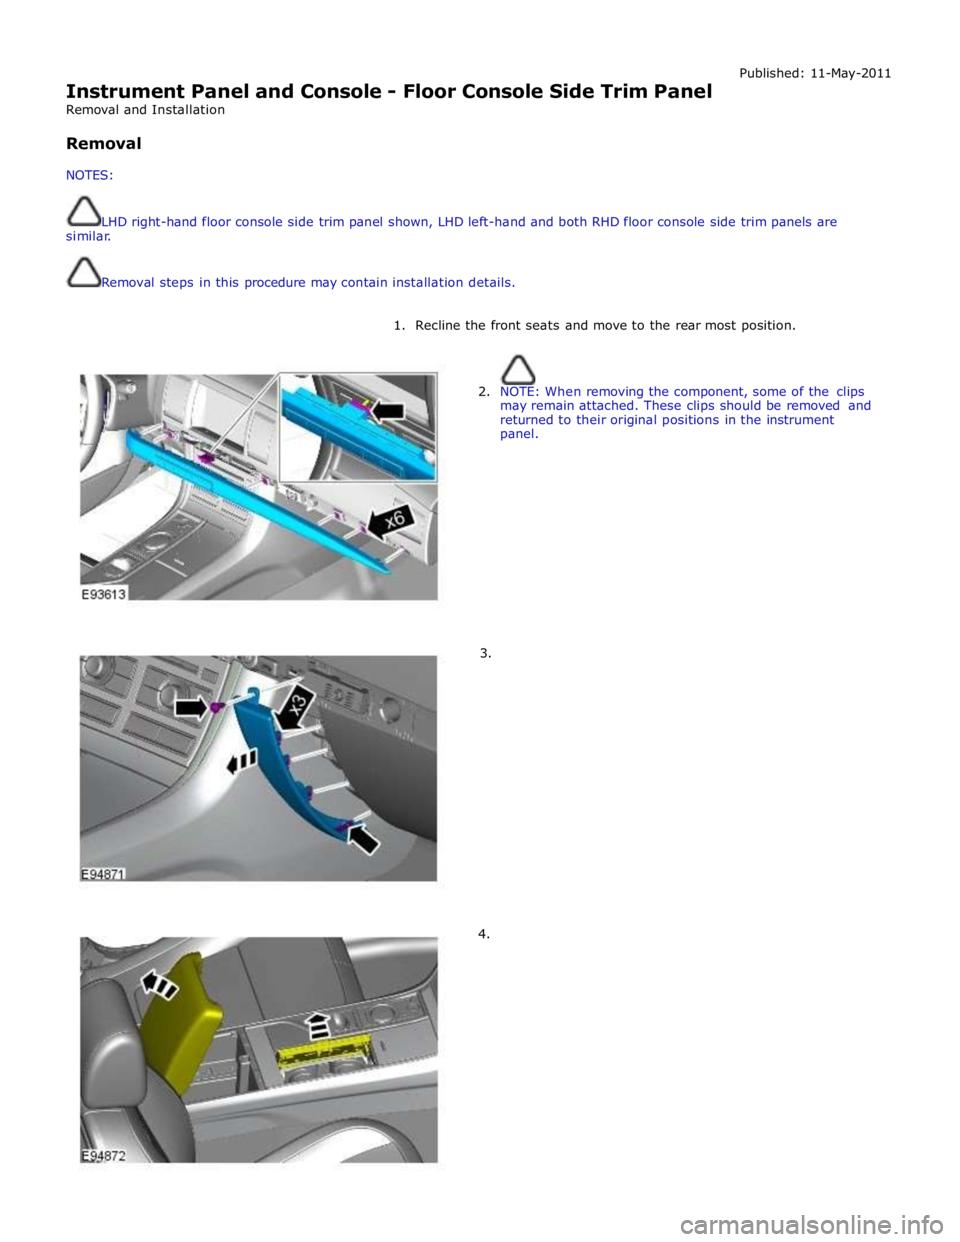
Instrument Panel and Console - Floor Console Side Trim Panel
Removal and Installation
Removal
NOTES: Published: 11-May-2011
LHD right-hand floor console side trim panel shown, LHD left-hand and both RHD floor console side trim panels are
similar.
Removal steps in this procedure may contain installation details.
1. Recline the front seats and move to the rear most position.
2. NOTE: When removing the component, some of the clips
may remain attached. These clips should be removed and
returned to their original positions in the instrument
panel.
3.
4.
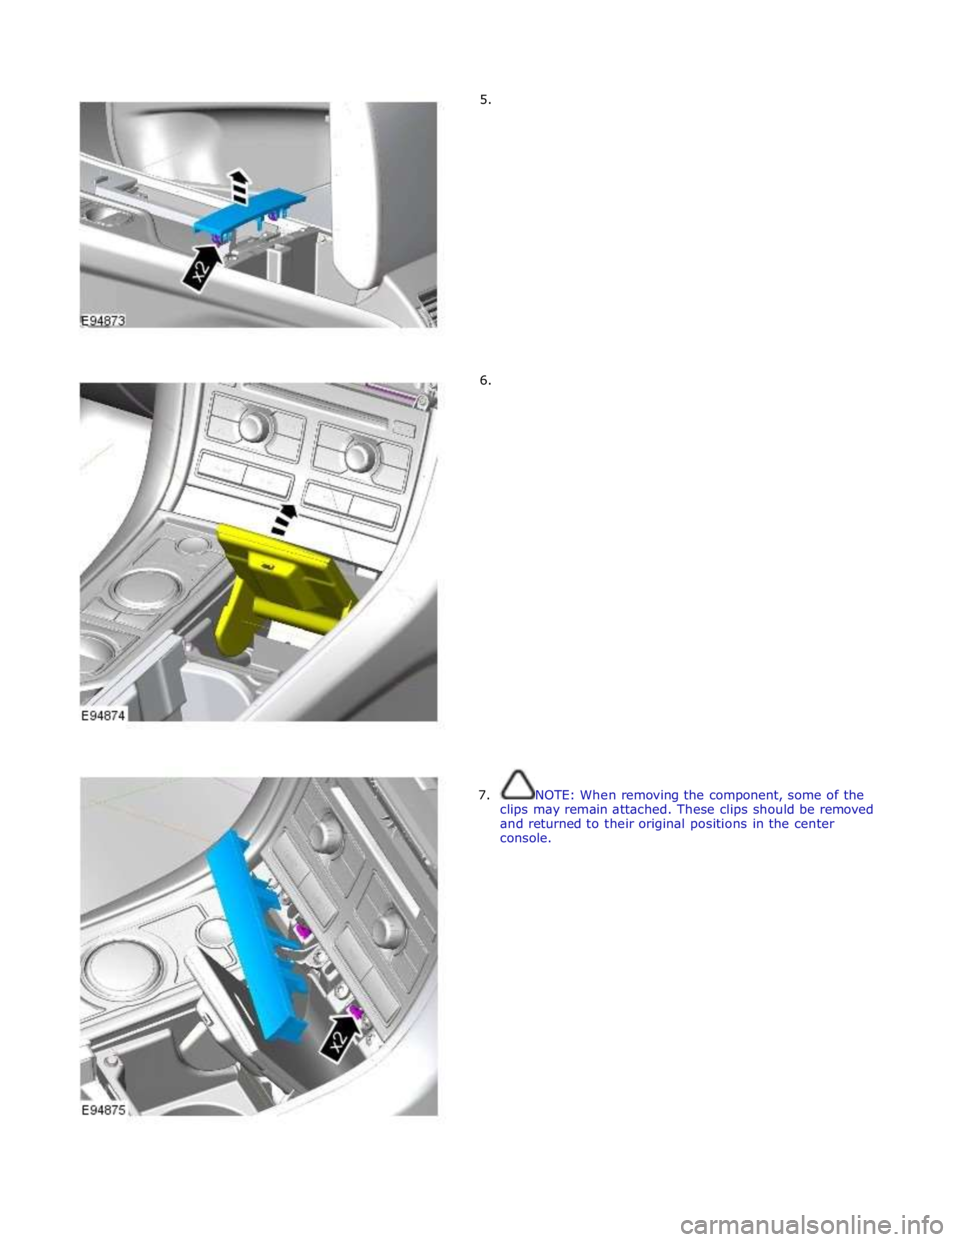
Page 2463 of 3039
Page 2464 of 3039
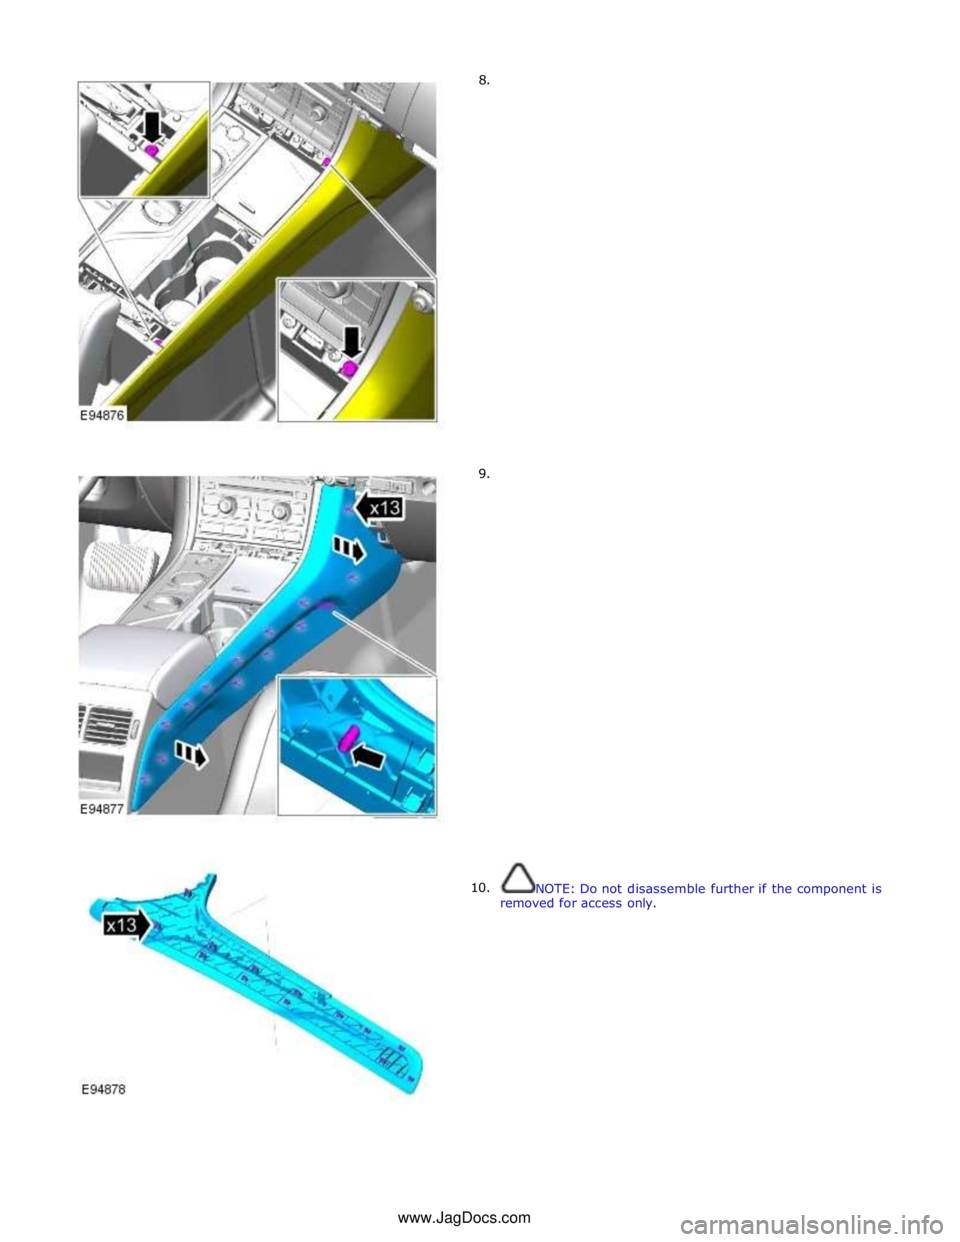
8.
9.
10.
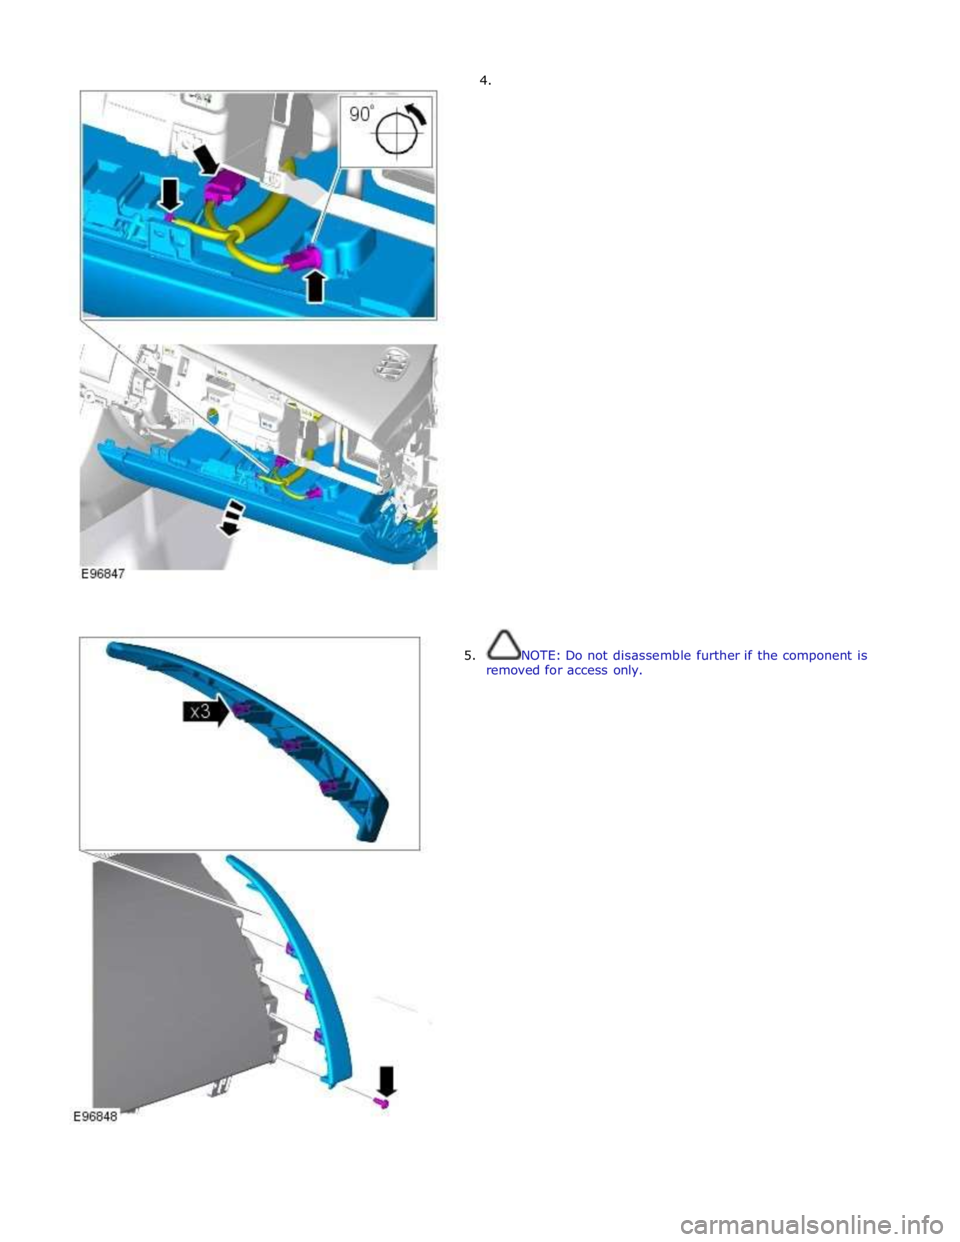
NOTE: Do not disassemble further if the component is
removed for access only. www.JagDocs.com
Page 2465 of 3039
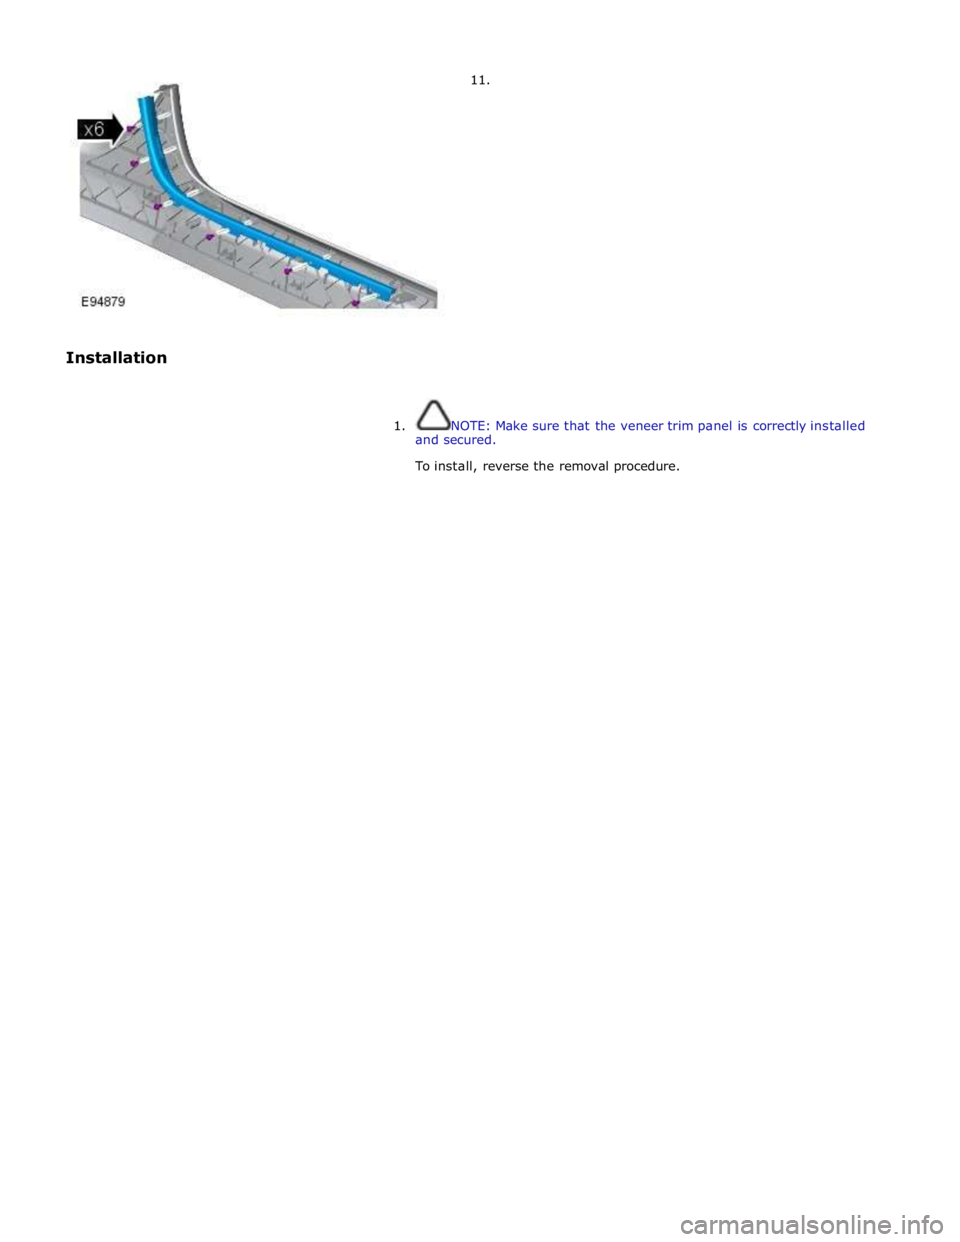
Installation 11.
1. NOTE: Make sure that the veneer trim panel is correctly installed
and secured.
To install, reverse the removal procedure.
Page 2466 of 3039
Instrument Panel and Console - Glove Compartment
Removal and Installation
Removal
NOTE: Removal steps in this procedure may contain installation details. Published: 11-May-2011
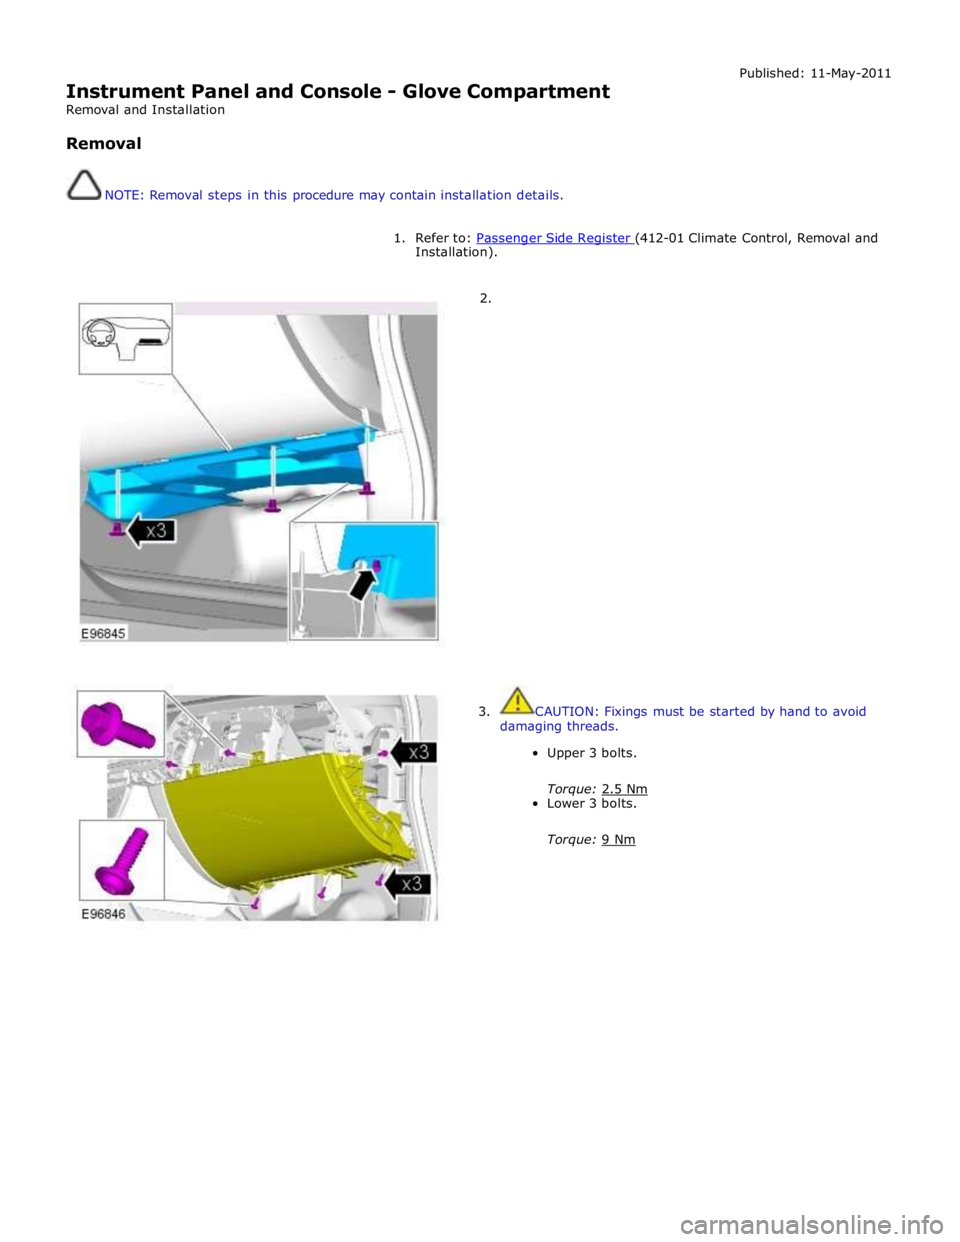
1. Refer to: Passenger Side Register (412-01 Climate Control, Removal and Installation).
2.
3. CAUTION: Fixings must be started by hand to avoid
damaging threads.
Upper 3 bolts.
Torque: 2.5 Nm Lower 3 bolts.
Torque: 9 Nm
Page 2467 of 3039
Page 2468 of 3039
Page 2469 of 3039
Instrument Panel and Console - Instrument Panel Console
Removal and Installation Published: 11-May-2011
Removal
CAUTIONS:
Inspect the seals, replace if damaged.
Inspect the O-rings, replace if damaged.
NOTE: Removal steps in this procedure may contain installation details.
All vehicles
1. Refer to: Battery Disconnect and Connect (414-01 Battery, Mounting and Cables, General Procedures).
2. WARNING: Make sure to support the vehicle with axle stands.
Raise and support the vehicle.
Vehicles with supercharger
3. Refer to: Cooling System Draining, Filling and Bleeding - V8 S/C 5.0L Petrol (303-03C Engine Cooling - V8 5.0L Petrol/V8 S/C 5.0L Petrol, General Procedures).
Vehicles without supercharger
4. Refer to: Cooling System Draining, Filling and Bleeding - V8 5.0L Petrol (303-03C Engine Cooling - V8 5.0L Petrol/V8 S/C 5.0L Petrol, General
Procedures).
Vehicles with diesel engine
5. Refer to: Cooling System Draining, Filling and Bleeding (303-03A Engine Cooling - TDV6 3.0L Diesel, General Procedures).
All vehicles
6. Refer to: Air Conditioning (A/C) System Recovery, Evacuation and Charging (412-00 Climate Control System - General Information, General Procedures).
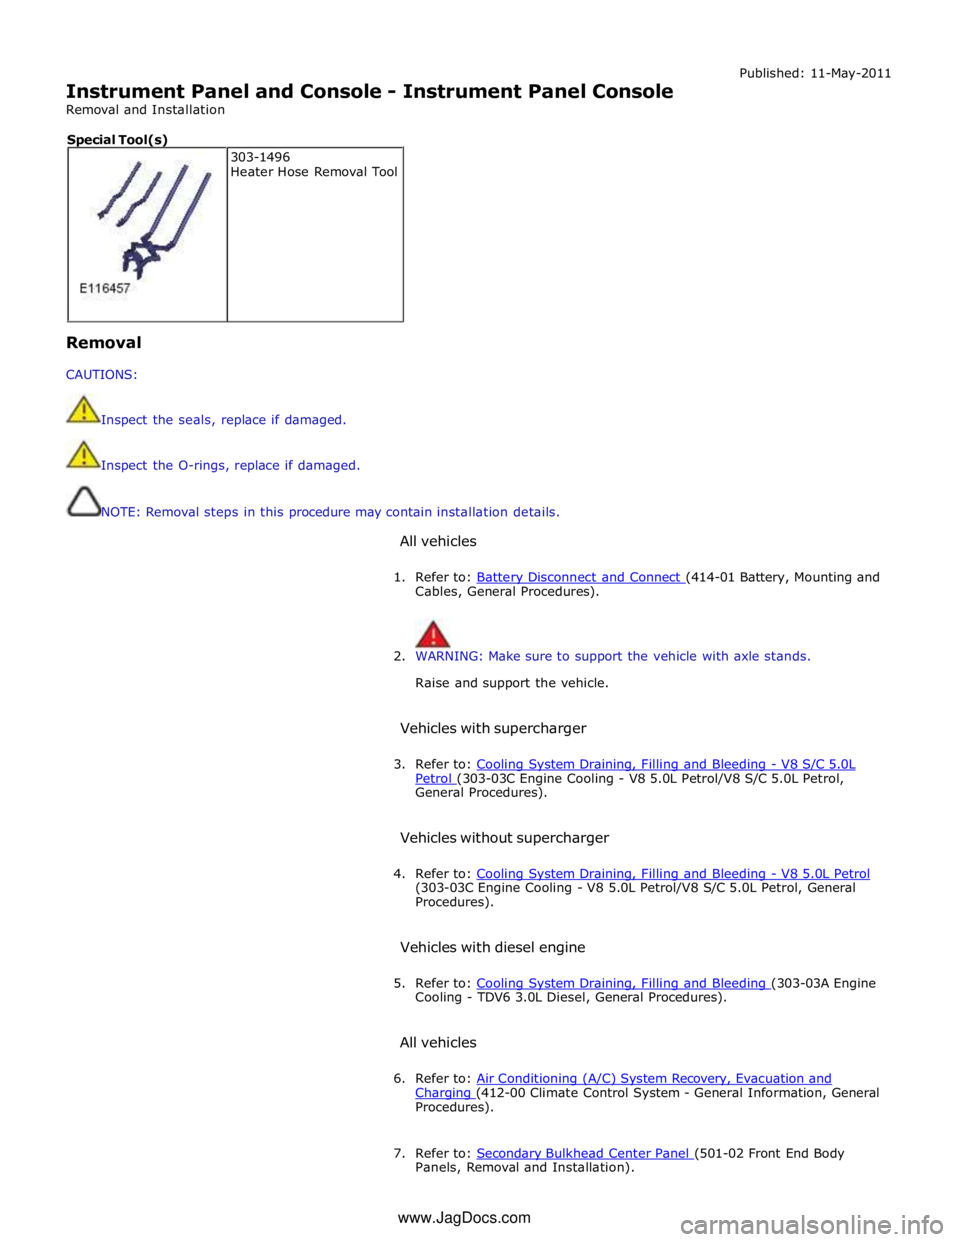
7. Refer to: Secondary Bulkhead Center Panel (501-02 Front End Body Panels, Removal and Installation). 303-1496
Heater Hose Removal Tool Special Tool(s)
www.JagDocs.com
Page 2470 of 3039
8. Refer to: Floor Console (501-12 Instrument Panel and Console, Removal and Installation).
9. Refer to: Glove Compartment (501-12 Instrument Panel and Console, Removal and Installation).
10. Refer to: Instrument Panel Lower Trim Panel (501-12 Instrument Panel and Console, Removal and Installation).
11. Refer to: A-Pillar Trim Panel (501-05 Interior Trim and Ornamentation, Removal and Installation).
12. Refer to: Cowl Side Trim Panel (501-05 Interior Trim and Ornamentation, Removal and Installation).
13. Refer to: Steering Wheel (211-04 Steering Column, Removal and Installation).
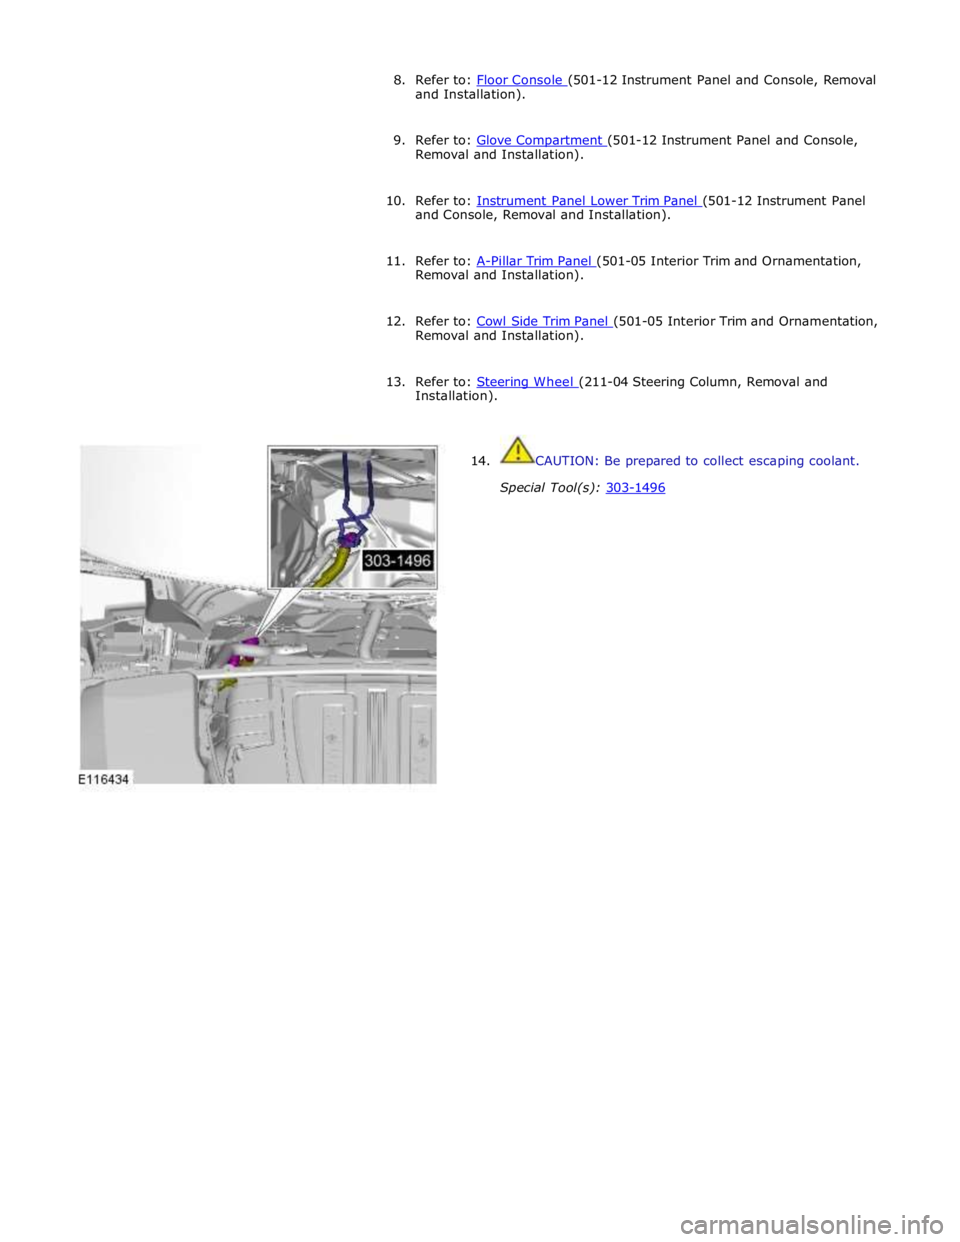
14. CAUTION: Be prepared to collect escaping coolant.
Special Tool(s): 303-1496
Trending: heater, C1a04-22, Pedestrian protection, right front initiator, ESP inoperative, trunk release, air condition
