transmission MAZDA MX-5 1994 Manual Online
[x] Cancel search | Manufacturer: MAZDA, Model Year: 1994, Model line: MX-5, Model: MAZDA MX-5 1994Pages: 1708, PDF Size: 82.34 MB
Page 430 of 1708

ROAD TEST K ROAD TEST A road test is necessary to inspect for problems in the different gear ranges. If a range or function tar- b geted by the road test is found to have any problem, refer to the ELECTRONIC SYSTEM COMPONENT segment or the TRANSMISSION, OIL COOLER, DRIVE PLATE, and SHIFT MECHANISM segments of this section. Do the road test only when the ATF is 50-80°C (1 22-1 76°F). D-RANGE TEST Shift Point, Shift Pattern, and Shift Shock 1. Shift the selector lever to D range and select the Normal mode. 2. Accelerate the vehicle with half-and wide open throttle opening. 3. Verify that 1-2, 2-3, and 3-4 upshifts, downshifts, and lockup are obtained. The shift points must be as shown in the D range (Normal) shift diagram. Note There is fourth gear is any of the following conditions. A The cruise control is operating, and there is an 8kmIh (5 mph} difference between the preset cruise speed and the vehicle speed. B The SET or RESUME switch is ON. There is no lockup when water temperature is below 50°C (1 22°F) or in the throttle valve closed posi- tion. 4. Check the upshifts for shift shock or slippage in the same manner. 5. While driving in overdrive, shift the selector lever to S range and verify that 4-3 downshift immediately occurs, then decelerate and verify that engine braking effect is felt in only third gear and 2nd gears. D-range (Normal) shift diagram p'yJ ..,,*sw.. LOCKUP AVAILABLE WHEN ACCELERATING AND CRUSING LOCKUP AVAILABLE WHEN COASTING 0 20 (1 2) 40 (25) 60 (37) 80 {50) 100 (63) 1 20 (75) 140 (87) 1 60 (99) VEHICLE SPEED kmlh {mph) Gartner Banana
Page 436 of 1708

AUTOMATIC TRANSMISSION FLUID (ATF) K AUTOMATIC TRANSMISSION FLUID (ATF) ATF Inspection Level 1. Park the vehicle on level ground. 2. Apply the parking brake and position wheel chocks se- curely to prevent the vehicle from rolling. 3. Warm up the engine until the ATF reaches 60-70°C (1 40-1 58°F). 4. While depressing the brake pedal, shift the selector lever to each range (P-L), pausing momentarily in each range. 5. Shift back to P. Note In some cases it may be necessary to inspect the ATF in the cool range 15-25°C (59-77"F) before warm- ing up the engine. 6. Ensure that the ATF level is in the HOT (65°C) range. Add ATF to the specification, if necessary. ATF type: DexronQII or M-I11 Condition Determine whether the transmission should be disas- sembled by noting. 1. If the ATF is muddy or varnished. 2. If the ATF smells strange or unusual. Gartner Banana
Page 437 of 1708

K AUTOMATIC TRANSMISSION FLUID (ATF) Fluid leaks Check for fluid leaks of the transmission as shown below, and repair or replace as necessary. 1. Gaskets, O-ring, and plugs 2. Oil hoses, oil pipes, and connections 3. Oil cooler @ .... O-RING @ .... GASKET 0 .... OIL SEAL 0 .... PLUG @ .... OTHER Gartner Banana
Page 438 of 1708

AUTOMATIC TRANSMISSION FLUID (ATF) K REPLACEMENT 1. On level ground, jack up the vehicle and support it evenly on safety stands. Warning When the transmission and the ATF are hot, they can cause burns to the skin. Allow the transmis- sion and the ATF to cool before doing this proce- dure. 2. Loosen the oil pan installation bolts, and drain the ATF into a container. 3. Remove the oil pan and gasket. 4. Clean the oil pan and the magnet. 5. Install the oil pan along with a new gasket. Tightening torque: 5.9-7.8 N-m (60-80 kgfecm, 53-69 in-lbf) 6. Add approximately 4.0 L (4.2 US qt, 3.5 Imp qt} ATF, and check the ATF level. (Refer to page K-35.) Specified ATF: DexronmII or M-I11 Gartner Banana
Page 439 of 1708

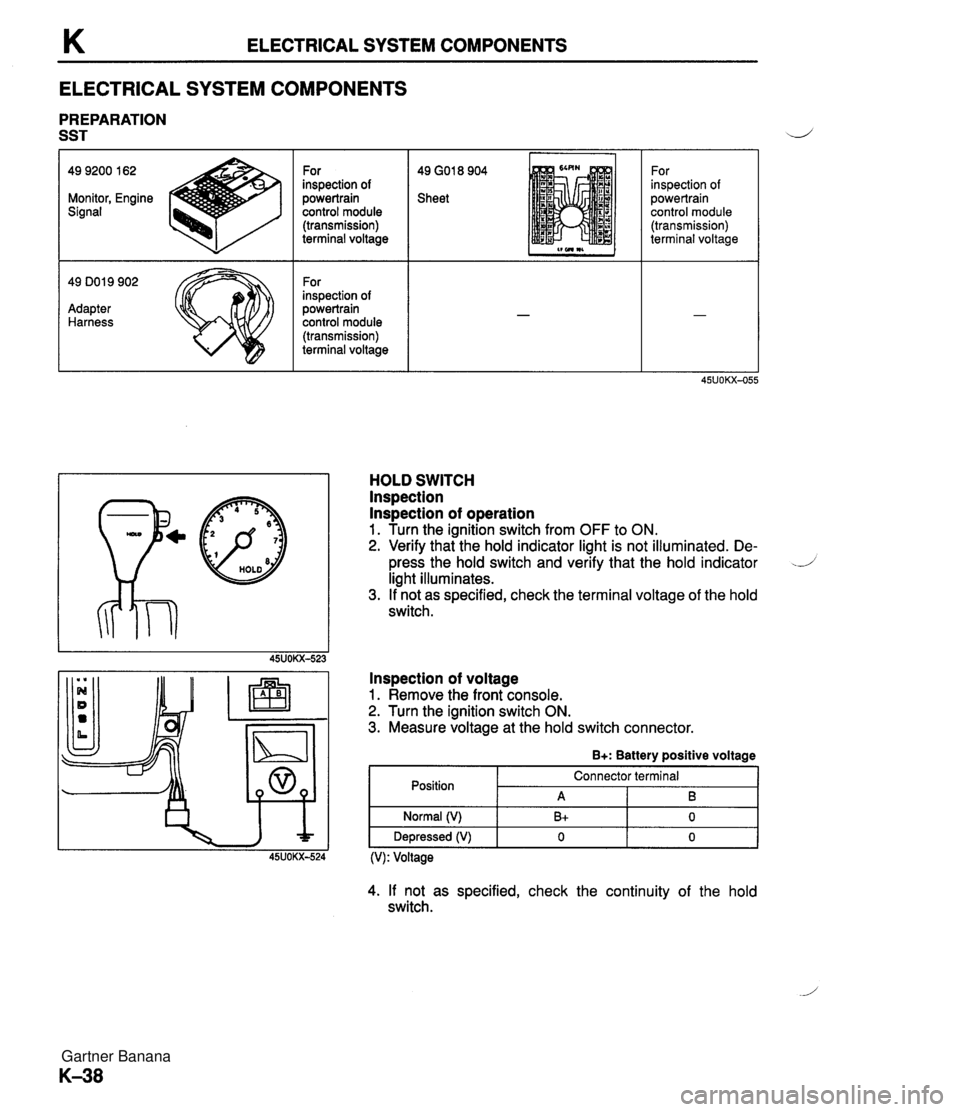
K ELECTRICAL SYSTEM COMPONENTS ELECTRICAL SYSTEM COMPONENTS PREPARATION SST 49 GO1 8 904 Sheet 49 9200 162 Monitor, Engine Signal - 49 DO1 9 902 Adapter Harness For inspection of powertrain control module (transmission) terminal voltage For inspection of powertrain control module (transmission) terminal voltage p@ HOLD For inspection of powertrain control module (transmission) terminal voltage HOLD SWITCH lnspection lnspection of operation 1. Turn the ignition switch from OFF to ON. 2. Verify that the hold indicator light is not illuminated. De- press the hold switch and verify that the hold indicator -J light illuminates. 3. If not as specified, check the terminal voltage of the hold switch. lnspection of voltage 1. Remove the front console. 2. Turn the ignition switch ON. 3. Measure voltage at the hold switch connector. B+: Battery positive voltage Position (V): Voltage Normal (V) Depressed (V) 4. If not as specified, check the continuity of the hold switch. Connector terminal A B+ 0 B 0 0 Gartner Banana
Page 440 of 1708

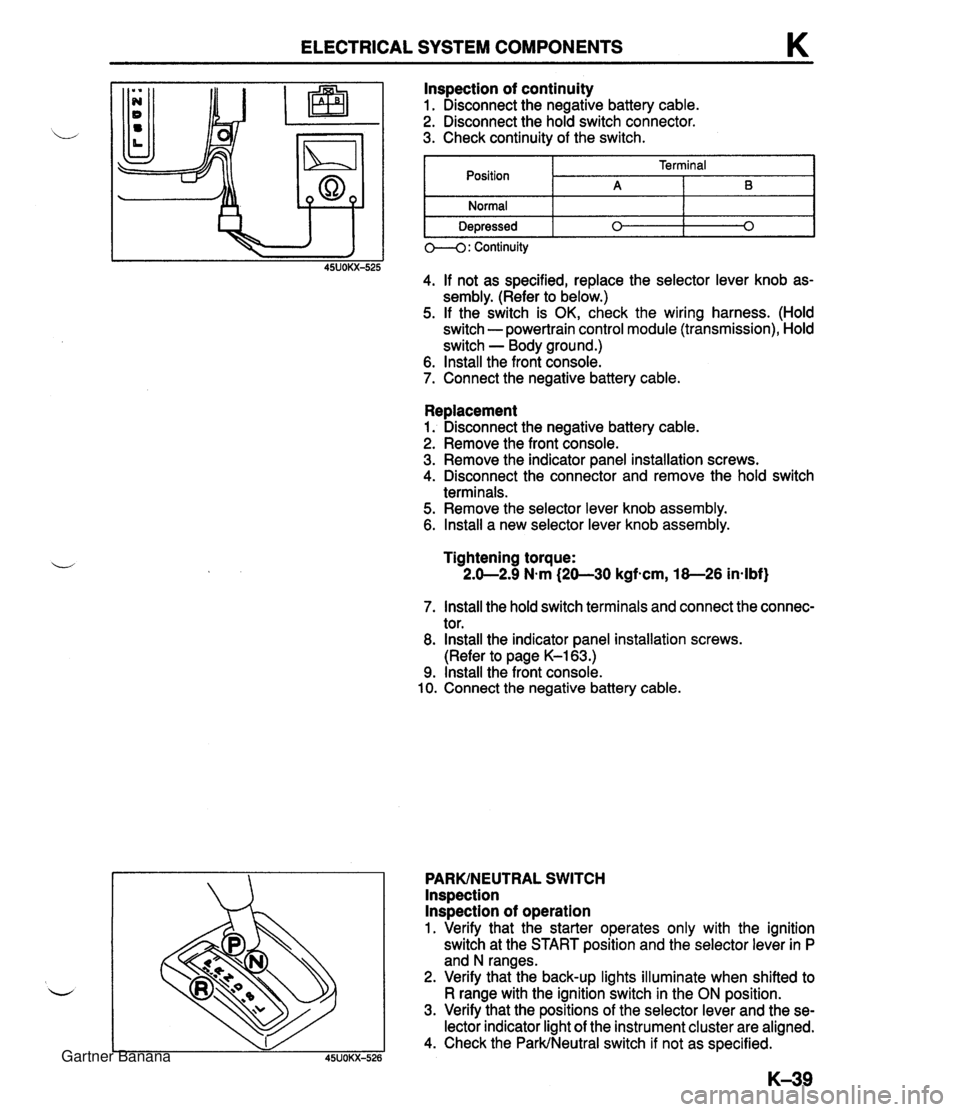
ELECTRICAL SYSTEM COMPONENTS K Replacement 1. Disconnect the negative battery cable. 2. Remove the front console. 3. Remove the indicator panel installation screws. 4. Disconnect the connector and remove the hold switch terminals. 5. Remove the selector lever knob assembly. 6. lnstall a new selector lever knob assembly. lnspection of continuity 1. Disconnect the negative battery cable. 2. Disconnect the hold switch connector. 3. Check continuity of the switch. Tightening torque: 2.0-2.9 N.m (20-30 kgfscm, 18-26 in-lbf) Position Normal Depressed 7. lnstall the hold switch terminals and connect the connec- tor. 8. lnstall the indicator panel installation screws. (Refer to page K-163.) 9. lnstall the front console. 10. Connect the negative battery cable. PARKINEUTRAL SWITCH lnspection lnspection of operation 1. Verify that the starter operates only with the ignition switch at the START position and the selector lever in P and N ranges. 2. Verify that the back-up lights illuminate when shifted to R range with the ignition switch in the ON position. 3. Verify that the positions of the selector lever and the se- lector indicator light of the instrument cluster are aligned. 4. Check the ParkINeutral switch if not as specified. 0--4: Continuity 45UOKX-525 4. If not as specified, replace the selector lever knob as- sembly. (Refer to below.) 5. If the switch is OK, check the wiring harness. (Hold switch - powertrain control module (transmission), Hold switch - Body ground.) 6. lnstall the front console. 7. Connect the negative battery cable. Terminal A 0 B 0 Gartner Banana
Page 444 of 1708

ELECTRICAL SYSTEM COMPONENTS K I POWERTRAIN CONTROL POWERTRAIN CONTROL MODULE (TRANSMISSION) lns~ection 1. kemove the powertrain control module (Transmission). (Refer to page K-45.) 2. Disconnect the control module connectors. 3. Connect the SSTs (Engine Signal Monitor and Adapt- er Harness) to the powertrain control module (Transmis- sion) as shown. 4. Place the SST (sheet) on the Engine Signal Monitor. 5. Turn the ignition switch ON. 6. Measure the terminal voltage at each terminal. 7. If any control module terminal voltage is incorrect, check the related input of output devices and wiring. If no prob- lem is found, replace the powertrain control module (Transmission). Caution Applying voltage to terminals A and B of this SST will damage the SST. Gartner Banana
Page 446 of 1708

ELECTRICAL SYSTEM COMPONENTS K Terminal 2D (Input) 2E (Output) 2F (Input) 2G (Output) 2H (Input) - !I (Output) !J (Input)' - !K (Output) - !L (Ground)' 'M (Output) 1-2 shift solenoid valve 1 2E (S range) 2-3 shift solenoid valve Connected to Voltmeter I I +terminal . ParWneutral switch (D range) 2D - - (L range) 3-4 shift solenoid lalve Jehicle speed pulse 2J lenerator .ockup control ;olenoid valve 2K lehicle speed pulse 2L lenerator - 1 - I I - , - Z - 1 d - _4 3 V - - ower) E P (Ground) - 2P Ground ov - Q (Battery sattery 2Q B+ lgnition switch ON ower) OV Ignition switch OFF R - - - - - s (Battery Battery 2s B+ lgnition switch ON ~wer) Ground OV lgnition switch OFF Throttle position sen- 2T 'I- (Input) sor Approx. Throttle valve closed throttle position to wide 0.44.1 V open throttle Checked with AC range 1-2 control solenoid 'alve I 2M 1 ( Blow l.5V I 1 B+ 3-2 or 4-2 downshift OV Other conditions - - - I I I I lattery 20 B+ Constant Replacement Disconnect the negative battery cable. Disconnect the powertrain control module (Transmis- sion) connector. Remove the bolt and nut shown in the figure, and re- move the powertrain control module (Transmission). Install the new powertrain control module (Transmis- sion). Tightening torque: 19-25 N-m (1 .S2.6 kgf-m, 14--18 ftslbf) Connect the powertrain control module (Transmission). Connect the negative battery cable. Gartner Banana
Page 447 of 1708

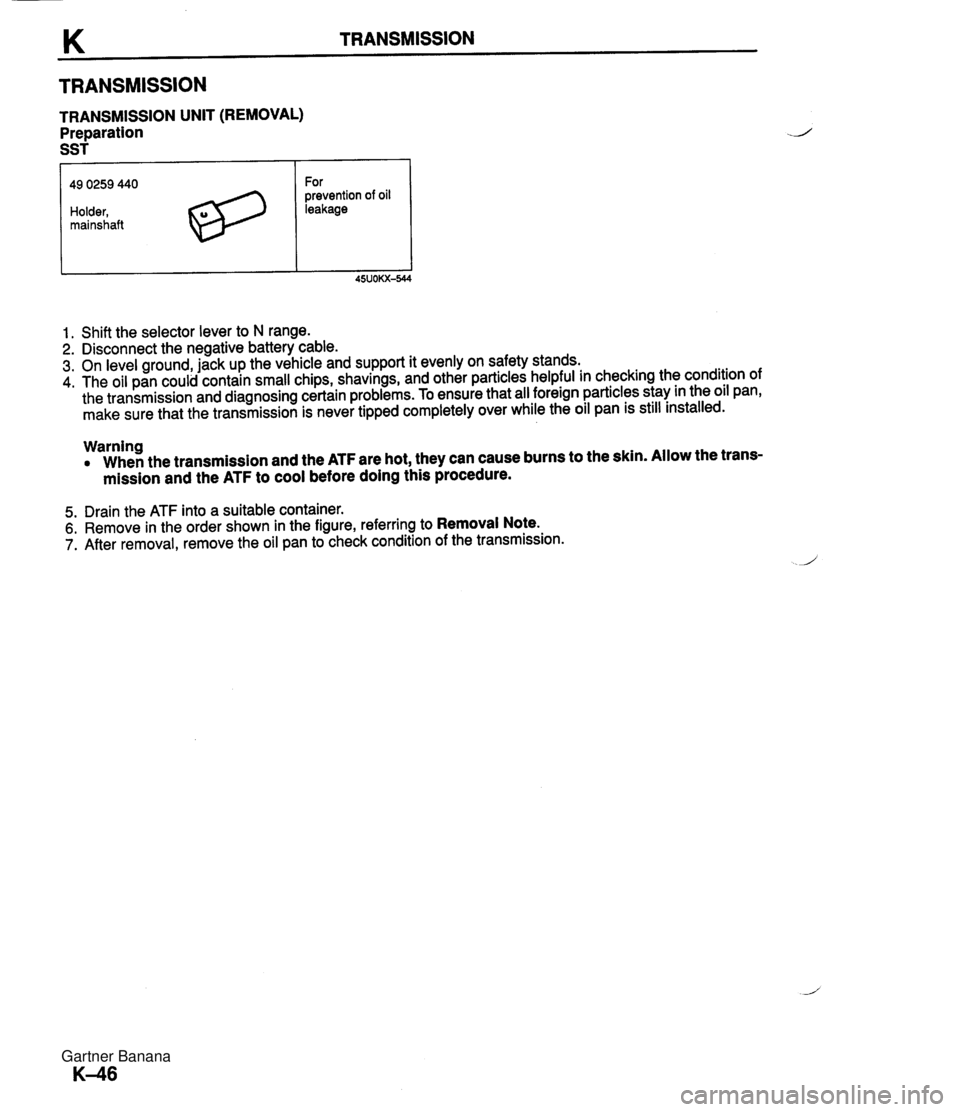
TRANSMISSION TRANSMISSION UNIT (REMOVAL) Preparation SST 49 0259 440 Holder, mainshaft For prevention of oil leakage 1. Shift the selector lever to N range. 2. Disconnect the negative battery cable. 3. On level ground, jack up the vehicle and support it evenly on safety stands. 4. The oil pan could contain small chips, shavings, and other particles helpful in checking the condition of the transmission and diagnosing certain problems. To ensure that all foreign particles stay in the oil pan, make sure that the transmission is never tipped completely over while the oil pan is still installed. Warning When the transmission and the ATF are hot, they can cause burns to the skin. Allow the trans- mission and the ATF to cool before doing this procedure. 5. Drain the ATF into a suitable container. 6. Remove in the order shown in the figure, referring to Removal Note. 7. After removal, remove the oil pan to check condition of the transmission. Gartner Banana
Page 448 of 1708

TRANSMISSION K 1. Shift rod 12. Lockup solenoid connector 2. Undercover 13. Oil pipe 3. Performance rod 14. Harness 4. Exhaust pipe 15. Power plant frame (PPF) 5. Propeller shaft Removal Note ............. page K-48 Removal .................... section L 1 6. Undercover 6. Speedometer cable 17. Torque converter Nut - 7. Vacuum hose 18. Starter u 8. Parklneutral switch connector 19. Transmission mount bolt 9. Vehicle speed pulse generator connector 20. Transmission 10. Solenoid connector Removal Note ............. page K-49 11. ATF thermosensor connector Gartner Banana