NISSAN TERRANO 2002 Service Repair Manual
TERRANO 2002
NISSAN
NISSAN
https://www.carmanualsonline.info/img/5/57393/w960_57393-0.png
NISSAN TERRANO 2002 Service Repair Manual
Trending: air conditioning, phone, hood release, tow, gas type, airbag, wheel bolts
Page 321 of 1767
YBT075
EXTERIOR
Removal and Installation (Cont'd)
BT-33
Page 322 of 1767
Removal and Installation
IWhen removing or installing the seat trim, carefully handle it to keep dirt out and avoid damage.
CAUTION:
IBefore removing the front seat, turn the ignition switch off, disconnect both battery cables and wait
at least 3 minutes (models with side air bag).
IDo not drop, tilt, or bump the side air bag module installed in the seat. Always handle it with care.
IDisconnect the side air bag harness connector and heated seat harness connector from under the
seat before removing the seat.
IDisconnect the side air bag harness connector before removing the seatback. Refer to RS-27,
ªFront Side Air Bag Moduleº for details.
FRONT SEAT
BT-34
Page 323 of 1767
NBT177
FRONT SEAT
Removal and Installation (Cont'd)
BT-35
Page 324 of 1767
Heated Seat
HFor Wiring Diagram, refer to EL-128, ªHEATED SEATº for details.
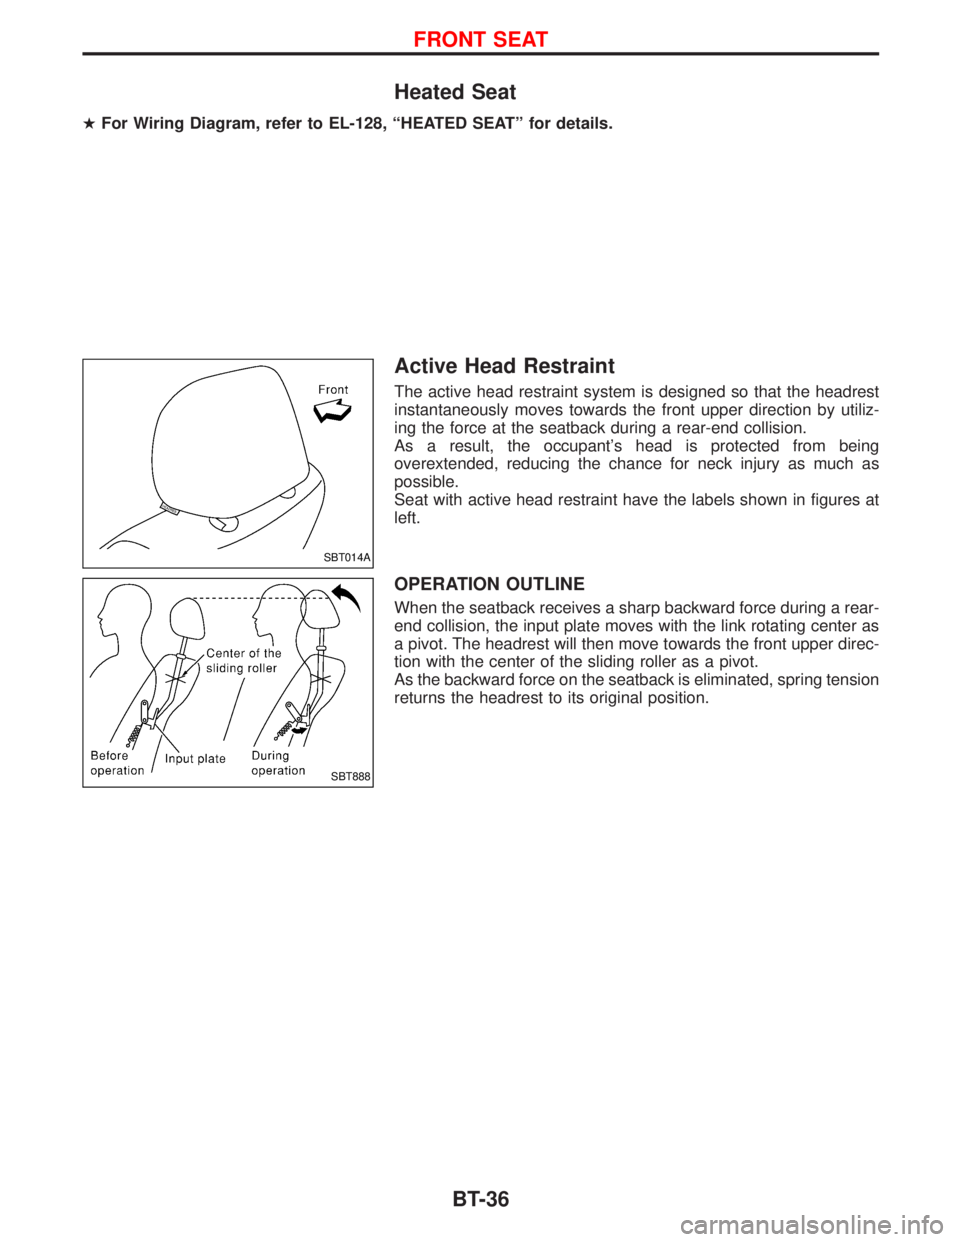
Active Head Restraint
The active head restraint system is designed so that the headrest
instantaneously moves towards the front upper direction by utiliz-
ing the force at the seatback during a rear-end collision.
As a result, the occupant's head is protected from being
overextended, reducing the chance for neck injury as much as
possible.
Seat with active head restraint have the labels shown in figures at
left.
OPERATION OUTLINE
When the seatback receives a sharp backward force during a rear-
end collision, the input plate moves with the link rotating center as
a pivot. The headrest will then move towards the front upper direc-
tion with the center of the sliding roller as a pivot.
As the backward force on the seatback is eliminated, spring tension
returns the headrest to its original position.
SBT014A
SBT888
FRONT SEAT
BT-36
Page 325 of 1767
Removal and Installation
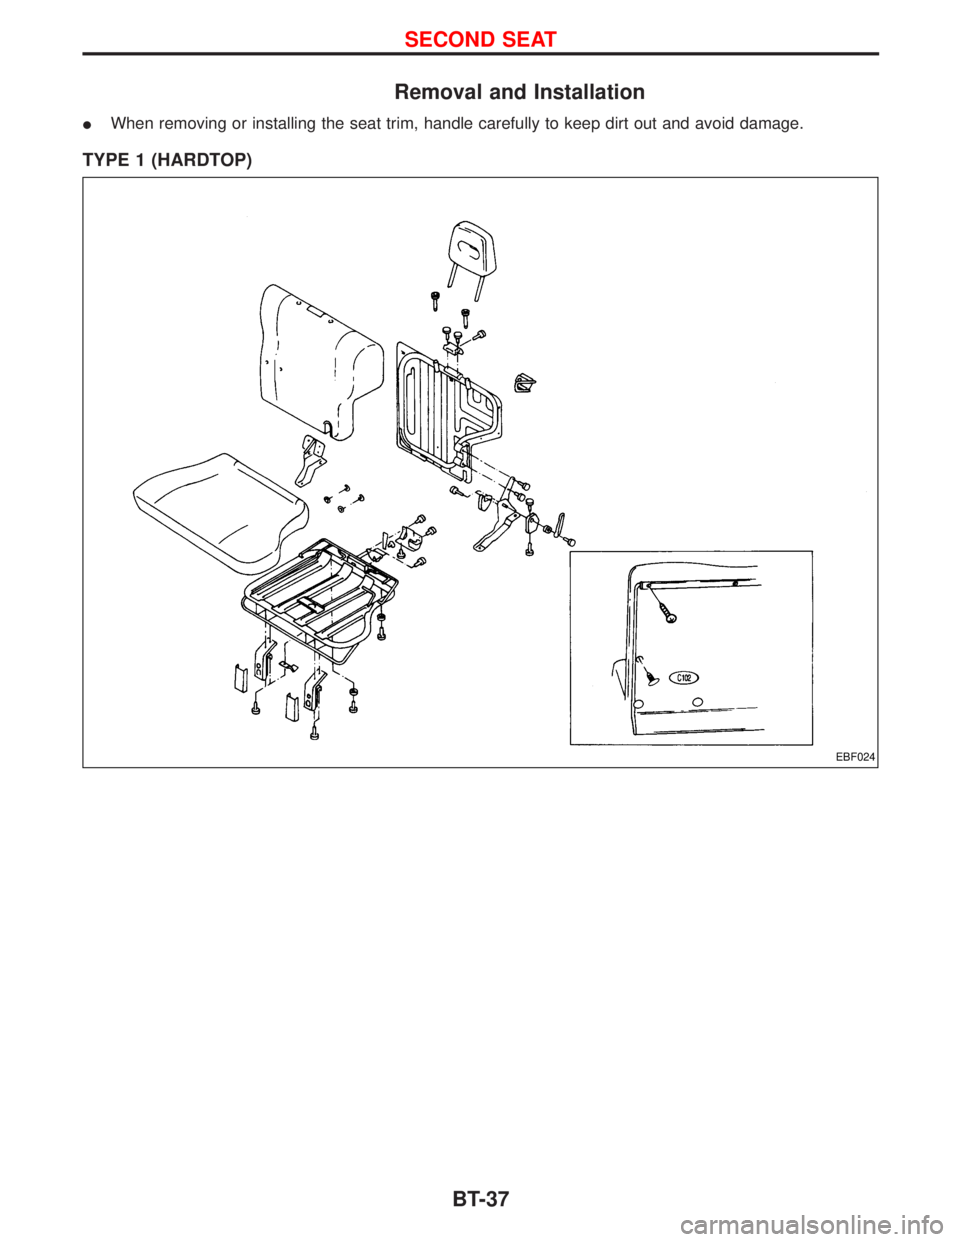
IWhen removing or installing the seat trim, handle carefully to keep dirt out and avoid damage.
TYPE 1 (HARDTOP)
EBF024
SECOND SEAT
BT-37
Page 326 of 1767
TYPE 2 (WAGON)
EBF025
SECOND SEAT
Removal and Installation (Cont'd)
BT-38
Page 327 of 1767
Removal and Installation
NBF236
THIRD SEAT
BT-39
Page 328 of 1767
Removal and Installation
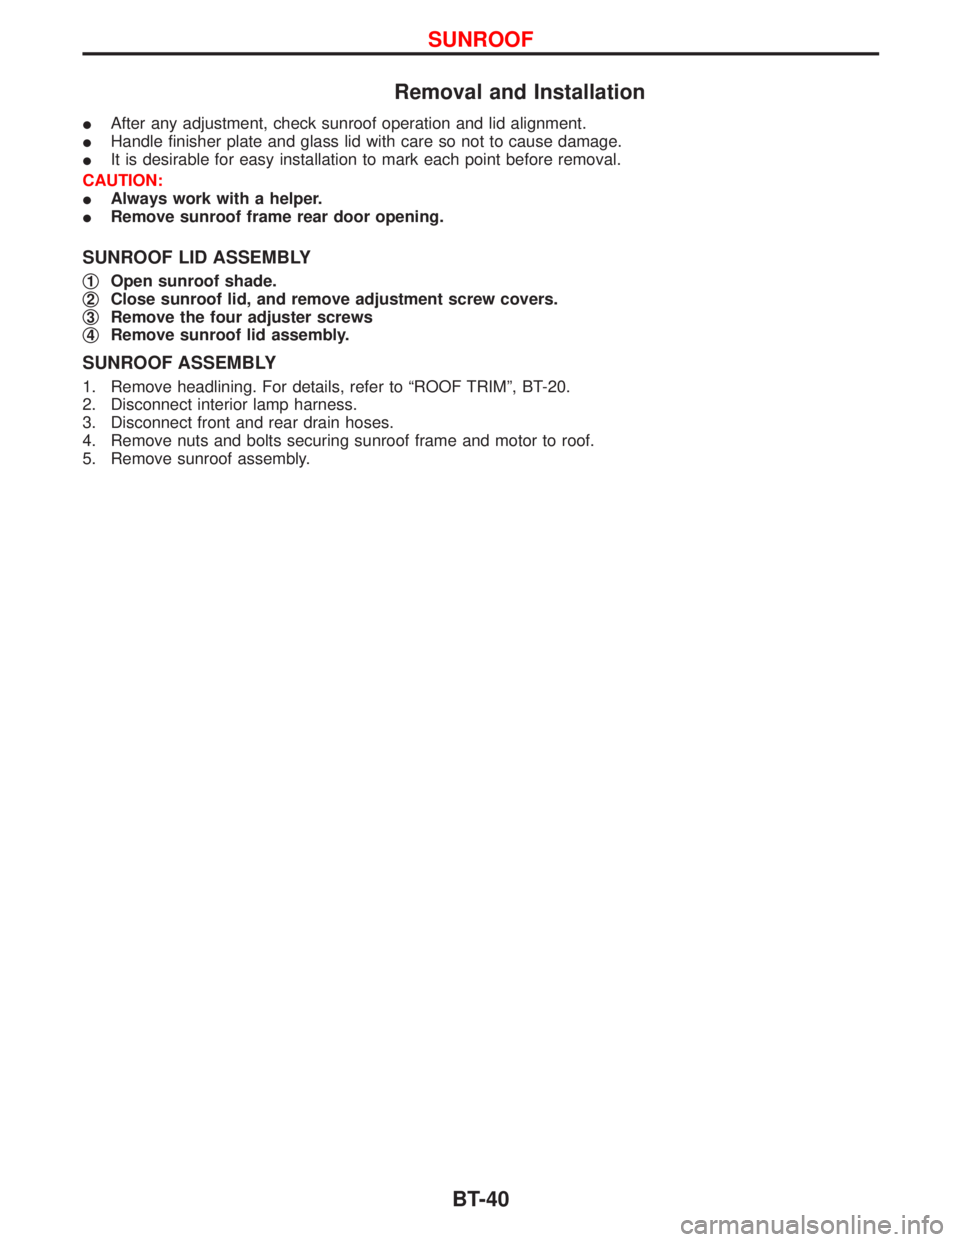
IAfter any adjustment, check sunroof operation and lid alignment.
IHandle finisher plate and glass lid with care so not to cause damage.
IIt is desirable for easy installation to mark each point before removal.
CAUTION:
IAlways work with a helper.
IRemove sunroof frame rear door opening.
SUNROOF LID ASSEMBLY
q1Open sunroof shade.
q
2Close sunroof lid, and remove adjustment screw covers.
q
3Remove the four adjuster screws
q
4Remove sunroof lid assembly.
SUNROOF ASSEMBLY
1. Remove headlining. For details, refer to ªROOF TRIMº, BT-20.
2. Disconnect interior lamp harness.
3. Disconnect front and rear drain hoses.
4. Remove nuts and bolts securing sunroof frame and motor to roof.
5. Remove sunroof assembly.
SUNROOF
BT-40
Page 329 of 1767
EBF032
SUNROOF
Removal and Installation (Cont'd)
BT-41
Page 330 of 1767
Removal and Installation
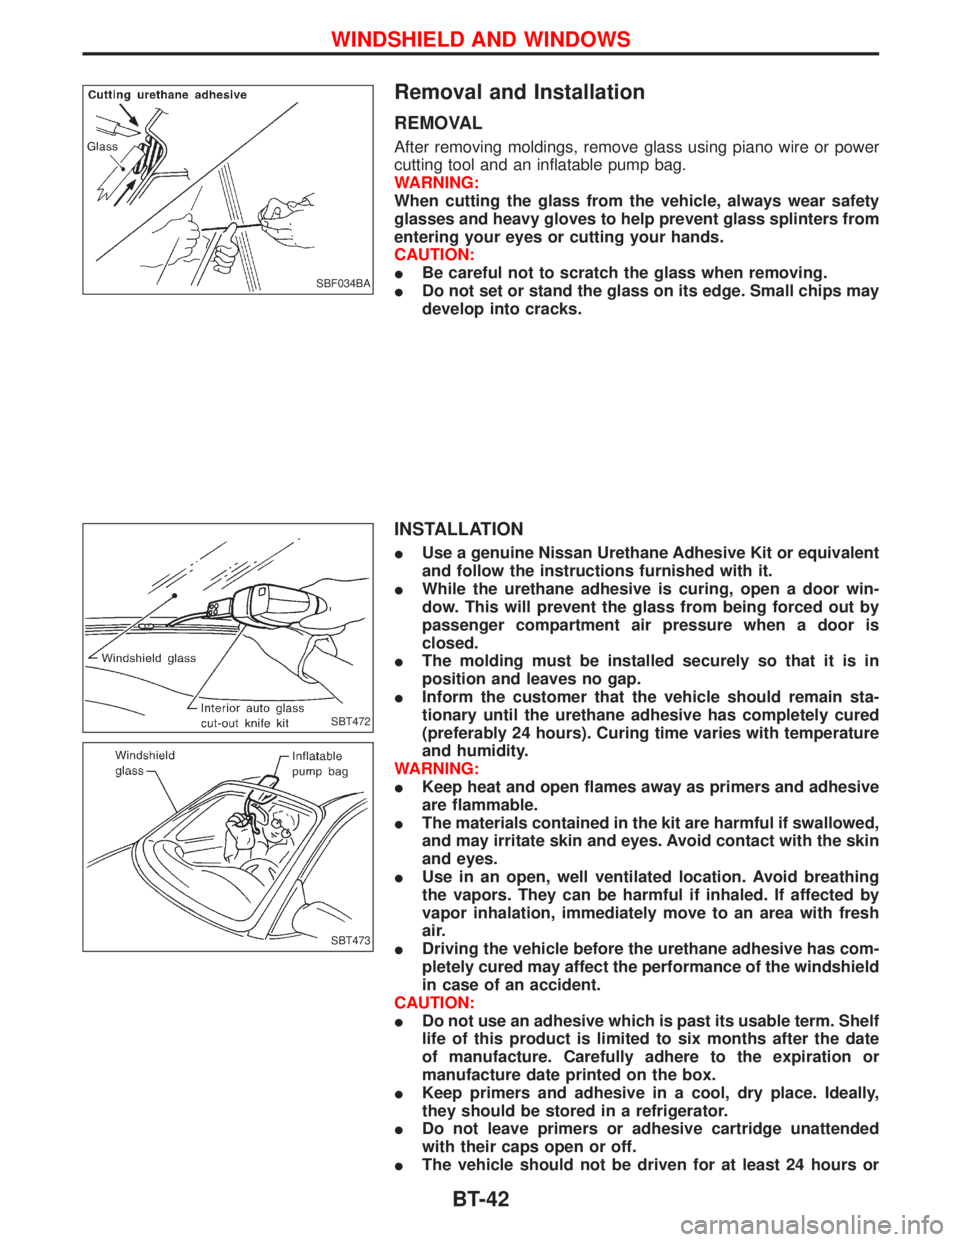
REMOVAL
After removing moldings, remove glass using piano wire or power
cutting tool and an inflatable pump bag.
WARNING:
When cutting the glass from the vehicle, always wear safety
glasses and heavy gloves to help prevent glass splinters from
entering your eyes or cutting your hands.
CAUTION:
IBe careful not to scratch the glass when removing.
IDo not set or stand the glass on its edge. Small chips may
develop into cracks.
INSTALLATION
IUse a genuine Nissan Urethane Adhesive Kit or equivalent
and follow the instructions furnished with it.
IWhile the urethane adhesive is curing, open a door win-
dow. This will prevent the glass from being forced out by
passenger compartment air pressure when a door is
closed.
IThe molding must be installed securely so that it is in
position and leaves no gap.
IInform the customer that the vehicle should remain sta-
tionary until the urethane adhesive has completely cured
(preferably 24 hours). Curing time varies with temperature
and humidity.
WARNING:
IKeep heat and open flames away as primers and adhesive
are flammable.
IThe materials contained in the kit are harmful if swallowed,
and may irritate skin and eyes. Avoid contact with the skin
and eyes.
IUse in an open, well ventilated location. Avoid breathing
the vapors. They can be harmful if inhaled. If affected by
vapor inhalation, immediately move to an area with fresh
air.
IDriving the vehicle before the urethane adhesive has com-
pletely cured may affect the performance of the windshield
in case of an accident.
CAUTION:
IDo not use an adhesive which is past its usable term. Shelf
life of this product is limited to six months after the date
of manufacture. Carefully adhere to the expiration or
manufacture date printed on the box.
IKeep primers and adhesive in a cool, dry place. Ideally,
they should be stored in a refrigerator.
IDo not leave primers or adhesive cartridge unattended
with their caps open or off.
IThe vehicle should not be driven for at least 24 hours or
SBF034BA
SBT472
SBT473
WINDSHIELD AND WINDOWS
BT-42
Trending: heating, ECO mode, engine, sensor, wiper size, wiper blades, oil reset

