RENAULT KANGOO 1997 KC / 1.G Chassis User Guide
Manufacturer: RENAULT, Model Year: 1997, Model line: KANGOO, Model: RENAULT KANGOO 1997 KC / 1.GPages: 105
Page 11 of 105
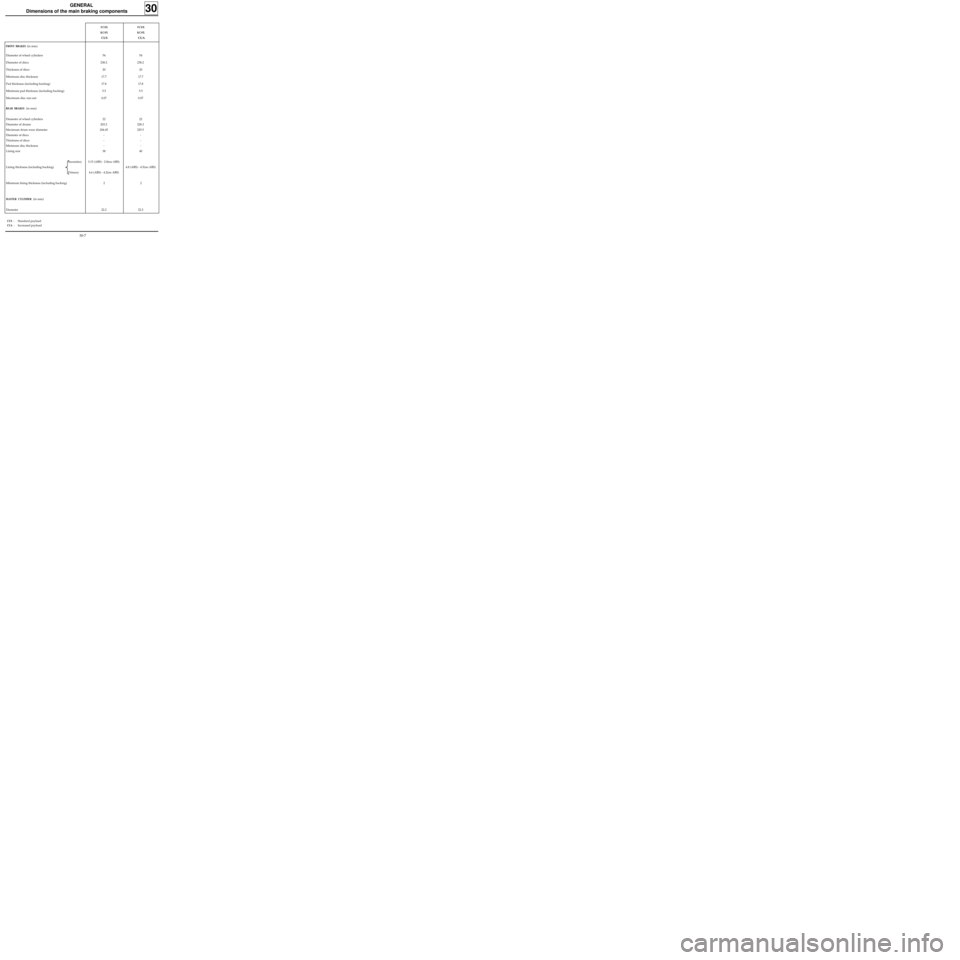
FRONT BRAKES (in mm)
Diameter of wheel cylinders
Diameter of discs
Thickness of discs
Minimum disc thickness
Pad thickness (including backing)
Minimum pad thickness (including backing)
Maximum disc run-out
REAR BRAKES (in mm)
Diameter of wheel cylinders
Diameter of drums
Maximum drum wear diameter
Diameter of discs
Thickness of discs
Minimum disc thickness
Lining size
Secondary
Lining thickness (including backing)
Primary
Minimum lining thickness (including backing)
MASTER CYLINDER (in mm)
Diameter
GENERAL
Dimensions of the main braking components
30
FC0X
KC0X
CUS
FC0X
KC0X
CUA
54
238.2
20
17.7
17.8
5.5
0.07
22
203.2
204.45
-
-
-
38
3.15 (ABS) - 2.8(no ABS)
4.6 (ABS) - 4.2(no ABS)
2
22.254
238.2
20
17.7
17,8
5.5
0.07
22
228.3
229.5
-
-
-
40
4.8 (ABS) - 4.5(no ABS)
2
22.2
CUS : Standard payload
CUA : Increased payload
30-7
Page 12 of 105
GENERAL
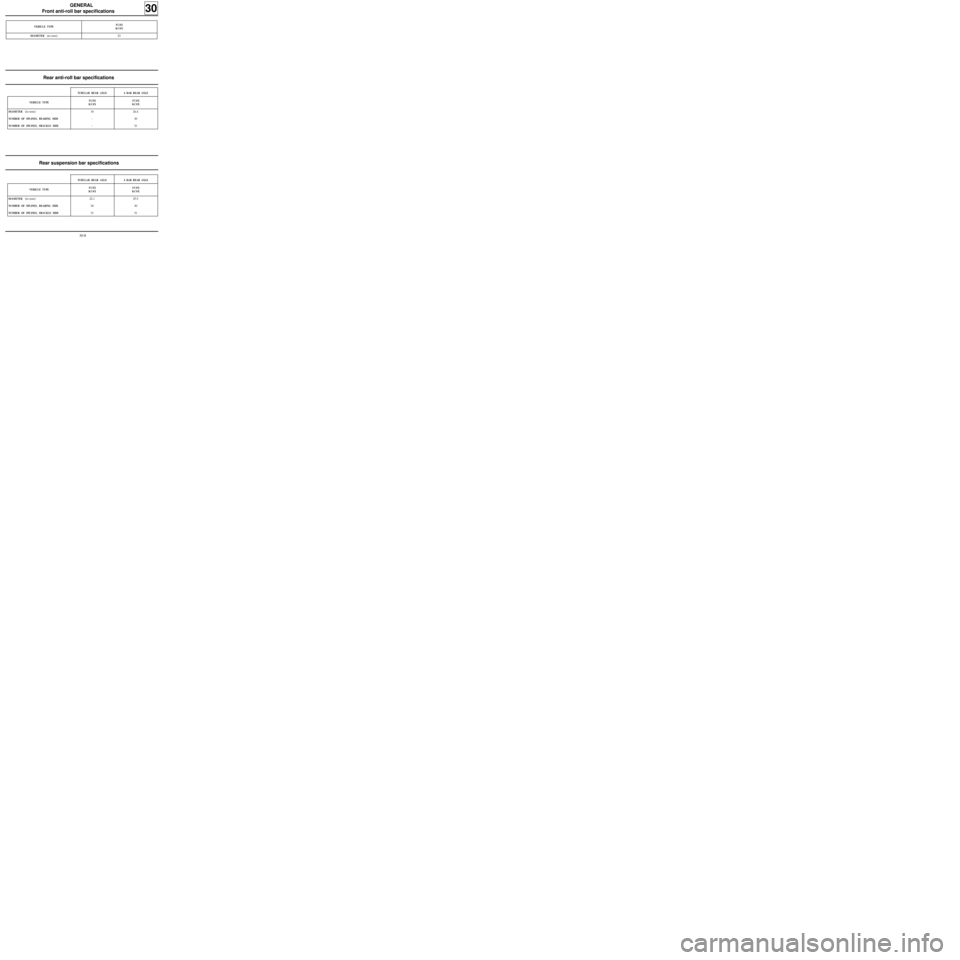
Front anti-roll bar specifications
30
VEHICLE TYPEFC0X
KC0X
DIAMETER
(in mm) 23
Rear anti-roll bar specifications
Rear suspension bar specifications
VEHICLE TYPEFC0X
KC0XFC0X
KC0X
DIAMETER
(in mm)
NUMBER OF SPLINES, BEARING SIDE
NUMBER OF SPLINES, SHACKLE SIDE
18
-
-26.4
30
31
TUBULAR REAR AXLE4 BAR REAR AXLE
VEHICLE TYPEFC0X
KC0XFC0X
KC0X
DIAMETER
(in mm)
NUMBER OF SPLINES, BEARING SIDE
NUMBER OF SPLINES, SHACKLE SIDE
22.1
30
3125.5
30
31
TUBULAR REAR AXLE4 BAR REAR AXLE
30-8
Page 13 of 105
Brake fluid
78491R
GENERAL
Brake unions and pipes
30
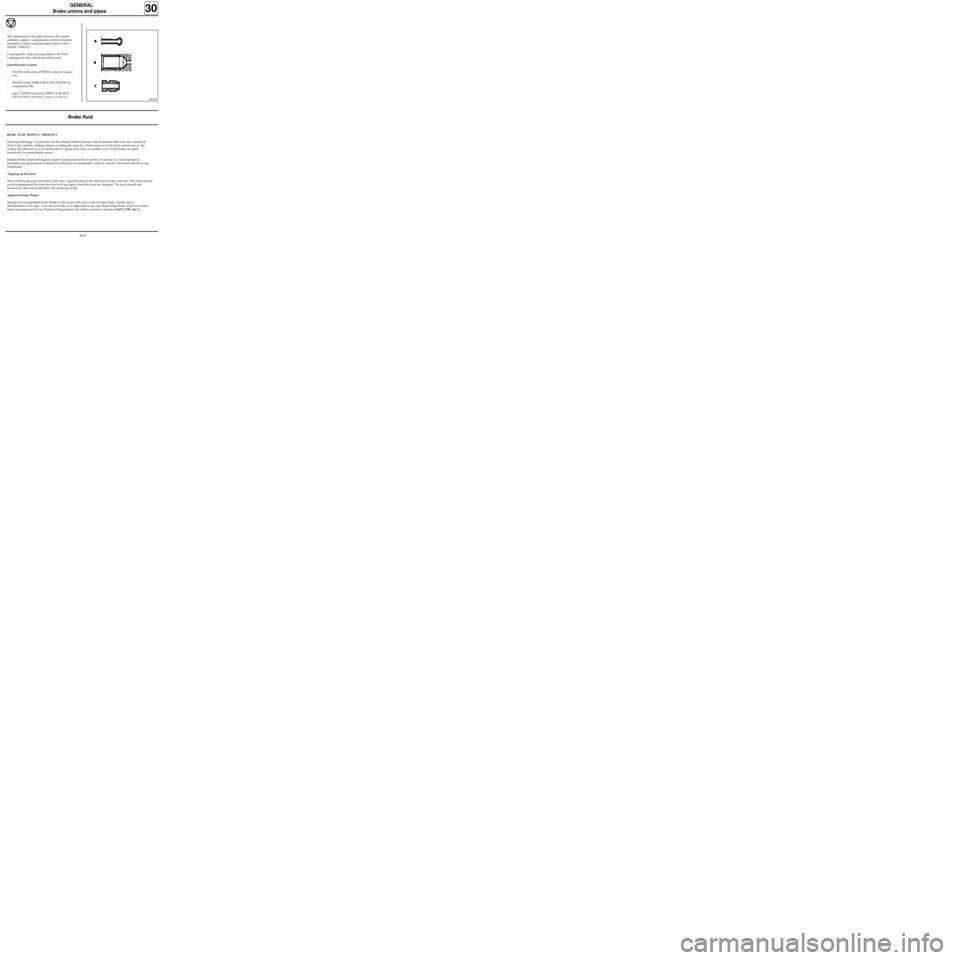
The connection of the pipes between the master
cylinder, calipers, compensator and the hydraulic
assembly is made using threaded unions with a
METRIC THREAD.
Consequently, only parts specified in the Parts
Catalogue for this vehicle should be used.
Identification of parts
- SHAPE of the ends of PIPES in steel or copper
(A),
- SHAPE of the THREADED LOCATIONS on
components (B),
- pipe UNIONS coloured GREEN or BLACK:
HEXAGONAL OUTSIDE 11 mm or 12 mm (C).
BRAKE FLUID RENEWAL FREQUENCY
Braking technology, in particular for disc brakes (hollow pistons which transmit little heat, low volume of
fluid in the cylinder, sliding calipers avoiding the need for a fluid reservoir in the least cooled area of the
wheel), has allowed us to avoid the risk of vapour lock as far as possible, even if the brakes are used
intensively (in mountainous areas).
Modern brake fluids still degrade slightly during the first few months of use due to a small uptake of
humidity and replacement of the fluid is therefore recommended (refer to vehicle’s Warranty and Servicing
Handbook).
Topping up the level:
Wear of the brake pads and shoes will cause a gradual drop in the fluid level in the reservoir. This drop should
not be compensated for since the level will rise again when the pads are changed. The level should not
however be allowed to fall below the minimum mark.
Approved brake fluids:
Mixing two incompatible brake fluids in the circuit will cause a risk of major leaks, mainly due to
deterioration of the cups. To avoid such risks, it is important to use only those brake fluids which have been
tested and approved by our Technical Department and which conform to standard SAE J 1703 dot 4.
30-9
Page 14 of 105
FRONT AXLE
Lower wishbone
31
85875R2
12992R
Wheel bolts 9
Lower wishbone nut on sub-frame 9
Key nut on stub-axle carrier 5.5
Anti-roll bar bearing nut 1.5
TIGHTENING TORQUES (in daN.m)
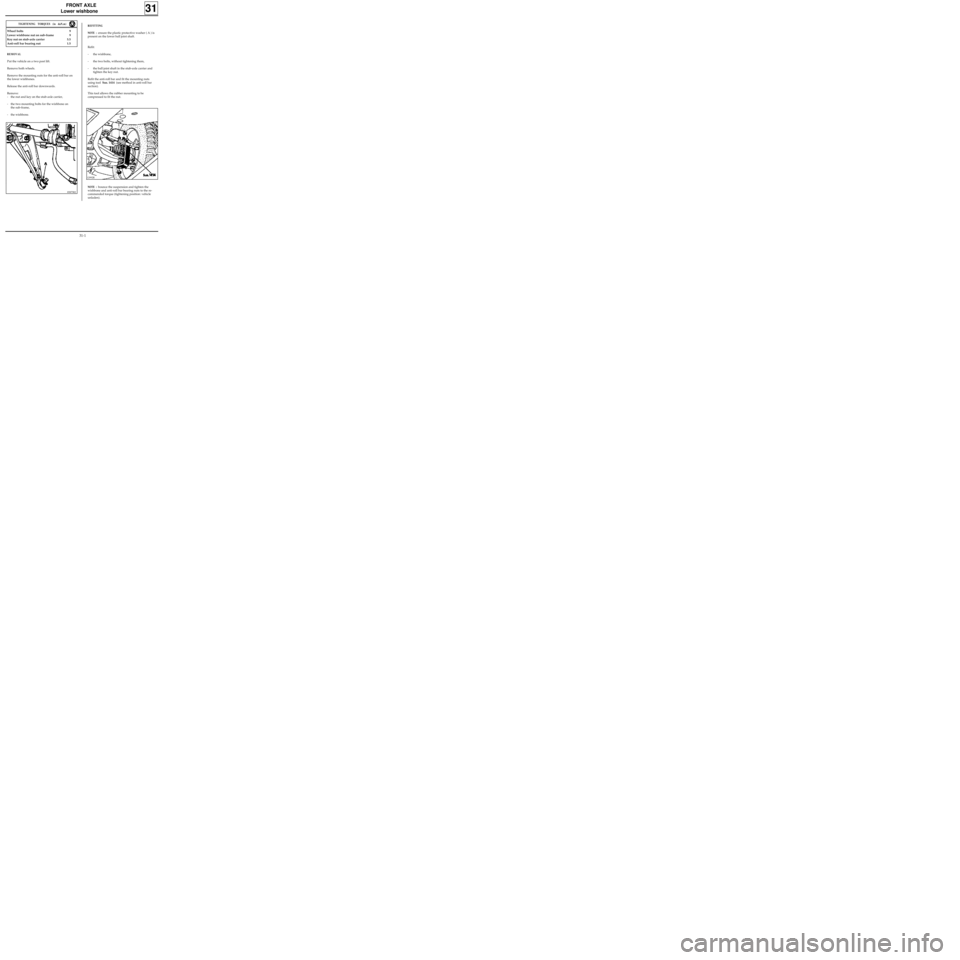
REMOVAL
Put the vehicle on a two post lift.
Remove both wheels.
Remove the mounting nuts for the anti-roll bar on
the lower wishbones.
Release the anti-roll bar downwards.
Remove:
- the nut and key on the stub-axle carrier,
- the two mounting bolts for the wishbone on
the sub-frame,
- the wishbone.
REFITTING
NOTE :
ensure the plastic protective washer ( A ) is
present on the lower ball joint shaft.
Refit:
- the wishbone,
- the two bolts, without tightening them,
- the ball joint shaft in the stub-axle carrier and
tighten the key nut.
Refit the anti-roll bar and fit the mounting nuts
using tool Sus. 1414 (see method in anti-roll bar
section).
This tool allows the rubber mounting to be
compressed to fit the nut.
NOTE : bounce the suspension and tighten the
wishbone and anti-roll bar bearing nuts to the re-
commended torque (tightening position: vehicle
unladen).
31-1
Page 15 of 105
FRONT AXLE
Lower wishbone rubber bushes
31
90404R
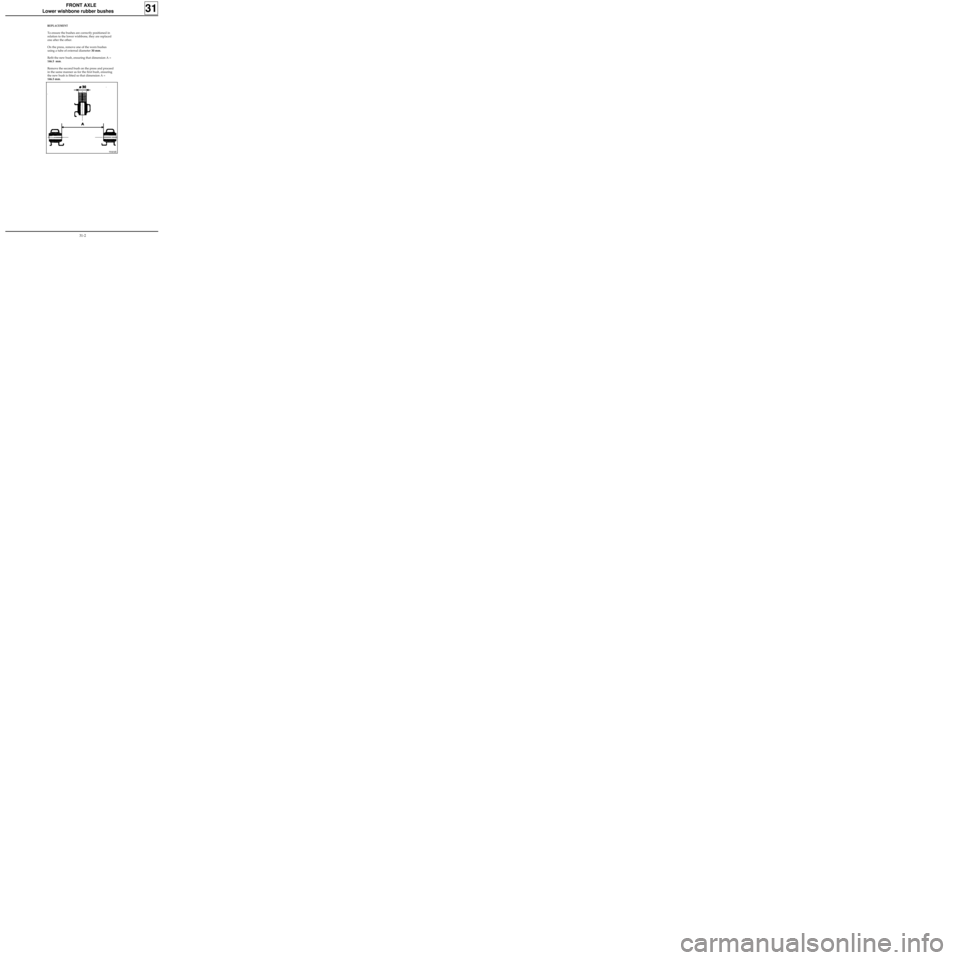
REPLACEMENT
To ensure the bushes are correctly positioned in
relation to the lower wishbone, they are replaced
one after the other.
On the press, remove one of the worn bushes
using a tube of external diameter 30 mm.
Refit the new bush, ensuring that dimension A =
146.5 mm.
Remove the second bush on the press and proceed
in the same manner as for the first bush, ensuring
the new bush is fitted so that dimension A =
146.5 mm.
31-2
Page 16 of 105
FRONT AXLE
Lower wishbone ball joint
31
85875R1
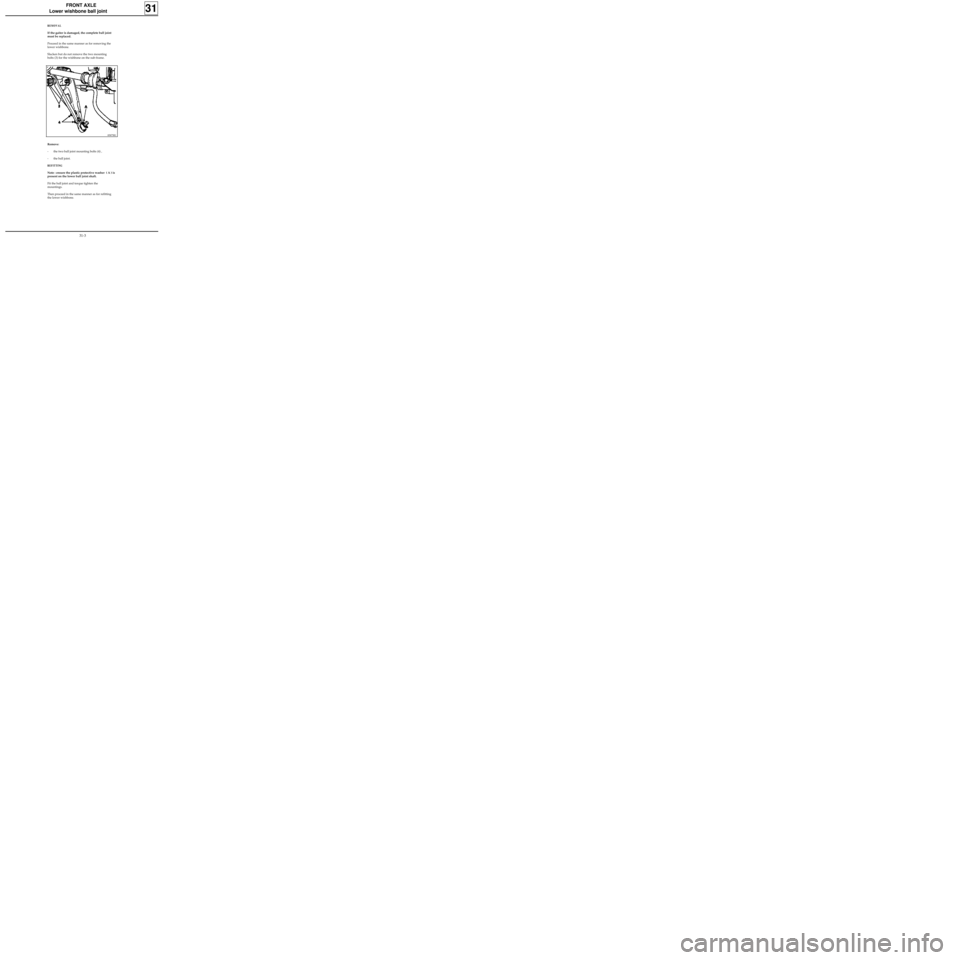
Remove:
- the two ball joint mounting bolts (4) ,
- the ball joint.
REFITTING
Note : ensure the plastic protective washer ( A ) is
present on the lower ball joint shaft.
Fit the ball joint and torque tighten the
mountings.
Then proceed in the same manner as for refitting
the lower wishbone.
REMOVAL
If the gaiter is damaged, the complete ball joint
must be replaced.
Proceed in the same manner as for removing the
lower wishbone.
Slacken but do not remove the two mounting
bolts (3) for the wishbone on the sub-frame.
31-3
Page 17 of 105
FRONT AXLE
Brake pads
31
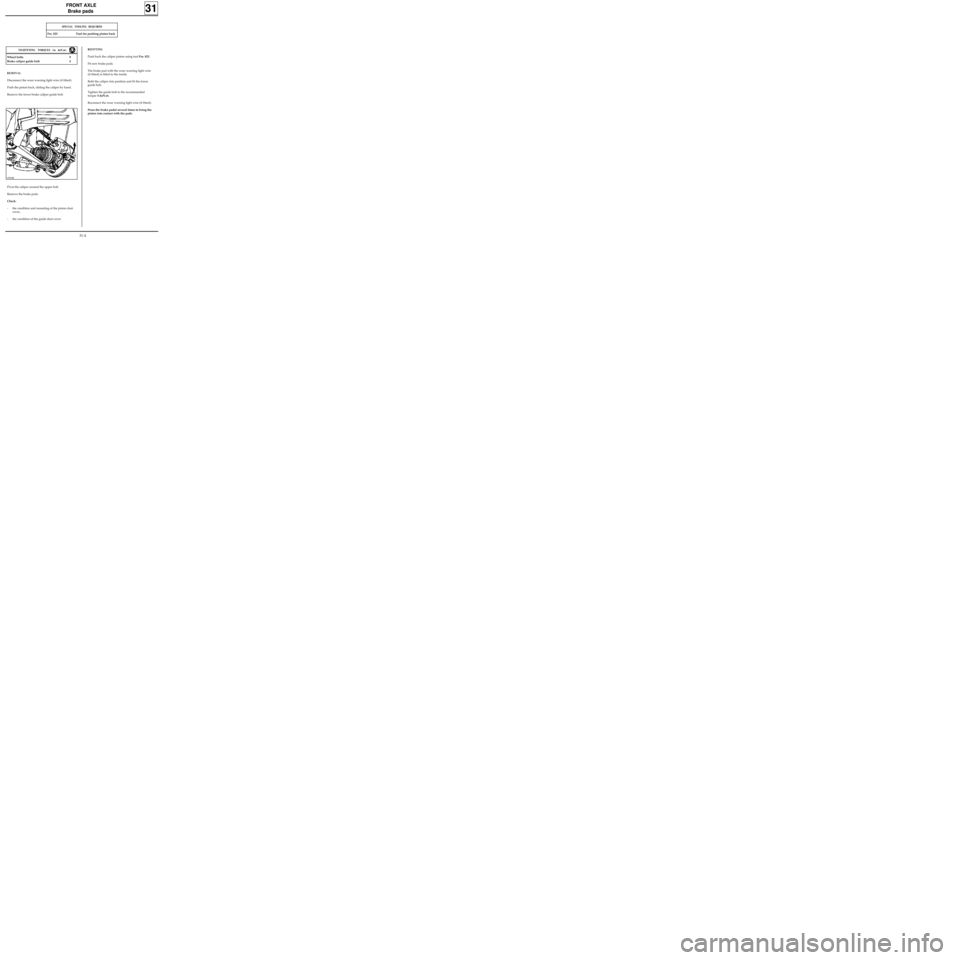
REMOVAL
Disconnect the wear warning light wire (if fitted).
Push the piston back, sliding the caliper by hand.
Remove the lower brake caliper guide bolt.
SPECIAL TOOLING REQUIRED
Fre. 823 Tool for pushing piston back
Wheel bolts 9
Brake caliper guide bolt 4
12994R
REFITTING
Push back the caliper piston using tool Fre. 823.
Fit new brake pads.
The brake pad with the wear warning light wire
(if fitted) is fitted to the inside.
Refit the caliper into position and fit the lower
guide bolt.
Tighten the guide bolt to the recommended
torque 4 daN.m.
Reconnect the wear warning light wire (if fitted).
Press the brake pedal several times to bring the
piston into contact with the pads.
TIGHTENING TORQUES (in daN.m)
Pivot the caliper around the upper bolt.
Remove the brake pads.
Check:
- the condition and mounting of the piston dust
cover,
- the condition of the guide dust cover.
31-4
Page 18 of 105
FRONT AXLE
Front brake calipers
31
REPAIR
NOTE :
if there are any scratches in the caliper
bore, the complete caliper must be replaced.
To do this:
- remove the brake caliper,
- remove the rubber dust cover,
- remove the piston using compressed air,
inserting a wooden block between the caliper
and the piston to prevent damage to the
piston: any trace of damage to the piston skirt
will render it unusable
- remove the seal from the caliper groove using
a flexible rounded edge blade (eg feeler
gauge).
Clean the parts using methylated spirits.
Replace any faulty parts using original parts and
then refit the seal, piston and dust seal.
REMOVAL
In the passenger compartment, fit a pedal press
(limits the amount of brake fluid which will run
out).
Release the brake pipe at the wheel cylinder end.
Remove the brake pads (see previous page).
Remove the two mounting bolts for the caliper on
the stub axle carrier.
Completely release the brake pipe by turning the
caliper.
Check the condition of the pipe and replace it if
necessary.
REFITTING
Fit the pipe onto the caliper.
Remove the pedal press.
To check the correct operation of the caliper
cylinder, slacken the bleed screw and wait for
brake fluid to run out.
Retighten the bleed screw.
Refit the caliper on the stub axle carrier and
tighten the bolts to the recommended torque.
Refit the pads and the wheel cylinder (follow the
method described previously).
Wheel bolts 9
Brake caliper guide bolt 4
Brake caliper mounting bolt 10
TIGHTENING TORQUES (in daN.m)
31-5
Page 19 of 105
FRONT AXLE
Brake discs
31
Brake discs cannot be reground. If they are too
heavily worn or are scratched they must be repla-
ced.
Wheel bolts 9
Brake caliper mounting bolt 10
REMOVAL
Remove:
- the two brake assembly mounting bolts
(attach the assembly to the spring),
- the two mounting bolts securing the disc to
the hub,
- the disc.
REFITTING
Refitting is the reverse of removal.
NOTE : when a brake disc is replaced, the pads
must also be renewed.
TIGHTENING TORQUES (in daN.m)
31-6
Page 20 of 105
FRONT AXLE
Stub axle carrier bearing
31
SPECIAL TOOLING REQUIRED
Rou. 15 -01 Shaft protector
Rou. 604 -01 Hub locking tool
T.Av.476 Ball joint extractor
T.Av. 1050-02 Tool for pushing driveshaft back
Driveshaft nut 28
Wheel bolts 9
Shock absorber base nut 18
Brake caliper mounting bolt 10
Track rod end nut 3.7
Key nut on stub axle carrier 5.5
83348G
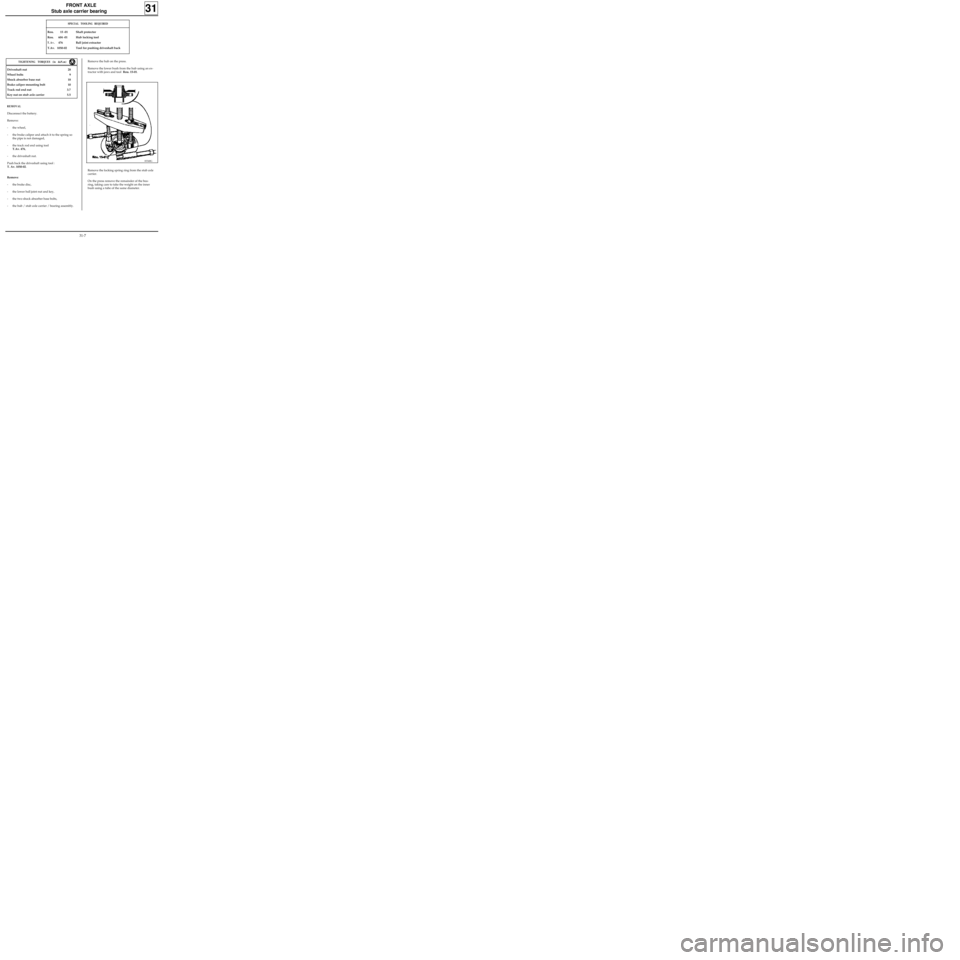
REMOVAL
Disconnect the battery.
Remove:
- the wheel,
- the brake caliper and attach it to the spring so
the pipe is not damaged,
- the track rod end using tool
T.Av. 476,
- the driveshaft nut.
Push back the driveshaft using tool :
T. Av. 1050-02.
Remove:
- the brake disc,
- the lower ball joint nut and key,
- the two shock absorber base bolts,
- the hub / stub axle carrier / bearing assembly.
TIGHTENING TORQUES (in daN.m)Remove the hub on the press.
Remove the lower bush from the hub using an ex-
tractor with jaws and tool Rou. 15-01.
Remove the locking spring ring from the stub axle
carrier.
On the press remove the remainder of the bea-
ring, taking care to take the weight on the inner
bush using a tube of the same diameter.
31-7