LEXUS LS430 2003 Factory Repair Manual
Manufacturer: LEXUS, Model Year: 2003,
Model line: LS430,
Model: LEXUS LS430 2003
Pages: 4500, PDF Size: 87.45 MB
LEXUS LS430 2003 Factory Repair Manual
LS430 2003
LEXUS
LEXUS
https://www.carmanualsonline.info/img/36/57050/w960_57050-0.png
LEXUS LS430 2003 Factory Repair Manual
Trending: battery replacement, B2402, radio antenna, evaporator, fuel system, c1725, tire size
Page 1131 of 4500
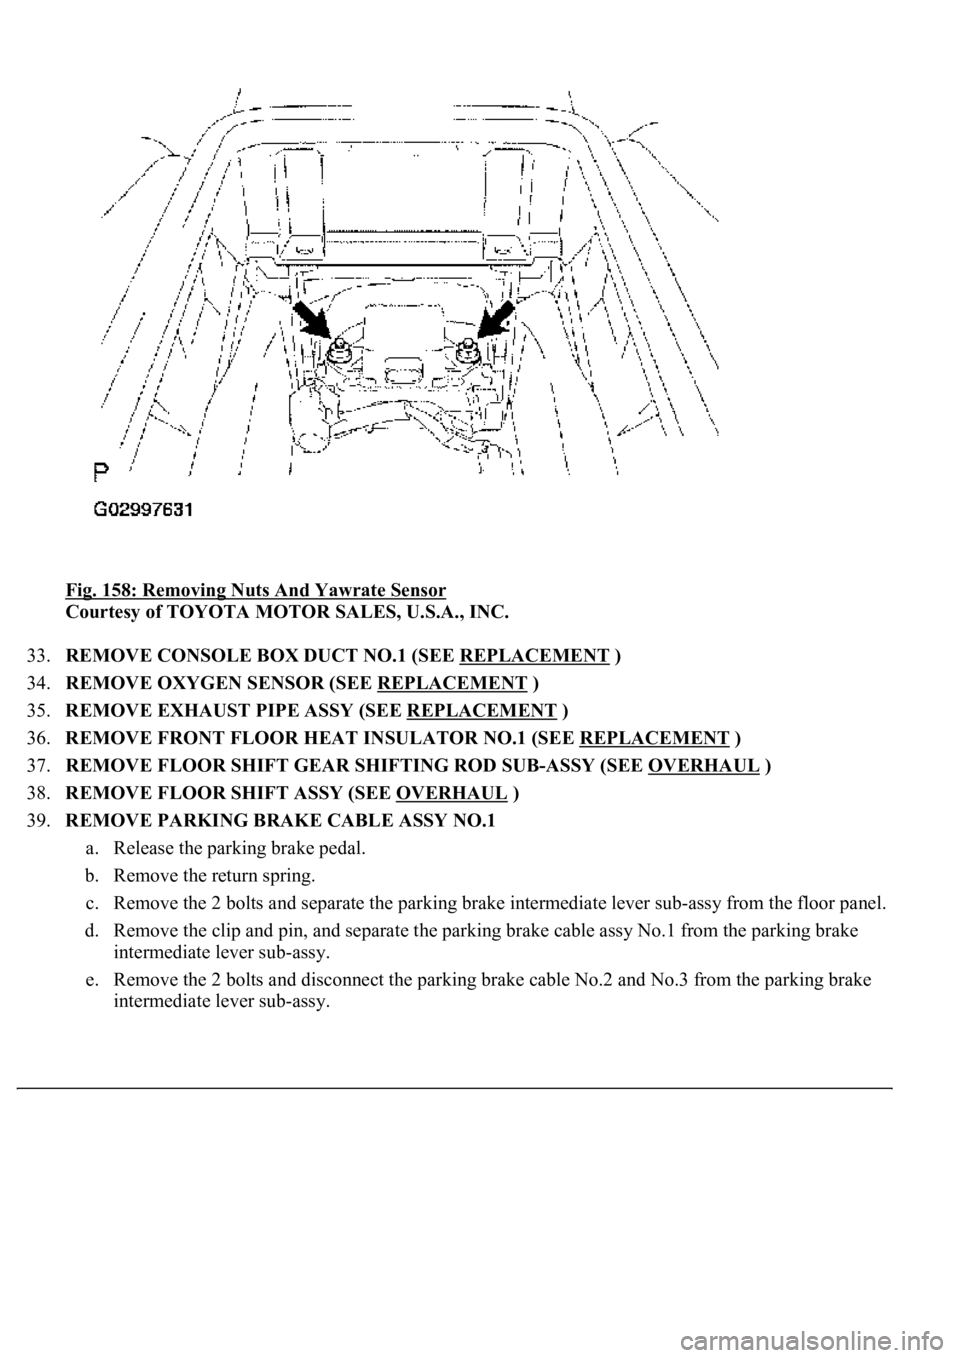
Fig. 158: Removing Nuts And Yawrate Sensor
Courtesy of TOYOTA MOTOR SALES, U.S.A., INC.
33.REMOVE CONSOLE BOX DUCT NO.1 (SEE REPLACEMENT
)
34.REMOVE OXYGEN SENSOR (SEE REPLACEMENT
)
35.REMOVE EXHAUST PIPE ASSY (SEE REPLACEMENT
)
36.REMOVE FRONT FLOOR HEAT INSULATOR NO.1 (SEE REPLACEMENT
)
37.REMOVE FLOOR SHIFT GEAR SHIFTING ROD SUB-ASSY (SEE OVERHAUL
)
38.REMOVE FLOOR SHIFT ASSY (SEE OVERHAUL
)
39.REMOVE PARKING BRAKE CABLE ASSY NO.1
a. Release the parking brake pedal.
b. Remove the return spring.
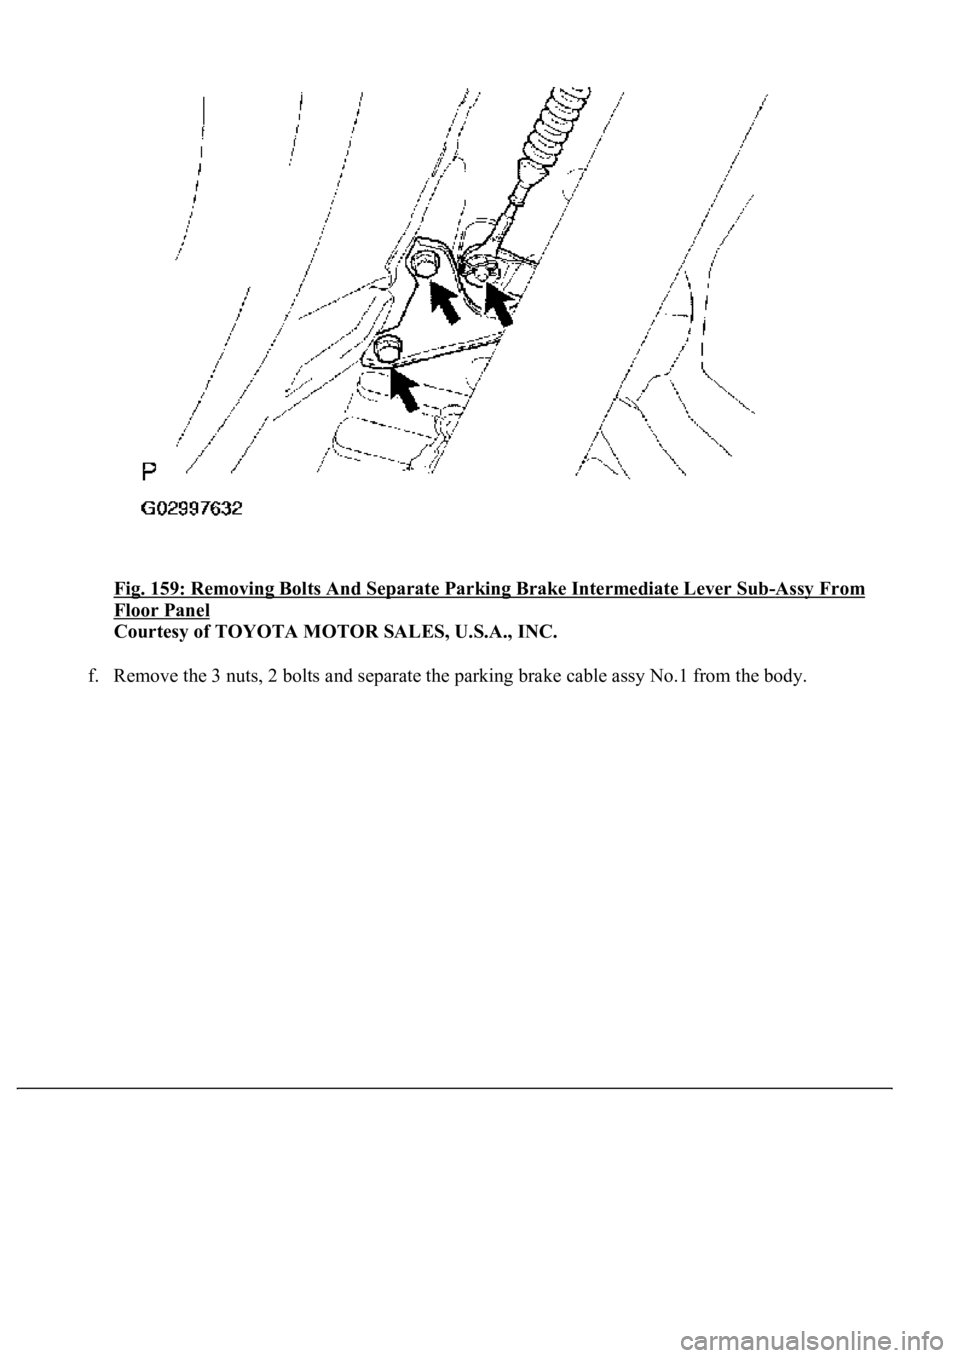
c. Remove the 2 bolts and separate the parking brake intermediate lever sub-assy from the floor panel.
d. Remove the clip and pin, and separate the parking brake cable assy No.1 from the parking brake
intermediate lever sub-assy.
e. Remove the 2 bolts and disconnect the parking brake cable No.2 and No.3 from the parking brake
intermediate lever sub-ass
y.
Page 1132 of 4500
Fig. 159: Removing Bolts And Separate Parking Brake Intermediate Lever Sub-Assy From
Floor Panel
Courtesy of TOYOTA MOTOR SALES, U.S.A., INC.
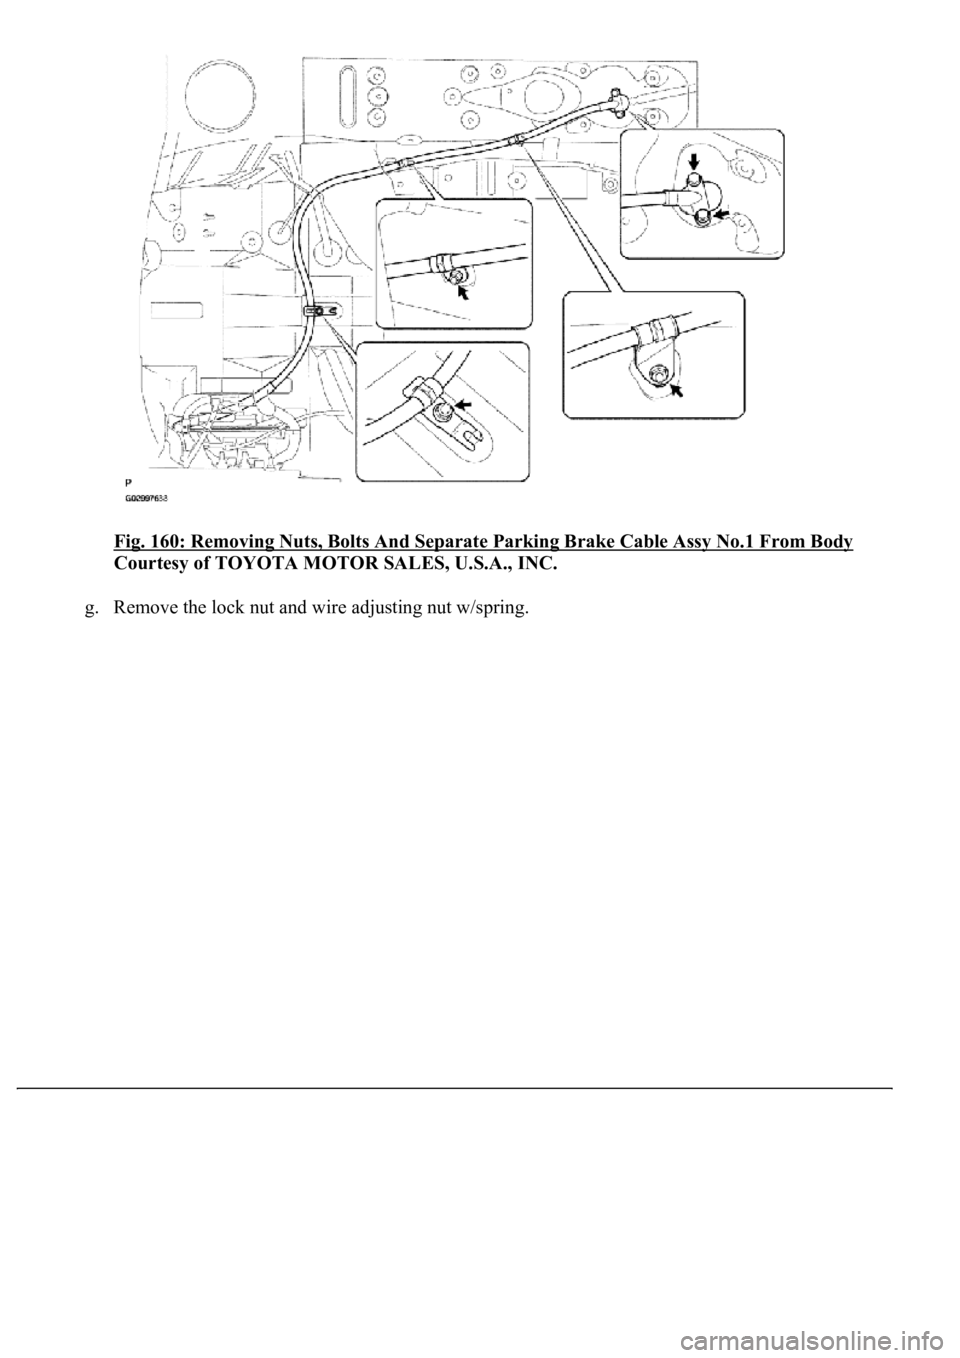
f. Remove the 3 nuts, 2 bolts and separate the parking brake cable assy No.1 from the body.
Page 1133 of 4500
Fig. 160: Removing Nuts, Bolts And Separate Parking Brake Cable Assy No.1 From Body
Courtesy of TOYOTA MOTOR SALES, U.S.A., INC.
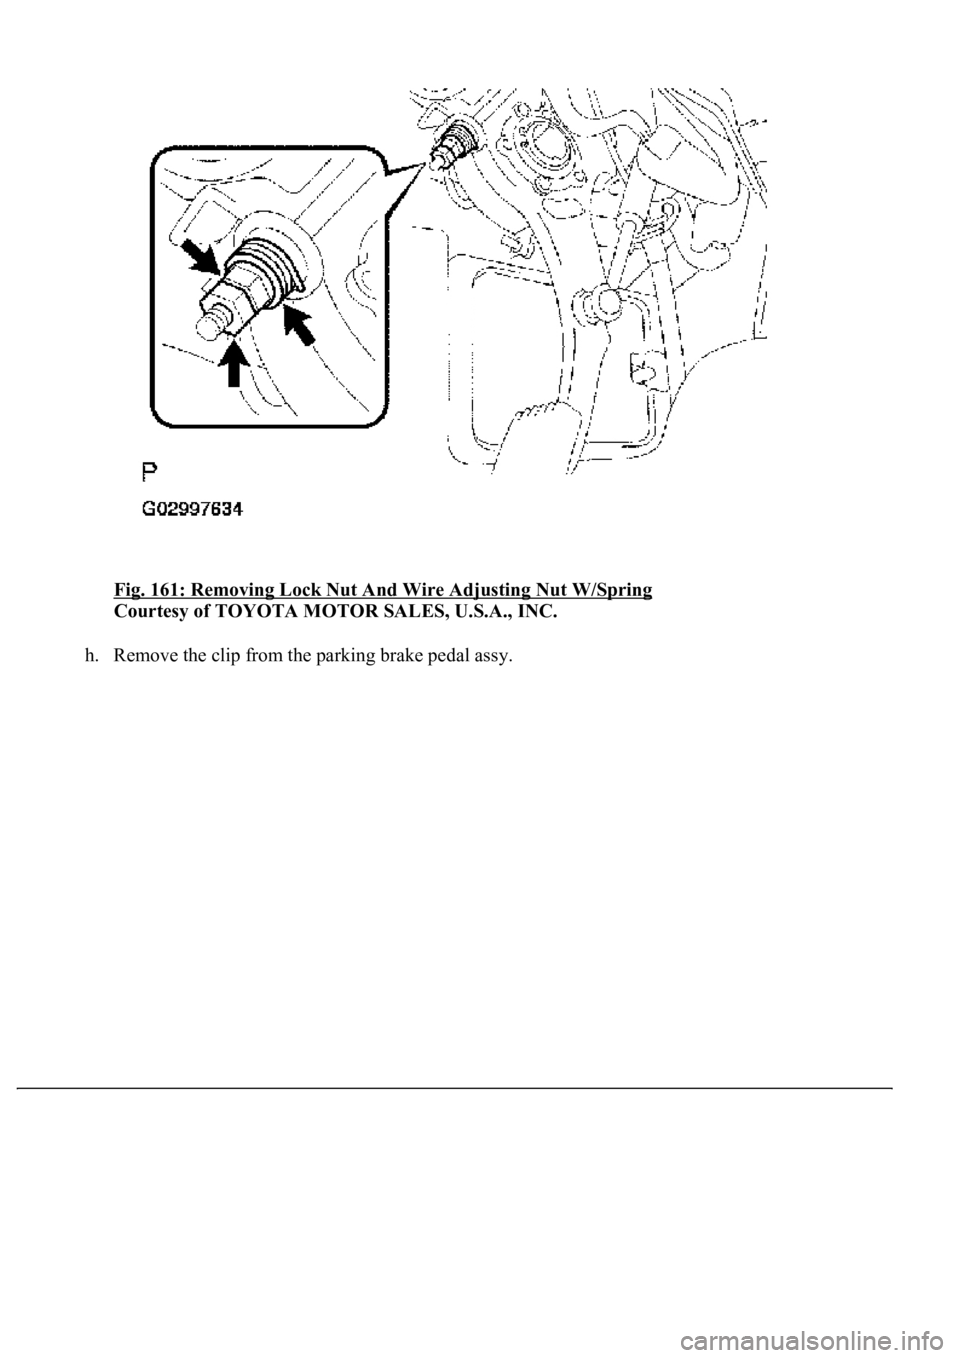
g. Remove the lock nut and wire adjusting nut w/spring.
Page 1134 of 4500
Fig. 161: Removing Lock Nut And Wire Adjusting Nut W/Spring
Courtesy of TOYOTA MOTOR SALES, U.S.A., INC.
h. Remove the clip from the parkin
g brake pedal assy.
Page 1135 of 4500
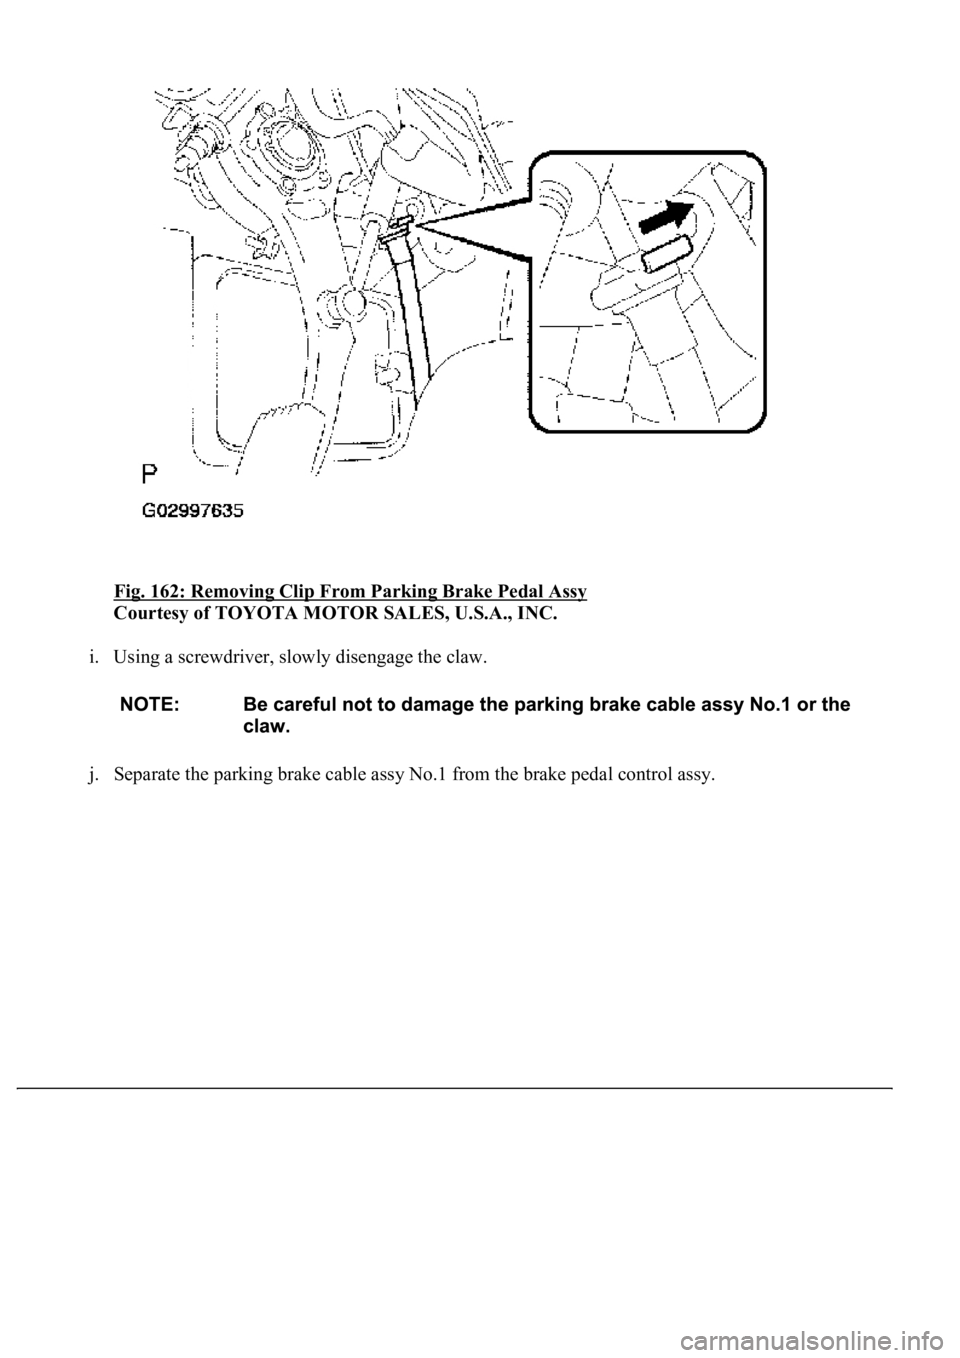
Fig. 162: Removing Clip From Parking Brake Pedal Assy
Courtesy of TOYOTA MOTOR SALES, U.S.A., INC.
i. Using a screwdriver, slowly disengage the claw.
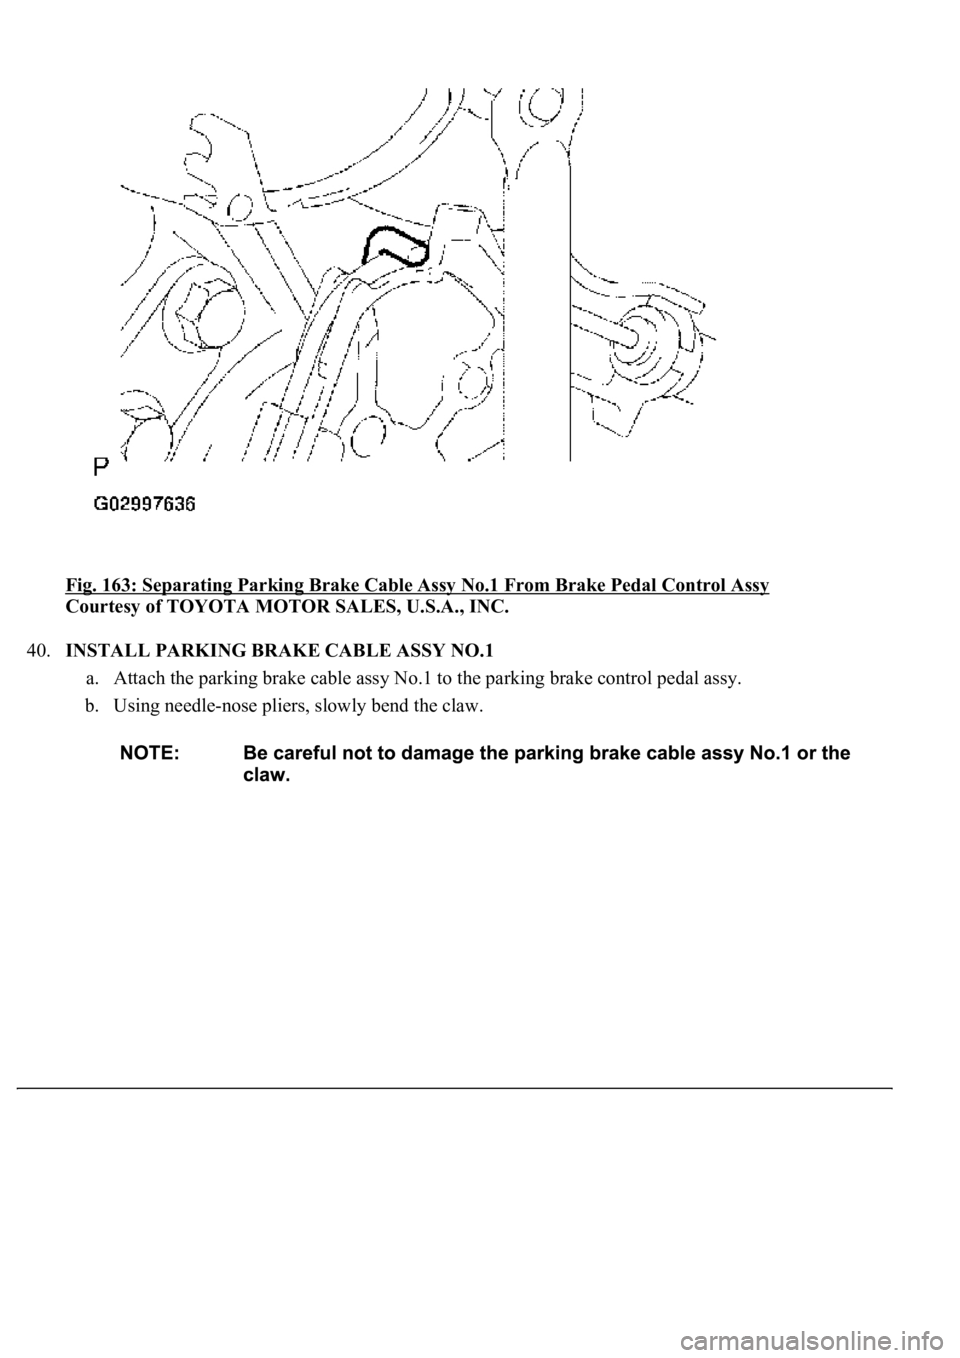
j. Separate the parking brake cable assy No.1 from the brake pedal control assy.
Page 1136 of 4500
Fig. 163: Separating Parking Brake Cable Assy No.1 From Brake Pedal Control Assy
Courtesy of TOYOTA MOTOR SALES, U.S.A., INC.
40.INSTALL PARKING BRAKE CABLE ASSY NO.1
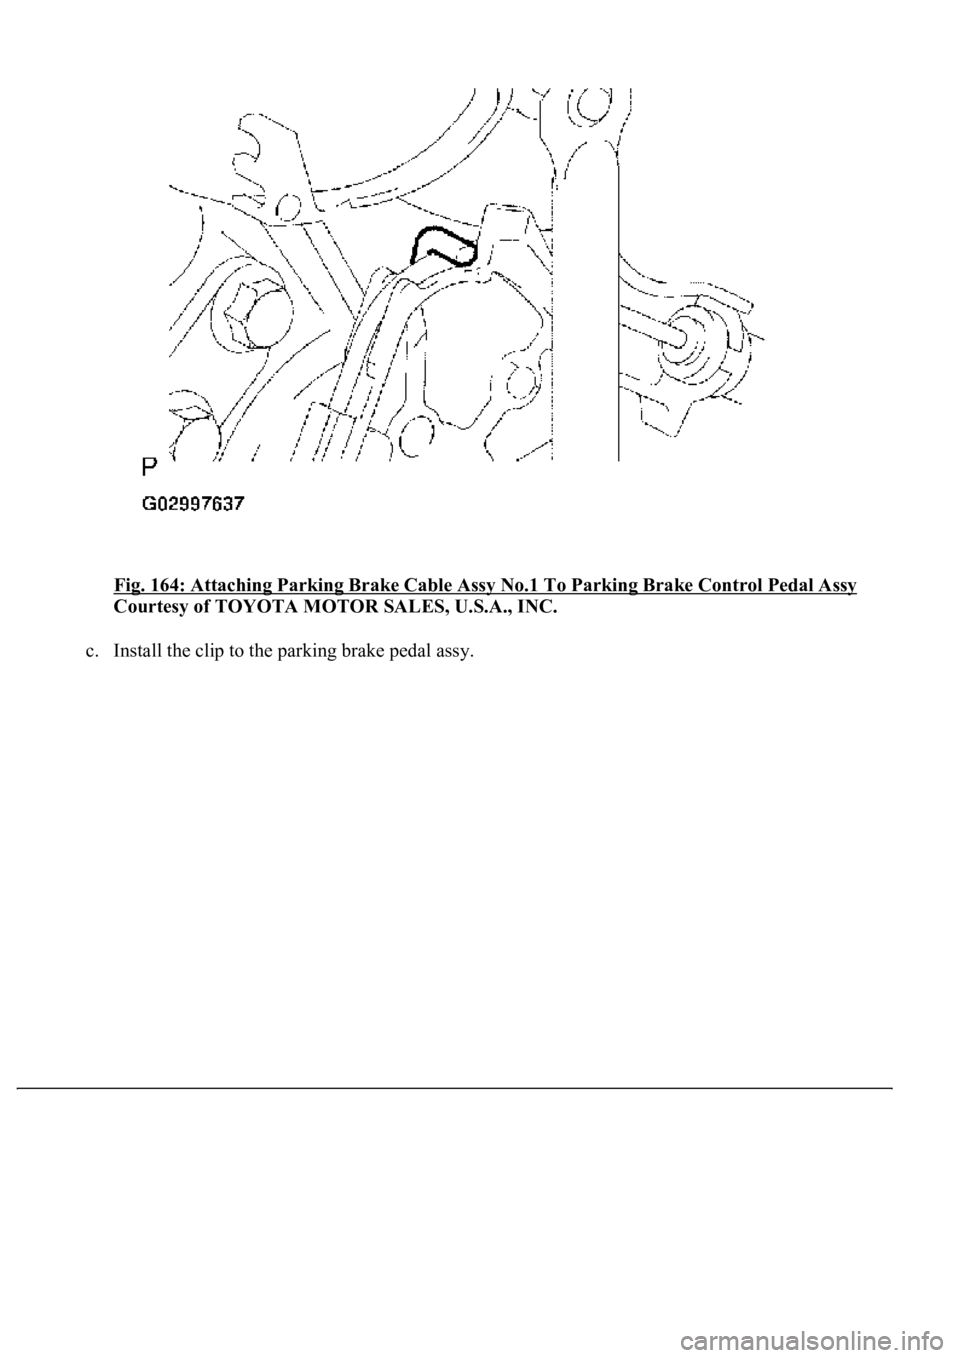
a. Attach the parking brake cable assy No.1 to the parking brake control pedal assy.
b. Using needle-nose pliers, slowly bend the claw.
Page 1137 of 4500
Fig. 164: Attaching Parking Brake Cable Assy No.1 To Parking Brake Control Pedal Assy
Courtesy of TOYOTA MOTOR SALES, U.S.A., INC.
c. Install the clip to the parking brake pedal assy.
Page 1138 of 4500
Fig. 165: Installing Clip To Parking Brake Pedal Assy
Courtesy of TOYOTA MOTOR SALES, U.S.A., INC.
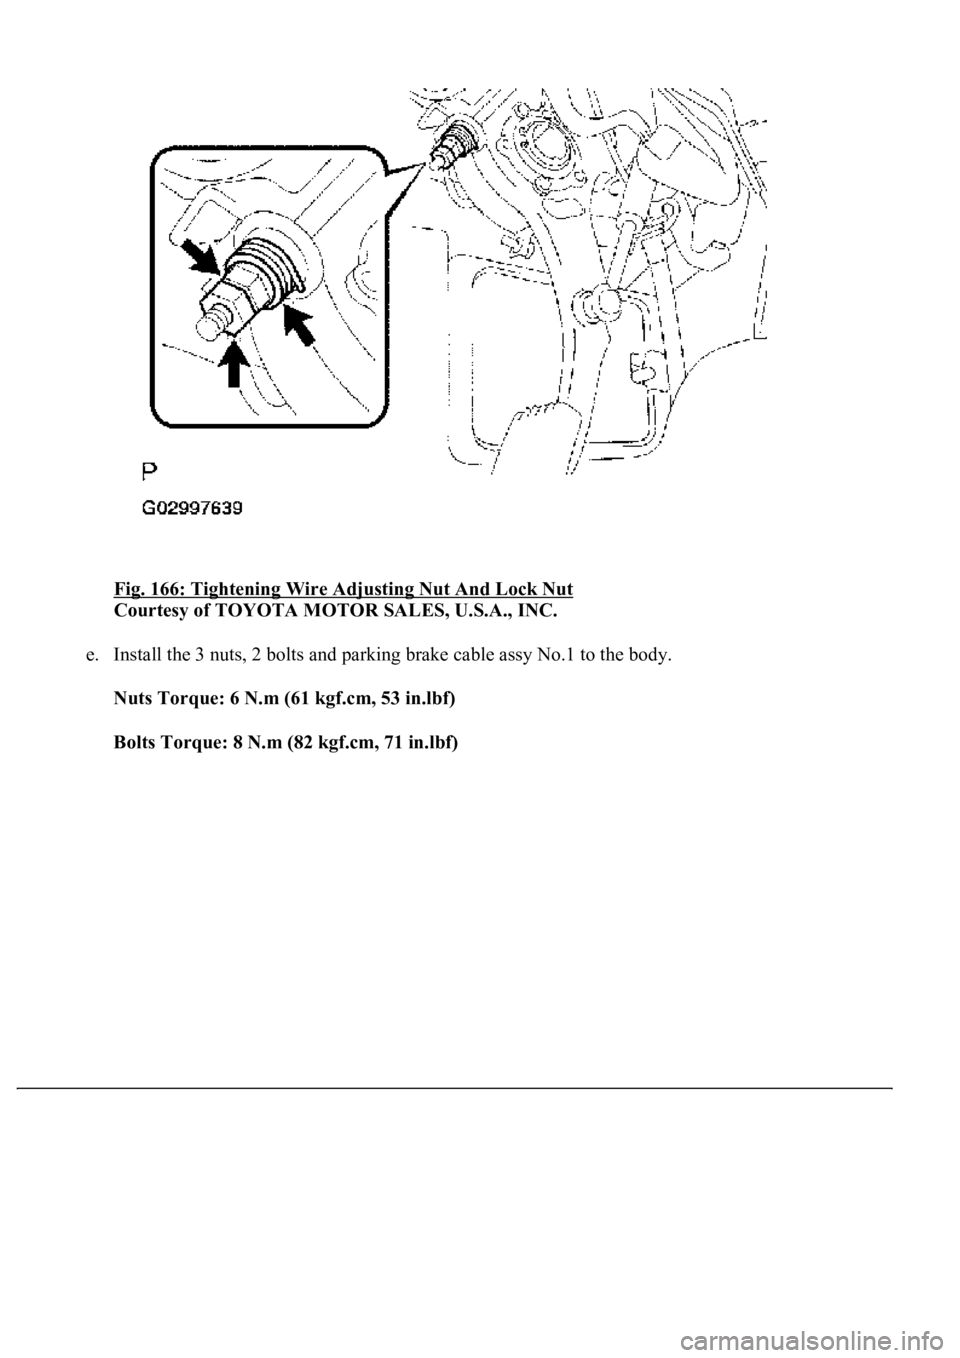
d. Install the spring and temporarily tighten the wire adjusting nut and lock nut.
Page 1139 of 4500
Fig. 166: Tightening Wire Adjusting Nut And Lock Nut
Courtesy of TOYOTA MOTOR SALES, U.S.A., INC.
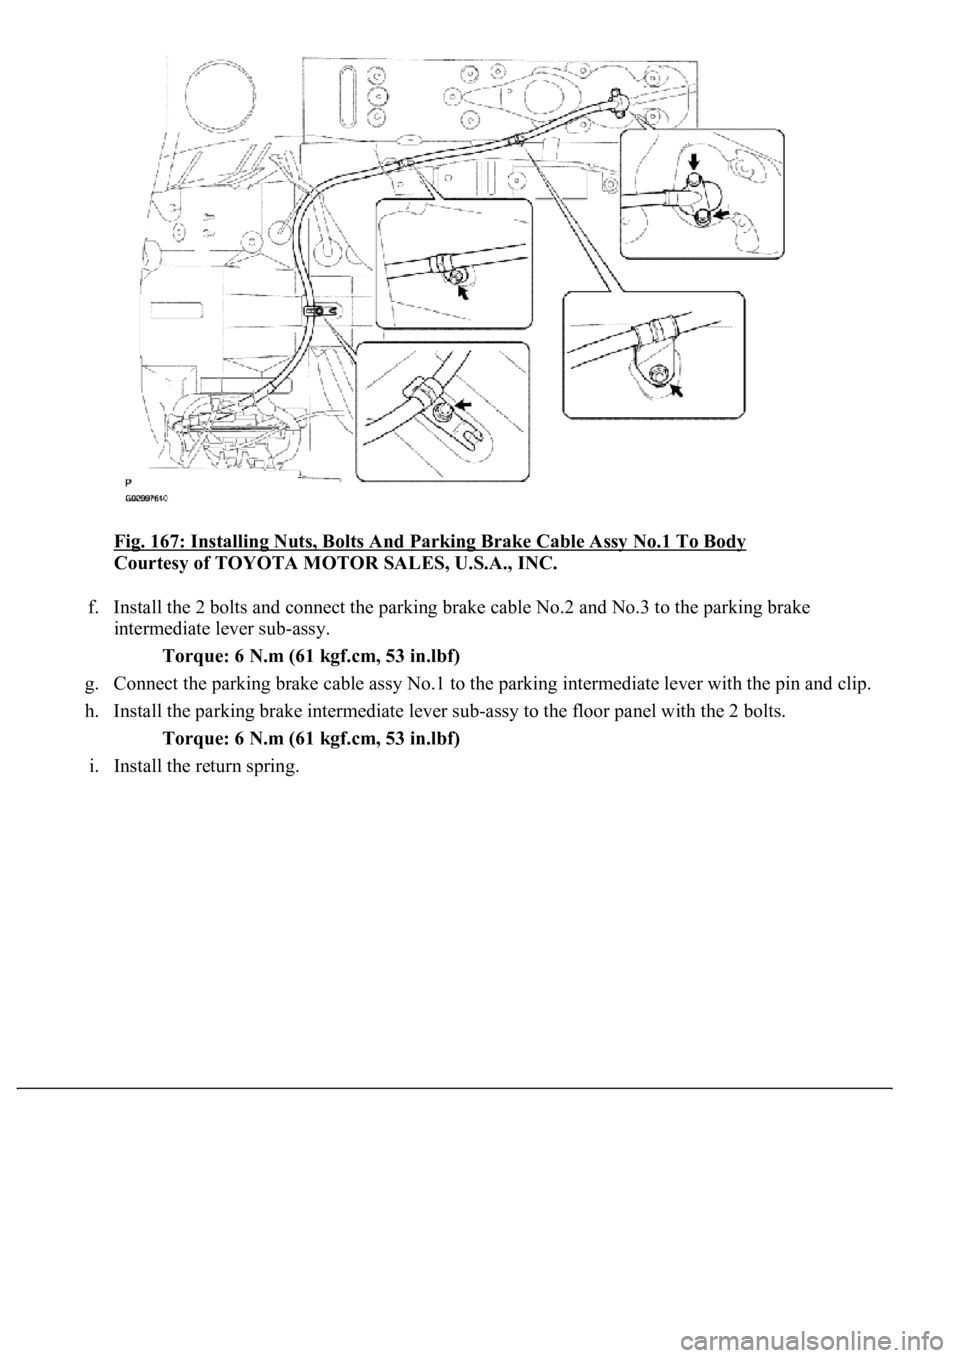
e. Install the 3 nuts, 2 bolts and parking brake cable assy No.1 to the body.
Nuts Torque: 6 N.m (61 kgf.cm, 53 in.lbf)
Bolts Torque: 8 N.m (82 kgf.cm, 71 in.lbf)
Page 1140 of 4500
Fig. 167: Installing Nuts, Bolts And Parking Brake Cable Assy No.1 To Body
Courtesy of TOYOTA MOTOR SALES, U.S.A., INC.
f. Install the 2 bolts and connect the parking brake cable No.2 and No.3 to the parking brake
intermediate lever sub-assy.
Torque: 6 N.m (61 kgf.cm, 53 in.lbf)
g. Connect the parking brake cable assy No.1 to the parking intermediate lever with the pin and clip.
h. Install the parking brake intermediate lever sub-assy to the floor panel with the 2 bolts.
Torque: 6 N.m (61 kgf.cm, 53 in.lbf)
i. Install the return sprin
g.
Trending: diagram, ground clearance, Navi, Rear, service, injection, USB port
