LEXUS LS430 2003 Factory Repair Manual
Manufacturer: LEXUS, Model Year: 2003,
Model line: LS430,
Model: LEXUS LS430 2003
Pages: 4500, PDF Size: 87.45 MB
LEXUS LS430 2003 Factory Repair Manual
LS430 2003
LEXUS
LEXUS
https://www.carmanualsonline.info/img/36/57050/w960_57050-0.png
LEXUS LS430 2003 Factory Repair Manual
Trending: camshaft service, high beam, USB port, check engine light, differential, Rear suspension, Manifold gasket
Page 741 of 4500
Page 742 of 4500
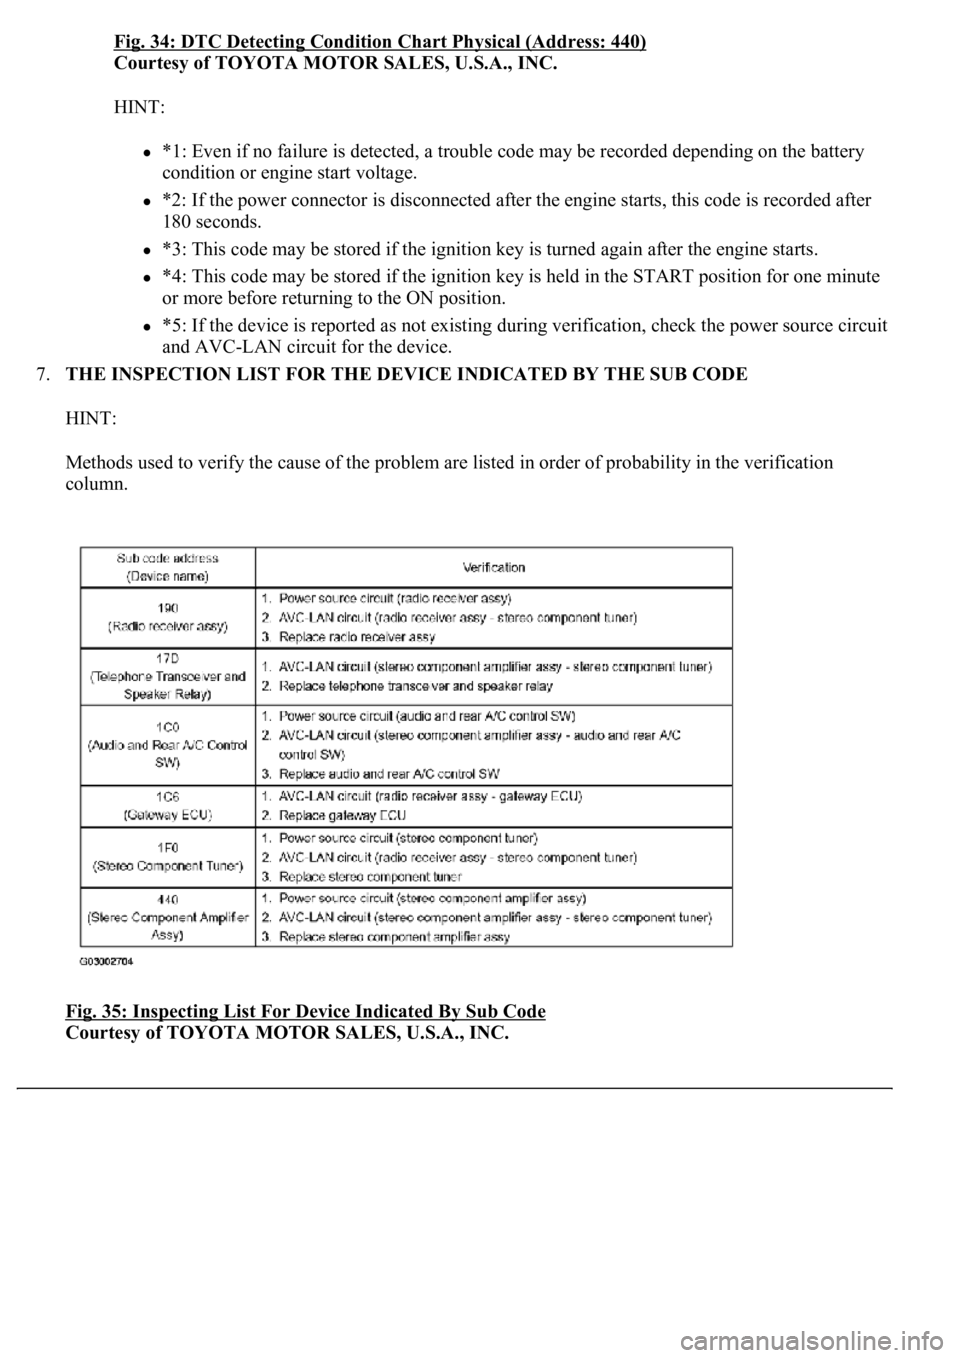
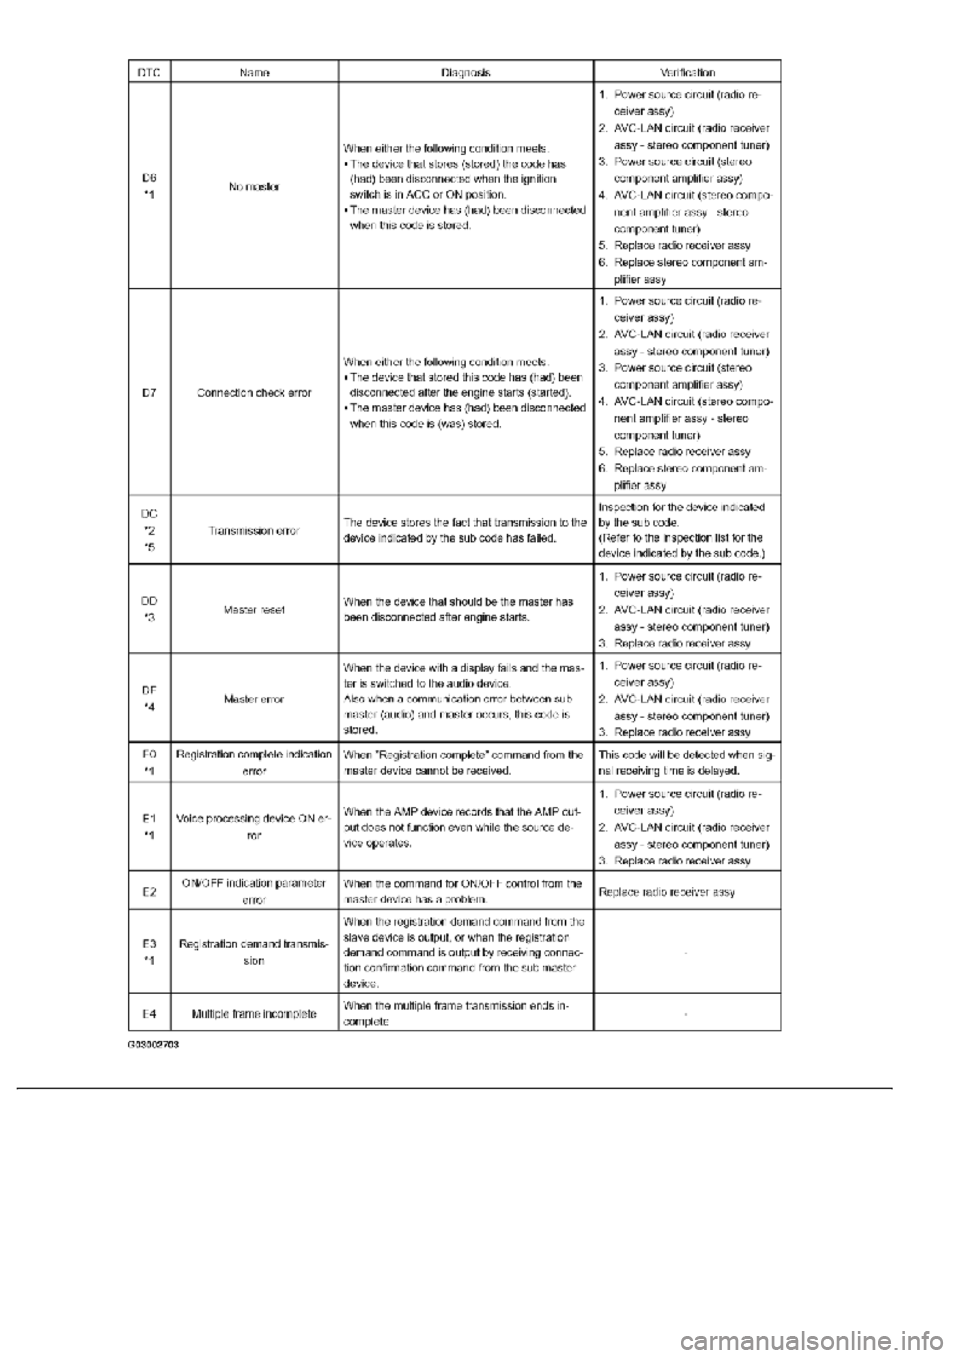
Fig. 34: DTC Detecting Condition Chart Physical (Address: 440)
Courtesy of TOYOTA MOTOR SALES, U.S.A., INC.
HINT:
*1: Even if no failure is detected, a trouble code may be recorded depending on the battery
condition or engine start voltage.
*2: If the power connector is disconnected after the engine starts, this code is recorded after
180 seconds.
*3: This code may be stored if the ignition key is turned again after the engine starts.
*4: This code may be stored if the ignition key is held in the START position for one minute
or more before returning to the ON position.
*5: If the device is reported as not existing during verification, check the power source circuit
and AVC-LAN circuit for the device.
7.THE INSPECTION LIST FOR THE DEVICE INDICATED BY THE SUB CODE
HINT:
Methods used to verify the cause of the problem are listed in order of probability in the verification
column.
Fig. 35: Inspecting List For Device Indicated By Sub Code
Courtesy of TOYOTA MOTOR SALES, U.S.A., INC.
Page 743 of 4500
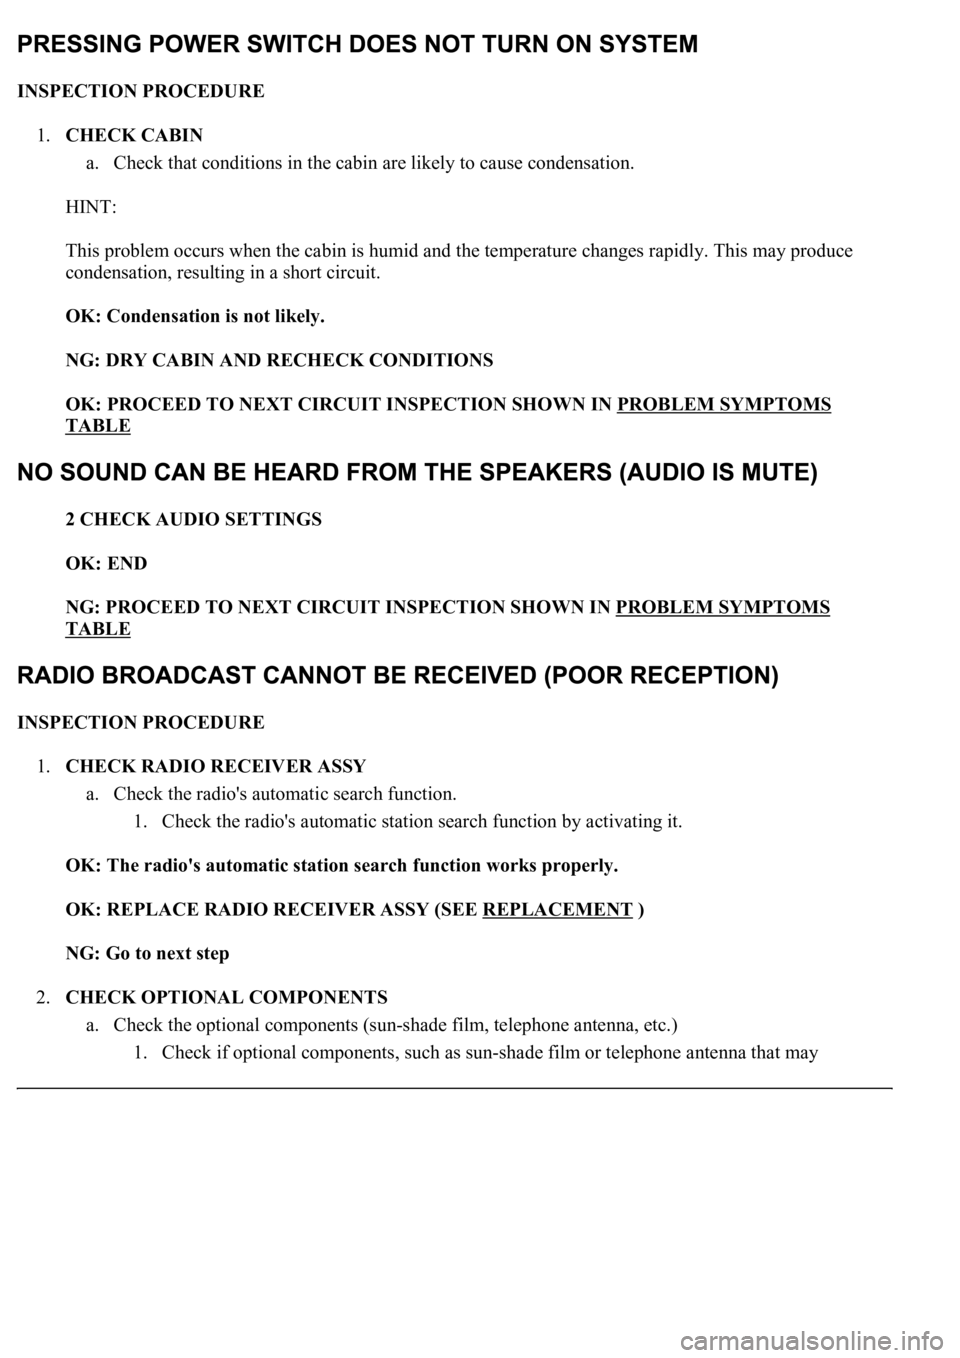
INSPECTION PROCEDURE
1.CHECK CABIN
a. Check that conditions in the cabin are likely to cause condensation.
HINT:
This problem occurs when the cabin is humid and the temperature changes rapidly. This may produce
condensation, resulting in a short circuit.
OK: Condensation is not likely.
NG: DRY CABIN AND RECHECK CONDITIONS
OK: PROCEED TO NEXT CIRCUIT INSPECTION SHOWN IN PROBLEM SYMPTOMS
TABLE
2 CHECK AUDIO SETTINGS
OK: END
NG: PROCEED TO NEXT CIRCUIT INSPECTION SHOWN IN PROBLEM SYMPTOMS
TABLE
INSPECTION PROCEDURE
1.CHECK RADIO RECEIVER ASSY
a. Check the radio's automatic search function.
1. Check the radio's automatic station search function by activating it.
OK: The radio's automatic station search function works properly.
OK: REPLACE RADIO RECEIVER ASSY (SEE REPLACEMENT
)
NG: Go to next step
2.CHECK OPTIONAL COMPONENTS
a. Check the optional components (sun-shade film, telephone antenna, etc.)
1. Check if optional components, such as sun-shade film or telephone antenna that ma
y
Page 744 of 4500
decrease reception capacity, are installed.
OK: Optional components are installed.
OK: REMOVE OPTIONAL COMPONENTS AND CHECK AGAIN
NG: Go to next step
3.CHECK THE ANTENNA
a. Check the antenna for noise.
1. Turn the ignition switch to the ACC position, turn the radio on, and put the radio into AM
mode.
Contact the tip of a screwdriver on the antenna assy and check that noise can be heard from the speaker.
OK: Noise is heard from the speaker.
OK: REPAIR ANTENNA ASSY (SEE REPLACEMENT
)
NG: Go to next step
4.CHECK RADIO RECEIVER ASSY
a. Preparation for check
1. Remove the antenna plug from the radio receiver assy.
b. Check for noise
Page 745 of 4500
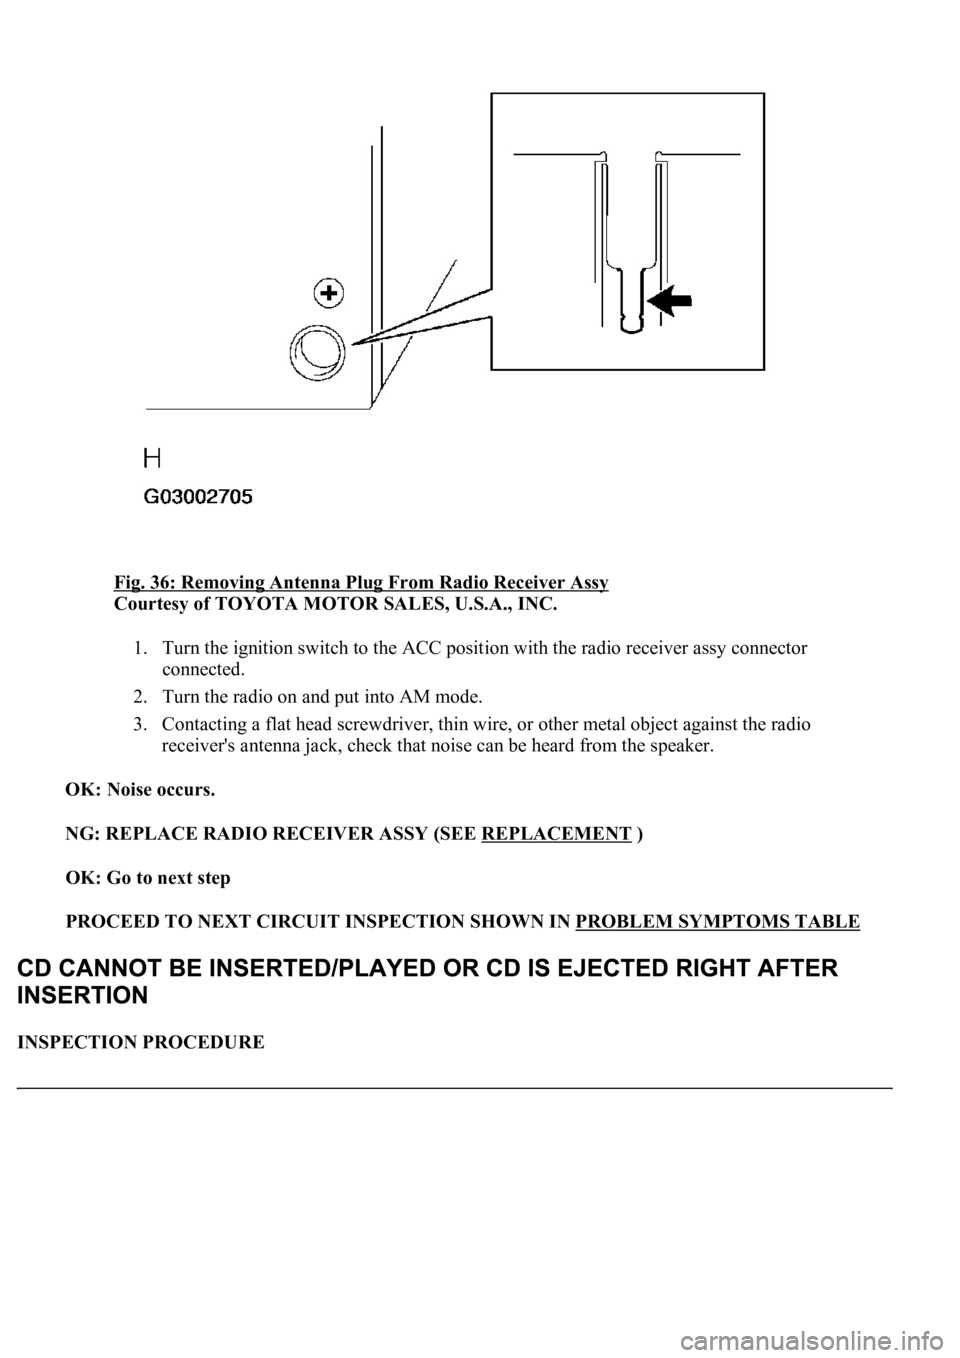
<0029004c004a0011000300160019001d000300350048005000520059004c0051004a0003002400510057004800510051004400030033004f0058004a000300290055005200500003003500440047004c005200030035004800460048004c00590048005500
03002400560056005c[
Courtesy of TOYOTA MOTOR SALES, U.S.A., INC.
1. Turn the ignition switch to the ACC position with the radio receiver assy connector
connected.
2. Turn the radio on and put into AM mode.
3. Contacting a flat head screwdriver, thin wire, or other metal object against the radio
receiver's antenna jack, check that noise can be heard from the speaker.
OK: Noise occurs.
NG: REPLACE RADIO RECEIVER ASSY (SEE REPLACEMENT
)
OK: Go to next step
PROCEED TO NEXT CIRCUIT INSPECTION SHOWN IN PROBLEM SYMPTOMS TABLE
INSPECTION PROCEDURE
Page 746 of 4500
1.CHECK THE CD
a. Check if a different CD can be inserted.
1. Check if the CD is a normal audio CD, and that there are no cracks, scratches, deformations,
dirt, or other failure.
OK: The CD is a normal audio CD without any problems.
HINT:
Translucent or deformed CDs cannot be played.
CD-ROMs (even those with music) and CD-R discs cannot be used.
A copy protected CD cannot be used.
An adaptor is not necessary to play 3.2 inch (8 cm) CD.
NG: REPLACE THE CD
OK: Go to next step
2.CHECK THE CD
a. Check for dirt on the CD surface.
OK: The CD is clean.
HINT:
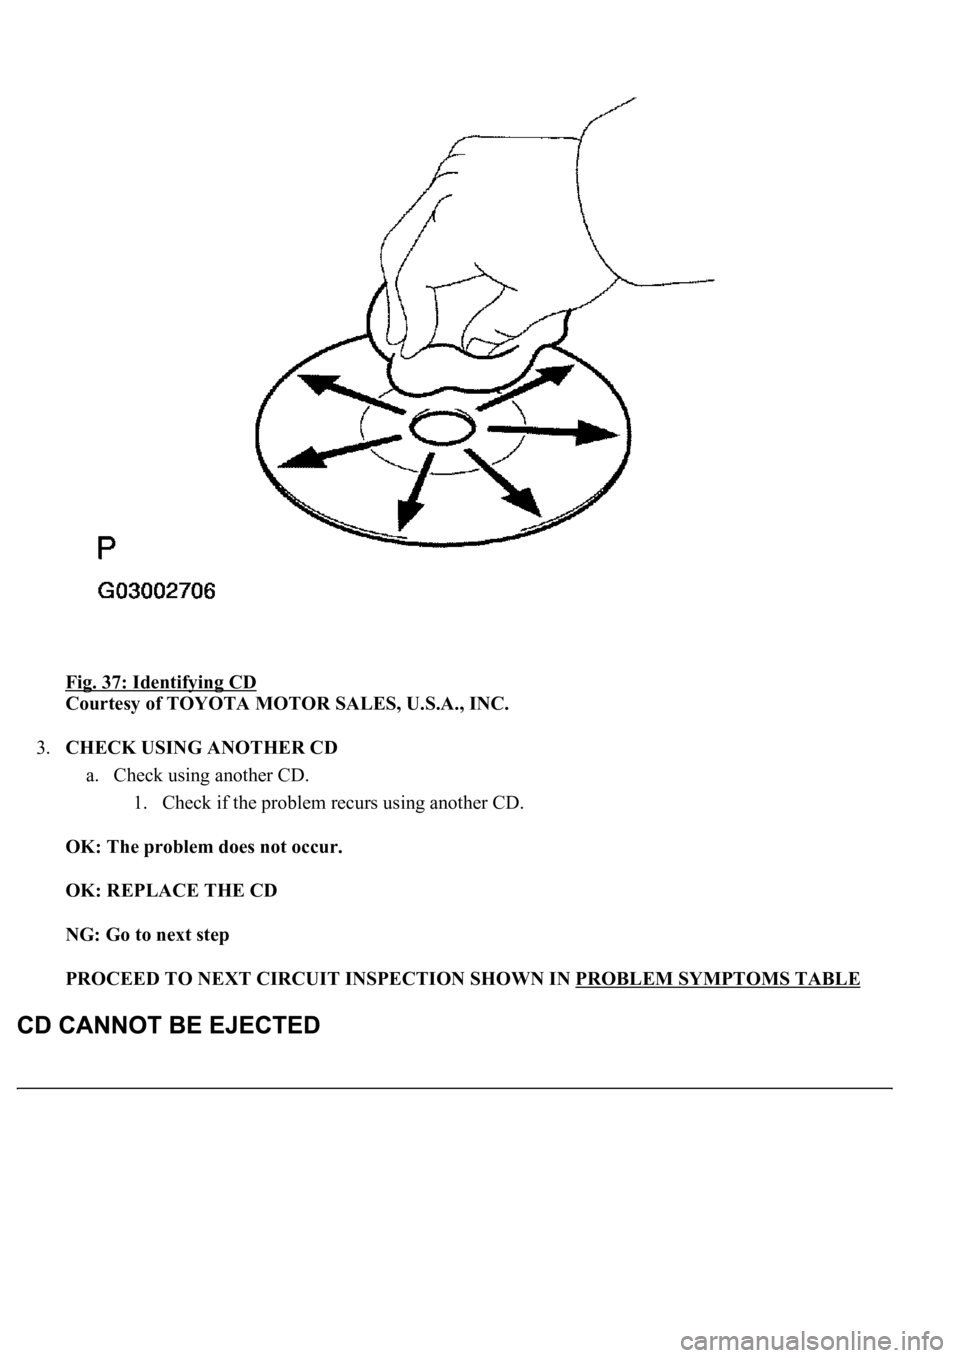
If dirt is on the CD surface, wipe it with a soft cloth from inside to outside in a radial direction.
NG: CLEAN THE CD
OK: Go to next step
Page 747 of 4500
Fig. 37: Identifying CD
Courtesy of TOYOTA MOTOR SALES, U.S.A., INC.
3.CHECK USING ANOTHER CD
a. Check using another CD.
1. Check if the problem recurs using another CD.
OK: The problem does not occur.
OK: REPLACE THE CD
NG: Go to next step
PROCEED TO NEXT CIRCUIT INSPECTION SHOWN IN PROBLEM SYMPTOMS TABLE
Page 748 of 4500
INSPECTION PROCEDURE
1.CHECK RADIO RECEIVER ASSY
a. Turn the ignition switch to the ACC position.
b. Press the eject switch for 5 seconds, and check if the disc is ejected.
OK: The disc is ejected.
NG: PROCEED TO NEXT CIRCUIT INSPECTION SHOWN IN PROBLEM SYMPTOMS
TABLE
OK: Go to next step
2.CHECK THE CD
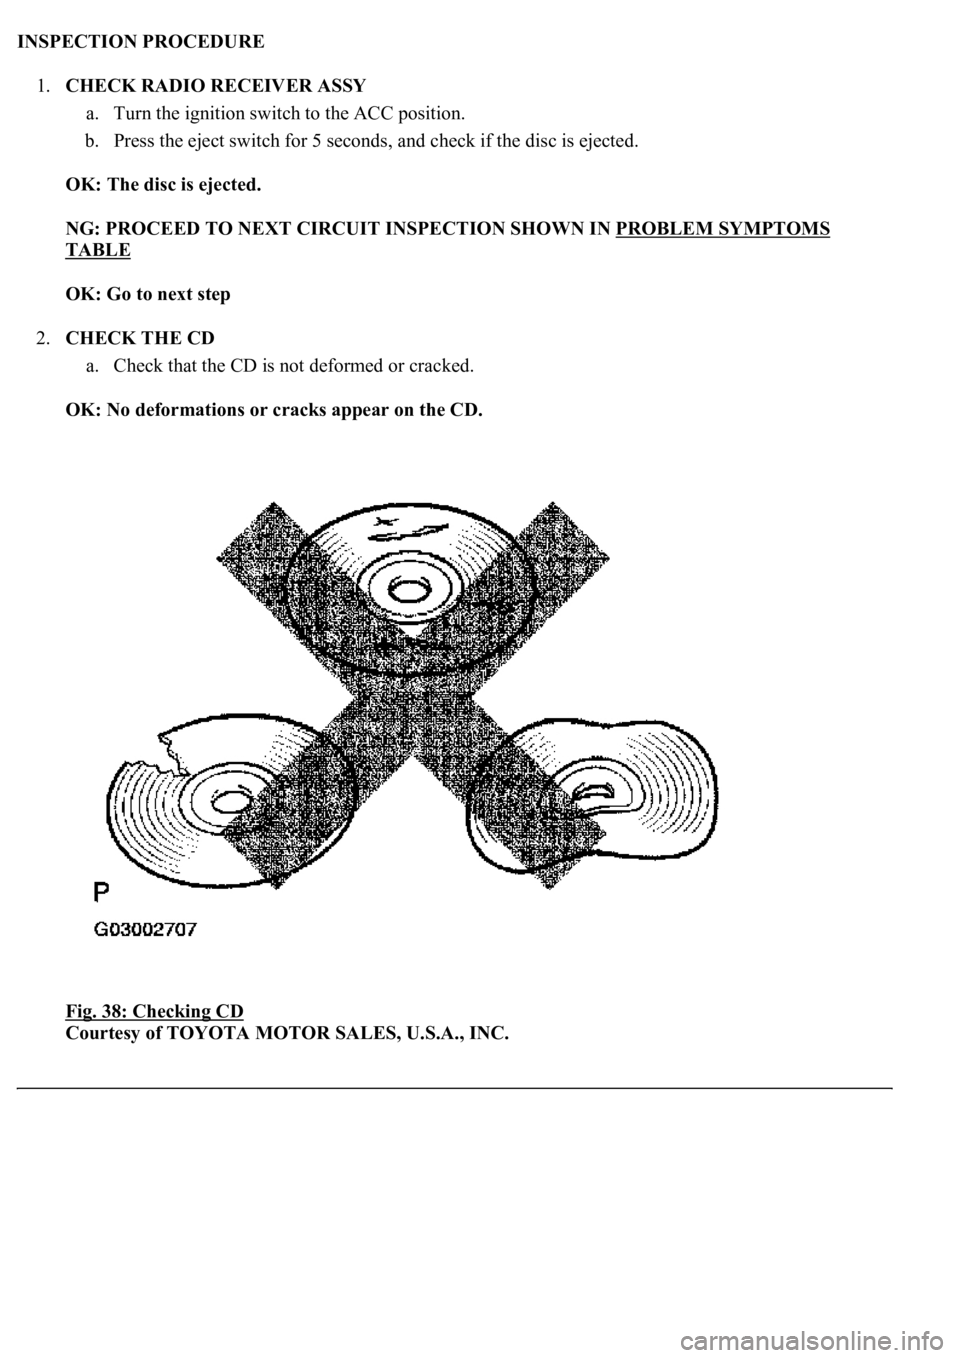
a. Check that the CD is not deformed or cracked.
OK: No deformations or cracks appear on the CD.
Fig. 38: Checking CD
Courtesy of TOYOTA MOTOR SALES, U.S.A., INC.
Page 749 of 4500
NG: REPLACE THE CD
OK: Go to next step
3.CHECK RADIO RECEIVER ASSY
a. Insert another CD and check if it is ejected.
OK: The disc is ejected.
NG: REPLACE RADIO RECEIVER ASSY (SEE REPLACEMENT
)
OK: NORMAL OPERATION
INSPECTION PROCEDURE
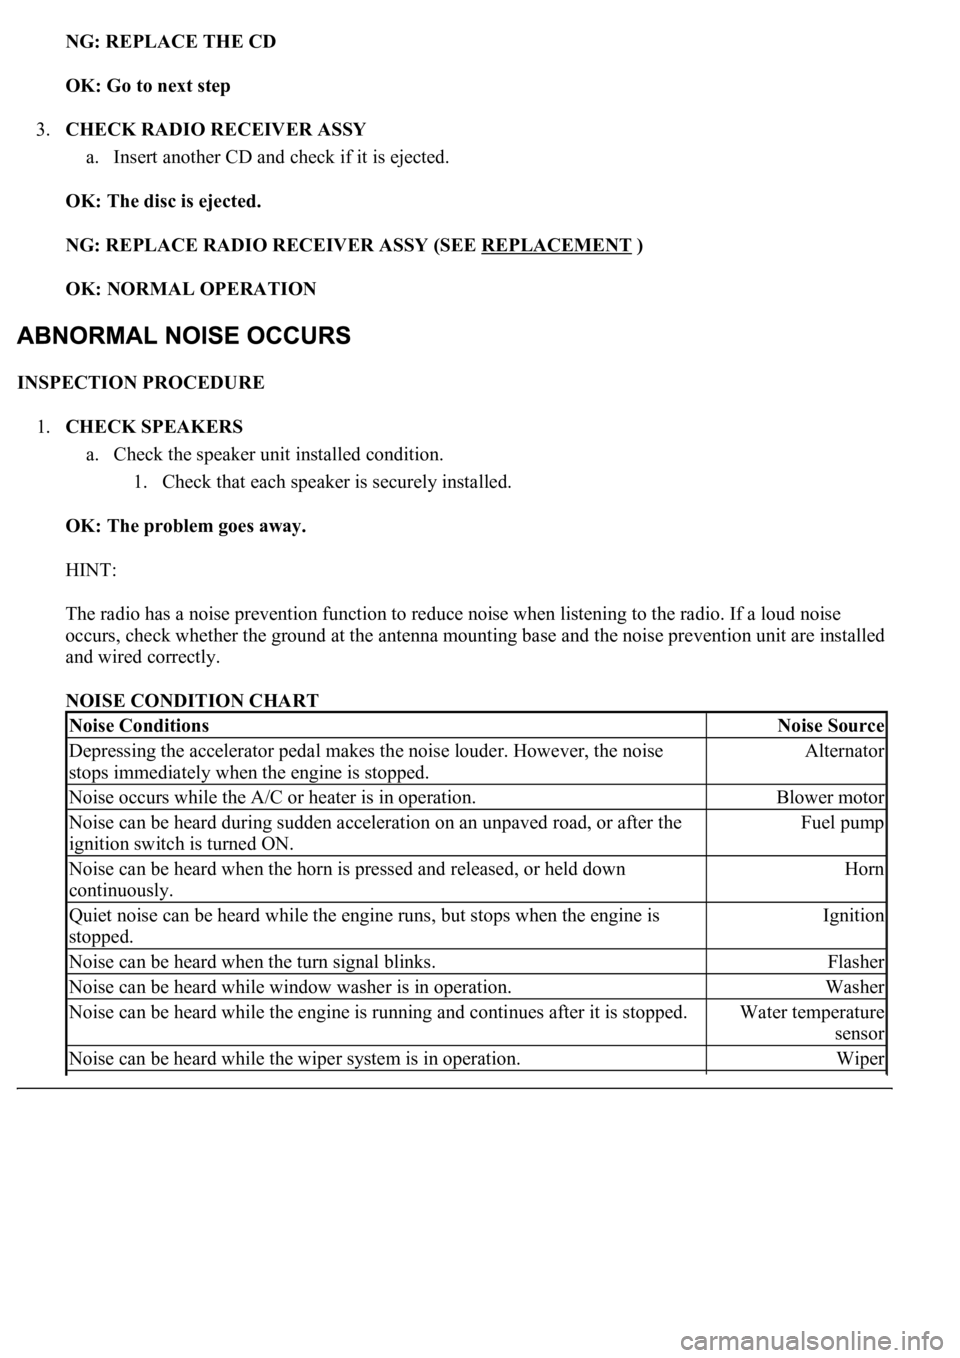
1.CHECK SPEAKERS
a. Check the speaker unit installed condition.
1. Check that each speaker is securely installed.
OK: The problem goes away.
HINT:
The radio has a noise prevention function to reduce noise when listening to the radio. If a loud noise
occurs, check whether the ground at the antenna mounting base and the noise prevention unit are installed
and wired correctly.
NOISE CONDITION CHART
Noise ConditionsNoise Source
Depressing the accelerator pedal makes the noise louder. However, the noise
stops immediately when the engine is stopped.Alternator
Noise occurs while the A/C or heater is in operation.Blower motor
Noise can be heard during sudden acceleration on an unpaved road, or after the
ignition switch is turned ON.Fuel pump
Noise can be heard when the horn is pressed and released, or held down
continuously.Horn
<00340058004c00480057000300510052004c0056004800030046004400510003004500480003004b00480044005500470003005a004b004c004f004800030057004b0048000300480051004a004c0051004800030055005800510056000f00030045005800
570003005600570052005300560003005a004b004800510003[the engine is
stopped.Ignition
Noise can be heard when the turn signal blinks.Flasher
Noise can be heard while window washer is in operation.Washer
Noise can be heard while the engine is running and continues after it is stopped.Water temperature
sensor
Noise can be heard while the wiper system is in operation.Wiper
Page 750 of 4500
HINT:
Confirm the noise conditions and inspect the appropriate noise filter.
First confirm that the foreign noise cannot be heard. Failure to do so will likely result in
misunderstanding the source of the noise.
If more than one source exists, noise should be removed from loudest to quietest.
NG: REINSTALL SPEAKER PROPERLY
OK: PROCEED TO NEXT CIRCUIT INSPECTION SHOWN IN PROBLEM SYMPTOMS
TABLE
INSPECTION PROCEDURE
1.CHECK THE CD
a. Check the CD.
OK: The CD is clean.
Noise can be heard when the brake pedal is depressed.Stop light switch
OthersStatic Electricity
Trending: B1278, mirror controls, low beam, overheating, remote control, service reset, oil temperature
