MAZDA MODEL CX-9 2015 Navigation Manual (in English)
Manufacturer: MAZDA, Model Year: 2015, Model line: MODEL CX-9, Model: MAZDA MODEL CX-9 2015Pages: 48, PDF Size: 3.74 MB
Page 31 of 48
31
Help
About getting help
Ta p Help in the Main Menu to navigate to emergency services centers and other specialist
services.
For example, if you are involved in a car accident, you could use the Help menu to find the
contact details for the nearest hospital, call them using a phone and tell them your exact
location.
Using Help to drive to a local service
To use Help to locate a service center and navigate from your current location to the center,
do the following:
1. Tap the screen to show the Main Menu.
2. Tap Help.
3. Tap Drive to help.
4. Select the type of service you require, for example, Nearest hospital.
5. Select a center from the list, the nearest is shown at the top of the list.
The Navigation system shows a description of the location.
6. To navigate your way to the center by car, tap Navigate there.
The Navigation system star ts guiding you to your destination.
Help menu options
Note: In some states and countries, information may not be available for all services.
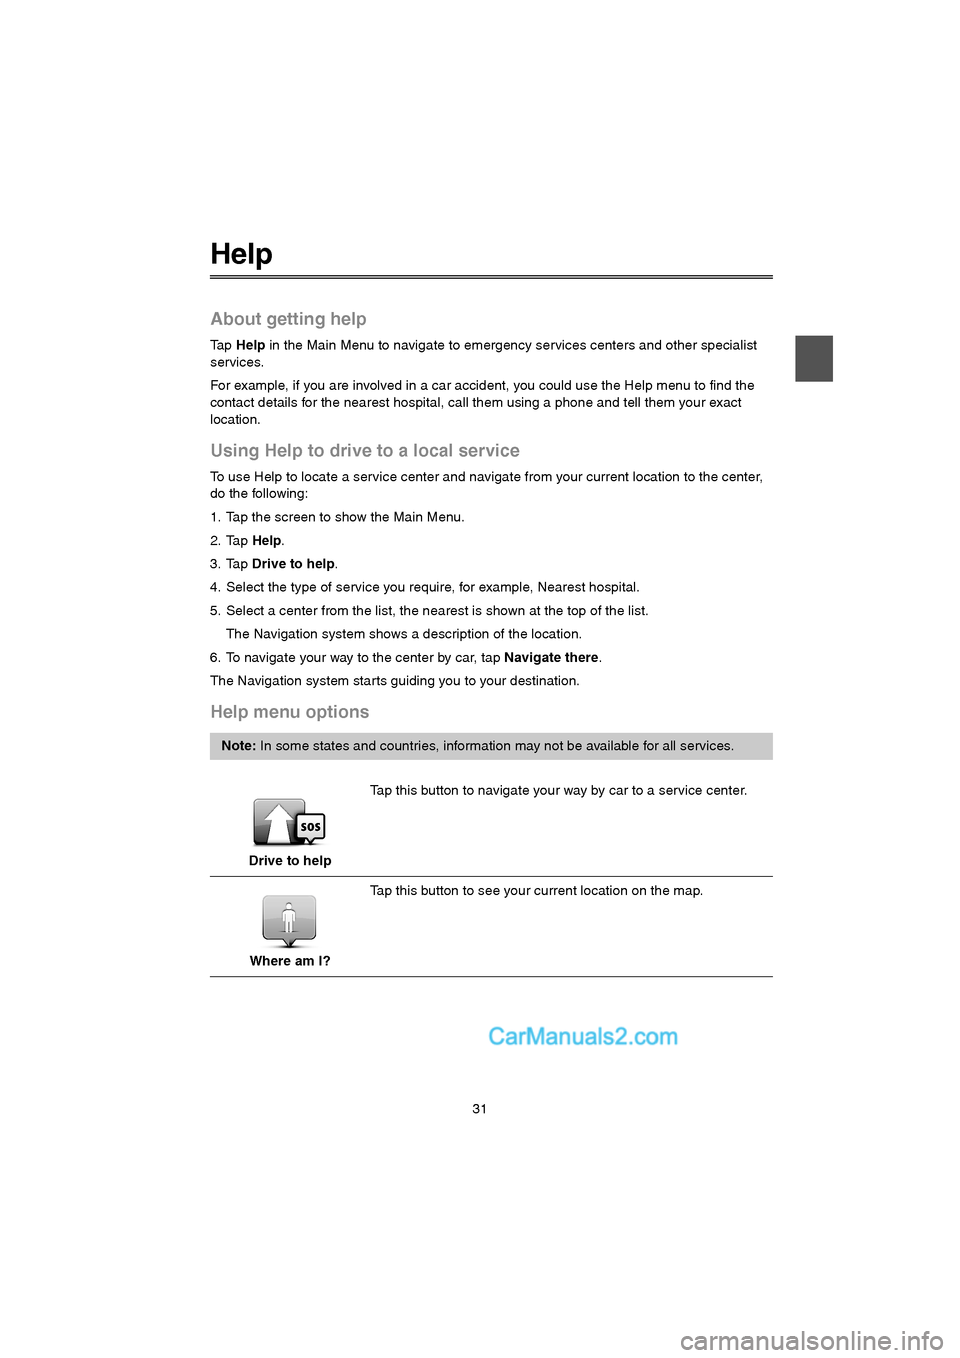
Drive to helpTap this button to navigate your way by car to a service center.
Where am I?Tap this button to see your current location on the map.
USA_NAVI_EN.book 31 ページ 2014年5月8日 木曜日 午後12時51分
Page 32 of 48
32
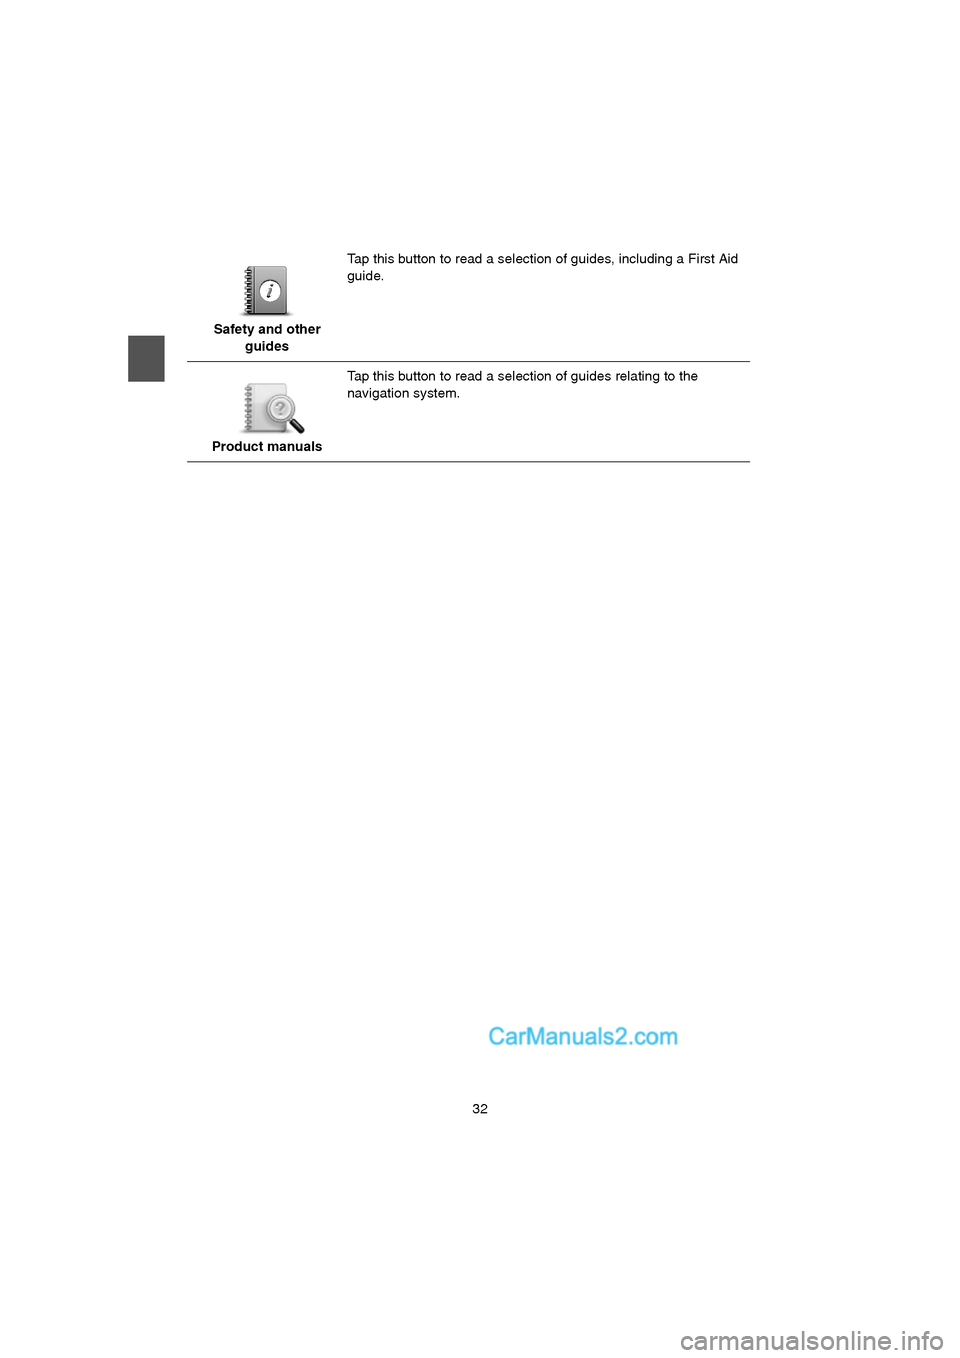
Safety and other
guidesTap this button to read a selection of guides, including a First Aid
guide.
Product manualsTap this button to read a selection of guides relating to the
navigation system.
USA_NAVI_EN.book 32 ページ 2014年5月8日 木曜日 午後12時51分
Page 33 of 48
33
Traffic
About traffic information
You can receive traffic information in:
Traffic Message Channel (RDS-TMC) (All countries are not available.)
Using traffic information, the Navigation system can automatically adjust your route to
minimize any delays.
The Navigation system regularly receives information about the changing traffic conditions. If
traffic jams or other incidents are found on your current route, the Navigation system will offer
to replan your route to try to avoid any delays.
USA_NAVI_EN.book 33 ページ 2014年5月8日 木曜日 午後12時51分
Page 34 of 48
34
Using traffic information
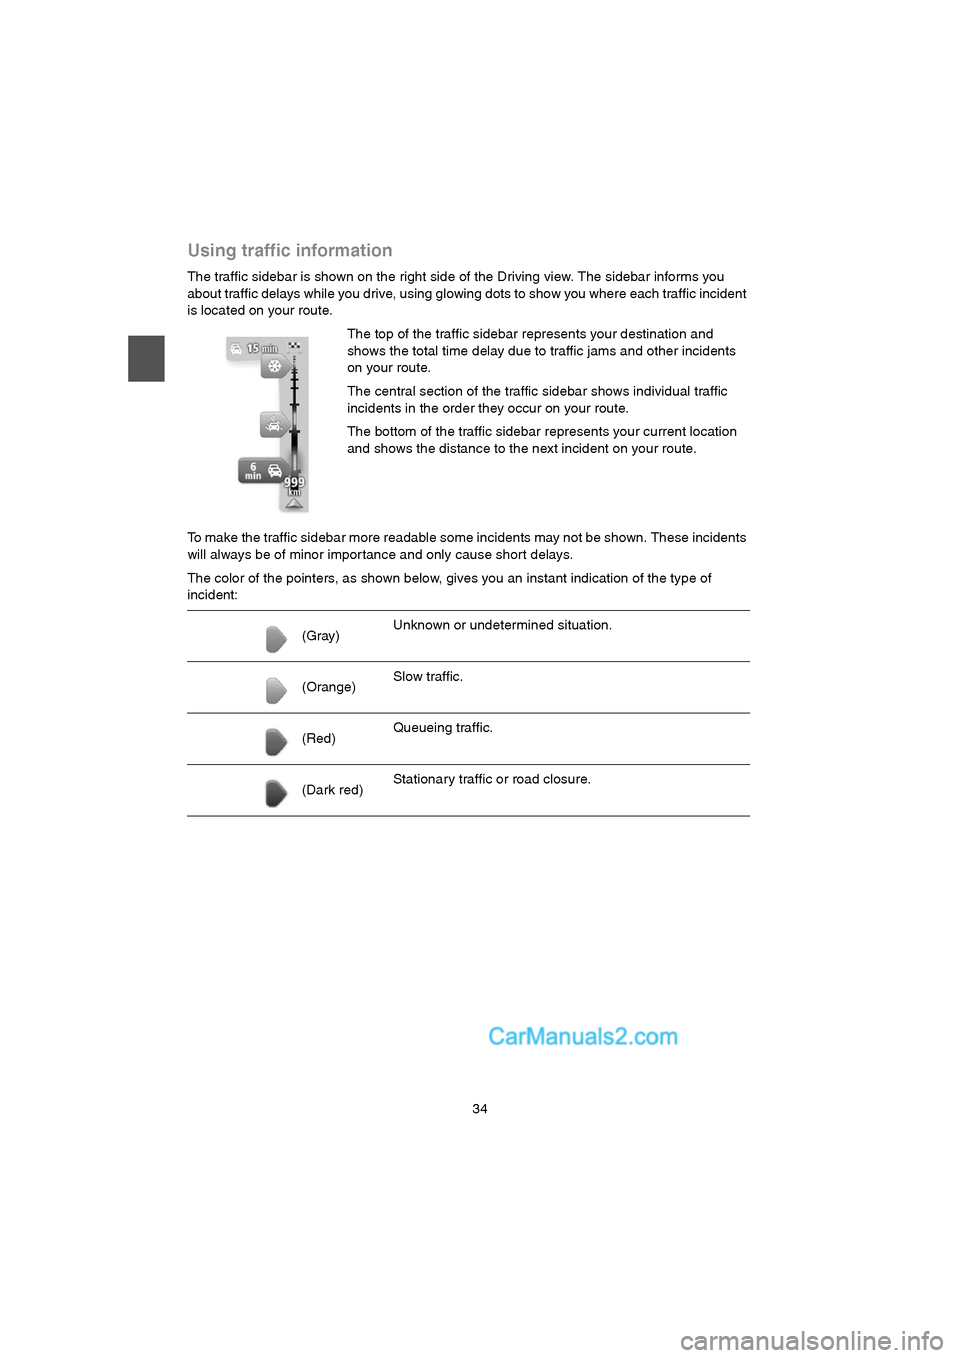
The traffic sidebar is shown on the right side of the Driving view. The sidebar informs you
about traffic delays while you drive, using glowing dots to show you where each traffic incident
is located on your route.
To make the traffic sidebar more readable some incidents may not be shown. These incidents
will always be of minor importance and only cause short delays.
The color of the pointers, as shown below, gives you an instant indication of the type of
incident:The top of the traffic sidebar represents your destination and
shows the total time delay due to traffic jams and other incidents
on your route.
The central section of the traffic sidebar shows individual traffic
incidents in the order they occur on your route.
The bottom of the traffic sidebar represents your current location
and shows the distance to the next incident on your route.
(Gray)Unknown or undetermined situation.
(Orange)Slow traffic.
(Red)Queueing traffic.
(Dark red)Stationary traffic or road closure.
USA_NAVI_EN.book 34 ページ 2014年5月8日 木曜日 午後12時51分
Page 35 of 48
35
Checking traffic incidents in your area
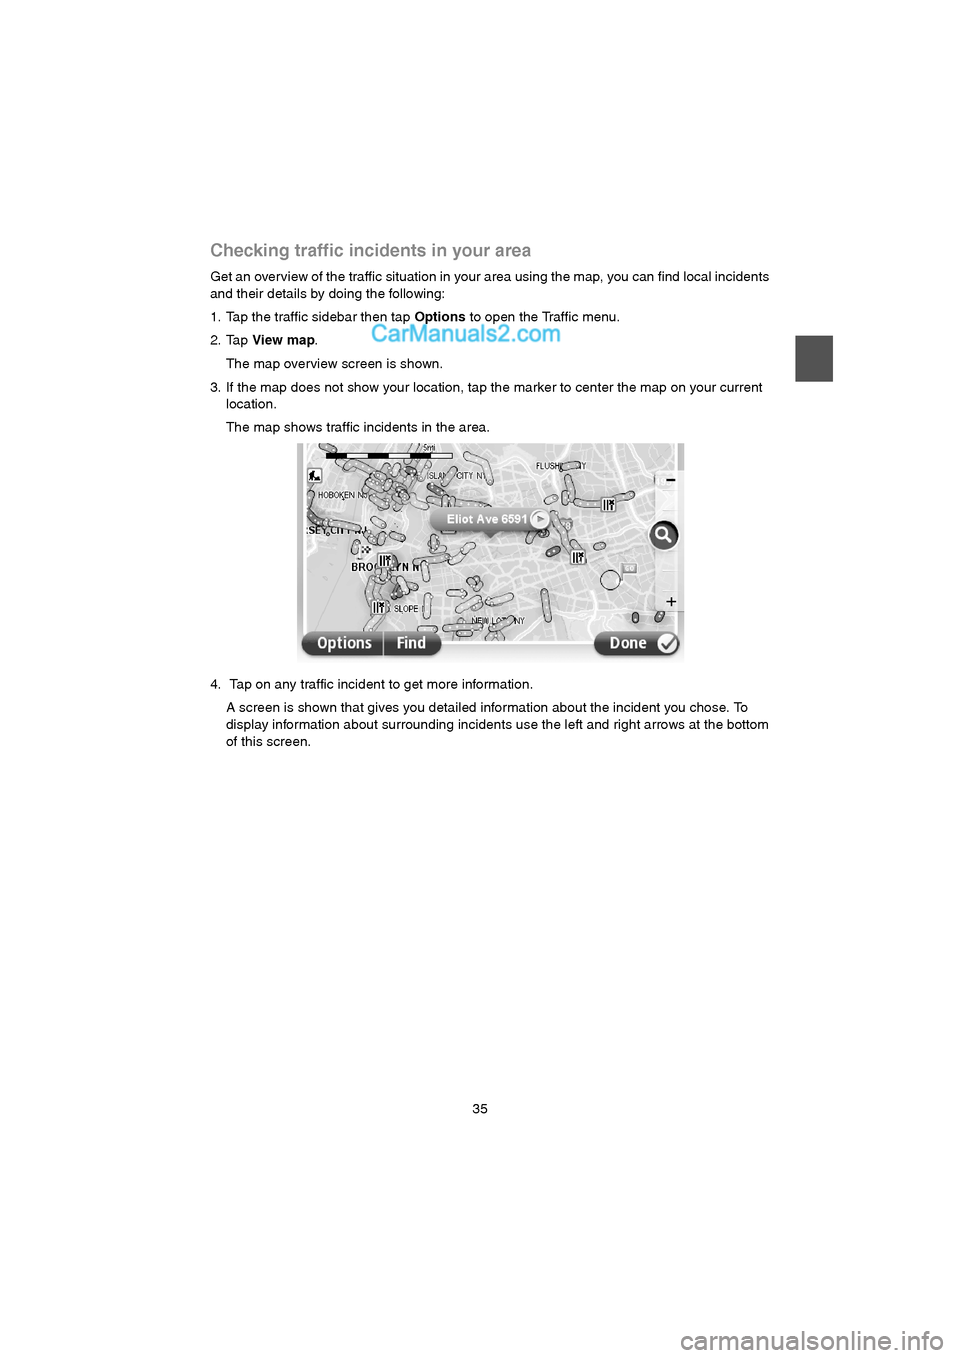
Get an overview of the traffic situation in your area using the map, you can find local incidents
and their details by doing the following:
1. Tap the traffic sidebar then tap Options to open the Traffic menu.
2. Tap View map.
The map overview screen is shown.
3. If the map does not show your location, tap the marker to center the map on your current
location.
The map shows traffic incidents in the area.
4. Tap on any traffic incident to get more information.
A screen is shown that gives you detailed information about the incident you chose. To
display information about surrounding incidents use the left and right arrows at the bottom
of this screen.
USA_NAVI_EN.book 35 ページ 2014年5月8日 木曜日 午後12時51分
Page 36 of 48
36
Speed cameras
Important
Important: When you purchase your car with its Mazda NB1, alerts for Speed Cameras are
switched off. If you wish to receive aler ts for speed camera locations, tap Services, then tap
Speed Cameras. Tap Enable alerts. You then receive alerts for speed camera locations.
Important
Important: If you hear beeps and see no message on your screen, this is because you are in
radio mode and the beeps are coming from the navigation system. The beeps are warning
sounds given by the Speed Camera service to warn you of the presence of a speed camera.
Speed Camera warnings
You are warned in three ways:
The system plays a warning sound.
The type of speed camera and your distance from the camera location is shown in the
Driving View. If a speed restriction has been repor ted for the camera, the speed is also
shown in the Driving View.
The location of the speed camera is shown on the map.
Report button
To show the report button in the Driving View, do the following:
1. Tap Services in the Main Menu.
2. Tap Speed Cameras.
3. Tap Enable report button.
4. Tap Done.
The report button is shown on left-hand side of the Driving View or, if you are already using
the quick menu, it's added to the buttons available in the quick menu.
Tip: To hide the repor t button, tap Disable report button in the Speed Cameras menu.
USA_NAVI_EN.book 36 ページ 2014年5月8日 木曜日 午後12時51分
Page 37 of 48
37
Reporting incorrect camera alerts
You may receive an aler t for a camera that is no longer there. To report an incorrect camera
alert, do the following:
1. While you are at the location of the missing camera, tap Report in the Driving View.
2. Tap Remove.
Changing the way you are warned
Note: You can only report an incorrect camera aler t while you are at the location.
Note: This must be done within 20 seconds of receiving the camera alert.
Note: It's possible to repor t or confirm the location of danger zones, but it's not possible to
remove them.
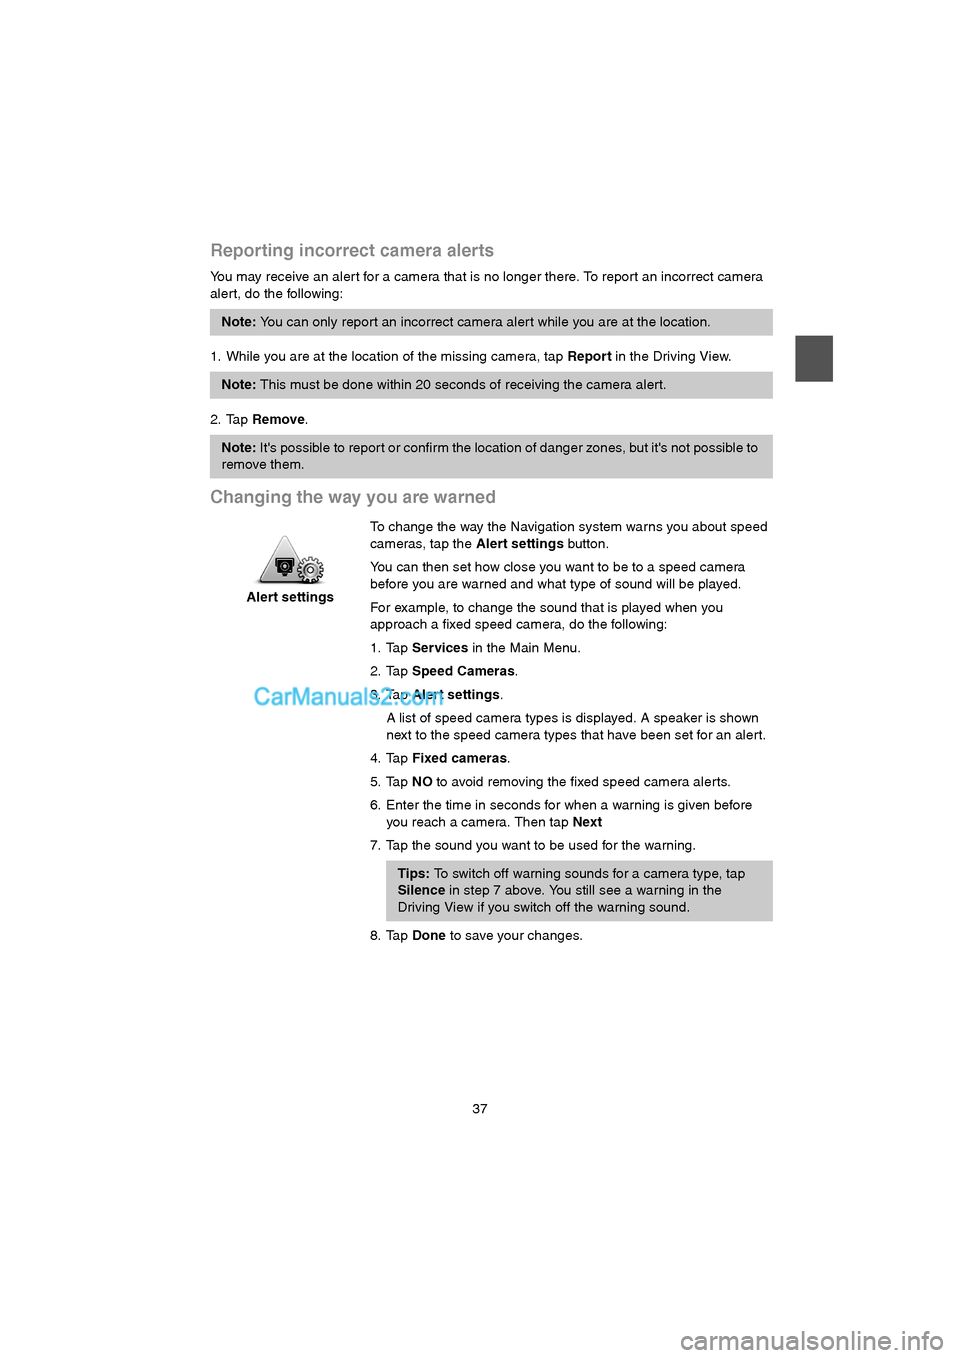
Alert settingsTo change the way the Navigation system warns you about speed
cameras, tap the Alert settings button.
You can then set how close you want to be to a speed camera
before you are warned and what type of sound will be played.
For example, to change the sound that is played when you
approach a fixed speed camera, do the following:
1. Tap Services in the Main Menu.
2. Tap Speed Cameras.
3. Tap Alert settings.
A list of speed camera types is displayed. A speaker is shown
next to the speed camera types that have been set for an aler t.
4. Tap Fixed cameras.
5. Tap NO to avoid removing the fixed speed camera alerts.
6. Enter the time in seconds for when a warning is given before
you reach a camera. Then tap Next
7. Tap the sound you want to be used for the warning.
Tips: To switch off warning sounds for a camera type, tap
Silence in step 7 above. You still see a warning in the
Driving View if you switch off the warning sound.
8. Tap Done to save your changes.
USA_NAVI_EN.book 37 ページ 2014年5月8日 木曜日 午後12時51分
Page 38 of 48
38
To m To m H O M E
About TomTom HOME (the program)
Using TomTom HOME you can register and manage your navigation device to receive free
updates and buy new services. It's a good idea to use TomTom HOME frequently so you can
do the following:
Download for free one most recent version of map available for your device, if you connect
to TomTom HOME within 60 days of buying your device.
Download for free updates for your device, including Map Share updates and other
services included with your product.
Add new items to your device, like maps, voices and POIs, as well as buy TomTom services
and manage your subscriptions.
Share your map corrections and other content with the TomTom community.
Make and restore backups of the Navigation system.
When using HOME, you can get help with what you are doing from the HOME Help. You can
also read about all the other things that HOME can do for you.
Installing TomTom HOME
The steps below refer to Internet Explorer on Windows XP. If you're using another browser or
operating system, visit www.mazdausa.com/navigation
for more information.
To install TomTom HOME on your computer, do the following:
1. Connect your computer to the internet.
2. Go to the link below to download the latest version of TomTom HOME:
www.mazdausa.com/navigation
3. We recommend downloading the file to your computer by clicking Save.
4. Once the download is complete, click Open.
5. If you accidentally closed the Download complete window, locate the file
TomTomHOME2winlatest.exe on your computer and double-click it.
6. If you get a security warning click Run.
7. Click Next, then click Install.
The installation starts.
8. Once the installation is complete click Finish.
Tip: We recommend using a broadband internet connection whenever you use TomTom
HOME.
USA_NAVI_EN.book 38 ページ 2014年5月8日 木曜日 午後12時51分
Page 39 of 48
39
MyTomTom account
To download content and services using TomTom HOME, you need a MyTomTom account.
You can create an account when you star t using TomTom HOME.
If you have a MyTomTom account, you can access the following benefits online using HOME
or by using the MyTomTom section of tomtom.com:
Services - click Services on the TomTom website to subscribe to services such as real-
time traffic and safety camera information.
Newsletters - click MyTomTom followed by Account details on the TomTom website to
manage newsletter subscriptions and language preferences for product news
Support - click My Questions on the TomTom website to track and view your case history
and all email conversations you have with TomTom about technical support issues via the
website. You can also update cases with new information.
Orders - click My Orders on the TomTom website to view items you ordered from the
TomTom website and your order history.
TomTom Map Share - repor t and download map corrections by joining the Map Share
community using HOME. You can then benefit from shared reporting of map issues such as
missing streets and wrong driving instructions.
Downloads - download free items using TomTom HOME.
Note: If you have more than one TomTom device, you need a separate MyTomTom
account for each device.
USA_NAVI_EN.book 39 ページ 2014年5月8日 木曜日 午後12時51分
Page 40 of 48
40
Updating the Navigation system
Before you star t, make sure you have a backup of the Navigation system or SD card.
You can check for updates for your maps, services and for a whole range of other free items
or items for purchase. The instructions below describe how to update the TomTom application
on your device.
To check for an updated map or application version do the following:
1. Insert the SD card into the card reader connected to your computer.
WARNING: If your computer asks you if you would like to format your SD card, click NO. Do
not click the ENTER key, it may be set to YES as default.
Your computer may falsely warn you that your card was improperly removed. You may
check it for errors, but under no circumstances should you ever format the card. You will
lose the map and other data, and if you do not have a backup, you may need to purchase
another SD card.
2. Wait for TomTom HOME to start.
3. If HOME does not automatically check for updates, click Update my device in the HOME
menu.
4. If a new application is available, it is listed on the next screen.
5. Make sure the new application is selected, then click Download updates.
HOME downloads the selected items...
6. HOME then installs the selected items on the SD card.
7. Click Done.
8. Click Device > Disconnect Device in the HOME menu. You can then disconnect your card
from your computer.
Note: if you would like to install an application you downloaded previously, click Add
Traffic, Voices, Safety Cameras etc. > Items on my computer.
USA_NAVI_EN.book 40 ページ 2014年5月8日 木曜日 午後12時51分