RENAULT KANGOO 1997 KC / 1.G Chassis Manual PDF
Manufacturer: RENAULT, Model Year: 1997, Model line: KANGOO, Model: RENAULT KANGOO 1997 KC / 1.GPages: 105
Page 71 of 105
MECHANICAL ELEMENT CONTROLS
Brake servo
TIGHTENING TORQUES (in daN.m)
Mounting nut on brake servo 1.8
Brake servo on bulkhead 2.3
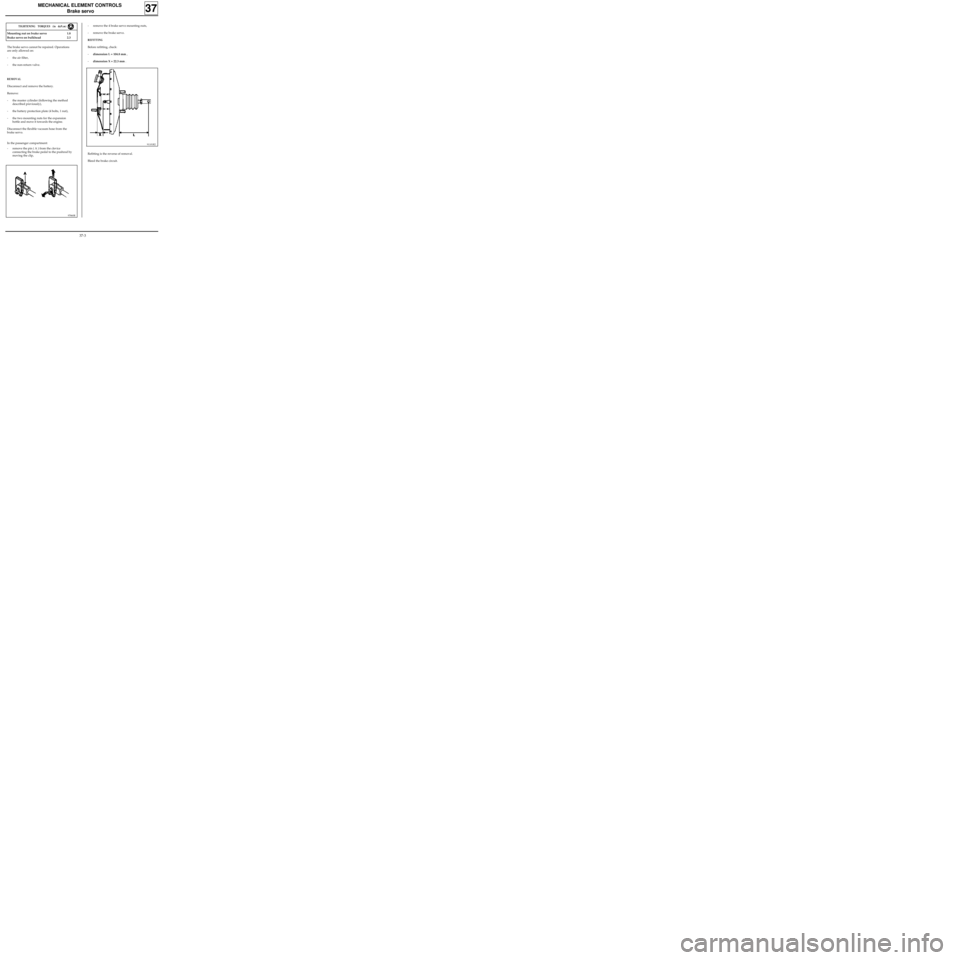
- remove the 4 brake servo mounting nuts,
- remove the brake servo.
REFITTING
Before refitting, check:
-dimension L = 104.8 mm ,
-dimension X = 22.3 mm .The brake servo cannot be repaired. Operations
are only allowed on:
- the air filter,
- the non-return valve.
REMOVAL
Disconnect and remove the battery.
Remove:
- the master cylinder (following the method
described previously),
- the battery protection plate (4 bolts, 1 nut),
- the two mounting nuts for the expansion
bottle and move it towards the engine.
Disconnect the flexible vacuum hose from the
brake servo.
In the passenger compartment:
- remove the pin ( A ) from the clevice
connecting the brake pedal to the pushrod by
moving the clip,
37
91101R2
97860R
Refitting is the reverse of removal.
Bleed the brake circuit.
37-3
Page 72 of 105
SPECIAL TOOLING REQUIRED
Mot 453 -01 Hose clamp pliers
MECHANICAL ELEMENT CONTROLS
Brake servo
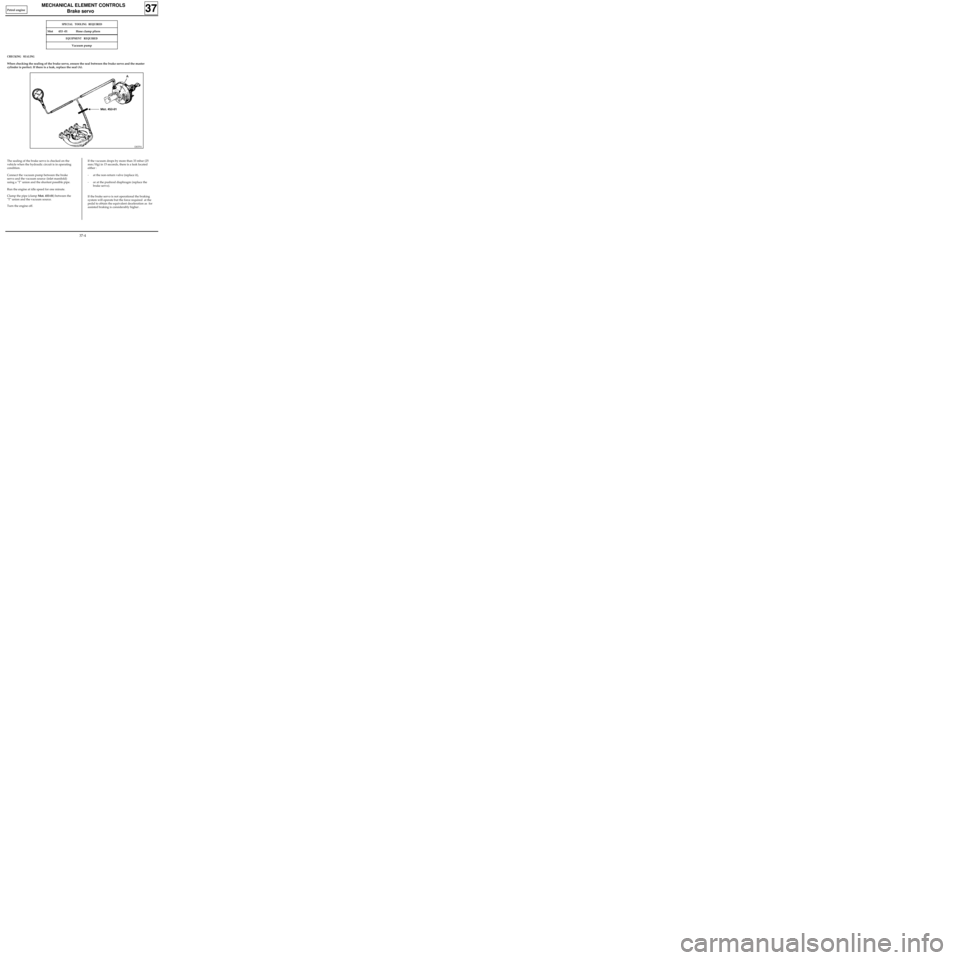
The sealing of the brake servo is checked on the
vehicle when the hydraulic circuit is in operating
condition.
Connect the vacuum pump between the brake
servo and the vacuum source (inlet manifold)
using a "T" union and the shortest possible pipe.
Run the engine at idle speed for one minute.
Clamp the pipe (clamp Mot. 453-01) between the
"T" union and the vacuum source.
Turn the engine off.If the vacuum drops by more than 33 mbar (25
mm/Hg) in 15 seconds, there is a leak located
either :
- at the non-return valve (replace it),
- or at the pushrod diaphragm (replace the
brake servo).
If the brake servo is not operational the braking
system will operate but the force required at the
pedal to obtain the equivalent deceleration as for
assisted braking is considerably higher .
CHECKING SEALING
When checking the sealing of the brake servo, ensure the seal between the brake servo and the master
cylinder is perfect. If there is a leak, replace the seal (A).
37
DI3701
EQUIPMENT REQUIRED
Vacuum pump
Petrol engine
37-4
Page 73 of 105
83 212
75 564
MECHANICAL ELEMENT CONTROLS
Air filter - Brake servo non-return valve
REPLACING THE AIR FILTER
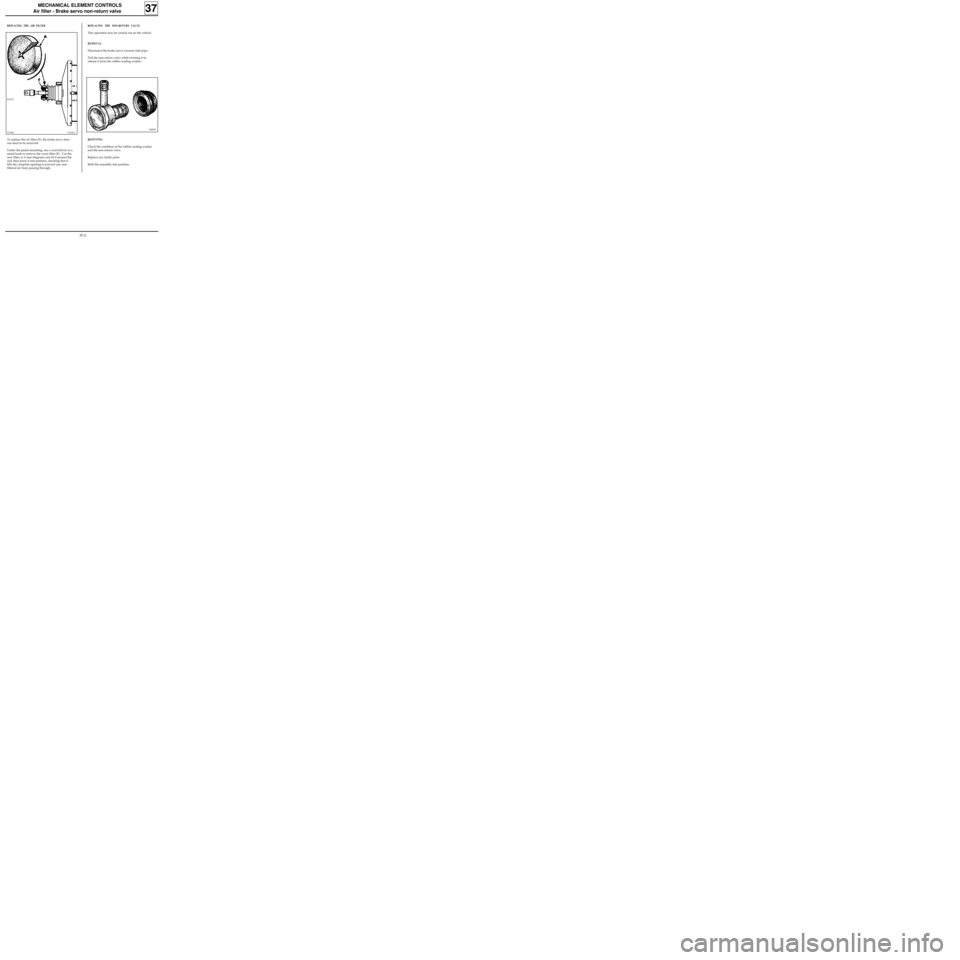
To replace the air filter (F), the brake servo does
not need to be removed.
Under the pedal mounting, use a screwdriver or a
metal hook to remove the worn filter (F). Cut the
new filter at A (see diagram) and fit it around the
rod, then press it into position, checking that it
fills the complete opening to prevent any non-
filtered air from passing through.
REPLACING THE NON-RETURN VALVE
This operation may be carried out on the vehicle.
REMOVAL
Disconnect the brake servo vacuum inlet pipe.
Pull the non-return valve while twisting it to
release it from the rubber sealing washer.
REFITTING
Check the condition of the rubber sealing washer
and the non-return valve.
Replace any faulty parts.
Refit the assembly into position.
37
91101G74883S
37-5
Page 74 of 105
MECHANICAL ELEMENT CONTROLS
Vacuum pump
37
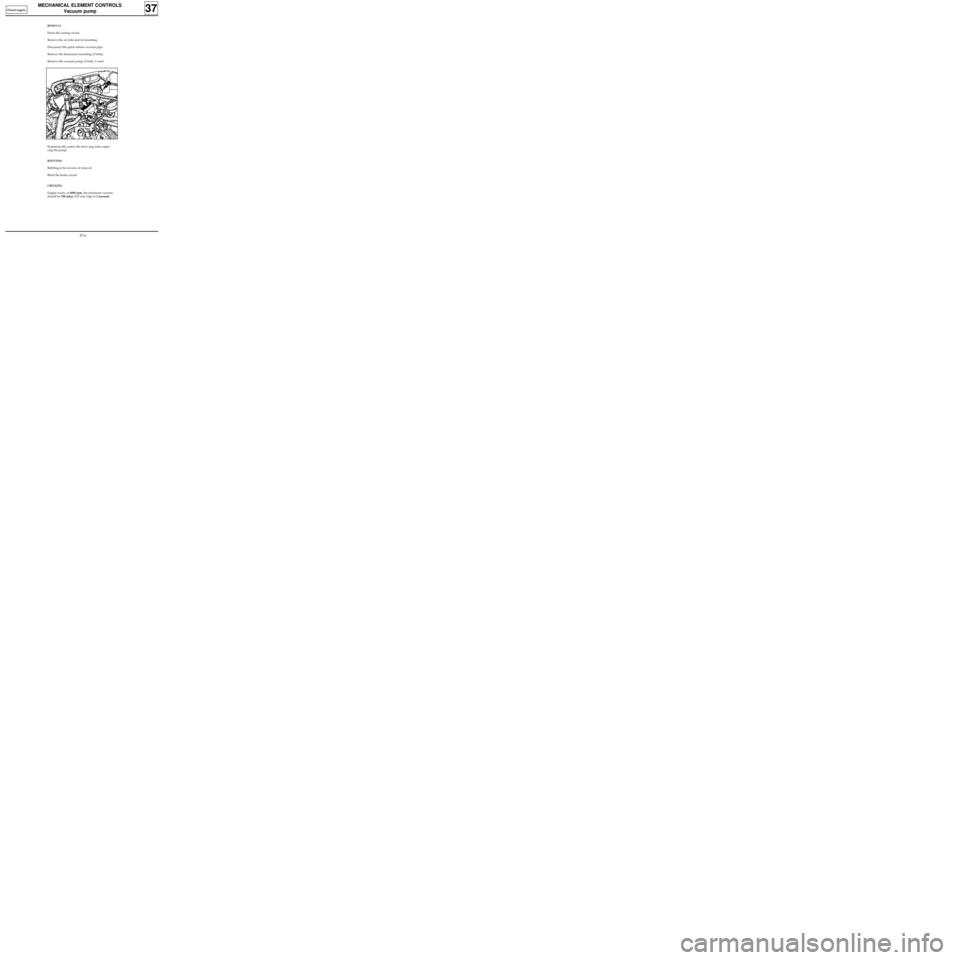
REMOVAL
Drain the cooling circuit.
Remove the air tube and its mounting.
Disconnect the quick release vacuum pipe.
Remove the thermostat mounting (2 bolts).
Remove the vacuum pump (2 bolts, 2 nuts).
13097-1S
Systematically renew the drive dog when repla-
cing the pump.
REFITTING
Refitting is the reverse of removal.
Bleed the brake circuit.
CHECKING
Engine warm, at 4000 rpm, the minimum vacuum
should be 700 mbar (525 mm/Hg) in 3 seconds.
Diesel engine
37-6
Page 75 of 105
MECHANICAL ELEMENT CONTROLS
Handbrake control lever
37
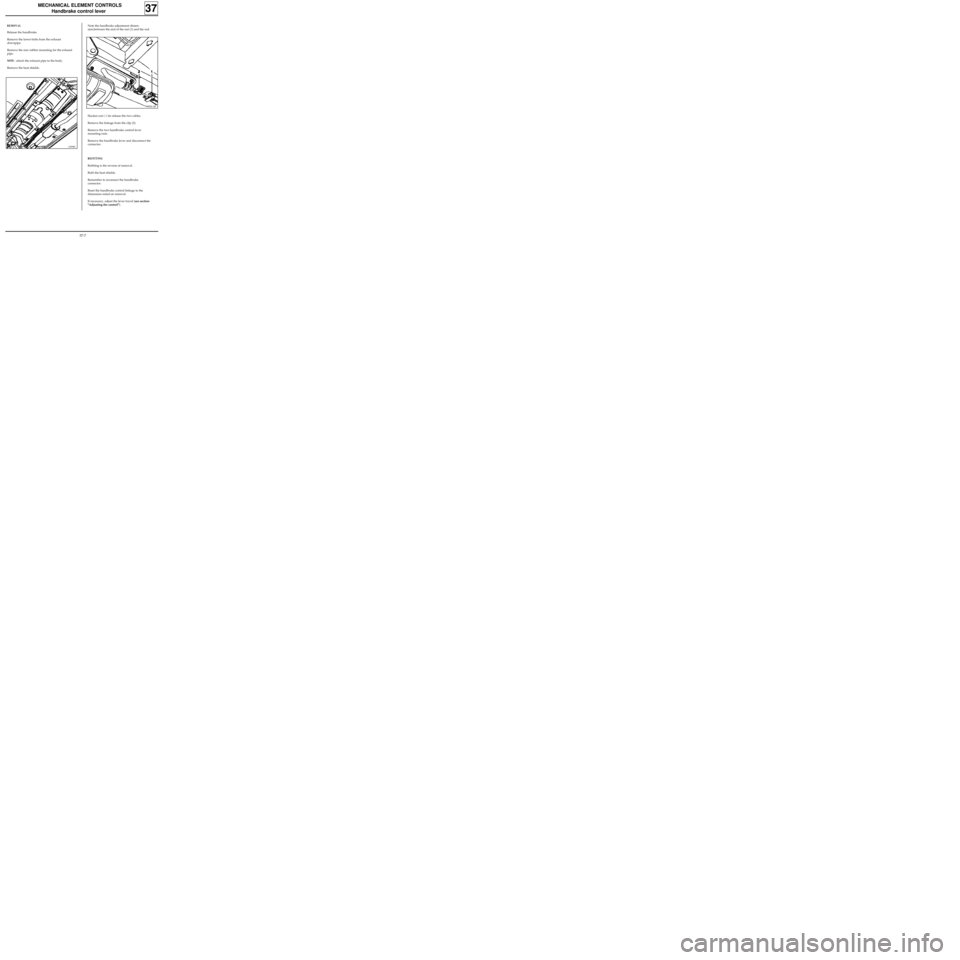
REMOVAL
Release the handbrake.
Remove the lower bolts from the exhaust
downpipe.
Remove the rear rubber mounting for the exhaust
pipe.
NOTE : attach the exhaust pipe to the body.
Remove the heat shields.
12998S
98826-2R
Note the handbrake adjustment dimen-
sion,between the end of the nut (1) and the rod.
Slacken nut ( 1 )to release the two cables.
Remove the linkage from the clip (2).
Remove the two handbrake control lever
mounting nuts.
Remove the handbrake lever and disconnect the
connector.
REFITTING
Refitting is the reverse of removal.
Refit the heat shields.
Remember to reconnect the handbrake
connector.
Reset the handbrake control linkage to the
dimension noted on removal.
If necessary, adjust the lever travel (see section
"Adjusting the control").
37-7
Page 76 of 105
MECHANICAL ELEMENT CONTROLS
Handbrake control
37
ADJUSTMENT
Incorrect adjustment of the handbrake where the
cable is too tight:
- prevents the correct operation of the automa-
tic compensation system for the brake shoes ,
- causes long brake pedal travel.
The cables should not be re-tensioned to correct
this fault since it will quickly occur again.
The handbrake should not be used to adjust play,
it should only be adjusted when replacing :
- brake linings,
- cables,
- the control lever.
Any other adjustment except in the above cases is
not permitted.
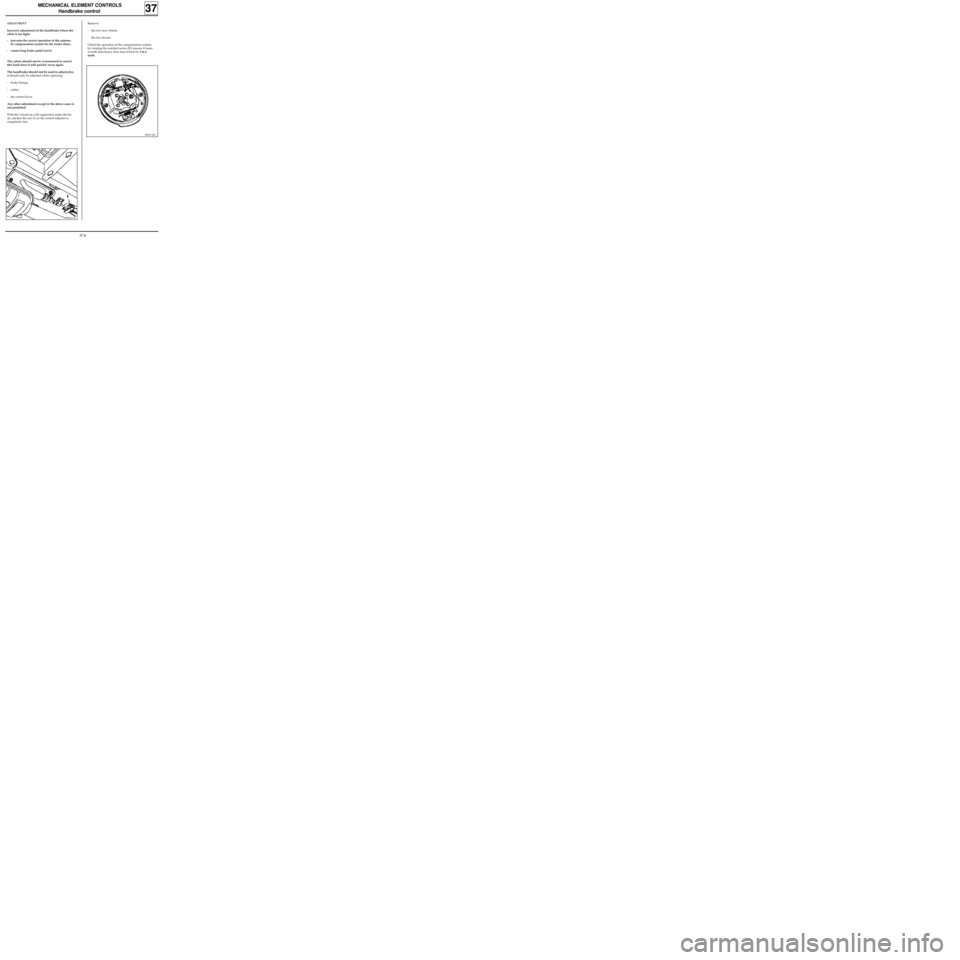
With the vehicle on a lift supported under the bo-
dy, slacken the nut (1) so the central adjuster is
completely free.
Remove:
- the two rear wheels,
- the two drums.
Check the operation of the compensation system
by rotating the notched sector (D) (ensure it turns
in both directions), then turn it back by 5 to 6
teeth.
98992-1R3
98826-1R
37-8
Page 77 of 105
MECHANICAL ELEMENT CONTROLS
Handbrake control
37
98992-1R2
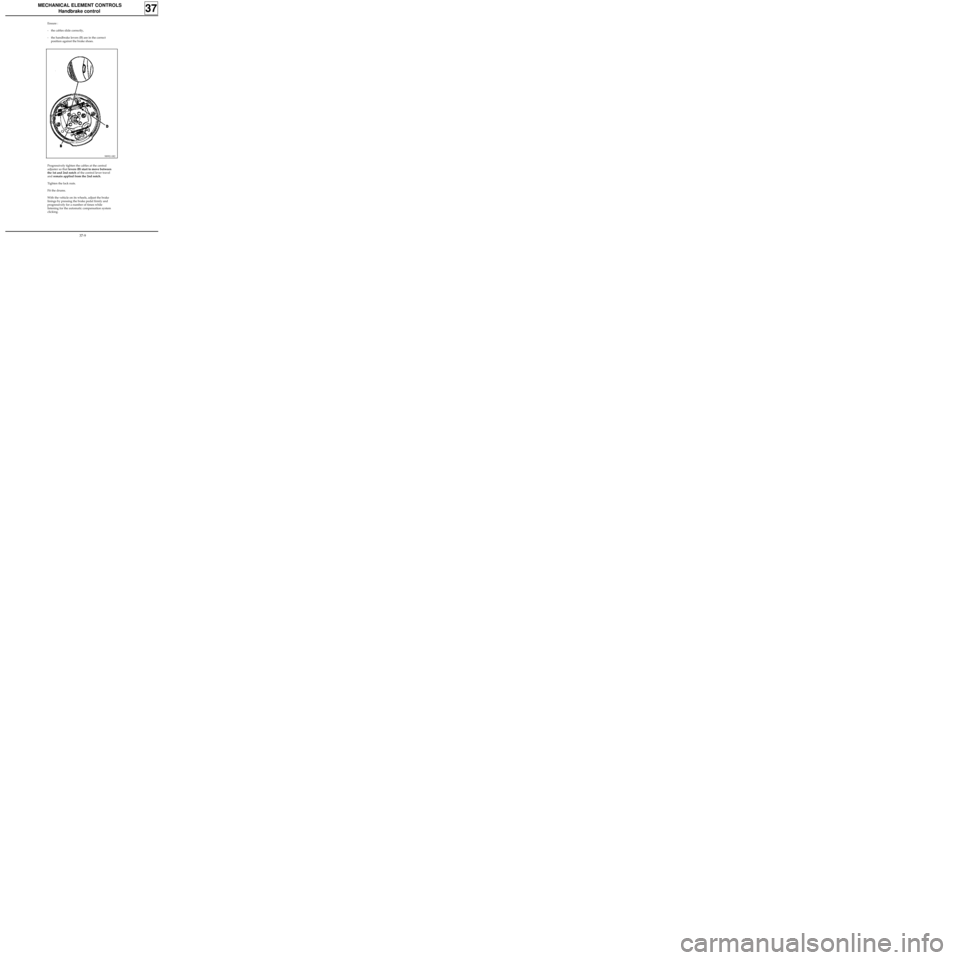
Ensure :
- the cables slide correctly,
- the handbrake levers (B) are in the correct
position against the brake shoes.
Progressively tighten the cables at the central
adjuster so that levers (B) start to move between
the 1st and 2nd notch of the control lever travel
and remain applied from the 2nd notch.
Tighten the lock nuts.
Fit the drums.
With the vehicle on its wheels, adjust the brake
linings by pressing the brake pedal firmly and
progressively for a number of times while
listening for the automatic compensation system
clicking.
37-9
Page 78 of 105
96118R
MECHANICAL ELEMENT CONTROLS
Brake pipes
37
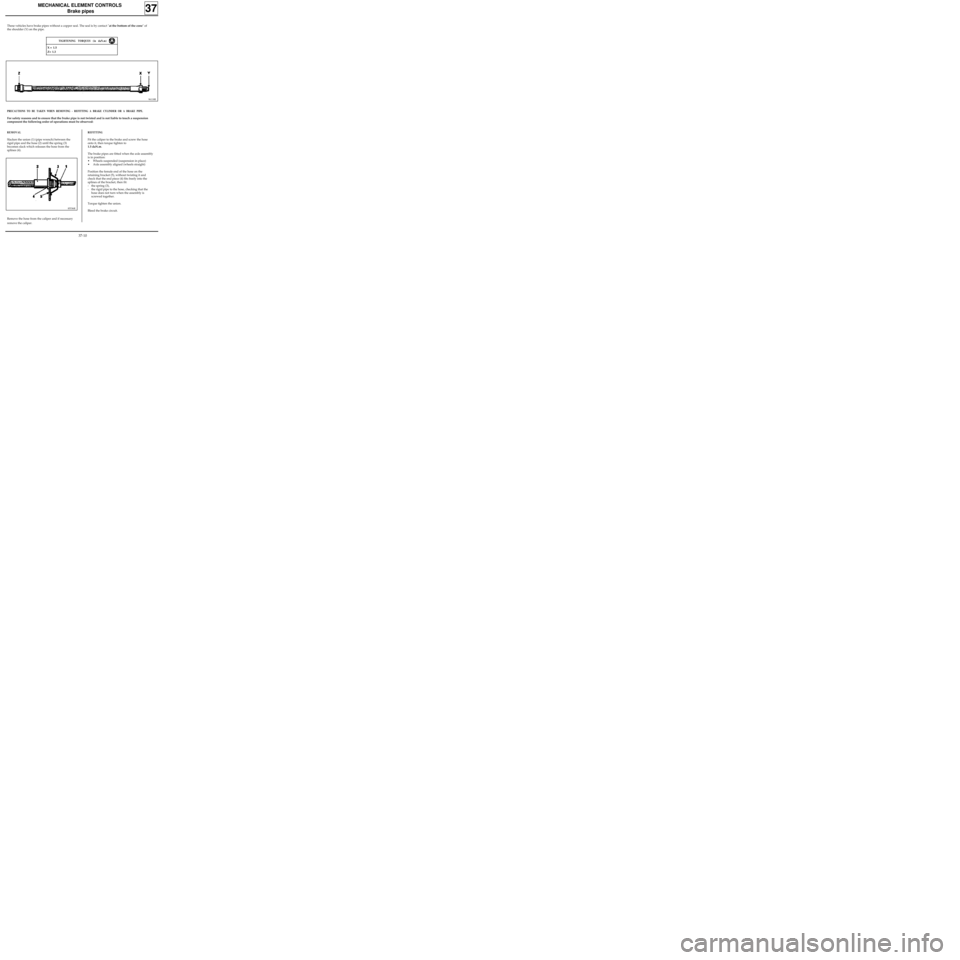
These vehicles have brake pipes without a copper seal. The seal is by contact "at the bottom of the cone" of
the shoulder (Y) on the pipe.
X = 1.5
Z= 1.3
TIGHTENING TORQUES (in daN.m)
PRECAUTIONS TO BE TAKEN WHEN REMOVING - REFITTING A BRAKE CYLINDER OR A BRAKE PIPE.
For safety reasons and to ensure that the brake pipe is not twisted and is not liable to touch a suspension
component the following order of operations must be observed:
Remove the hose from the caliper and if necessary
remove the caliper.
REMOVAL
Slacken the union (1) (pipe wrench) between the
rigid pipe and the hose (2) until the spring (3)
becomes slack which releases the hose from the
splines (4).
85536R
REFITTING
Fit the caliper to the brake and screw the hose
onto it, then torque tighten to
1.5 daN.m.
The brake pipes are fitted when the axle assembly
is in position:
• Wheels suspended (suspension in place)
• Axle assembly aligned (wheels straight)
Position the female end of the hose on the
retaining bracket (5), without twisting it and
check that the end piece (4) fits freely into the
splines of the bracket, then fit:
- the spring (3),
- the rigid pipe to the hose, checking that the
hose does not turn when the assembly is
screwed together.
Torque tighten the union.
Bleed the brake circuit.
37-10
Page 79 of 105
MECHANICAL ELEMENT CONTROLS
Braking compensator
37
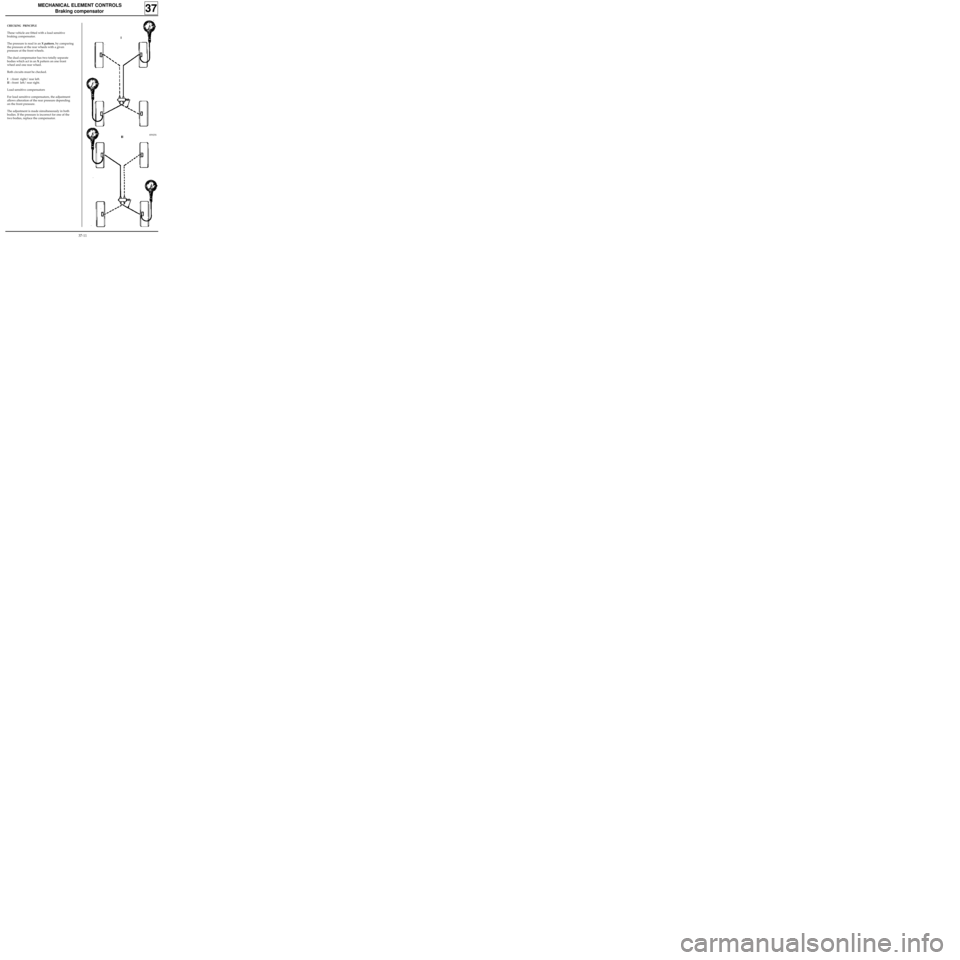
CHECKING PRINCIPLE
These vehicle are fitted with a load sensitive
braking compensator.
The pressure is read in an X pattern, by comparing
the pressure at the rear wheels with a given
pressure at the front wheels.
The dual compensator has two totally separate
bodies which act in an X pattern on one front
wheel and one rear wheel.
Both circuits must be checked.
I: front right/ rear left.
II : front left/ rear right.
Load sensitive compensators
For load sensitive compensators, the adjustment
allows alteration of the rear pressure depending
on the front pressure.
The adjustment is made simultaneously in both
bodies. If the pressure is incorrect for one of the
two bodies, replace the compensator.
85925S
37-11
Page 80 of 105
MECHANICAL ELEMENT CONTROLS
Braking compensator
37
NOTE
the braking compensators differ depending on the type of rear axle:
-standard load rear axle: red reference mark,
-increased load rear axle: green reference mark,
REMOVAL
Put the vehicle on a two post lift.
Disconnect the brake pipes.
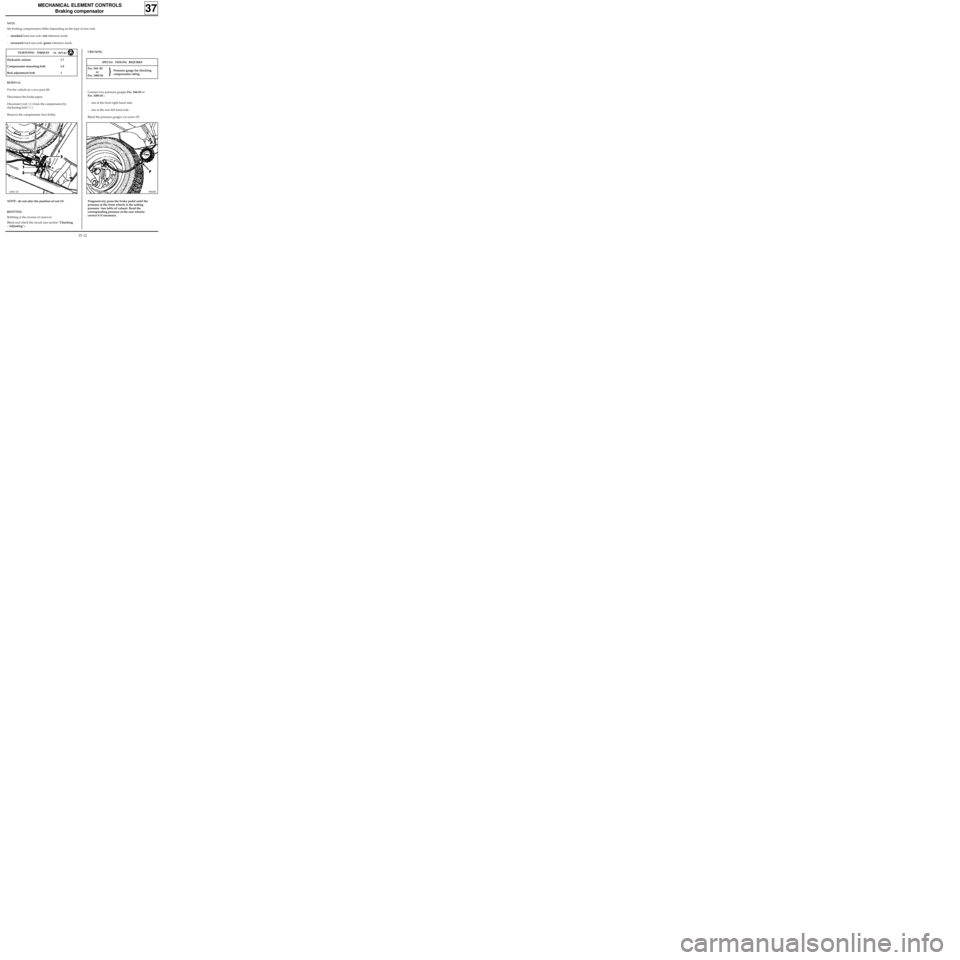
Disconnect rod ( 2 ) from the compensator by
slackening bolt ( 1 ).
Remove the compensator (two bolts).
12865-1R
TIGHTENING TORQUES (in daN.m)
Hydraulic unions 1.7
Compensator mounting bolt 1.8
Rod adjustment bolt 1
NOTE : do not alter the position of nut (3).
REFITTING
Refitting is the reverse of removal.
Bleed and check the circuit (see section "Checking
- Adjusting").
SPECIAL TOOLING REQUIRED
Fre. 244 -03
or
Fre. 1085-01
CHECKING
Connect two pressure gauges Fre. 244-03 or
Fre. 1085-01 :
- one at the front right hand side,
- one at the rear left hand side.
Bleed the pressure gauges via screw (P).
98828R
Progressively press the brake pedal until the
pressure at the front wheels is the setting
pressure (see table of values). Read the
corresponding pressure at the rear wheels;
correct it if necessary.Pressure gauge for checking
compensator rating
37-12