RENAULT KANGOO 1997 KC / 1.G Sheet Metal Work Owner's Manual
KANGOO 1997 KC / 1.G
RENAULT
RENAULT
https://www.carmanualsonline.info/img/7/1735/w960_1735-0.png
RENAULT KANGOO 1997 KC / 1.G Sheet Metal Work Owner's Manual
Trending: air conditioning, light, dashboard, airbag, belt, tow, wheel bolts
Page 21 of 255
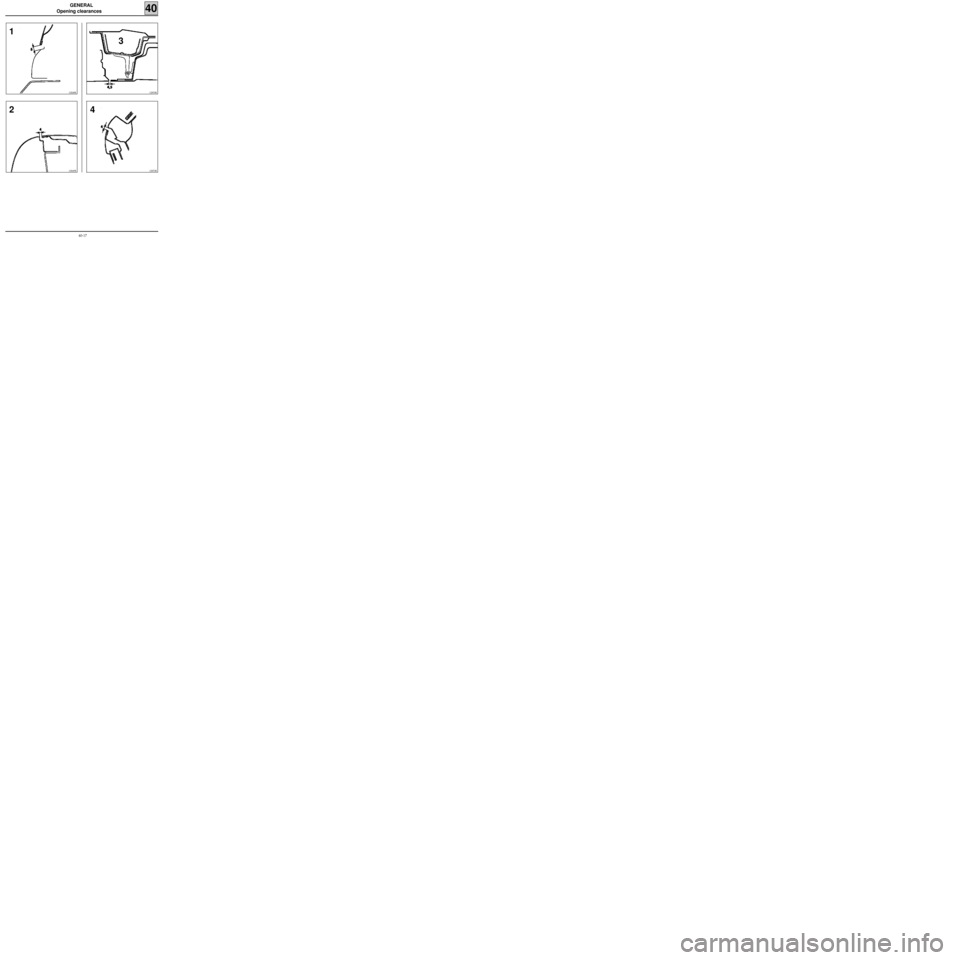
GENERAL
Opening clearances
40
12850R
1
12848R
12849R12853R
23
4
40-17
Page 22 of 255
GENERAL
Opening clearances
40
12852R
5
12854R
12851R
12906R
67
8
40-18
Page 23 of 255
GENERAL
Opening clearances
40
12855R
9
12905R
12861R
12856R10
1112
12858R
13
40-19
Page 24 of 255
GENERAL
Opening clearances
40
12857R
12864R
12860R
14
1516
12859R
17
40-20
Page 25 of 255
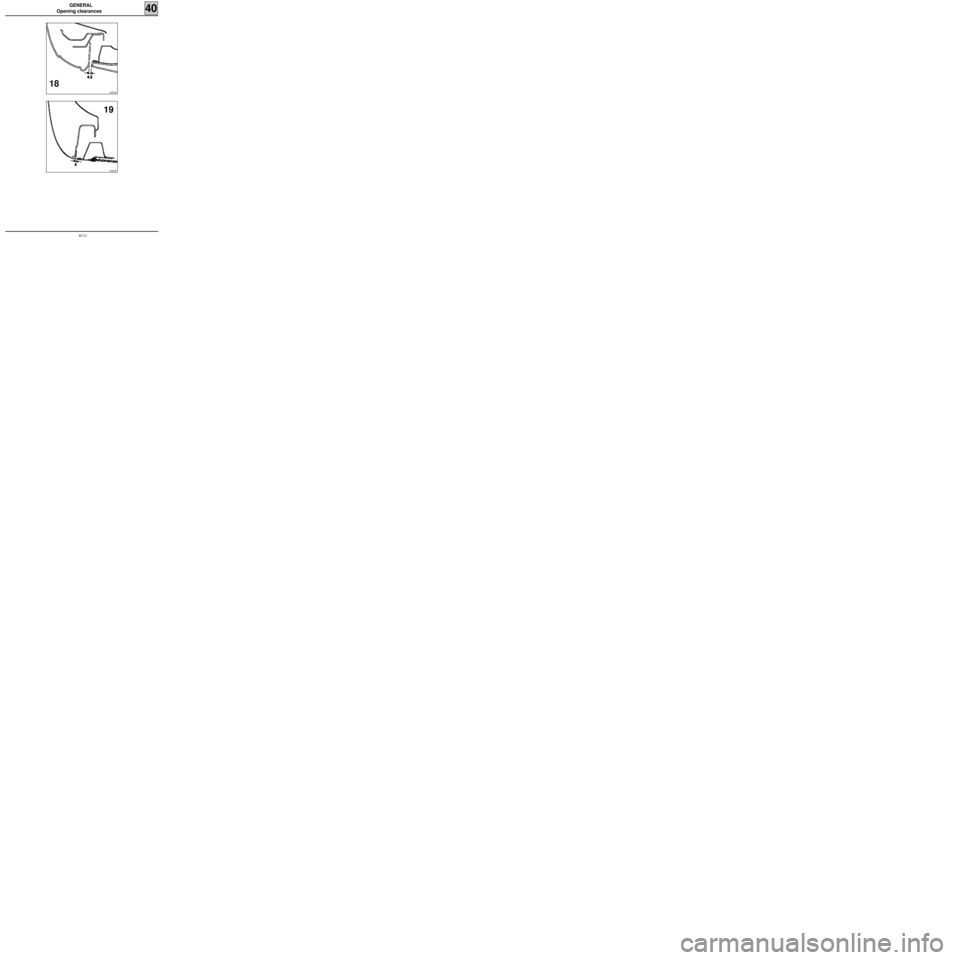
GENERAL
Opening clearances
40
12862R
12863R
18
19
40-21
Page 26 of 255

GENERAL
Collision fault finding
40
12664-1R
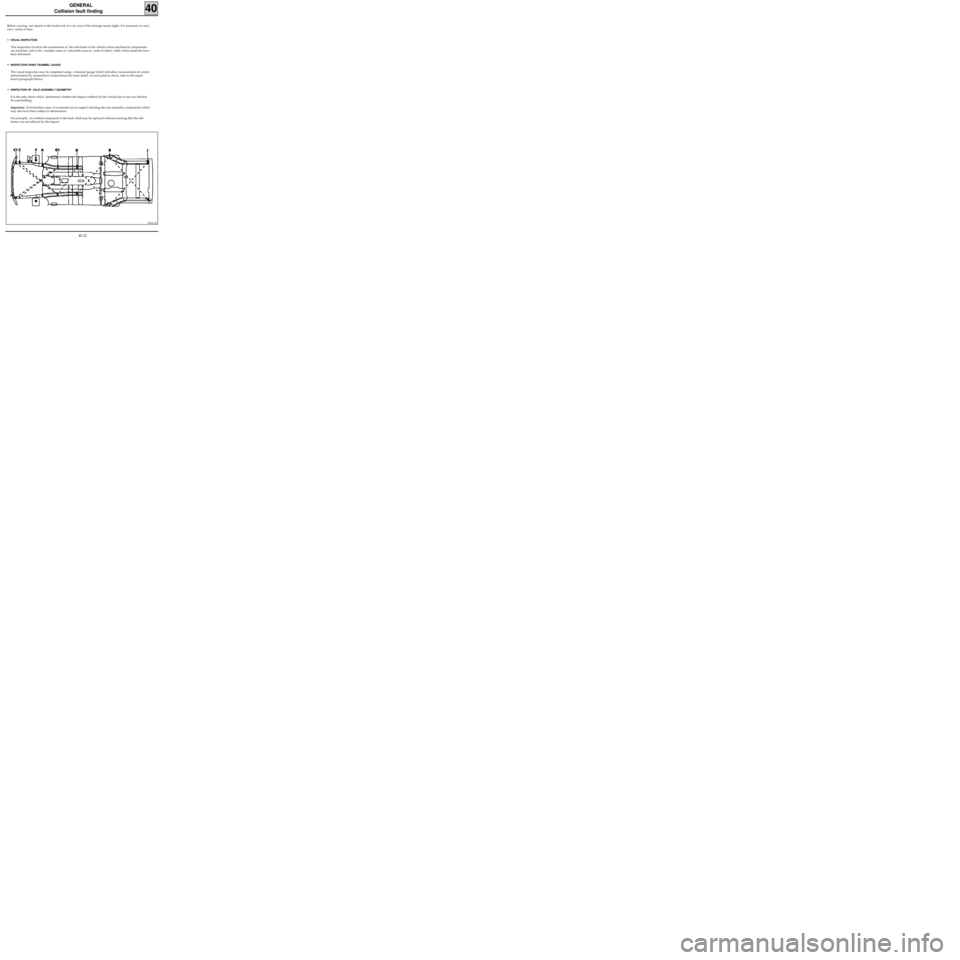
Before carrying out repairs to the bodywork of a car, even if the damage seems slight, it is necessary to carry
out a series of tests :
•
VISUAL INSPECTION
This inspection involves the examination of the sub-frame of the vehicle where mechanical components
are mounted and in the crumple zones or vulnerable areas in order to detect folds where materials have
been deformed.
•
INSPECTION USING TRAMMEL GAUGE
The visual inspection may be completed using a trammel gauge which will allow measurement of certain
deformations by symmetrical comparisons (for more detail on each point to check, refer to the repair
bench paragraph below).
•
INSPECTION OF AXLE ASSEMBLY GEOMETRY
It is the only check which determines whether the impact suffered by the vehicle has or has not affected
its road holding.
Important : In borderline cases, it is essential not to neglect checking the axle assembly components which
may also have been subject to deformation.
On principle, no welded component in the body shell may be replaced without ensuring that the sub-
frame was not affected by the impact.
40-22
Page 27 of 255
GENERAL
Collision fault finding
40
12670R
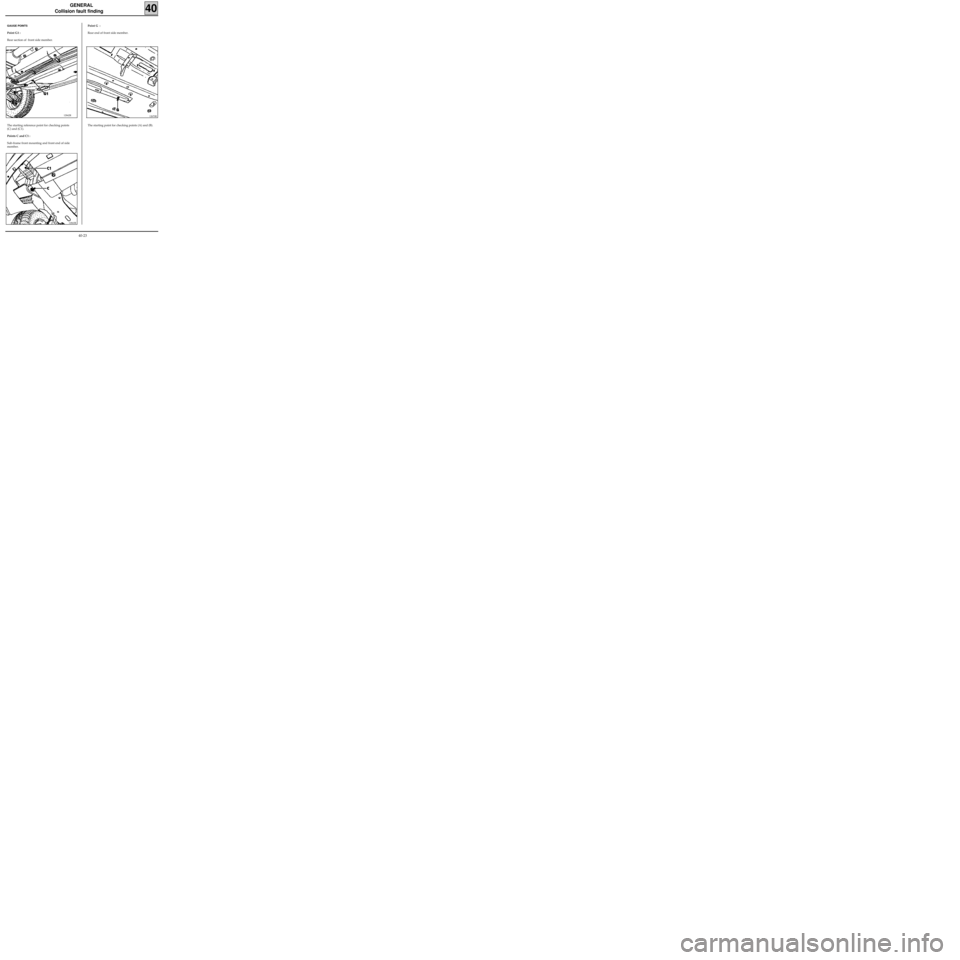
The starting point for checking points (A) and (B).
GAUGE POINTS
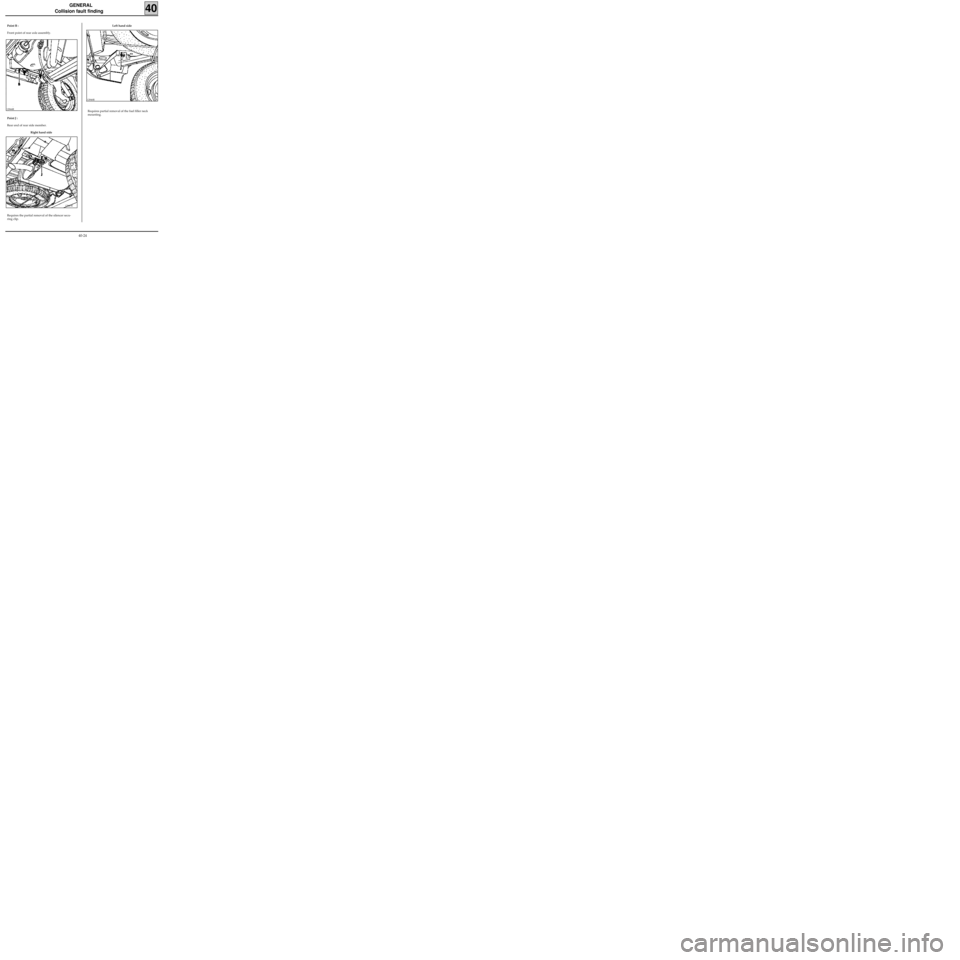
Point G1 :
Rear section of front side member.
12842R
The starting reference point for checking points
(C) and (C1).
Points C and C1 :
Sub-frame front mounting and front end of side
member.
12843R
Point G :
Rear end of front side member.
40-23
Page 28 of 255
GENERAL
Collision fault finding
40
12846R
Requires partial removal of the fuel filler neck
mounting.
Point J :
Rear end of rear side member.12844R
12847R
Right hand side Left hand side
Requires the partial removal of the silencer secu-
ring clip. Point B :
Front point of rear axle assembly.
40-24
Page 29 of 255
GENERAL
Sub-frame dimensions
40
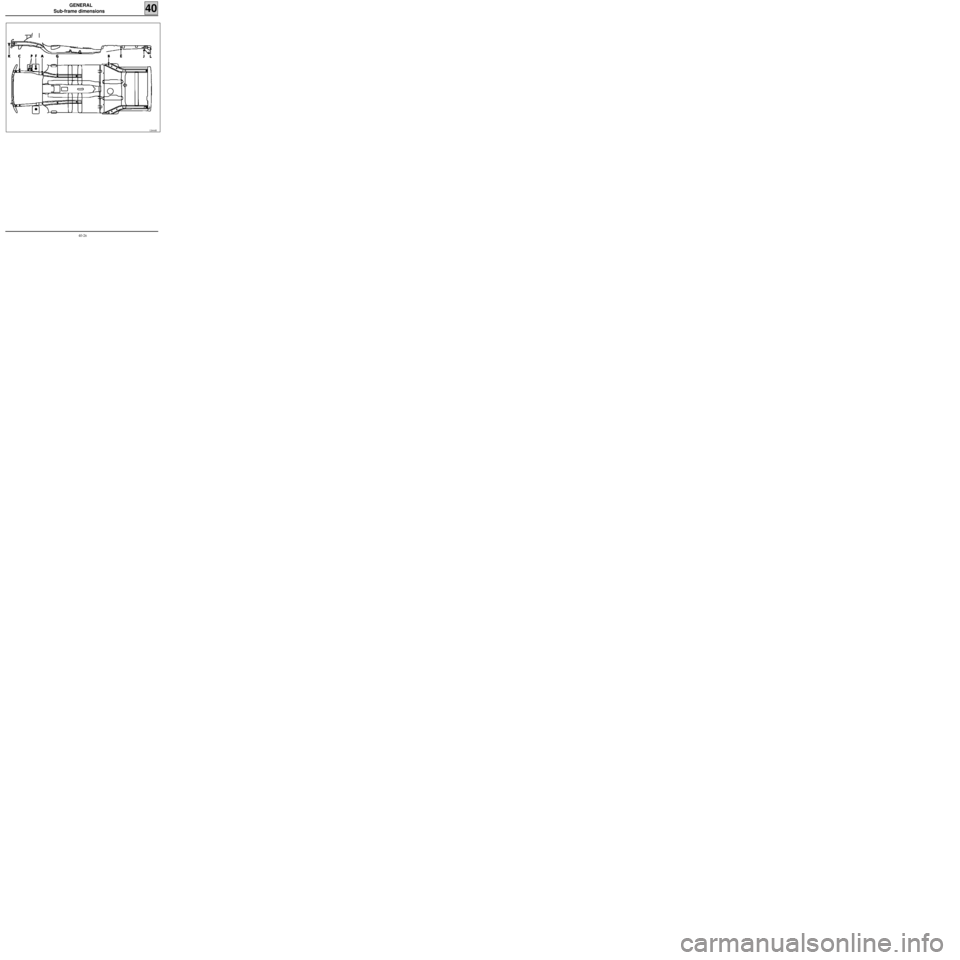
DESCRIPTION X Y ZDIAMETER SLOPE %
A Front sub-frame rear mounting 205 402.5 71 18.5 0
B Rear axle assembly front mounting 1 999.3 657 71.3 20×20 X : 8°20
C Front left sub-frame front mounting - 418 447 13010×10
(squared)0
Front right sub-frame front mounting - 418 465 13010×10
(squared)0
E Rear shock absorber upper mounting 2 333.13 545.75 184 12.5 0
F Front shock absorber upper mounting 18.5 545.50 657 48X : 3°02
Y : 1°
G1 Rear section of front left side member 600 - 375 020×20
(squared)0
Rear section of front right side member 600 351.6 020×20
(squared)0
J Rear point of rear side member 2 918 497.5 151 12.2×16.2 X : 3°
K Front end cross member 575 315 280 14.25X : 4°30
Z : 5°
L Rear end cross member (end panel) 3 121 - 497.5 151 M8 0
P Front engine mounting - 247 483.5 514 M10 0
Rear engine mounting - 113 483.5 514 M10 0
40-25
Page 30 of 255
GENERAL
Sub-frame dimensions
40
12664R
40-26
Trending: fuel, sensor, jack points, height, boot, key, technical specifications
