TOYOTA RAV4 2006 Service Repair Manual
Manufacturer: TOYOTA, Model Year: 2006, Model line: RAV4, Model: TOYOTA RAV4 2006Pages: 2000, PDF Size: 45.84 MB
Page 631 of 2000
2AZ-FE ENGINE MECHANICAL – CYLINDER HEADEM–87
EM
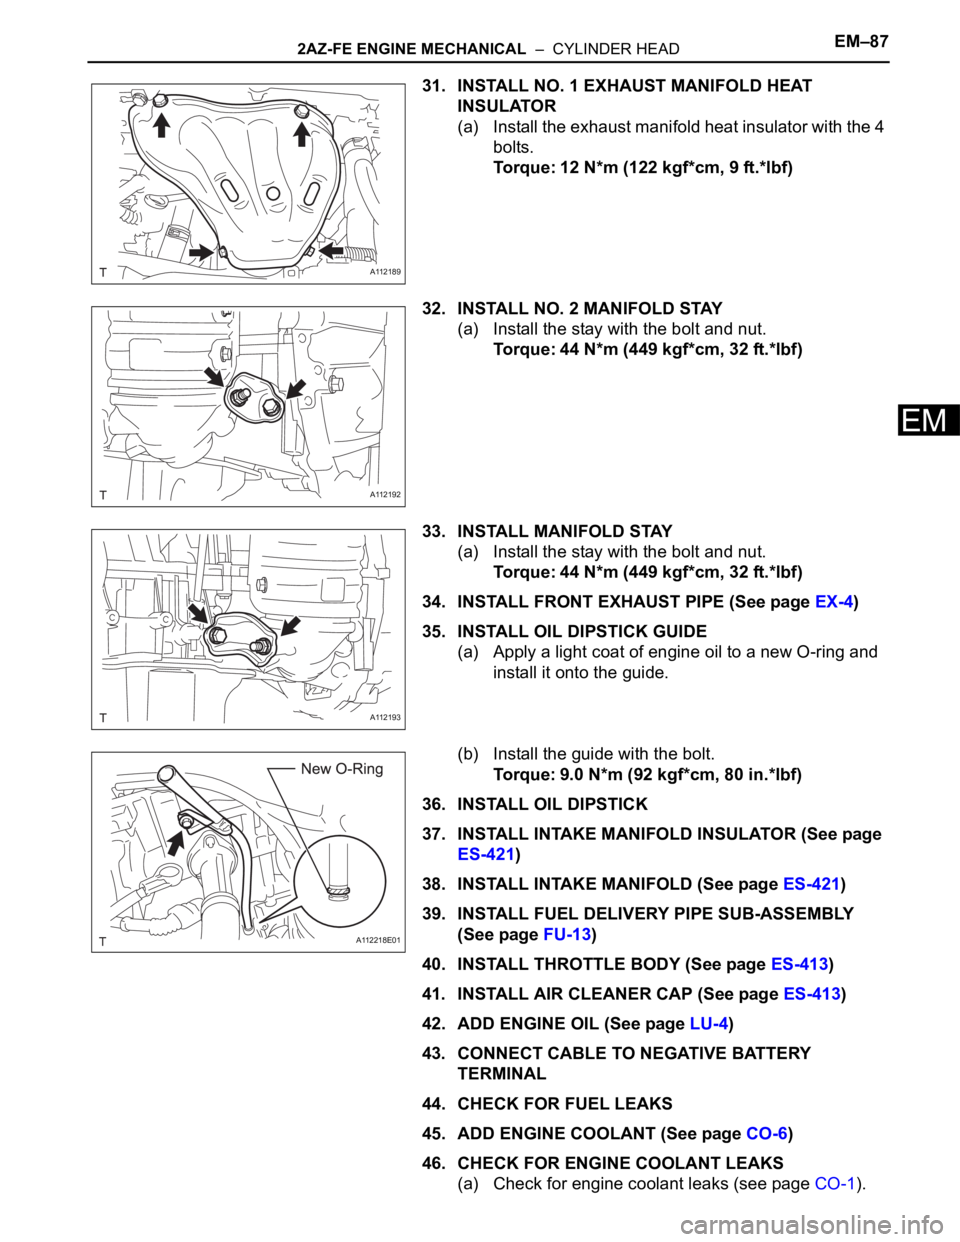
31. INSTALL NO. 1 EXHAUST MANIFOLD HEAT
INSULATOR
(a) Install the exhaust manifold heat insulator with the 4
bolts.
Torque: 12 N*m (122 kgf*cm, 9 ft.*lbf)
32. INSTALL NO. 2 MANIFOLD STAY
(a) Install the stay with the bolt and nut.
Torque: 44 N*m (449 kgf*cm, 32 ft.*lbf)
33. INSTALL MANIFOLD STAY
(a) Install the stay with the bolt and nut.
Torque: 44 N*m (449 kgf*cm, 32 ft.*lbf)
34. INSTALL FRONT EXHAUST PIPE (See page EX-4)
35. INSTALL OIL DIPSTICK GUIDE
(a) Apply a light coat of engine oil to a new O-ring and
install it onto the guide.
(b) Install the guide with the bolt.
Torque: 9.0 N*m (92 kgf*cm, 80 in.*lbf)
36. INSTALL OIL DIPSTICK
37. INSTALL INTAKE MANIFOLD INSULATOR (See page
ES-421)
38. INSTALL INTAKE MANIFOLD (See page ES-421)
39. INSTALL FUEL DELIVERY PIPE SUB-ASSEMBLY
(See page FU-13)
40. INSTALL THROTTLE BODY (See page ES-413)
41. INSTALL AIR CLEANER CAP (See page ES-413)
42. ADD ENGINE OIL (See page LU-4)
43. CONNECT CABLE TO NEGATIVE BATTERY
TERMINAL
44. CHECK FOR FUEL LEAKS
45. ADD ENGINE COOLANT (See page CO-6)
46. CHECK FOR ENGINE COOLANT LEAKS
(a) Check for engine coolant leaks (see page CO-1).
A112189
A112192
A112193
A112218E01
Page 632 of 2000
EM–882AZ-FE ENGINE MECHANICAL – CYLINDER HEAD
EM
47. CHECK FOR ENGINE OIL LEAKS
48. CHECK FOR EXHAUST GAS LEAKS
49. INSPECT IGNITION TIMING (See page EM-1)
50. INSPECT ENGINE IDLING SPEED (See page EM-2)
51. INSPECT COMPRESSION (See page EM-3)
52. INSPECT CO/HC (See page EM-4)
53. INSTALL NO. 1 ENGINE COVER (See page EM-43)
54. INSTALL FRONT FENDER APRON RH
55. INSTALL NO. 1 ENGINE UNDER COVER
56. INSTALL FRONT WHEEL RH
57. INSTALL RADIATOR SUPPORT OPENING COVER
REPAIR
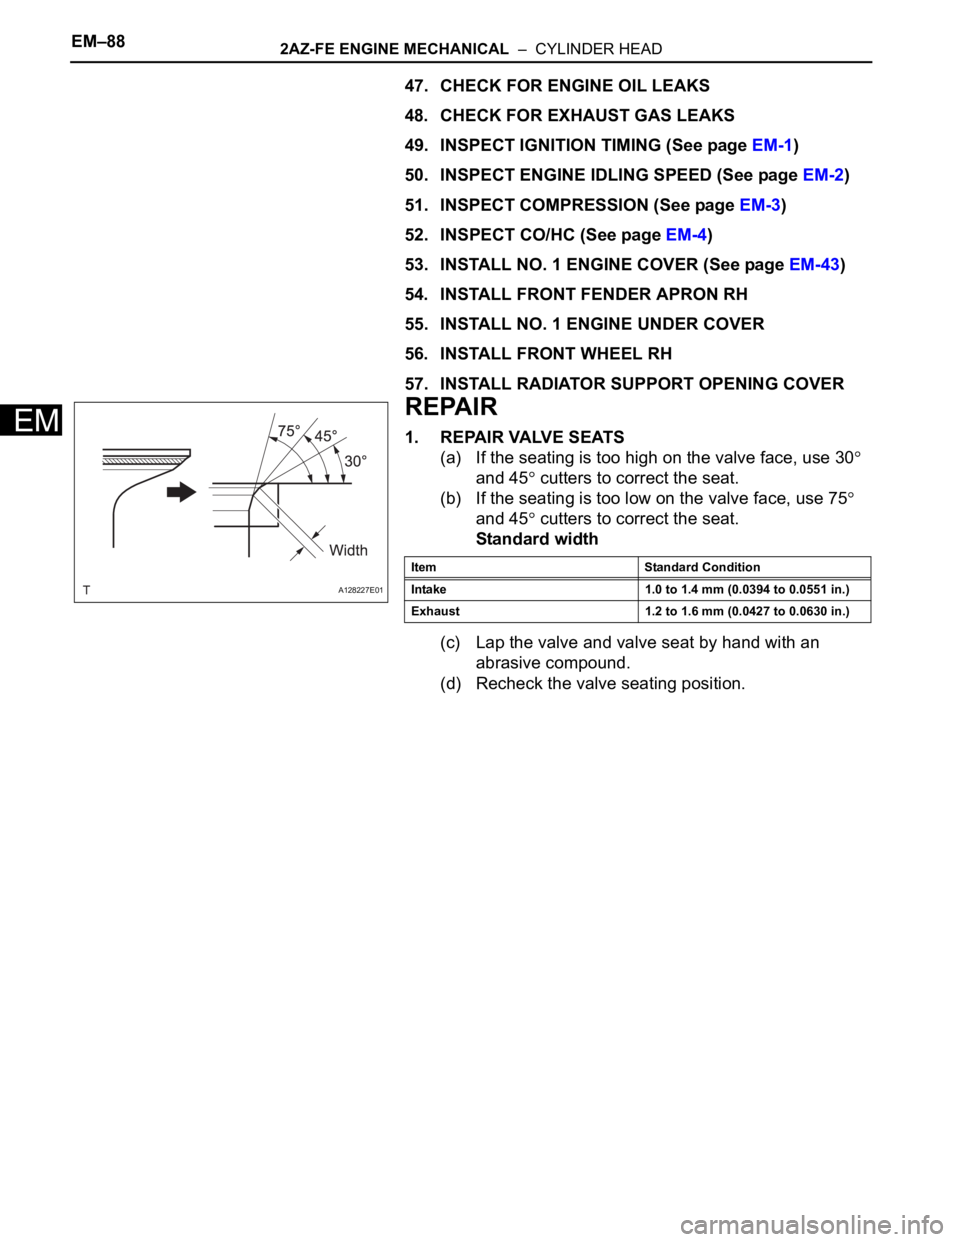
1. REPAIR VALVE SEATS
(a) If the seating is too high on the valve face, use 30
and 45
cutters to correct the seat.
(b) If the seating is too low on the valve face, use 75
and 45
cutters to correct the seat.
Standard width
(c) Lap the valve and valve seat by hand with an
abrasive compound.
(d) Recheck the valve seating position.
A128227E01
Item Standard Condition
Intake 1.0 to 1.4 mm (0.0394 to 0.0551 in.)
Exhaust 1.2 to 1.6 mm (0.0427 to 0.0630 in.)
Page 633 of 2000
EM–982AZ-FE ENGINE MECHANICAL – ENGINE ASSEMBLY
EM
REMOVAL
1. DISCHARGE FUEL SYSTEM PRESSURE (See page
FU-9)
2. DISCONNECT CABLE FROM NEGATIVE BATTERY
TERMINAL
CAUTION:
Wait at least 90 seconds after disconnecting the
cable from the negative (-) battery terminal to
prevent airbag and seat belt pretensioner activation.
3. REMOVE HOOD SUB-ASSEMBLY (See page ED-4)
4. REMOVE RADIATOR SUPPORT OPENING COVER
5. REMOVE BATTERY CLAMP SUB-ASSEMBLY
(a) Loosen the bolt and nut, and remove the battery
clamp.
6. REMOVE BATTERY
7. REMOVE BATTERY TRAY
8. REMOVE FRONT WHEEL
9. REMOVE NO. 1 ENGINE UNDER COVER
10. REMOVE NO. 2 ENGINE UNDER COVER
11. REMOVE FRONT FENDER APRON RH
12. REMOVE NO. 1 ENGINE COVER (See page EM-22)
13. DRAIN ENGINE COOLANT (See page CO-6)
14. DRAIN AUTOMATIC TRANSAXLE FLUID
(a) Drain automatic transaxle fluid for U241E (2WD)
(see page AX-146).
(b) Drain automatic transaxle fluid for U140F (4WD)
(see page AX-147).
15. REMOVE RADIATOR ASSEMBLY
(a) Remove the radiator (see page CO-29).
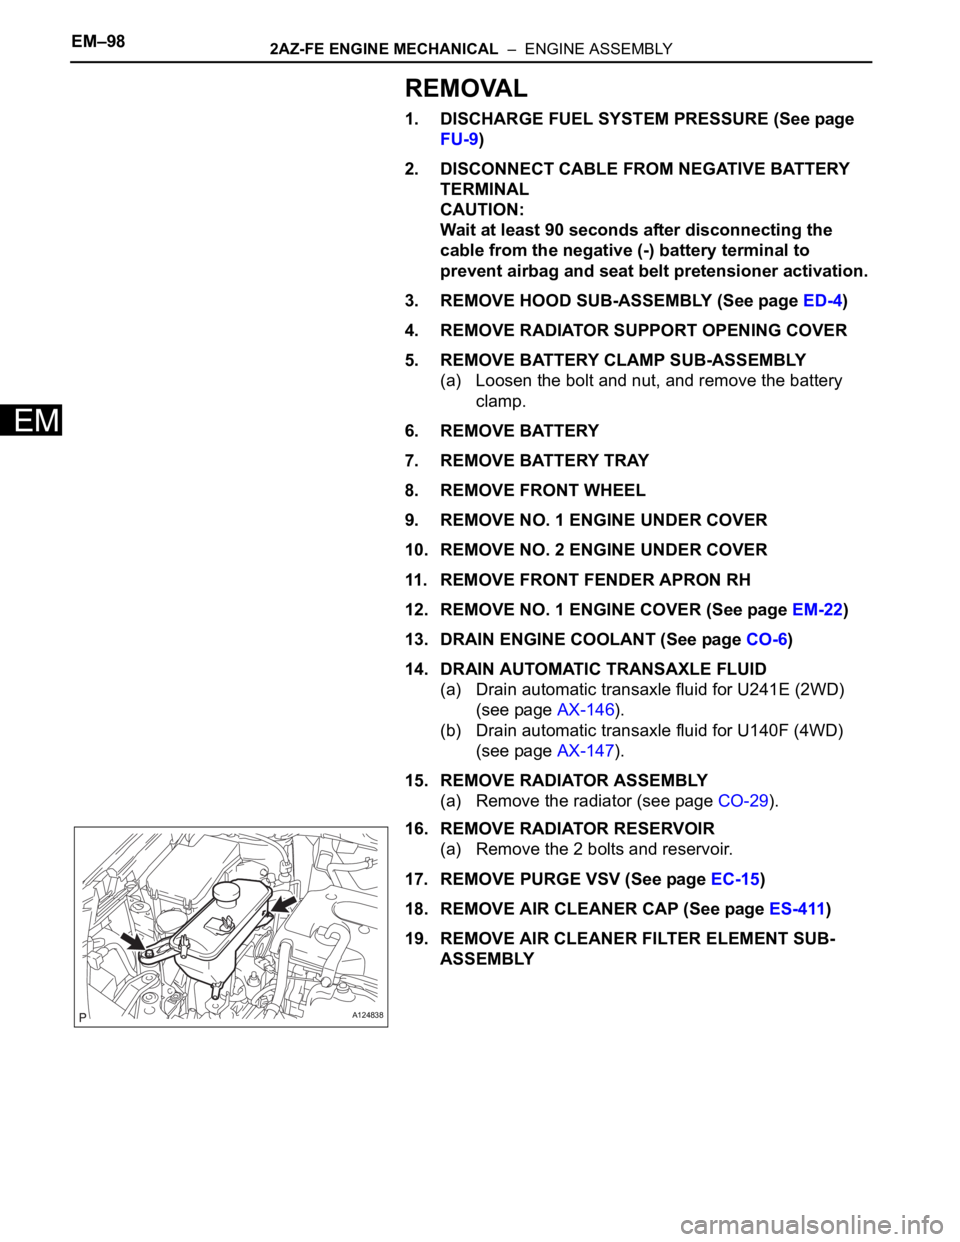
16. REMOVE RADIATOR RESERVOIR
(a) Remove the 2 bolts and reservoir.
17. REMOVE PURGE VSV (See page EC-15)
18. REMOVE AIR CLEANER CAP (See page ES-411)
19. REMOVE AIR CLEANER FILTER ELEMENT SUB-
ASSEMBLY
A124838
Page 634 of 2000
2AZ-FE ENGINE MECHANICAL – ENGINE ASSEMBLYEM–99
EM
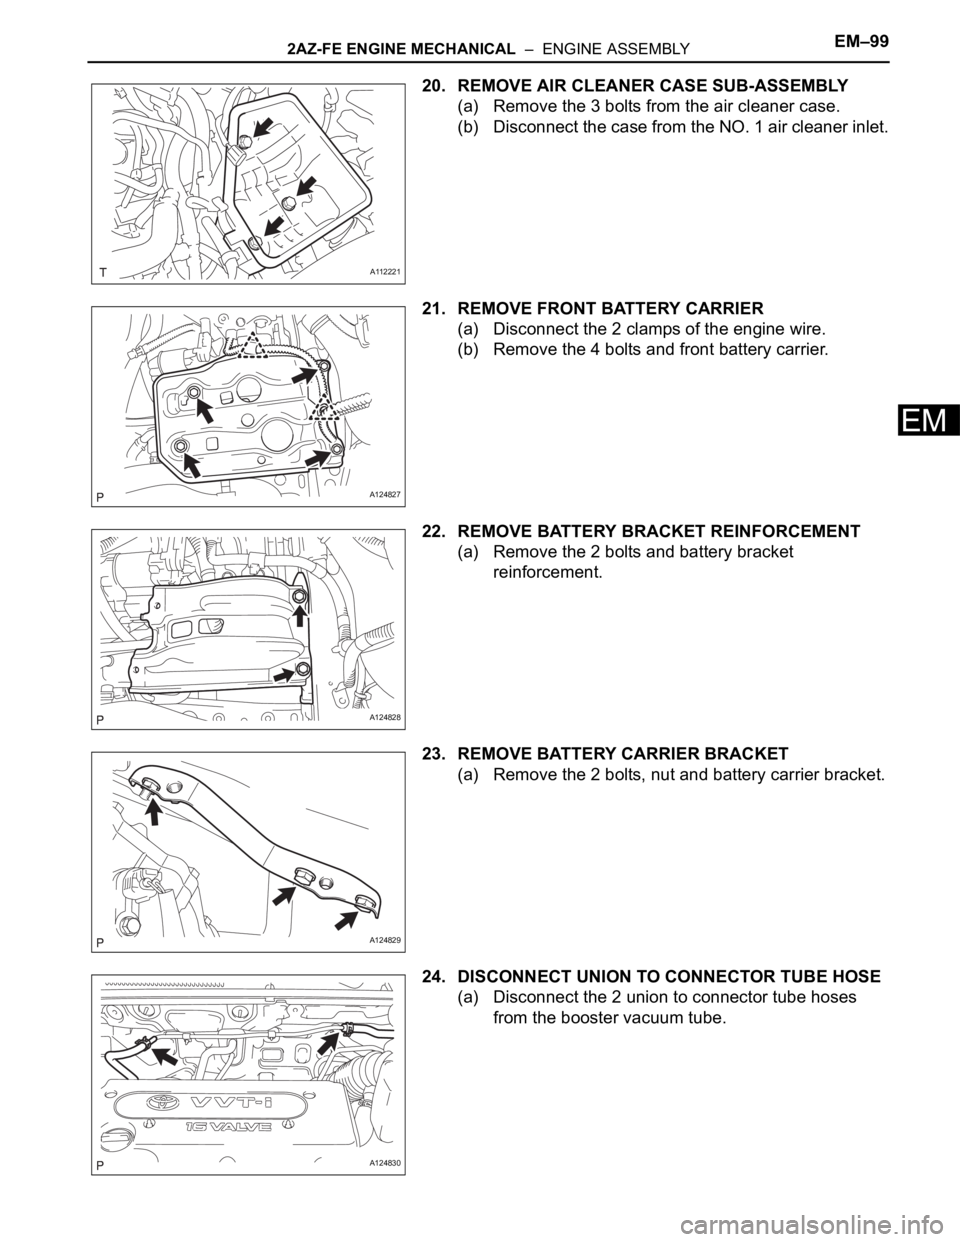
20. REMOVE AIR CLEANER CASE SUB-ASSEMBLY
(a) Remove the 3 bolts from the air cleaner case.
(b) Disconnect the case from the NO. 1 air cleaner inlet.
21. REMOVE FRONT BATTERY CARRIER
(a) Disconnect the 2 clamps of the engine wire.
(b) Remove the 4 bolts and front battery carrier.
22. REMOVE BATTERY BRACKET REINFORCEMENT
(a) Remove the 2 bolts and battery bracket
reinforcement.
23. REMOVE BATTERY CARRIER BRACKET
(a) Remove the 2 bolts, nut and battery carrier bracket.
24. DISCONNECT UNION TO CONNECTOR TUBE HOSE
(a) Disconnect the 2 union to connector tube hoses
from the booster vacuum tube.
A112221
A124827
A124828
A124829
A124830
Page 635 of 2000
EM–1002AZ-FE ENGINE MECHANICAL – ENGINE ASSEMBLY
EM
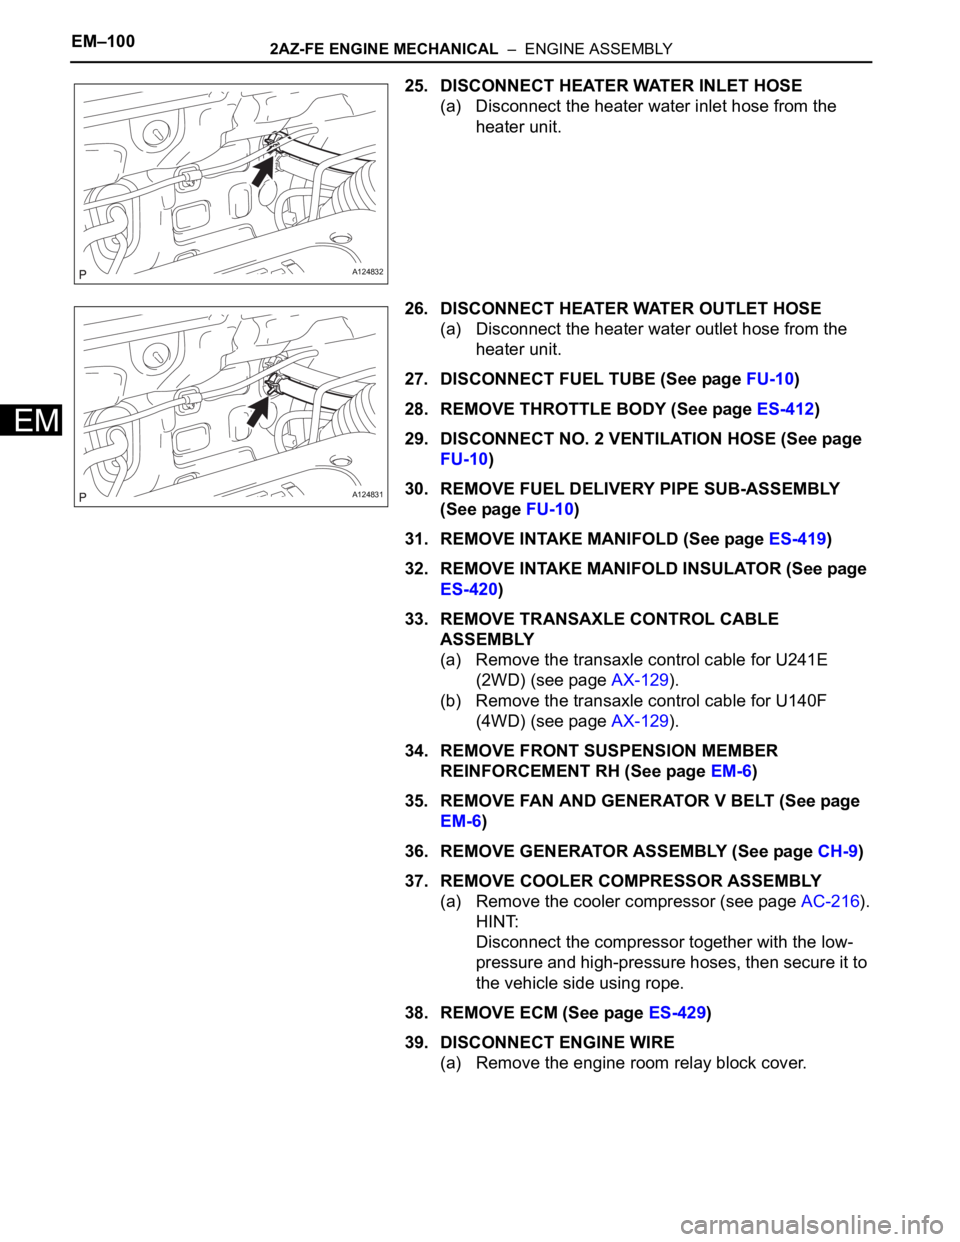
25. DISCONNECT HEATER WATER INLET HOSE
(a) Disconnect the heater water inlet hose from the
heater unit.
26. DISCONNECT HEATER WATER OUTLET HOSE
(a) Disconnect the heater water outlet hose from the
heater unit.
27. DISCONNECT FUEL TUBE (See page FU-10)
28. REMOVE THROTTLE BODY (See page ES-412)
29. DISCONNECT NO. 2 VENTILATION HOSE (See page
FU-10)
30. REMOVE FUEL DELIVERY PIPE SUB-ASSEMBLY
(See page FU-10)
31. REMOVE INTAKE MANIFOLD (See page ES-419)
32. REMOVE INTAKE MANIFOLD INSULATOR (See page
ES-420)
33. REMOVE TRANSAXLE CONTROL CABLE
ASSEMBLY
(a) Remove the transaxle control cable for U241E
(2WD) (see page AX-129).
(b) Remove the transaxle control cable for U140F
(4WD) (see page AX-129).
34. REMOVE FRONT SUSPENSION MEMBER
REINFORCEMENT RH (See page EM-6)
35. REMOVE FAN AND GENERATOR V BELT (See page
EM-6)
36. REMOVE GENERATOR ASSEMBLY (See page CH-9)
37. REMOVE COOLER COMPRESSOR ASSEMBLY
(a) Remove the cooler compressor (see page AC-216).
HINT:
Disconnect the compressor together with the low-
pressure and high-pressure hoses, then secure it to
the vehicle side using rope.
38. REMOVE ECM (See page ES-429)
39. DISCONNECT ENGINE WIRE
(a) Remove the engine room relay block cover.
A124832
A124831
Page 636 of 2000
2AZ-FE ENGINE MECHANICAL – ENGINE ASSEMBLYEM–101
EM
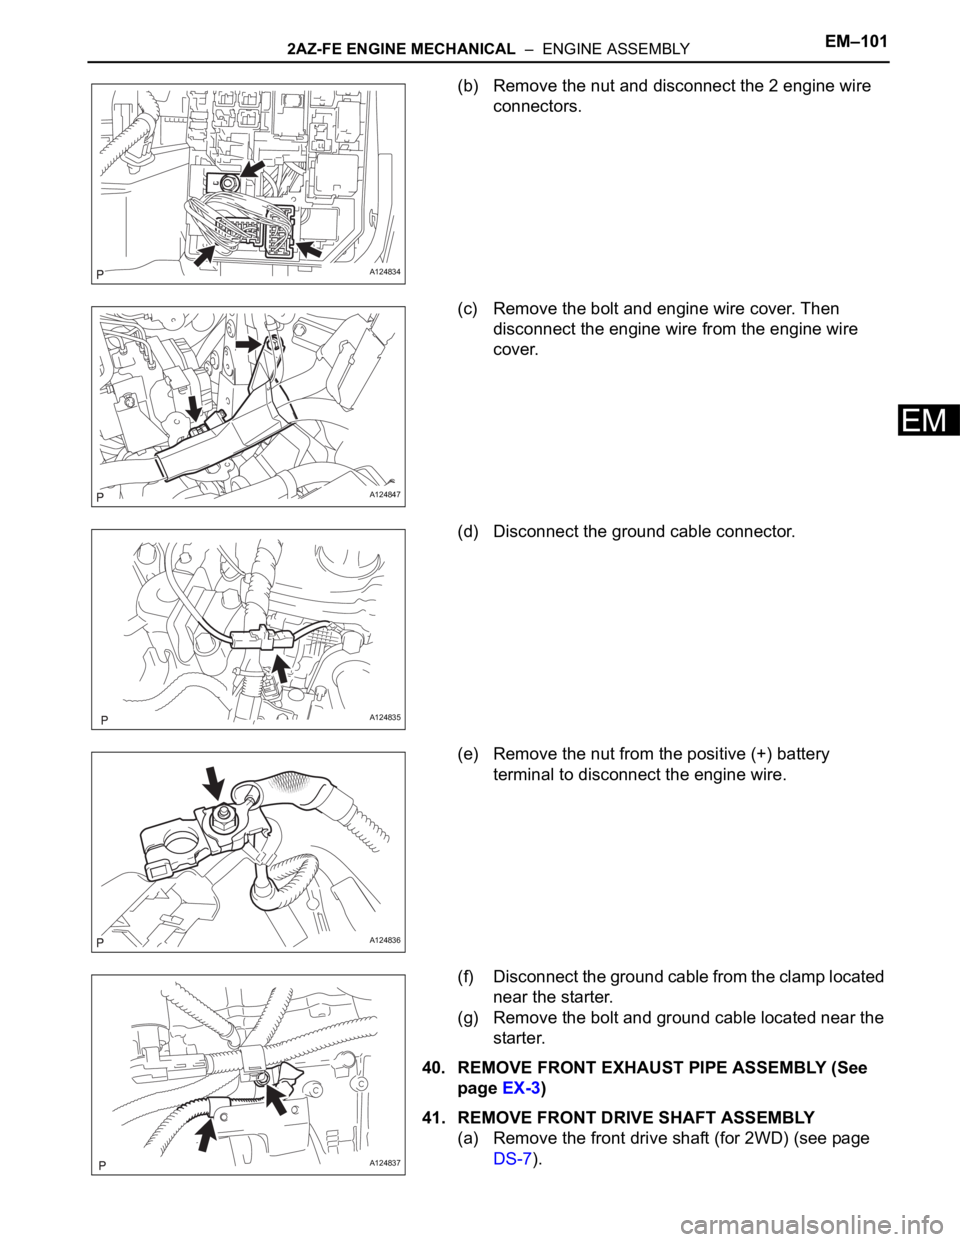
(b) Remove the nut and disconnect the 2 engine wire
connectors.
(c) Remove the bolt and engine wire cover. Then
disconnect the engine wire from the engine wire
cover.
(d) Disconnect the ground cable connector.
(e) Remove the nut from the positive (+) battery
terminal to disconnect the engine wire.
(f) Disconnect the ground cable from the clamp located
near the starter.
(g) Remove the bolt and ground cable located near the
starter.
40. REMOVE FRONT EXHAUST PIPE ASSEMBLY (See
page EX-3)
41. REMOVE FRONT DRIVE SHAFT ASSEMBLY
(a) Remove the front drive shaft (for 2WD) (see page
DS-7).
A124834
A124847
A124835
A124836
A124837
Page 637 of 2000
EM–1022AZ-FE ENGINE MECHANICAL – ENGINE ASSEMBLY
EM
(b) Remove the front drive shaft (for 4WD) (see page
DS-40).
42. REMOVE PROPELLER SHAFT ASSEMBLY (for 4WD)
(See page PR-3)
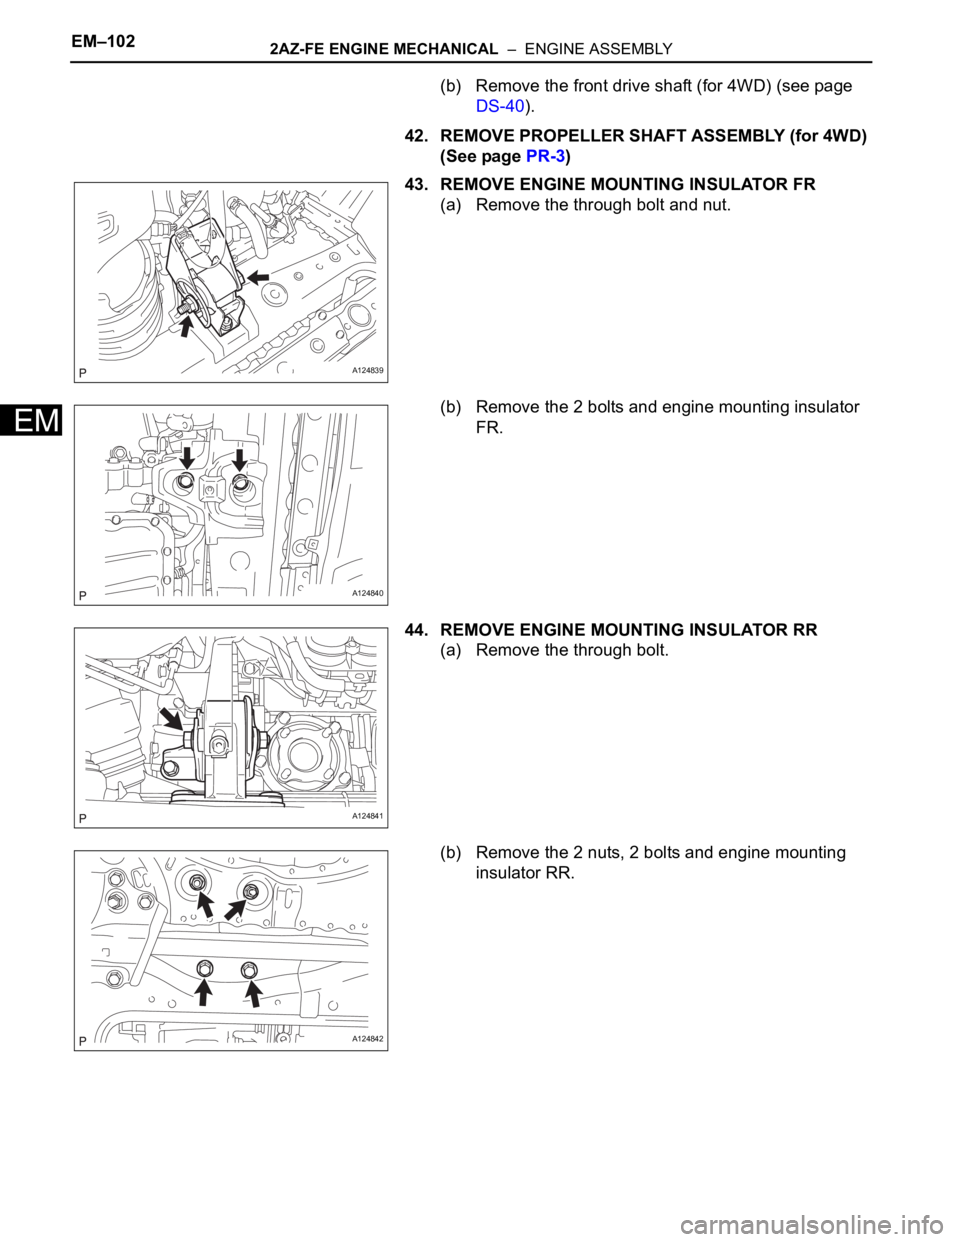
43. REMOVE ENGINE MOUNTING INSULATOR FR
(a) Remove the through bolt and nut.
(b) Remove the 2 bolts and engine mounting insulator
FR.
44. REMOVE ENGINE MOUNTING INSULATOR RR
(a) Remove the through bolt.
(b) Remove the 2 nuts, 2 bolts and engine mounting
insulator RR.
A124839
A124840
A124841
A124842
Page 638 of 2000
2AZ-FE ENGINE MECHANICAL – ENGINE ASSEMBLYEM–103
EM
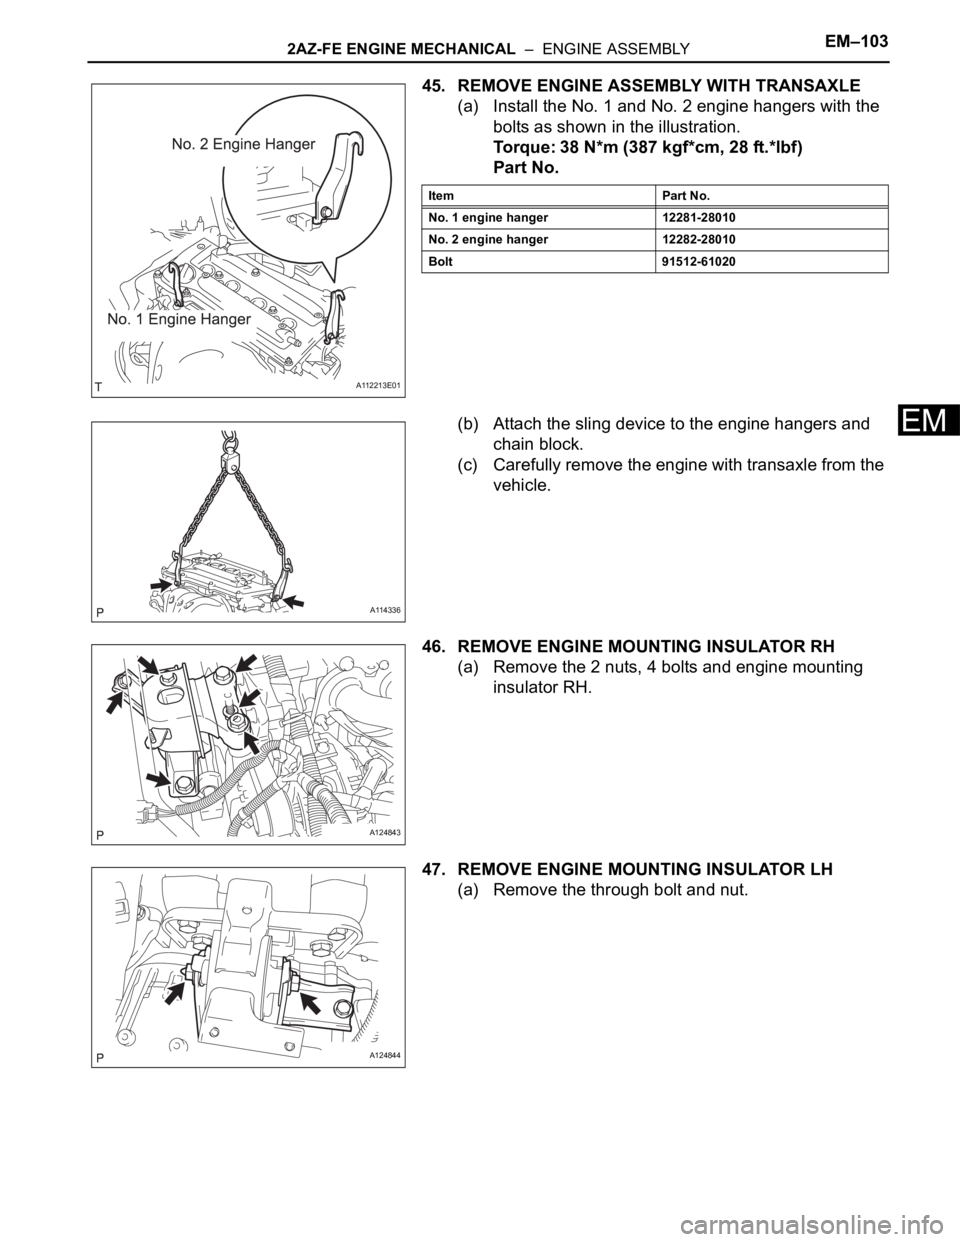
45. REMOVE ENGINE ASSEMBLY WITH TRANSAXLE
(a) Install the No. 1 and No. 2 engine hangers with the
bolts as shown in the illustration.
Torque: 38 N*m (387 kgf*cm, 28 ft.*lbf)
Part No.
(b) Attach the sling device to the engine hangers and
chain block.
(c) Carefully remove the engine with transaxle from the
vehicle.
46. REMOVE ENGINE MOUNTING INSULATOR RH
(a) Remove the 2 nuts, 4 bolts and engine mounting
insulator RH.
47. REMOVE ENGINE MOUNTING INSULATOR LH
(a) Remove the through bolt and nut.
A112213E01
Item Part No.
No. 1 engine hanger 12281-28010
No. 2 engine hanger 12282-28010
Bolt 91512-61020
A114336
A124843
A124844
Page 639 of 2000
EM–1042AZ-FE ENGINE MECHANICAL – ENGINE ASSEMBLY
EM
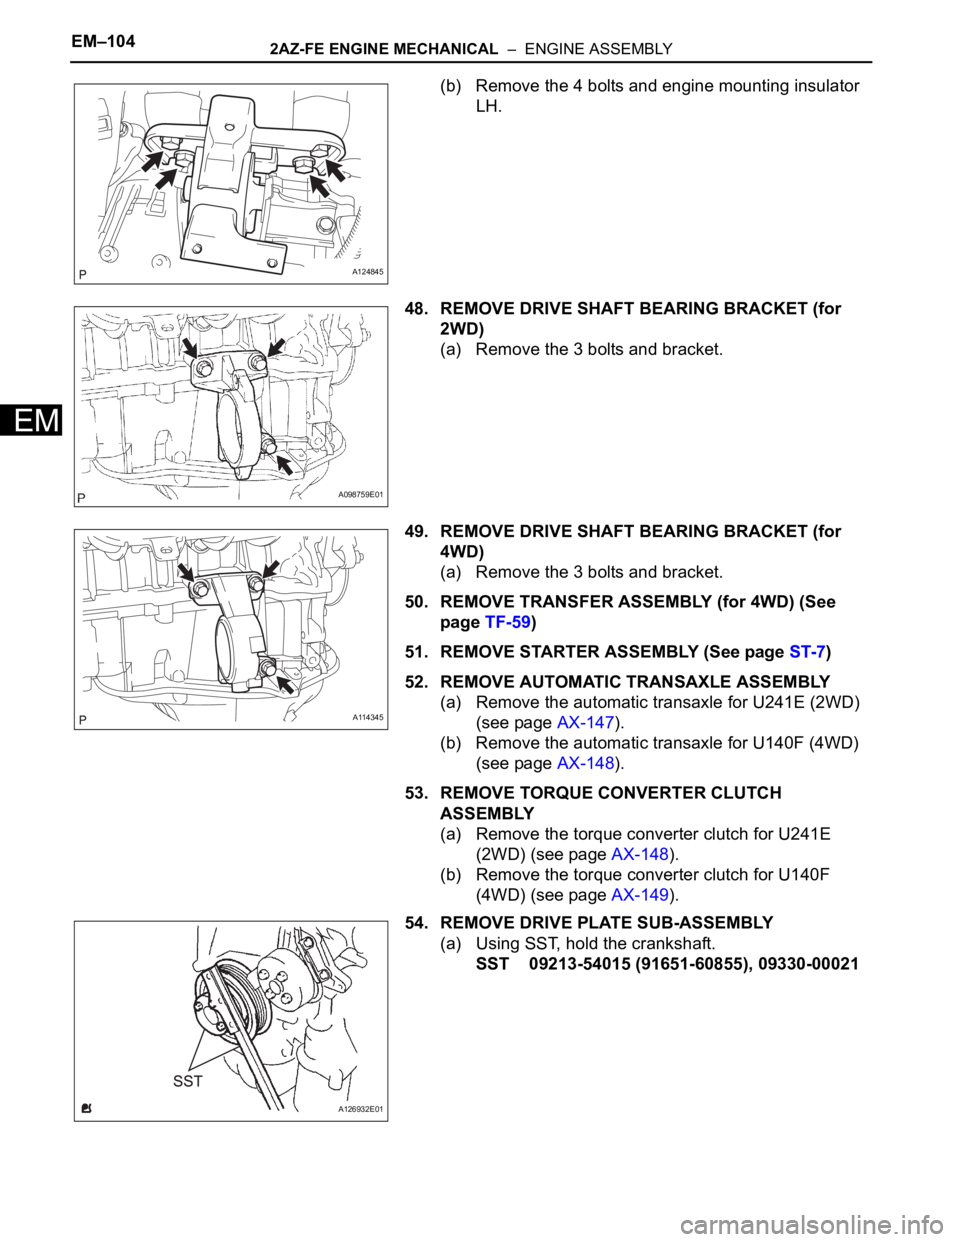
(b) Remove the 4 bolts and engine mounting insulator
LH.
48. REMOVE DRIVE SHAFT BEARING BRACKET (for
2WD)
(a) Remove the 3 bolts and bracket.
49. REMOVE DRIVE SHAFT BEARING BRACKET (for
4WD)
(a) Remove the 3 bolts and bracket.
50. REMOVE TRANSFER ASSEMBLY (for 4WD) (See
page TF-59)
51. REMOVE STARTER ASSEMBLY (See page ST-7)
52. REMOVE AUTOMATIC TRANSAXLE ASSEMBLY
(a) Remove the automatic transaxle for U241E (2WD)
(see page AX-147).
(b) Remove the automatic transaxle for U140F (4WD)
(see page AX-148).
53. REMOVE TORQUE CONVERTER CLUTCH
ASSEMBLY
(a) Remove the torque converter clutch for U241E
(2WD) (see page AX-148).
(b) Remove the torque converter clutch for U140F
(4WD) (see page AX-149).
54. REMOVE DRIVE PLATE SUB-ASSEMBLY
(a) Using SST, hold the crankshaft.
SST 09213-54015 (91651-60855), 09330-00021
A124845
A098759E01
A114345
A126932E01
Page 640 of 2000
2AZ-FE ENGINE MECHANICAL – ENGINE ASSEMBLYEM–105
EM
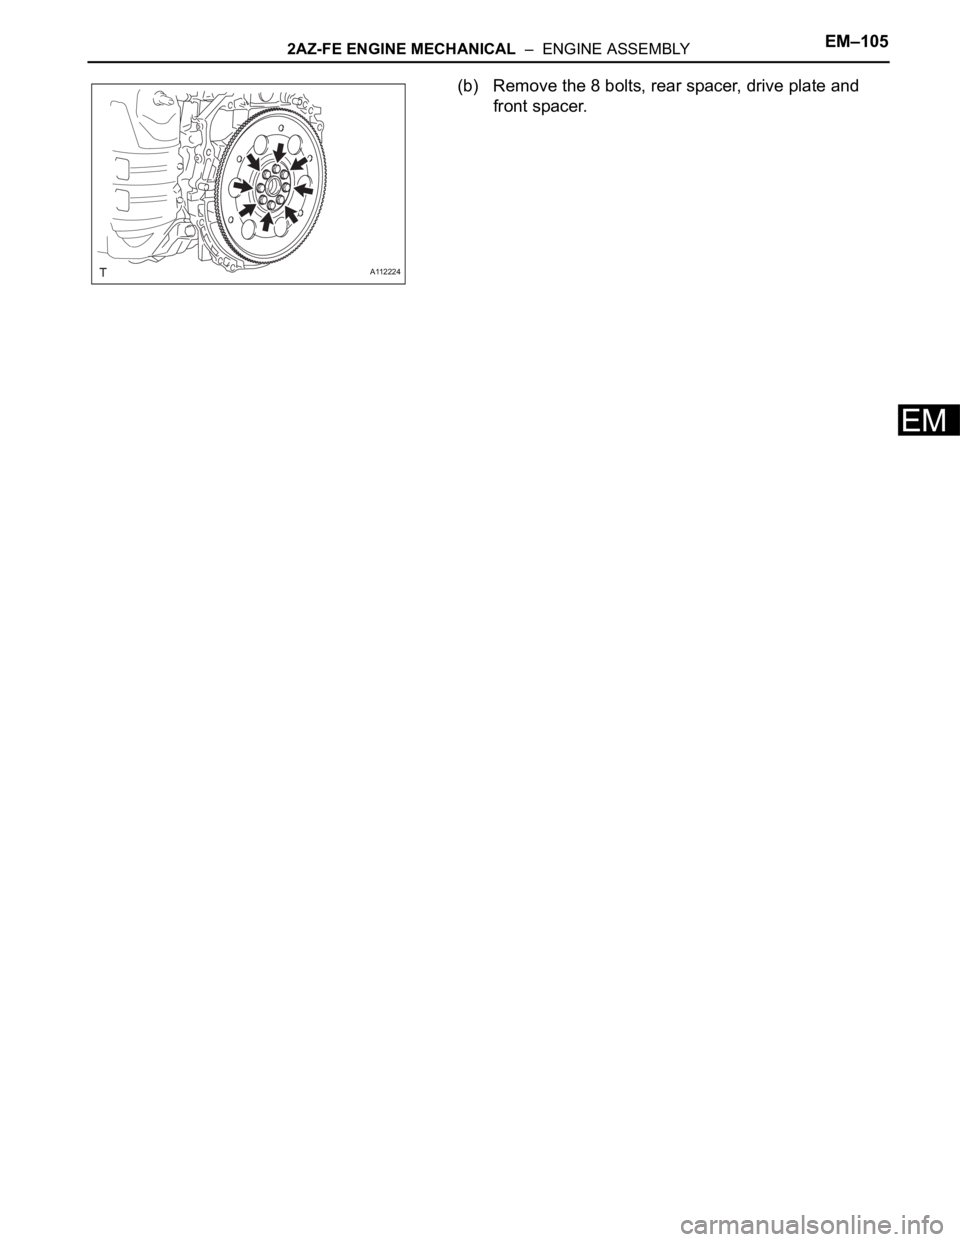
(b) Remove the 8 bolts, rear spacer, drive plate and
front spacer.
A112224