RENAULT KANGOO 1997 KC / 1.G Engine And Peripherals Owner's Guide
Manufacturer: RENAULT, Model Year: 1997, Model line: KANGOO, Model: RENAULT KANGOO 1997 KC / 1.GPages: 208
Page 31 of 208
ENGINE AND ENGINE PERIPHERALS
Sump
10
Engines of all types
Remove:
- the mounting bolts (3),
- the sub-frame mounting bolts, inserting the
threaded rods Mot. 1233-01 as you go.
12993-1R3
E7J / F8Q
engines
13507R
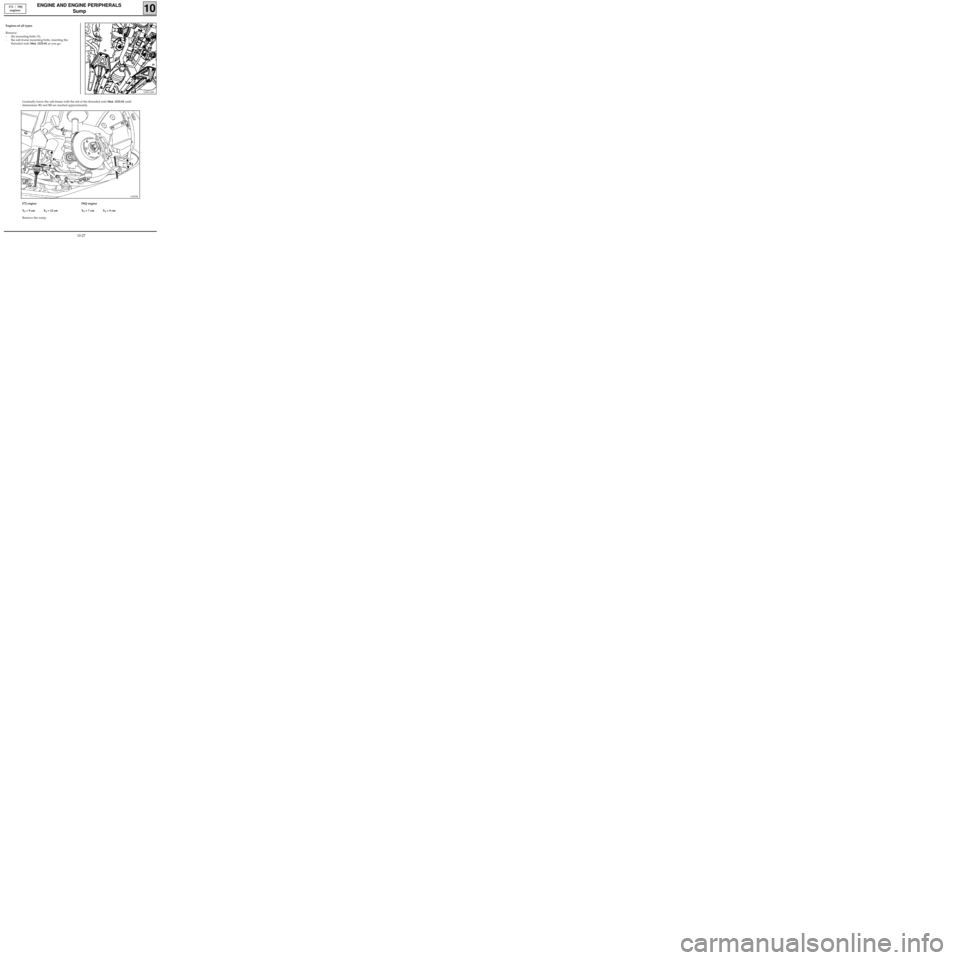
Gradually lower the sub-frame with the aid of the threaded rods Mot. 1233-01 until
dimensions X1 and X2 are reached approximately.
E7J engine
X
1 = 9 cm X2 = 12 cm
Remove the sump.F8Q engine
X1 = 7 cm X2 = 9 cm
10-27
Page 32 of 208
ENGINE AND ENGINE PERIPHERALS
Sump
10
REFITTING
Clean the sump.
E7J engine
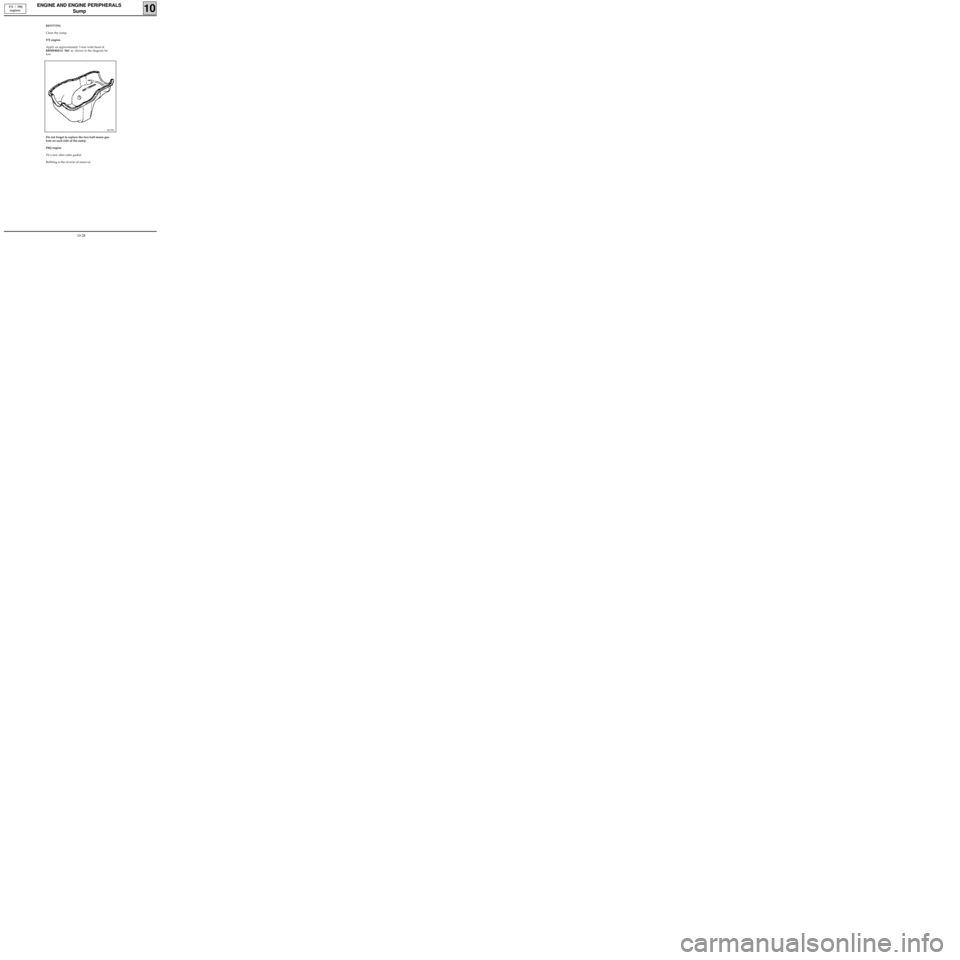
Apply an approximately 3 mm wide bead of
RHODORSEAL 5661 as shown in the diagram be-
low.
E7J / F8Q
engines
99179S
Do not forget to replace the two half-moon gas-
kets on each side of the sump.
F8Q engine
Fit a new after-sales gasket.
Refitting is the reverse of removal.
10-28
Page 33 of 208

ENGINE AND ENGINE PERIPHERALS
Crankshaft seal, timing end
10
Crankshaft output mounting bolt 2 + 90°
Mounting bolt for front right suspended engine
mounting on the engine 6.2
Mounting bolt for front right suspended engine
mounting on the body 6.2
Timing belt tension wheel nut 5
TIGHTENING TORQUES (in daN.m)
REPLACEMENT
REMOVAL
Remove the timing belt (see section 11 "Timing
belt").
Use tool Mot. 1374 to remove the crankshaft seal.
99787R
Screw the body of the tool into the seal using nut
(1), then use bolt (2) to extract the seal.
SPECIAL TOOLING REQUIRED
Mot. 1054TDC pin
Mot. 1273 Tool for checking belt tension
Mot. 1289-03 Centring fork for suspended engine
mounting limiter
Mot. 1355 Tool for fitting pump seal
Mot. 1374 Pump seal extractor
Mot. 1379 Tool for maintaining engine on sub-
frame
REFITTING
Refit the new seal onto the crankshaft output wi-
thout damaging it when passing the timing
sprocket drive groove.
Position it using tool Mot. 1355.
99788R
Refit the new timing belt (see the method descri-
bed in section 11 "Timing belt"). D7F engine
10-29
Page 34 of 208
ENGINE AND ENGINE PERIPHERALS
Oil pump
10
Crankshaft output mounting bolt 2 + 90°
Bolt mounting front right suspended
engine mounting on engine 6.2
Bolt mounting front right suspended
engine mounting on body 6.2
Timing belt tension wheel nut 5
TIGHTENING TORQUES (in daN.m)
REMOVAL
Remove:
- the timing belt (see method described in
section 11 "Timing belt"),
- the oil level sensor with the aid of a 19 mm
half-moon wrench,
- the oil dipstick,
- the crankshaft pulley and sprocket,
- the engine flywheel guard.
Lift the engine and gearbox assembly with the aid
of tool Mot. 1379.
Remove the sump bolts.
Rotate the sump towards the rear of the vehicle in
order to release the oil pump strainer from the
sump partitioning.
Remove:
- the oil pump strainer
- the oil pump
Clean the sealing surfaces without scratching the
aluminium.
SPECIAL TOOLING REQUIRED
Mot. 1054TDC pin
Mot. 1273 Tool for checking belt tension
Mot. 1355 Tool for fitting oil pump
Mot. 1379 Tool for maintaining engine on sub-
frame
REFITTING
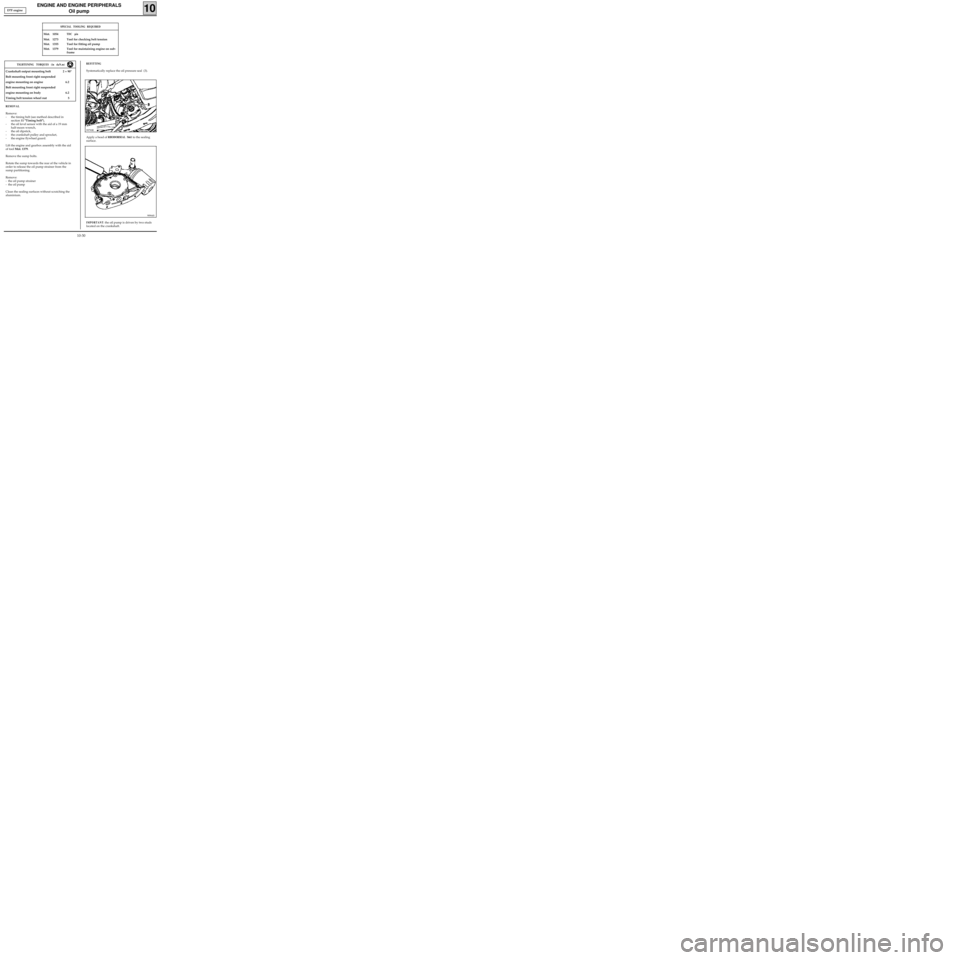
Systematically replace the oil pressure seal (3).
99790R
Apply a bead of RHODORSEAL 5661 to the sealing
surface.
98964S
IMPORTANT: the oil pump is driven by two studs
located on the crankshaft. D7F engine
10-30
Page 35 of 208
ENGINE AND ENGINE PERIPHERALS
Oil pump
10
Refit:
- the oil pump onto the engine and tighten it to
a torque of 0.9 daN.m,
- the new seal onto the crankshaft output wi-
thout damaging it when passing the timing
sprocket drive groove.
Position it with the aid of tool Mot. 1355..
99788R
Refit the strainer with a new O-ring.
Clean the sealing surfaces (cylinder block, sump).
Refit the sump.
Tighten the bolts to a torque of 1 daN.m.
Refit:
- the timing belt (see method described in
section 11 "Timing belt"),
- the new alternator and power assisted stee-
ring pump belts (see tension values in section
07 "Accessories belt tension"). D7F engine
10-31
Page 36 of 208
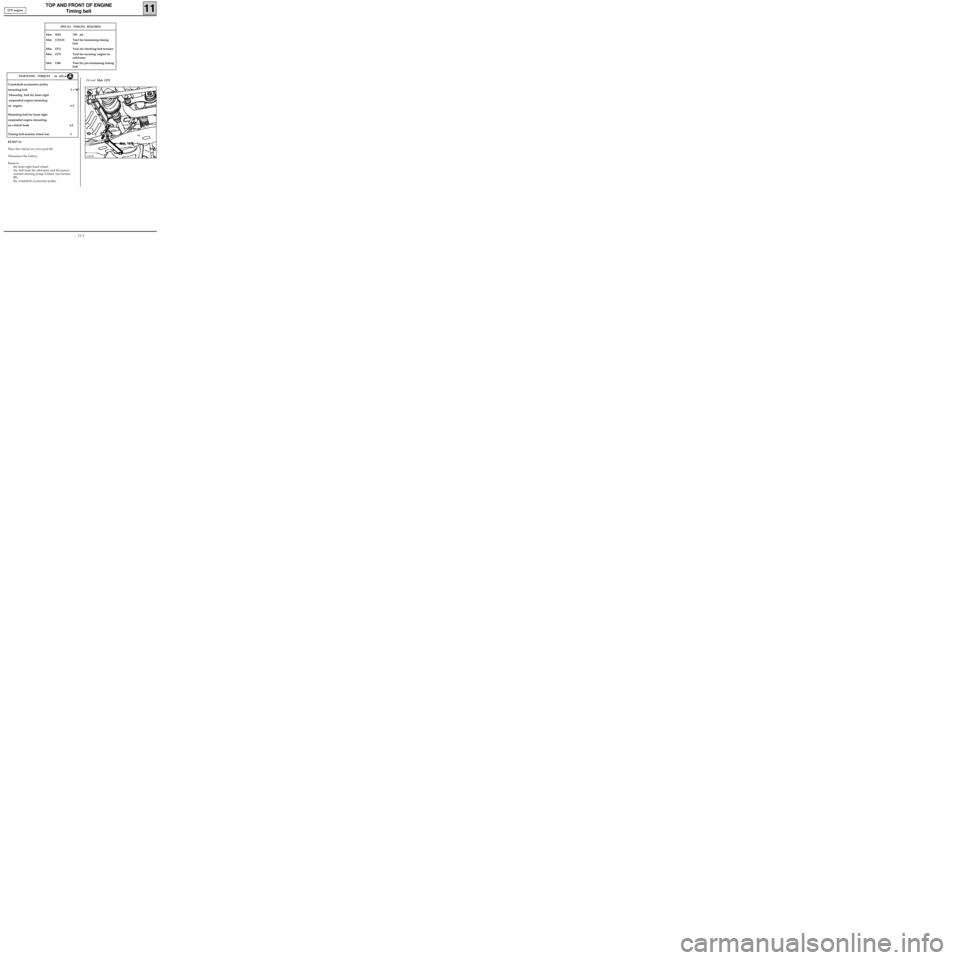
TIGHTENING TORQUES (in daN.m)
TOP AND FRONT OF ENGINE
Timing belt
REMOVAL
Place the vehicle on a two post lift.
Disconnect the battery.
Remove :
- the front right hand wheel,
- the belt from the alternator and the power
assisted steering pump if fitted (see section
07),
- the crankshaft accessories pulley.
11
10267R
SPECIAL TOOLING REQUIRED
Crankshaft accessories pulley
mounting bolt 2 + 90°
Mounting bolt for front right
suspended engine mounting
on engine 6.2
Mounting bolt for front right
suspended engine mounting
on vehicle body 6.2
Timing belt tension wheel nut 5
Mot. 1054TDC pin
Mot. 1135-01 Tool for tensioning timing
belt
Mot. 1273 Tool for checking belt tension
Mot. 1379 Tool for securing engine to
subframe
Mot. 1386 Tool for pre-tensioning timing
belt
Fit tool Mot. 1379. D7F engine
11-1
Page 37 of 208
TOP AND FRONT OF ENGINE
Timing belt
11
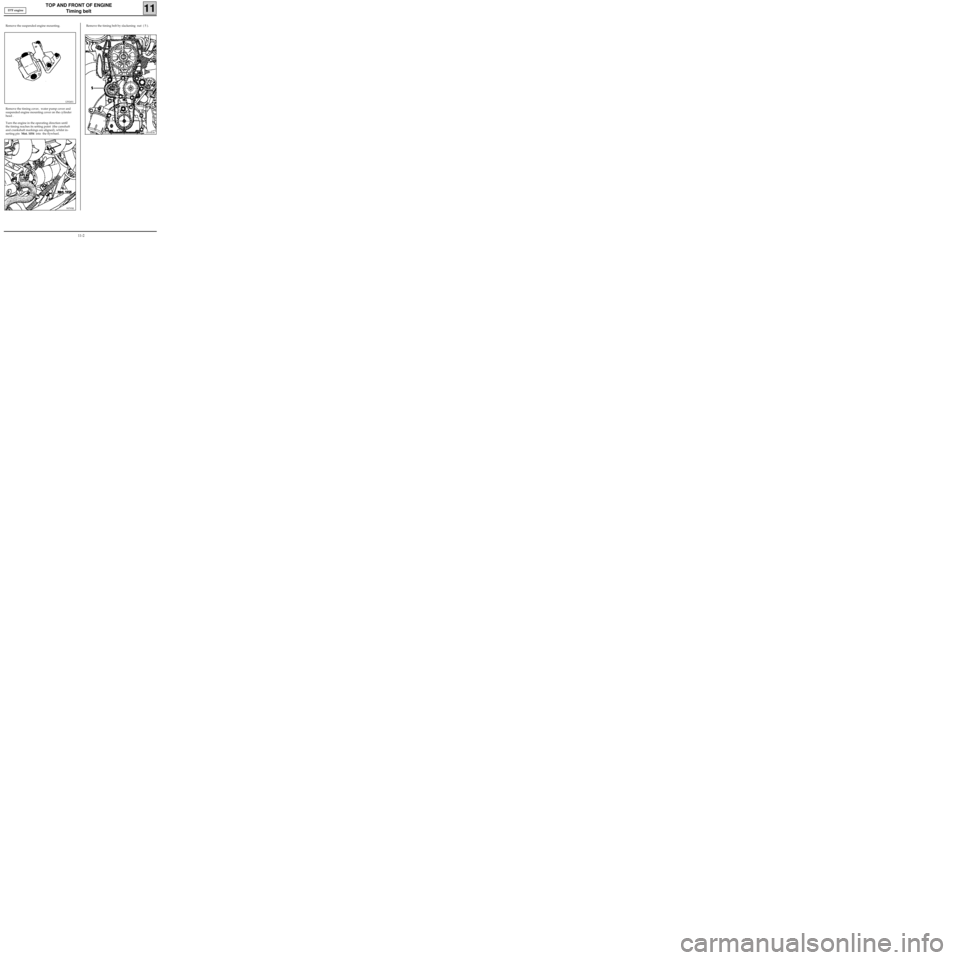
Remove the suspended engine mounting.
Remove the timing cover, water pump cover and
suspended engine mounting cover on the cylinder
head .
Turn the engine in the operating direction until
the timing reaches its setting point (the camshaft
and crankshaft markings are aligned), whilst in-
serting pin Mot. 1054 into the flywheel.
12924S1
DI1041R
Remove the timing belt by slackening nut ( 5 ).
99795R
D7F engine
11-2
Page 38 of 208
TOP AND FRONT OF ENGINE
Timing belt
11
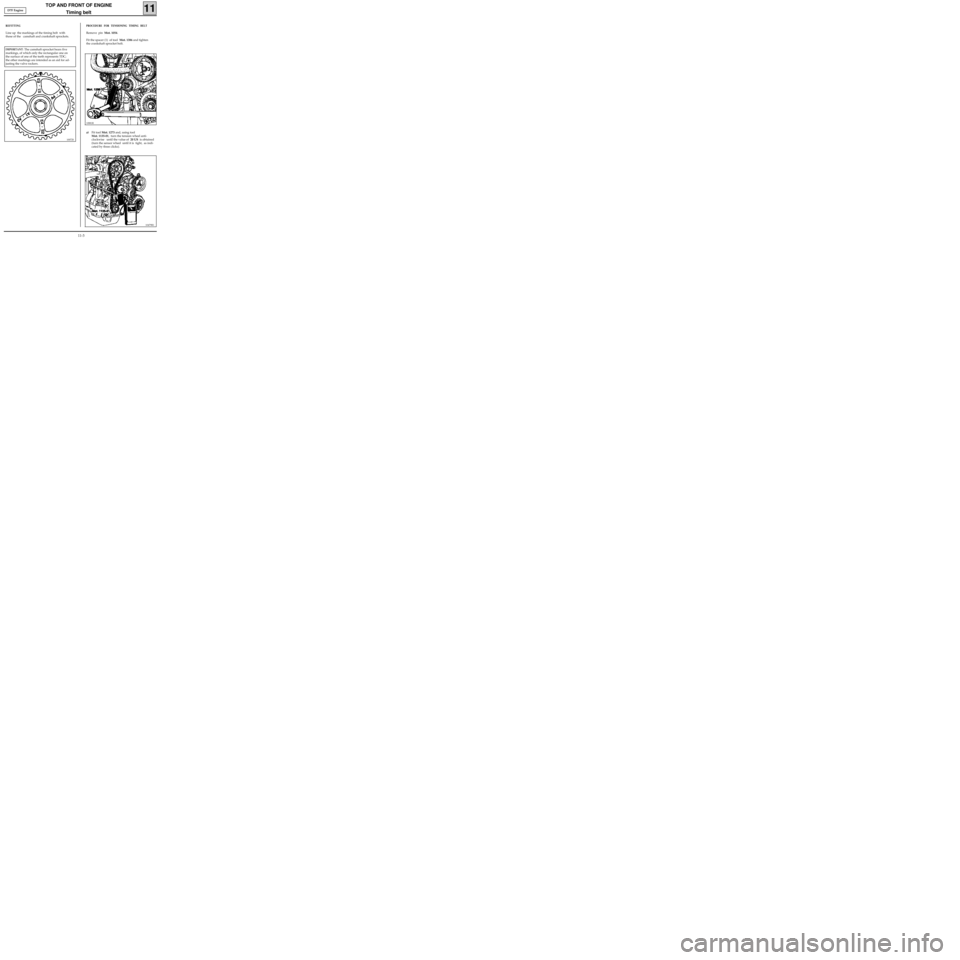
REFITTING
Line up the markings of the timing belt with
those of the camshaft and crankshaft sprockets.
10072S
PROCEDURE FOR TENSIONING TIMING BELT
Remove pin Mot. 1054.
Fit the spacer (1) of tool Mot. 1386 and tighten
the crankshaft sprocket bolt.
10881R
a)Fit tool Mot. 1273 and, using tool
Mot. 1135-01, turn the tension wheel anti-
clockwise until the value of 20 US is obtained
(turn the sensor wheel until it is tight, as indi-
cated by three clicks).
10479R1
IMPORTANT: The camshaft sprocket bears five
markings, of which only the rectangular one on
the surface of one of the teeth represents TDC;
the other markings are intended as an aid for ad-
justing the valve rockers.
D7F Engine
11-3
Page 39 of 208
TOP AND FRONT OF ENGINE
Timing belt
11
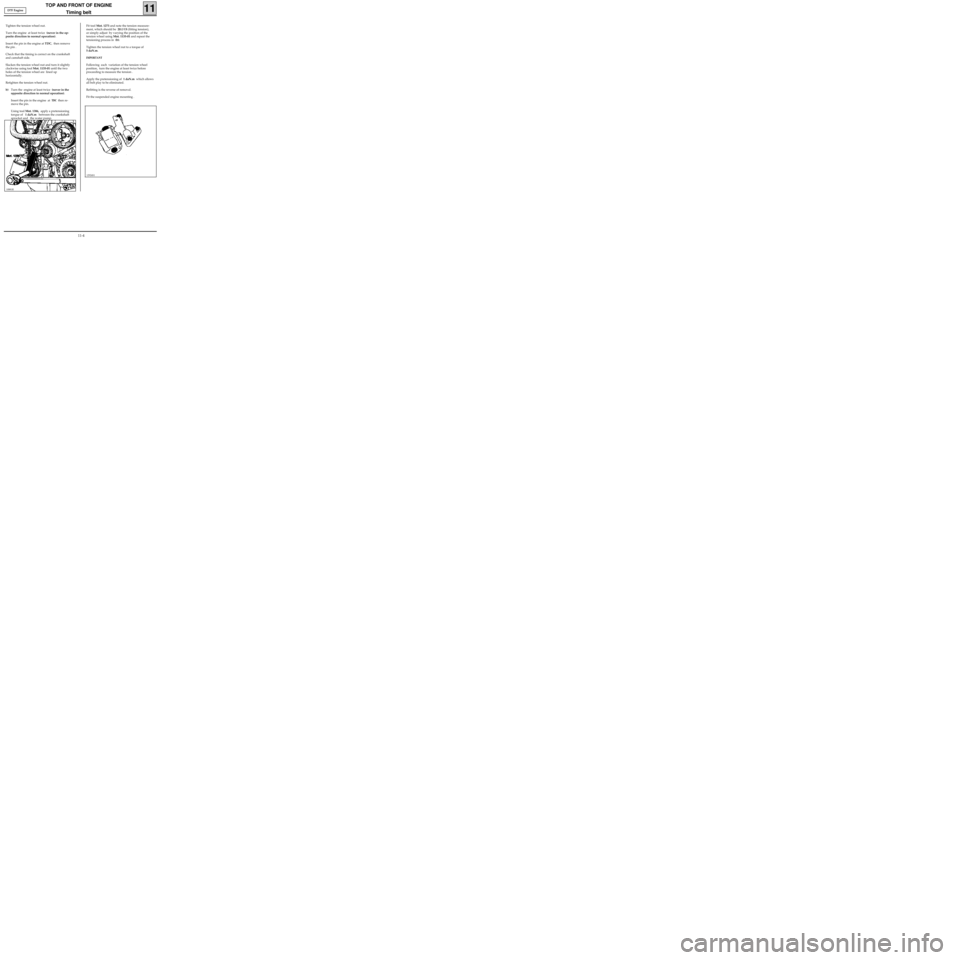
Tighten the tension wheel nut.
Turn the engine at least twice (never in the op-
posite direction to normal operation).
Insert the pin in the engine at TDC, then remove
the pin .
Check that the timing is correct on the crankshaft
and camshaft side.
Slacken the tension wheel nut and turn it slightly
clockwise using tool Mot. 1135-01 until the two
holes of the tension wheel are lined up
horizontally.
Retighten the tension wheel nut.
b)Turn the engine at least twice (never in the
opposite direction to normal operation).
Insert the pin in the engine at
TDC then re-
move the pin.
Using tool Mot. 1386, apply a pretensioning
torque of 1 daN.m between the crankshaft
sprocket and the water pump.
Fit tool Mot. 1273 and note the tension measure-
ment, which should be 20±
3 US (fitting tension),
or simply adjust by varying the position of the
tension wheel using Mot. 1135-01 and repeat the
tensioning process in (b).
Tighten the tension wheel nut to a torque of
5 daN.m.
IMPORTANT
Following each variation of the tension wheel
position, turn the engine at least twice before
proceeding to measure the tension .
Apply the pretensioning of 1 daN.m which allows
all belt play to be eliminated.
Refitting is the reverse of removal.
Fit the suspended engine mounting .
12924S1
10881R
D7F Engine
11-4
Page 40 of 208
TOP AND FRONT OF ENGINE
Timing belt
REMOVAL
Place the vehicle on a 2 post lift.
Disconnect the battery.
Fit the engine support tool.
11
13370S
SPECIAL TOOLING REQUIRED
Mot. 591-02 Index pin
Mot. 591-04 Angle tightening wrench
Mot. 1135-01 Tool for tensioning timing
belt
Mot. 1273 Tool for checking belt tension
Wheel bolts 9
Crankshaft pulley bolts 2 + 68° ± 6°
Tension wheel nut 5
Bolt for suspended engine mounting cover 6.2
Nut for suspended engine mounting cover 4.4
13359R
Remove :
- the front right wheel along with the mud-
guard,
- the suspended engine mounting cover,
EQUIPMENT REQUIRED
Engine support tool
- the belts for the alternator and the power
assisted steering pump.
TIGHTENING TORQUES (In daN.m or /and°)
E7J Engine
11-5